Wednesday, 26 September 2012

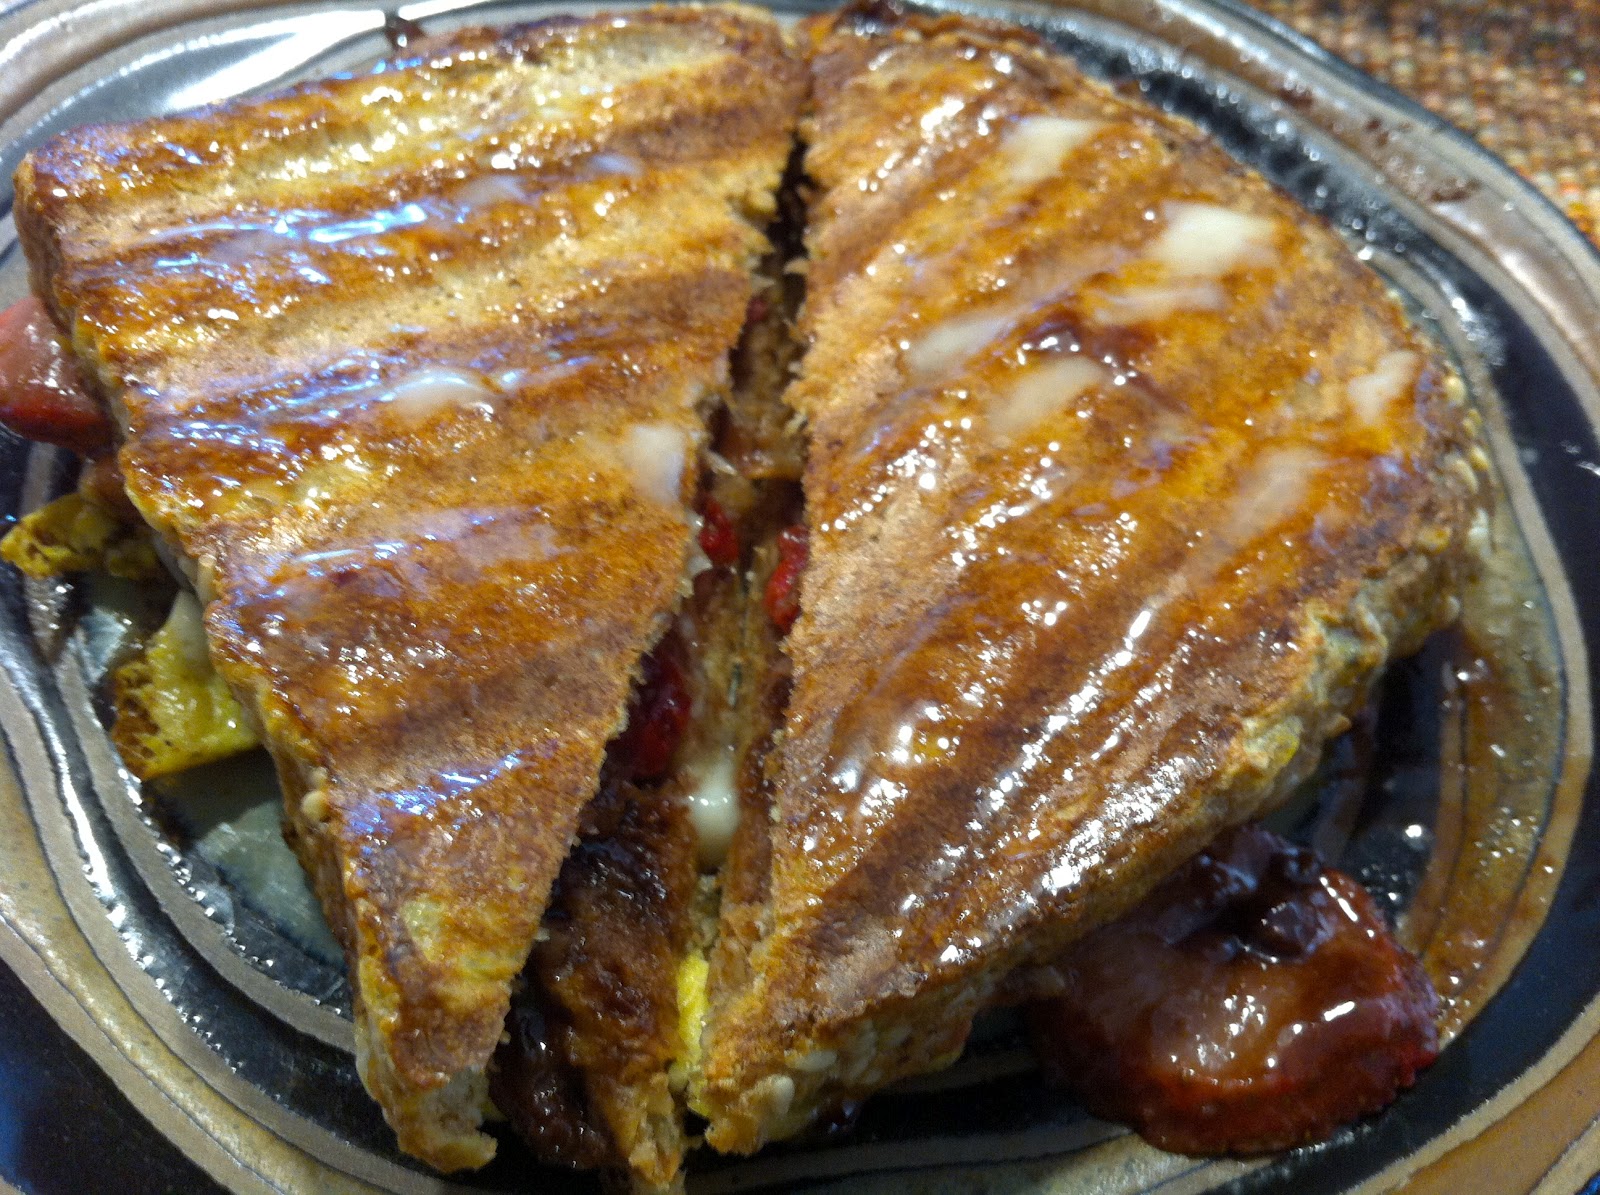
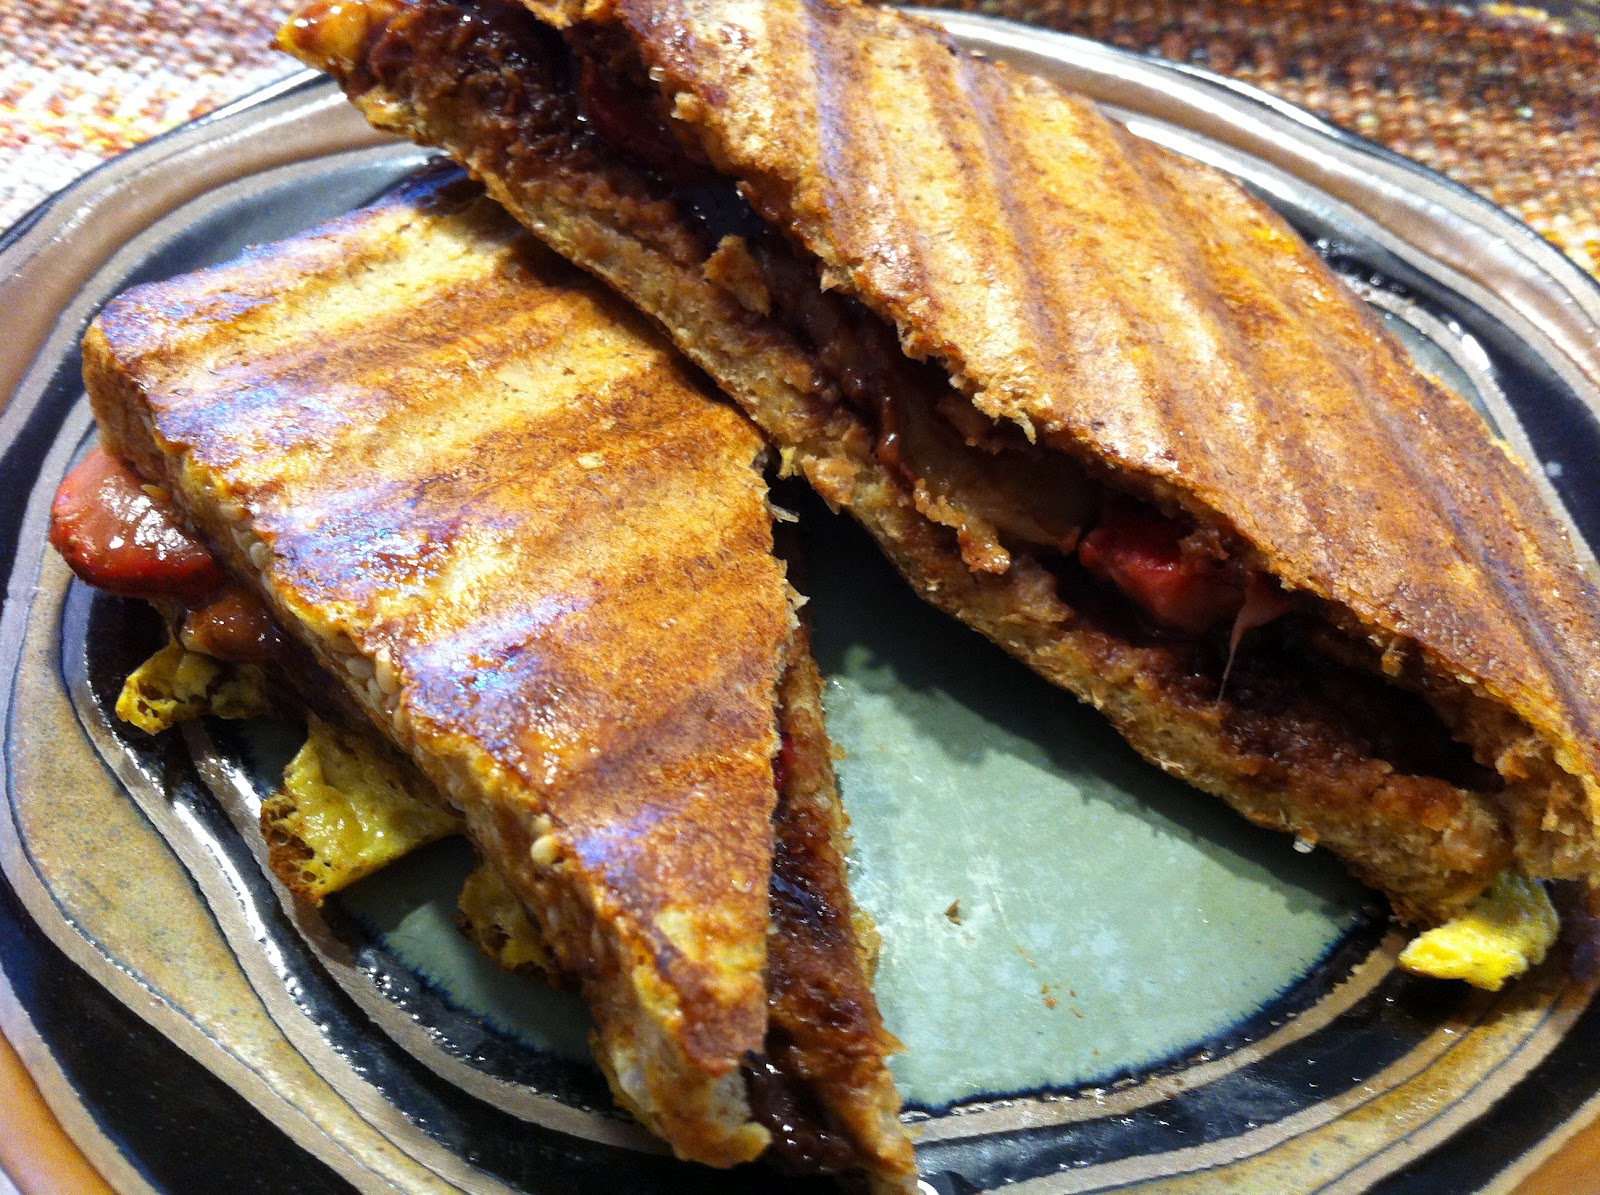
Nutella Stuffed French Toast Sandwich


Are you the type of person that likes to eat your french toast with syrup or do you prefer ketchup? I have to admit that even though I don't eat ketchup on anything, I do like it on my french toast. I'll save the syrup for my pancakes or waffles. Unfortunately, french toast is not something I eat all that often and so I have been known to forget that I like the ketchup combo best and instead smother the bread in syrup. Only then does somebody decide to pull out the ketchup and remind me of my mistake.

Well, with this combination you do not need ketchup (it would actually taste pretty awful if you did use it) and you can get away with no syrup (unless you really want a sugar high). Instead, I just add a bit of butter to the top surface to give it a bit of moisture, and it's perfect.

I've never actually made this recipe with the strawberries before and I almost missed my chance this time. I had the sandwich all ready to dip when the basket of berries caught my eye. I quickly disassembled my sandwich and sliced a few berries to add, and I'm so glad I did.

Usually I make this on my griddle or frying pan but today I decided to use the trusty George Foreman Grill which has become sort of an obsession of mine as of late. It worked great because I didn't have to fret about flipping the sandwich to cook the other side. Which usually results in the top and bottom slices of bread detaching from each other due to the nutella thinning out from the heat and becoming slippery, resulting in a lovely mess of goop. Yup, if you have a grill, please use it. Otherwise, I wish you the best of luck and my thoughts are with you...but that shouldn't stop you from trying this though. The goop still tastes fabulous.

On a side note, try drizzle your finished sandwich with the blueberry sauce that can be found here.

I originally found a recipe for Banana Nutella French Toast on the back of a loaf of whole wheat D'Italiano bread. This is essentially the same idea but with strawberries added in. And if you are anti-Nutella or unfortunately can't eat it because it contains milk, I guess you could settle with making this with Peanut Butter.

Serves 2


Ingredients

4 Eggs
2 Tbsp. Milk
1/2 Tsp Vanilla
4 Slices of Bread
1/4 C. Nutella
4 Strawberries
1 Banana

Directions

~Preheat a grill (or a griddle / frying pan).
~Crack eggs into a dish large enough to accommodate for the size of the bread.
~With a fork, gently whisk the eggs, adding in the milk and vanilla as you go.
~Lay out the bread and spread the nutella on each slice.
~Peel the banana and half ways down the length of it, cut it in half. Thinly slice each half lengthways into thin slices (avoid slicing into rounds as they just slide around when the sandwich is heated)
~Wash, de-stem and thinly slice the strawberries.
~Arrange the strawberries and banana on top of two of the slices of bread, then place the other two slices, nutella side down on top (essentially making a peanut butter & banana sandwich, minus the PB)
~Place the sandwich in the egg mixture, and flip to coat each side.
~Cook sandwich until both sides are golden and the egg is no longer runny & raw.
~Serve with a dollop of butter, or a dusting of icing sugar and whip cream.

Enjoy

Monday, 24 September 2012

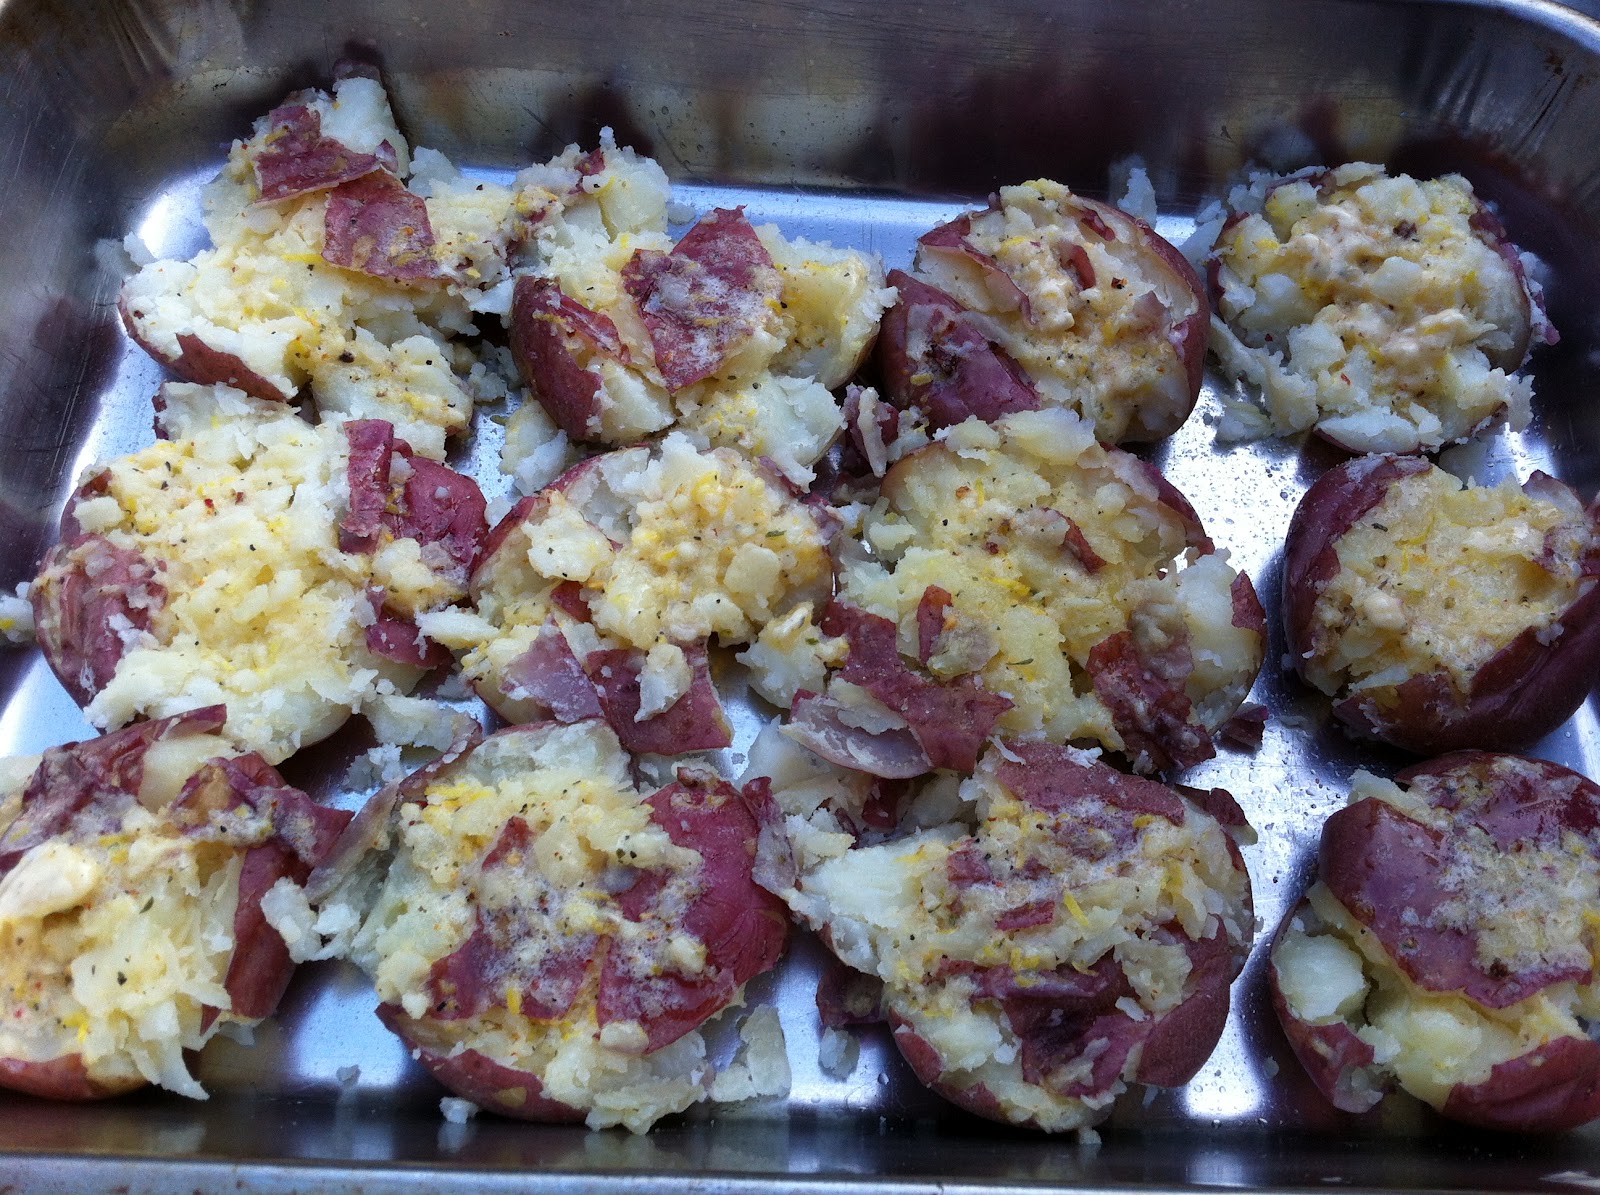
Smashed Potatoes with Herbed Butter


I've made these once before. The first time instead of using the greek spices I used fresh dill. Unfortunately, the time for fresh dill has come and gone and I was left staring at the dried spice drawer trying to come up with a substitute. I briefly considered some Montreal Steak Spice (which would be very good I'm sure), but not exactly what I was hoping for, for tonights dinner. So, I went garlicky and lemony and let me tell you, it has been hours now since I ate and my mouth is still burning from the garlic. What I'm trying to say is, if you aren't a huge garlic fan (let me slap some sense into you...kidding) you might want to reduce the number of garlic cloves in this. Then again maybe not, as I was using amazingly fresh and crisp (not rubbery in the slightest, hallelujah), local farm garlic. So I think it may have had a bit more of a kick than the grocery store variety would have.

The idea for smashing the potatoes has come from multiple blogs. The herbed butter is my own creation.

Makes 8 servings


Ingredients

16 medium Red Potatoes
1/2 C. Butter
Zest of 1 Lemon
1 Tsp. Lemon Juice
1/2 Tsp. Hot Sauce
5 Cloves Garlic, minced
1 Tsp. Greek Spice Blend
Salt
Pepper

Directions

~Bring a large pot of water to the boil and place potatoes in the pot.
~Meanwhile in a small bowl, whip the butter until it is smooth.
~Zest the lemon and add it in to the butter along with the lemon juice, hot sauce, minced garlic and greek spices.
~Mix well to combine.
~Place into fridge while the potatoes boil, allowing for the flavours to develop.
~Boil potatoes until they are fork tender. Then drain.
~Preheat oven to 375 F.
~Grease a cookie sheet and line up the potatoes on it.
~With a potato masher, gently press evenly on the top of each potato to crush it just enough so the whites of the potato are visible.
~Place a dollop of the butter mixture on top of each smashed potato and then spread so it covers the entire top surface.
~Season with salt & pepper
~Bake potatoes in the oven (or on the BBQ as I had to do) until the top surface begins to brown and crisp (10-12 minutes).
~Serve with a dollop more of the herbed butter.

Enjoy (and don't think of all the cholesterol)!


Thursday, 20 September 2012

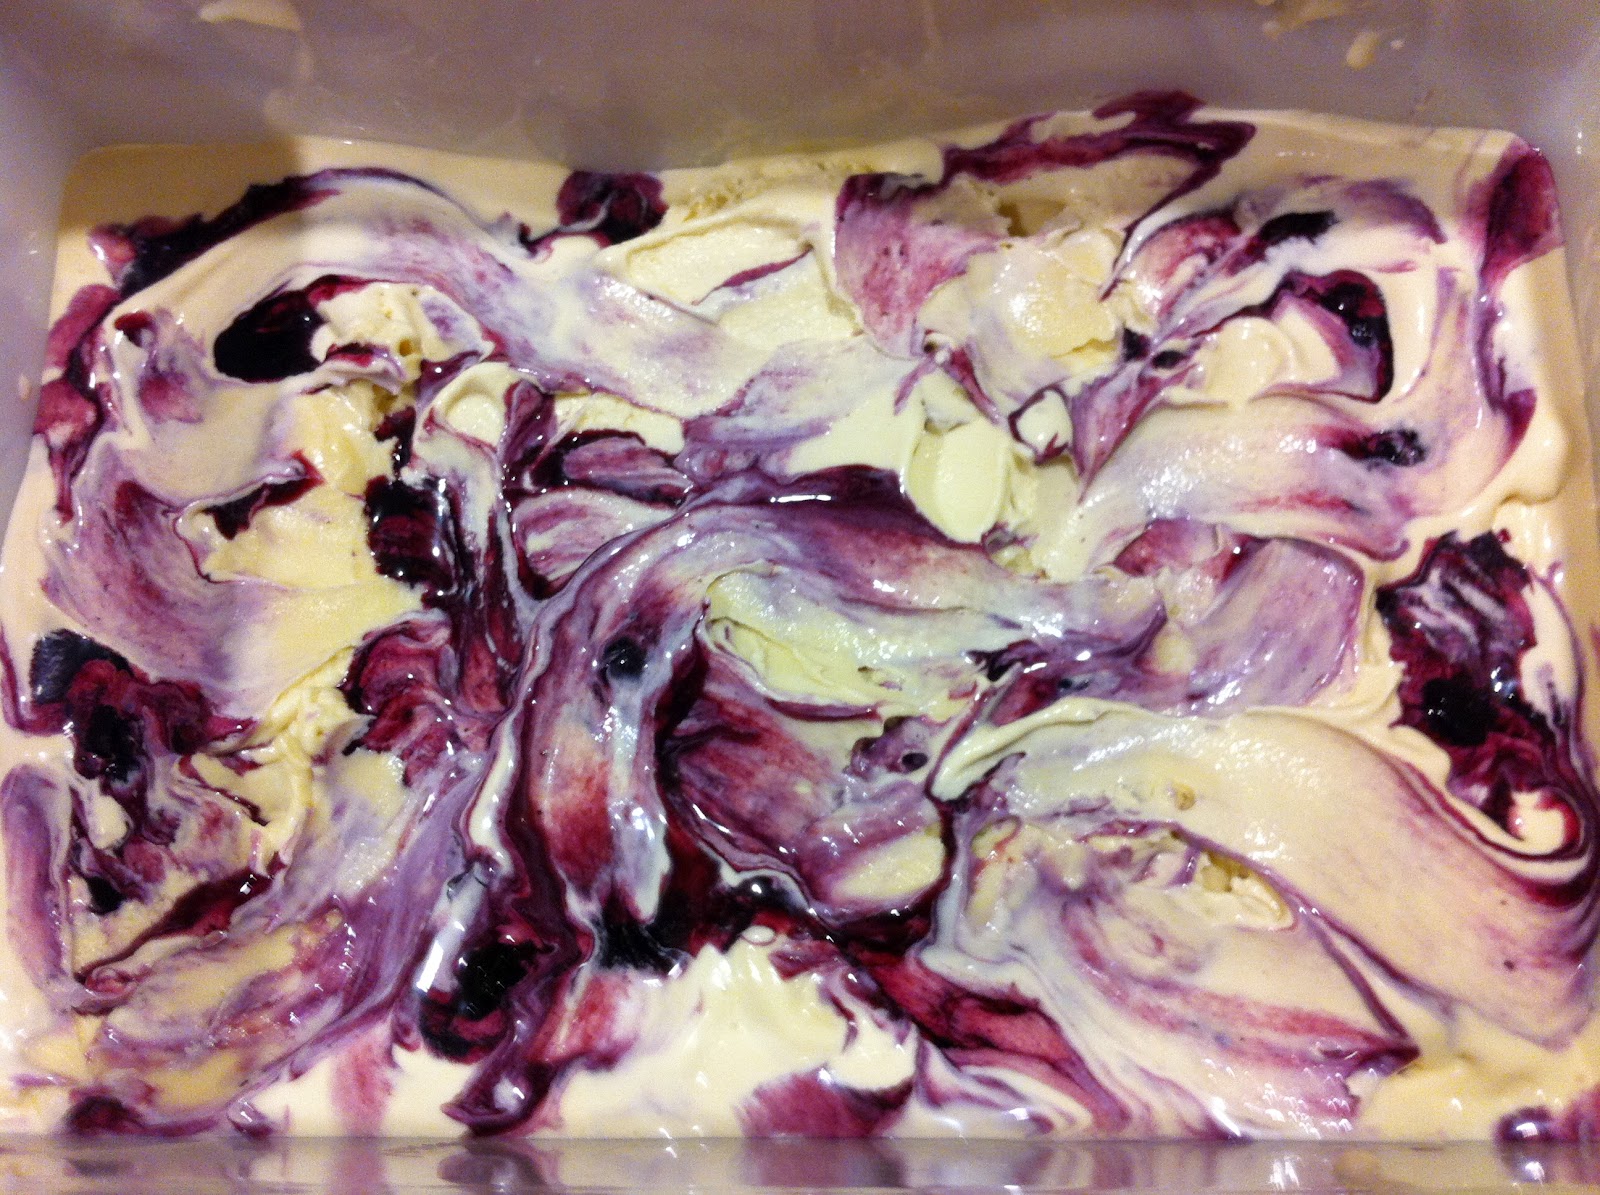
Blueberry Swirl Ice Cream


My poor dog. She may have had to experience a bit of a spill in the kitchen. Now typically that wouldn't be a problem. Either she would quickly clean it up, or one of the humans would be mean and shoo her away and then clean it up themselves. No, this time clean up was not easy. You see I spilt hot custard on my beautiful dog's back. Luckily her furs so thick I don't think she felt anything (plus it wasn't like I dropped the whole pot on her, it was more like a quarter size dollop that dropped off the sieve as I moving it to the sink.) If she hadn't been in her usual spot (the mat right at the sink) she could have avoided this accident but hello, have you tried to keep a dog out of the kitchen? I mean, there's food in there, come on.

Unfortunately for Kona, the custard landed on a part of her back that she was unable to reach to lick away. I swiped at it with a towel but all I managed to do was spread it around. So now she has a lovely crusty patch on her back. Oh well, it's experience (or maybe that's when there's mud on a truck). She sheds so much that it really doesn't matter. I'm sure she has about a three day turn around time on fur, so I'm sure by the weekend she'll be back to her pretty little self.

By the way, this vanilla ice cream recipe is AWESOME! I was so happy with the way it turned out, because it actually resembles ice cream (unlike the ice milks that I've made in the past).

I used David Lebovitz vanilla ice cream recipe and the blueberry sauce was adapted from Dollface Delights (a blog name that makes me think of my pup who's given name by her breeder was called Kinkel Delight).


Ingredients:

For the ice cream
1 C.Half & Half
A pinch of Salt
3/4 D. Sugar
2 C. Heavy Cream
5 Egg Yolks
2 Tbsp. Vanilla

For the blueberry swirl  (Cut these measurements in half if you don't want any leftover sauce.)
2 C. Blueberries
2 Tbsp. Orange Juice
3/4 C. Sugar
2 Tsp. Cornstarch

Directions

For the ice cream
~In a medium saucepan, heat the half & half, sugar and salt.
~In a bowl, whisk together the egg yolks.
~Pour about half of the warmed cream mixture into the yolks, whisking constantly.
~Place yolk and cream mixture back into the saucepan.
~Cook over medium-low heat, while stirring constantly and scrapping the bottom of the saucepan with a spatula
~When the mixture thickens and coats the spatula, strain the mixture through a sieve into a bowl.
~Add in the cream and vanilla. Stir
~Refrigerate mixture to chill thoroughly.

For the blueberry swirl
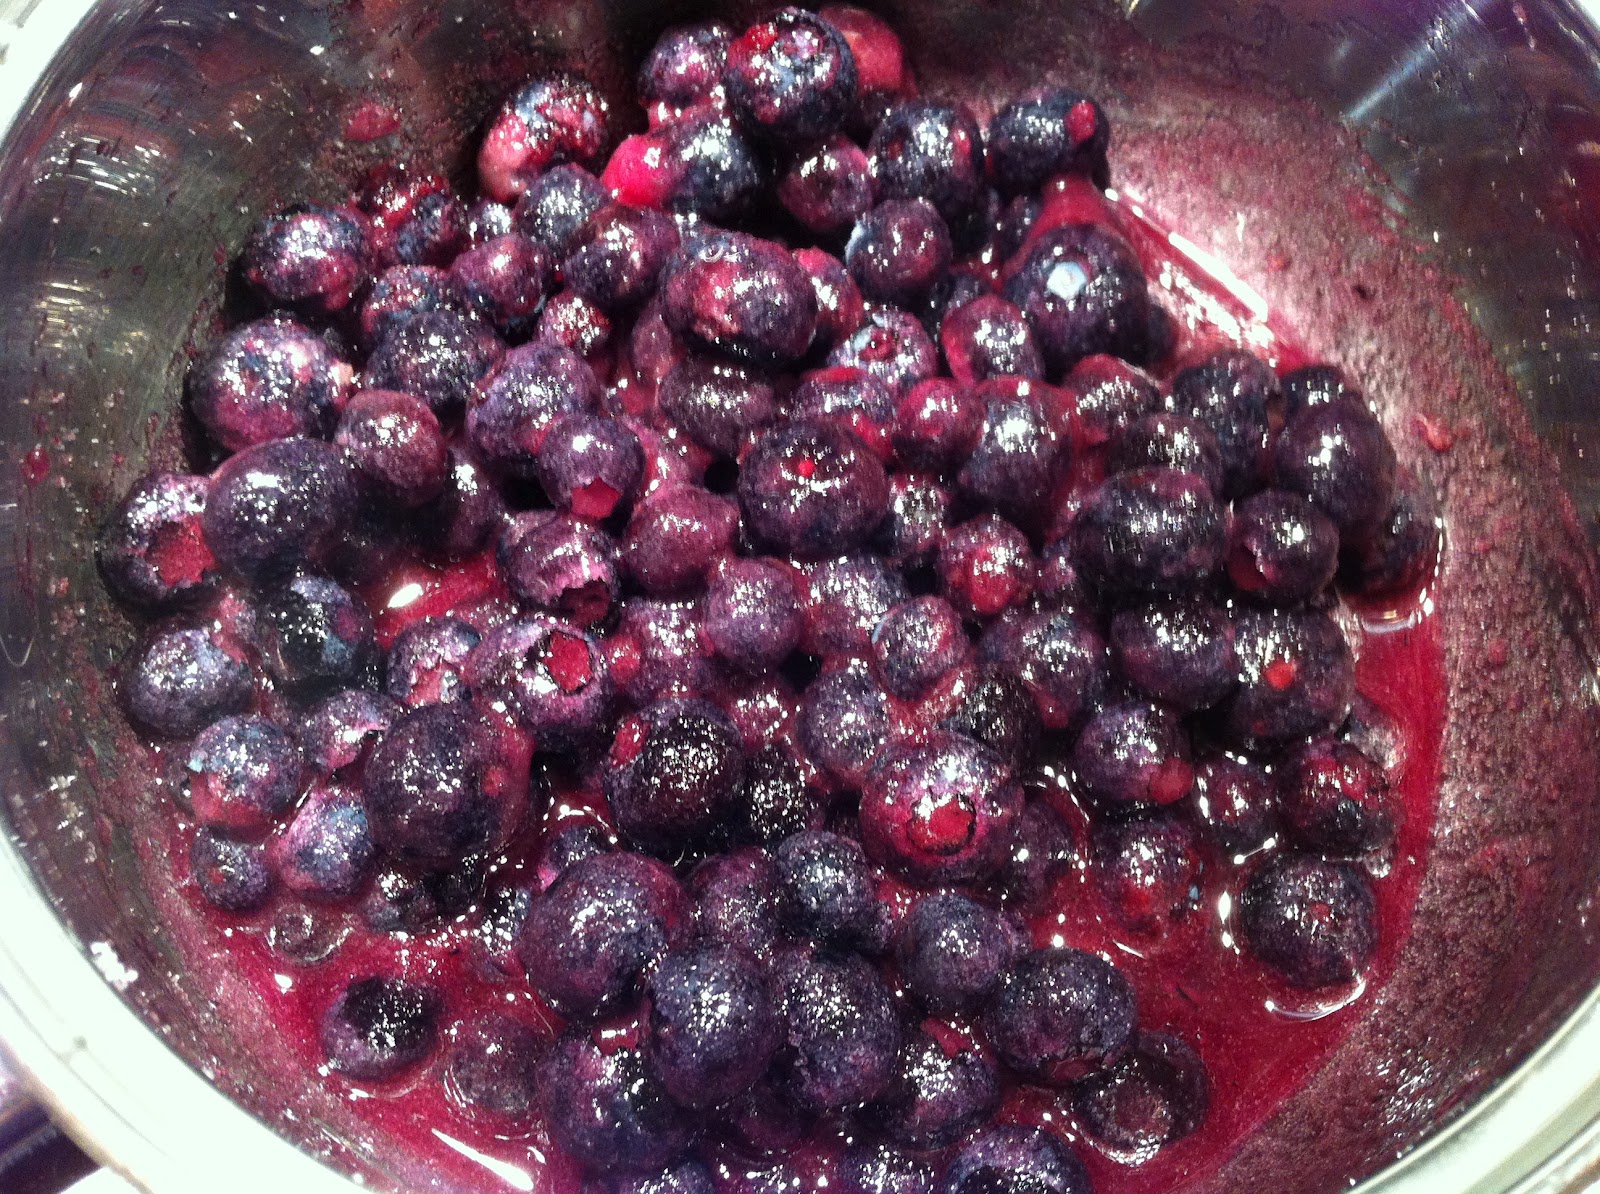
~Place berries, juice and sugar in a saucepan and cook on medium heat until berries burst and mixture cooks down. Stir constantly as to prevent burning.
~If too liquidly scoop a couple spoonfuls of the liquid into a small bowl and add in the cornstarch (or a ratio of the cornstarch) and whisk to get rid of the lumps. Pour back into saucepan and stir.
~Refrigerate sauce until it is cooled through.

Assemble the swirl
~Place ice cream custard into ice cream maker and freeze according to manufacturer's instructions.
~When ice cream is done, place a layer of cream in a container and place blueberry syrup by the dollop on top. Layer more cream and gently spread it out, making sure not to mix the two layers too much then repeat with more syrup. Continue until you run out of ice cream and syrup.
~Gently swirl with a spoon the top two layers together.
~Place ice cream in freezer.

Enjoy


Wednesday, 19 September 2012

Grilled Tomatoes


Our tomatoes are finally ripening much to the little tomato addict's (and peanut butter, cheese, peas, bananas, garlic...addict's) delight. Yes, that would be my dog. You know, I think she only likes her little bite of steak she gets occasionally because we smother it in garlic. The steak, well it just messes with her being a vegetarian. I believe she's truly a vegetarian at heart.

Back to the tomatoes. It's amazing some days that I get any fruit off the plants because Kona runs up, grabs a tomato off the plant and runs to go eat it on the grass. It's not just tomatoes though. She sits under the raspberry bushes and aggressively nips each individual berry off the bush. Then there was the pea fiasco a few years ago. Let me tell you first, that we don't plant peas any longer. The first summer we planted them, Kona ran and picked the peas off the vine. Then the next summer, she got so excited that there were going to be peas in the garden that she ripped the vines right out of the ground and started flinging and chasing them around the back yard. Unfortunately, she pulled all the vines out before they produced any actual peas (the vines themselves must to a dog smell the same as the peas).

Moral of the story is: My dog is a vegetarian.

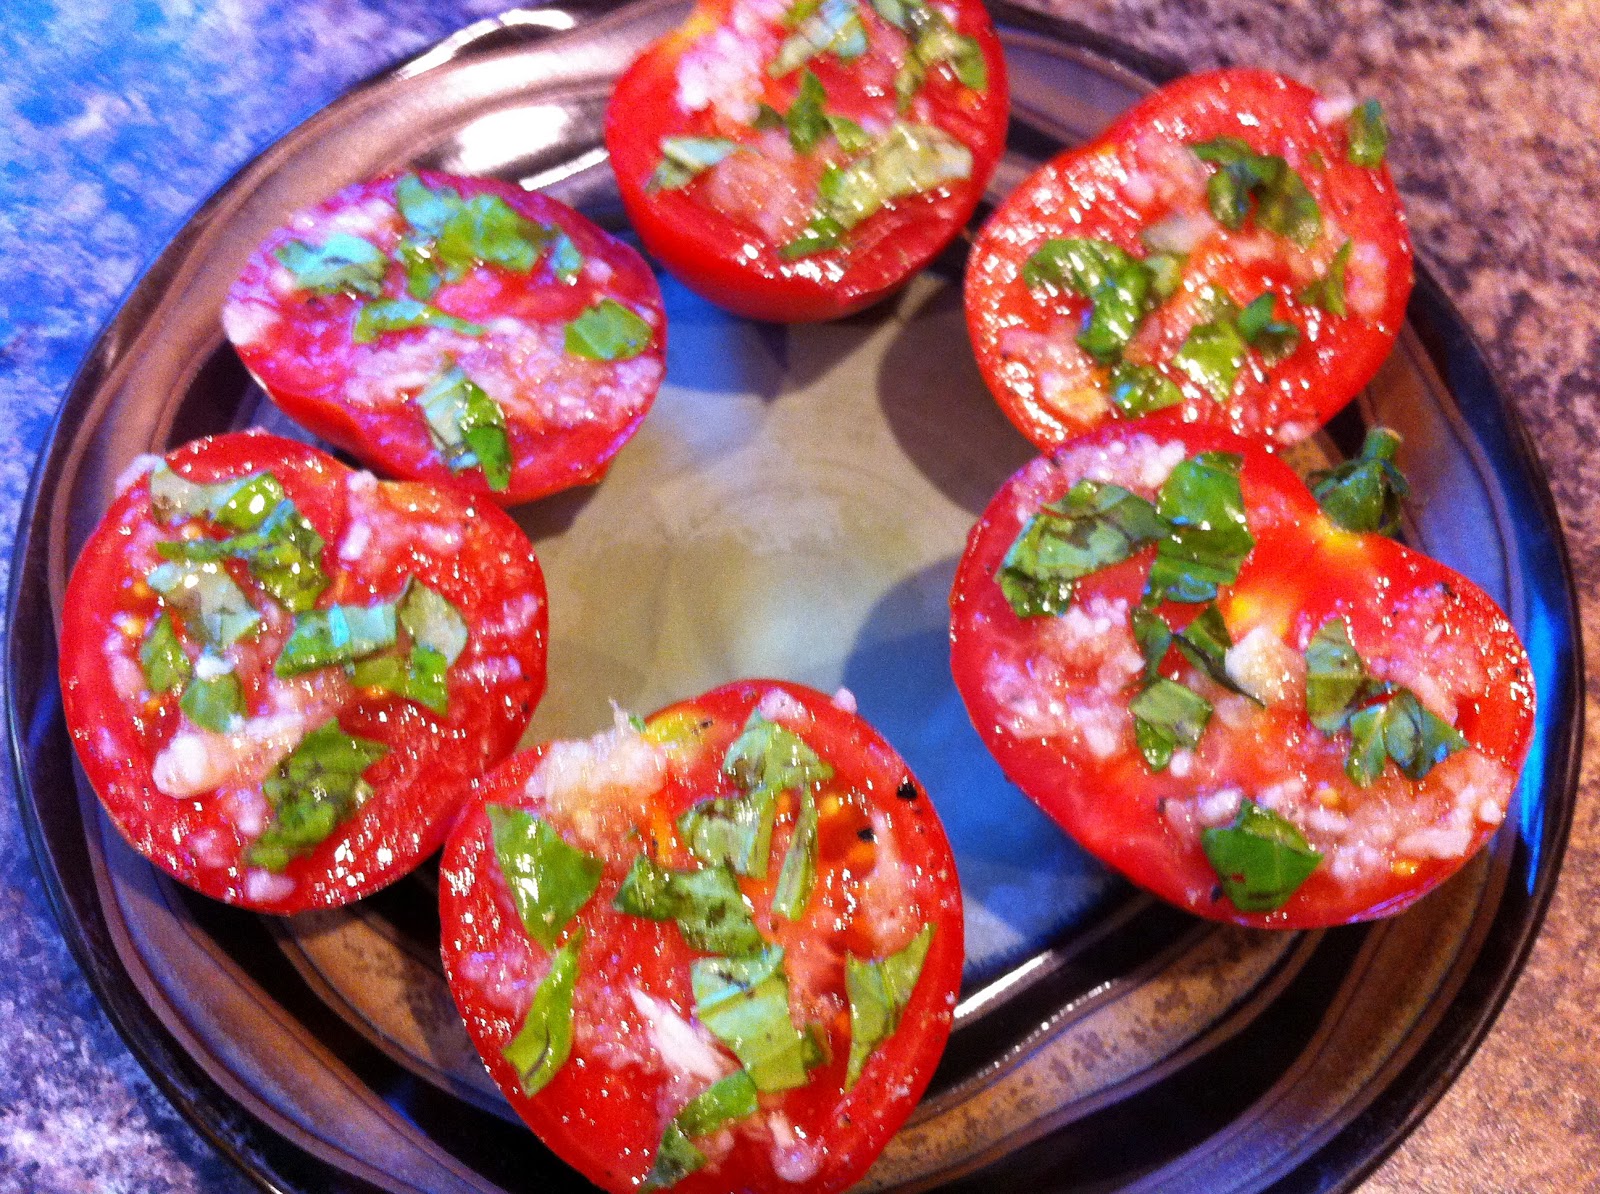
Back to the tomatoes. I was able to wrestle a few nice looking tomatoes out from under her nose and I decided to grill them. Typically I do these on a pan under the broiler, but because our oven is still broken and we were BBQing, I did them out on the grill instead.

Serves 3

Ingredients

3 Tomatoes
2 Cloves Garlic, minced
2 Leaves Fresh Basil
1/2 Tbsp. Olive Oil
Salt
Pepper

*Optional*
Feta Cheese

Directions

~Wash tomatoes and slice in half.
~Brush flat surface with oil.
~Spread the garlic and finely chopped basil over the oil.
~Season with salt & pepper
~Lightly brush over the top again with oil.
~Sprinkle with feta cheese if desired.
~Place on a baking sheet and under the broiler or directly onto the grill and grill until tomatoes soften and warm through.

Enjoy

Tuesday, 18 September 2012

Banana Soft Serve


Yes, I finally had to try this and I'm really glad I did because it's a dairy-free, vegan friendly, diet worthy ice cream (or yogurt). It was so, so simple. The only problem was I've discovered (and so has my dog) that we actually like frozen banana chunks better than normal banana. When frozen they are so incredibly creamy. Yum. It's amazing we had any left over for the actual 'ice cream'.

Then when I finally got around to putting the frozen chunks in the food processor, I was really glad that I'd read somewhere that it will take quite a bit of time for the bananas to whip. If I hadn't have read that, I may have just given up because all the bananas did for a long time was crumple into course chunks. Eventually though it miraculously (or maybe it was just because the chunks melted slightly) stopped being crumb like and whipped up into this beautiful, fluffy soft serve. You want to know what was even more amazing? It tasted that much better than I had thought it would. I was expecting it to just taste like banana (which it did), but it was more of a lighter taste, like a banana flavoured ice cream would taste like. I'm telling you, it tasted like there were other flavours and ingredients at work here, but there weren't. It's hard to explain.

I've seen this 'recipe' on many, many blogs, so I'm not going to post a link to credit one blog in particular.

Ingredients

Banana

*Optional* 
Chocolate Chips
Nutella
Peanut Butter
Chocolate Sauce
Caramel Sauce
Nuts
Sprinkles
Granola
Fruit / Berries

Directions

~Peel bananas and slice into chunks
~Freeze chunks.
~Process frozen banana in a food processor until a crumb forms then keep processing until banana begins to whip.
~If you wanted any mix-ins, add them and pulse briefly to combine.

Enjoy


Sunday, 16 September 2012

Raspberry Pancakes


I know that every person that spends any time in the kitchen has that one fear. Be it pastry, yeast breads, or pancakes. Yup, I'll make bread a few times a week and if I had a need for a pie I wouldn't have a problem with making one. But pancakes, those are my nemesis. Pancakes are my Dad's specialty. The first day that everyone is all together at the cabin is always pancake day. Now I've never seen him make pancakes from scratch though. He always buys that Aunt Jemima Buttermilk Pancake Mix (I am not being compensated for this, and all opinions are my own) and adds eggs and oil and vanilla soy milk and then more pancake mix. His batter looks like paste as there is no measuring going on, just dumping things in (or so it would appear). I know a double batch is never enough, usually he ends up tripling or quadrupling. Anyway, if we have company they always take their first bite of pancake and you can see them thinking how can this taste like this, it comes from a box? Wanna know the secret? Of course you do. It's the soy milk. Vanilla, fat free soy milk. Even though it's fat free, it is still a million times richer, creamier and vanillaier than regular milk. Resulting in the best buttermilk pancakes (minus the buttermilk) that you could ever image. Then to top it off, they're cooked on a gas stove on an ancient old cast iron griddle (instead of the electric griddle we have at home). The end result is a pancake that looks like it's burnt to snot, but actually doesn't taste one bit charcoaled.

My dad even got one of the neighbourhood kids in a jam because he got the poor kid to confess that the pancakes were better than the ones his mom made. Of course that didn't go over so well with her.

So you can probably see why pancakes are my nemesis. I could count on my one hand how many times I've tried to cook pancakes and I could also tell you how many times I've wrecked them (those numbers would be equal). I either end of having them raw in the centre, or like shoe leather they are so tough because I'm trying to avoid the rawness. Yup, not good.

Today I decided to tackle them though, and while they weren't raw or tough, they were slightly burnt (and you could taste it because electric heat and teflon is not as forgiving as a flame and cast iron). All-in-all though, I was pretty happy and I will be making these again, probably with some slight adaptations (such as the addition of some lemon zest and a bit more lemon juice). The original recipe was intended to be a raspberry streusel pancake, which sounds amazing (plus it had coconut oil and coconut milk in it, yum), but I didn't go that route. When I have a chance I might make the original recipe just as it was written, but for today I decided to change things up and go raspberry lemon (you know it's my fave right?) instead.

Please check out the original Raspberry Streusel recipe at Baking Serendipity (who got it from Two Peas & Their Pod), as it still does look truly awesome and mine has been adapted a bit from the original.

Makes ~10 pancakes (1/3 C. batter each)


Ingredients

2 1/2 C. Whole Wheat Flour
2 Tbsp. Sugar
2 Tsp. Baking Powder
1 Tsp. Baking Soda
Pinch of Salt
2 C. Vanilla Almond Milk
2 Eggs
1 Tbsp Olive Oil
1/2 Tbsp. Vanilla
1 Tsp. Lemon Juice
Zest of 1 Lemon
1 C. Raspberries

Directions

~Mix dry ingredients (flour, sugar, powder, soda & salt) in a large bowl.
~Add in the wet ingredients (milk, eggs, oil, vanilla and lemon juice) & stir.
~Wash & smash raspberries with a fork then fold berries and lemon zest into batter. (It's okay if the batter is slightly lumpy.
~Scoop batter (I used a 1/3 C. measuring cup to transfer the batter) onto a hot and greased griddle or skillet.
~Flip when bubbles in the centre burst.
~Cook the other side until it is golden brown.

Enjoy!


Nutrition Facts
Per 1 Pancake
Makes: 10 (1/3 C. Batter) Pancakes
Calories: 160
Carbs: 29g
Fat: 4g
Protein: 6g

Friday, 14 September 2012

Grilled Apple Cheese Sandwich


Not much to say about this except it was just something I had to try. I've heard (and seen) about all these recipes / ideas for fancy schmancy grilled cheeses. Now I've in the past had a grilled cheese with ham on it or even tomatoes, both of which are pretty good tasting, but I always found the addition to the sandwich made the cheese go kind of funny (aka it never melted properly / went stringy as it should / etc). But, I like apple and I like grilled cheese and I though I should give it a try. I used a really flavourful apple (I know because I sampled a few slices before making the sandwich), but I can honestly say that I really didn't taste the apple on the sandwich (maybe that's a good thing if you're trying to sneak in a fruits & veggies serving for the kiddos). So, my verdict is, I'm going to stick with plain old grilled cheese sandwiches.

Makes 1 Sandwich

Ingredients

2 Slices of Bread
1/2 Tbsp. Mayonnaise (yes I used it for once)
2 Tsp. Butter
1/4 of an Apple, thinly sliced (skin can be left on)
3-4 slices of Cheese

Directions

~Preheat either a frying pan or a panini press/grill.
~Spread mayonnaise on one side of one slice of bread.
~Place apple and cheese slices on top of the mayonnaised side of the bread.
~Put the second slice of bread on top.
~Butter the top outer side of the sandwich.
~Flip sandwich over and place buttered side down onto heated pan / grill.
~Butter the top surface.
~Grill until both sides are golden brown and the cheese begins to ooze around the edges.
~Pull off of heat and allow to sit for a minute.
~Slice in half.

Enjoy