Showing posts with label WHOLE WHEAT. Show all posts

Monday, 28 January 2013

Hearty Raspberry & Orange Pancakes


I struggle with pancakes and because of that I'm kinda scared of them. Give me yeast doughs or pastry any day, but not pancakes. But, I'm trying to slowly get over my fears. Unfortunately it's not working so well. As you can see these are a bit dark on the outside. The funny thing I find with pancakes is I rarely have ever eaten a golden pancake like you see in magazines. I don't know how they do it, but I've never managed it, nor has my Dad who loves his perfect pancake. I think it all has to do with the type of pan you use. So I'm going to blame this one on the pan. The good thing though is while they don't look all that appealing they actually are. They look black and burnt, but they never seem to taste like that, and these ones are full of amazing flavour inside.

These are very heavy pancakes due to the greek yogurt and whole wheat flour in them, kinda like my Yogurt Waffles. One of these (and a few bites of a second one that I shared with Kona) was plenty. Top it off with some butter and some lemon curd and you are good to go.

One other thing, I know that it kind of defeats the purpose of putting dairy yogurt and soy milk in this, but for some reason I believe vanilla soy milk (even the fat-free variety) makes thicker and more flavourful pancakes. Try it and see (even with Aunt Jemima mixes it makes it taste home made).

Adapted from Baking Bites

Serves 2-3

Ingredients

1 C. Whole Wheat Flour
1/2 Tsp. Baking Powder
1/2 Tsp. Baking Soda
1/4 Tsp. Salt
1 Tbsp. Sugar
1 Egg
2/3 C. Plain Greek Yogurt
1/2 C. Vanilla Soy Milk
1 Tbsp. Orange Juice
1/2 Orange, zested
1 Tbsp. Butter, melted
1 C. Raspberries, fresh or frozen & thawed

Directions

~In a medium bowl, combine flour, powder, soda, salt & sugar. Mix and set aside.
~In another medium bowl, whisk together egg, yogurt, milk, OJ, zest & butter.
~Pour dry ingredients into wet and stir until combined.
~Preheat a griddle or skillet and grease lightly.
~Scoop batter into hot pan (if too thick and doesn't spread, gently spread with the back of a spoon), and sprinkle top with raspberries. 
~Cook until brown and then flip and again cook until brown.

Enjoy


Tuesday, 26 June 2012

Whole Wheat Bread


Now, I believe I said the last time that I'd found The Bread recipe, but if I recall correctly, I said that the time before as well. I guess it shouldn't be surprising then to anybody that I may just have to say it again. You see, while I said the Farm Country loaves were excellent (which they were), they weren't that excellent for you. Besides getting half their flour from white all purpose flour, they also used quite a bit of sugar (albeit brown sugar) and quite a bit of butter. Plus they called for eggs and milk, which while not bad for you, made it a very extensive list of ingredients and so quite a bit more costly to make.

This recipe though is simple. The directions on the original recipe instructed you to do some different things as far as making bread is concerned, and I wasn't entirely convinced. Instead of following their directions, I just stuck with the steps for how I normally make bread. Plus, I only ever use instant yeast (yeah, yeah, I hear you traditionalists screaming) and so all you really have to do is throw everything in a bowl, knead, let rise and bake. Simple enough right?

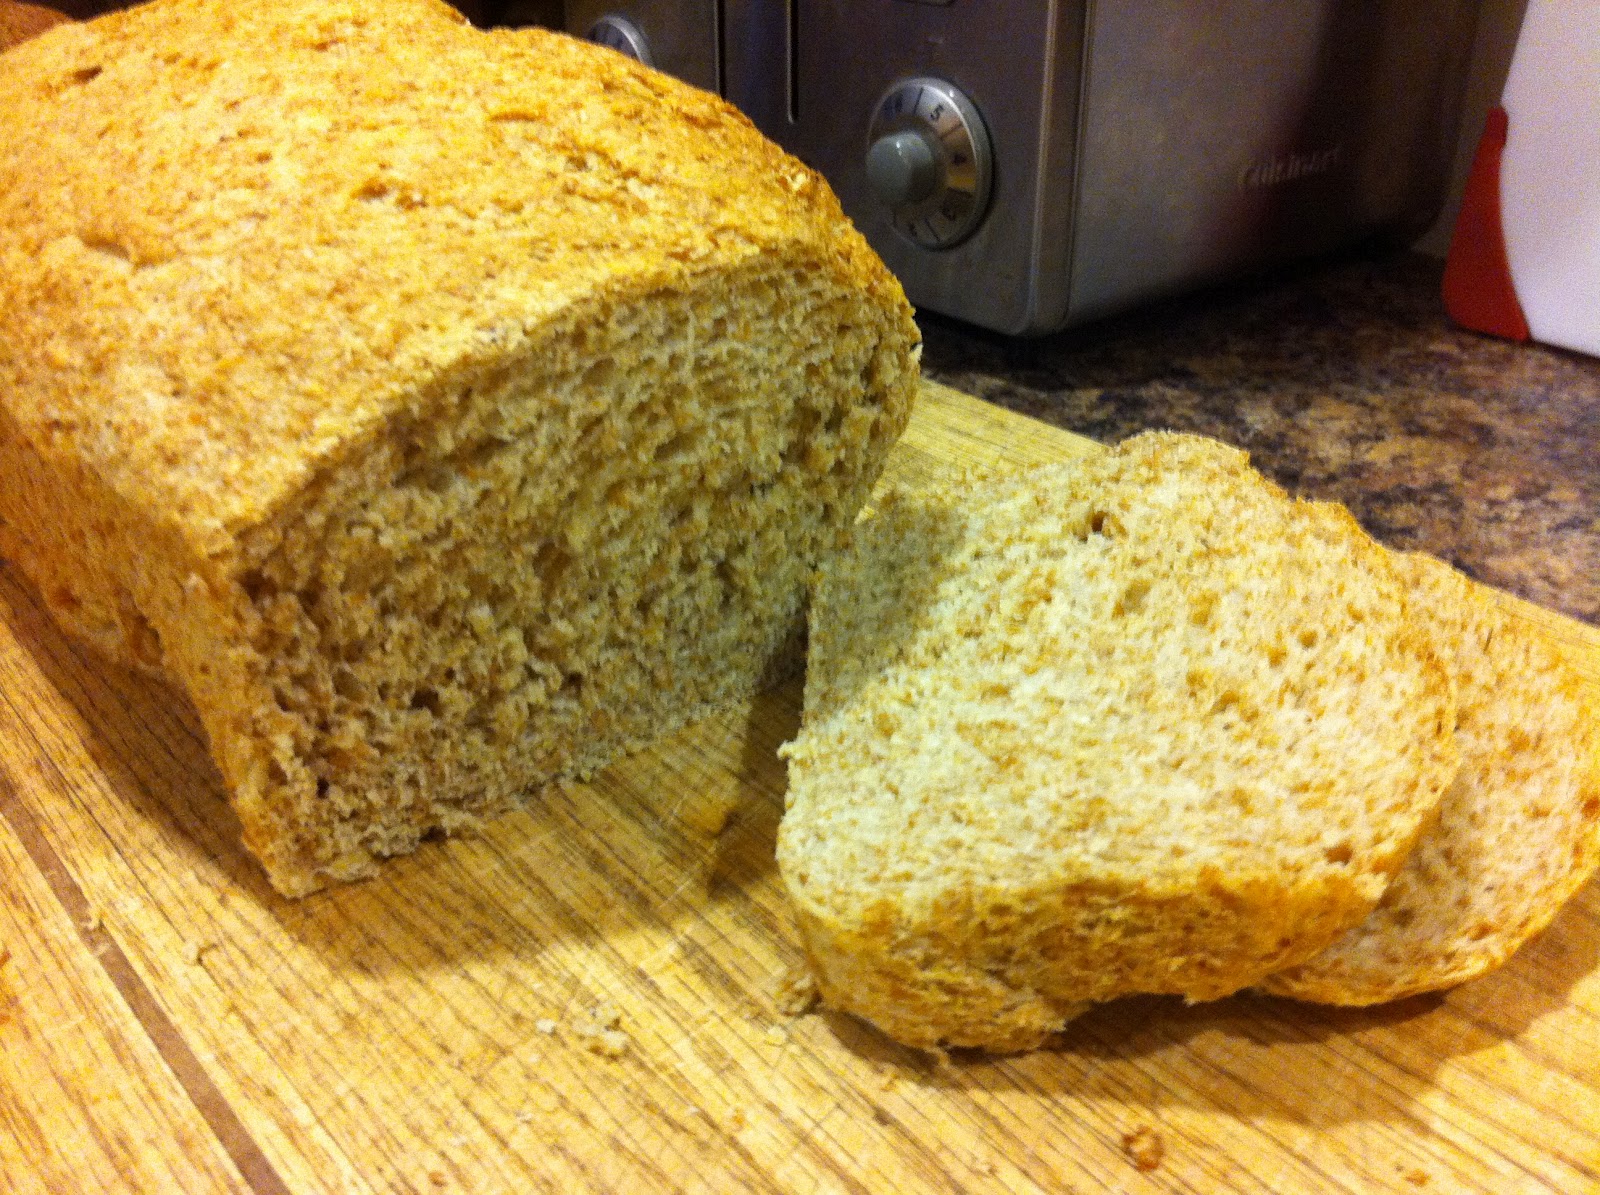
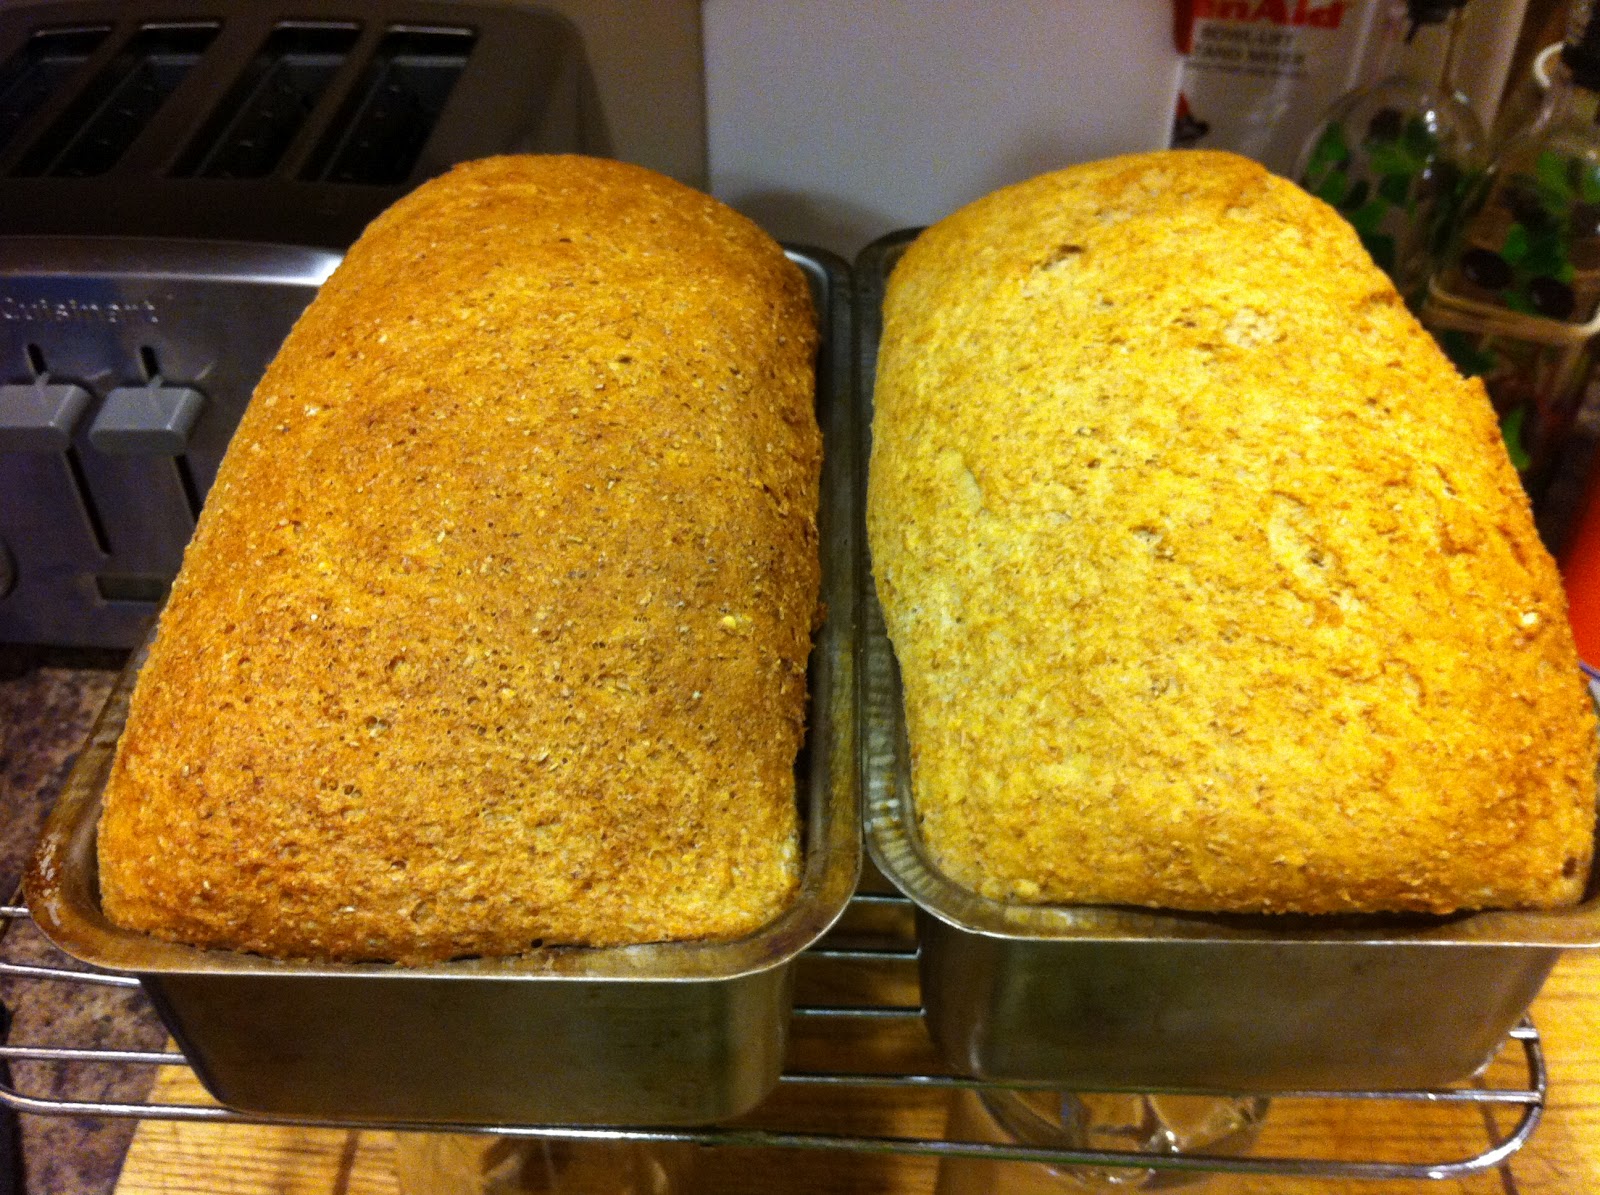
The original recipe called for a sliding scale of ingredients. I didn't know which end of the scale to use and so I actually made two different batches of this bread. One with the smaller quantities and the other with the larger. The goal was to do a taste test. It was funny, the bread didn't actually taste any different, but what was different was the appearance of it. I don't know if you can tell from the picture, but the two loaves look very different. I didn't have a chance to get a better picture the next day when the light was better, because well, one of the loaves had magically vanished. The one that used the smaller quantities sort of cracked when rising and didn't look as pretty as a whole loaf, but as a slice looked great, but did not look like sandwich bread. Instead it just looked like bread and butter bread. While on the other hand, the other loaf browned perfectly and looked like excellent sandwich bread. I think I'll use the smaller quantities for next time because hey, if you can use less sugar and still have as good of a taste why not? I will put the larger quantities in brackets if you feel like you need to do the taste test yourself.

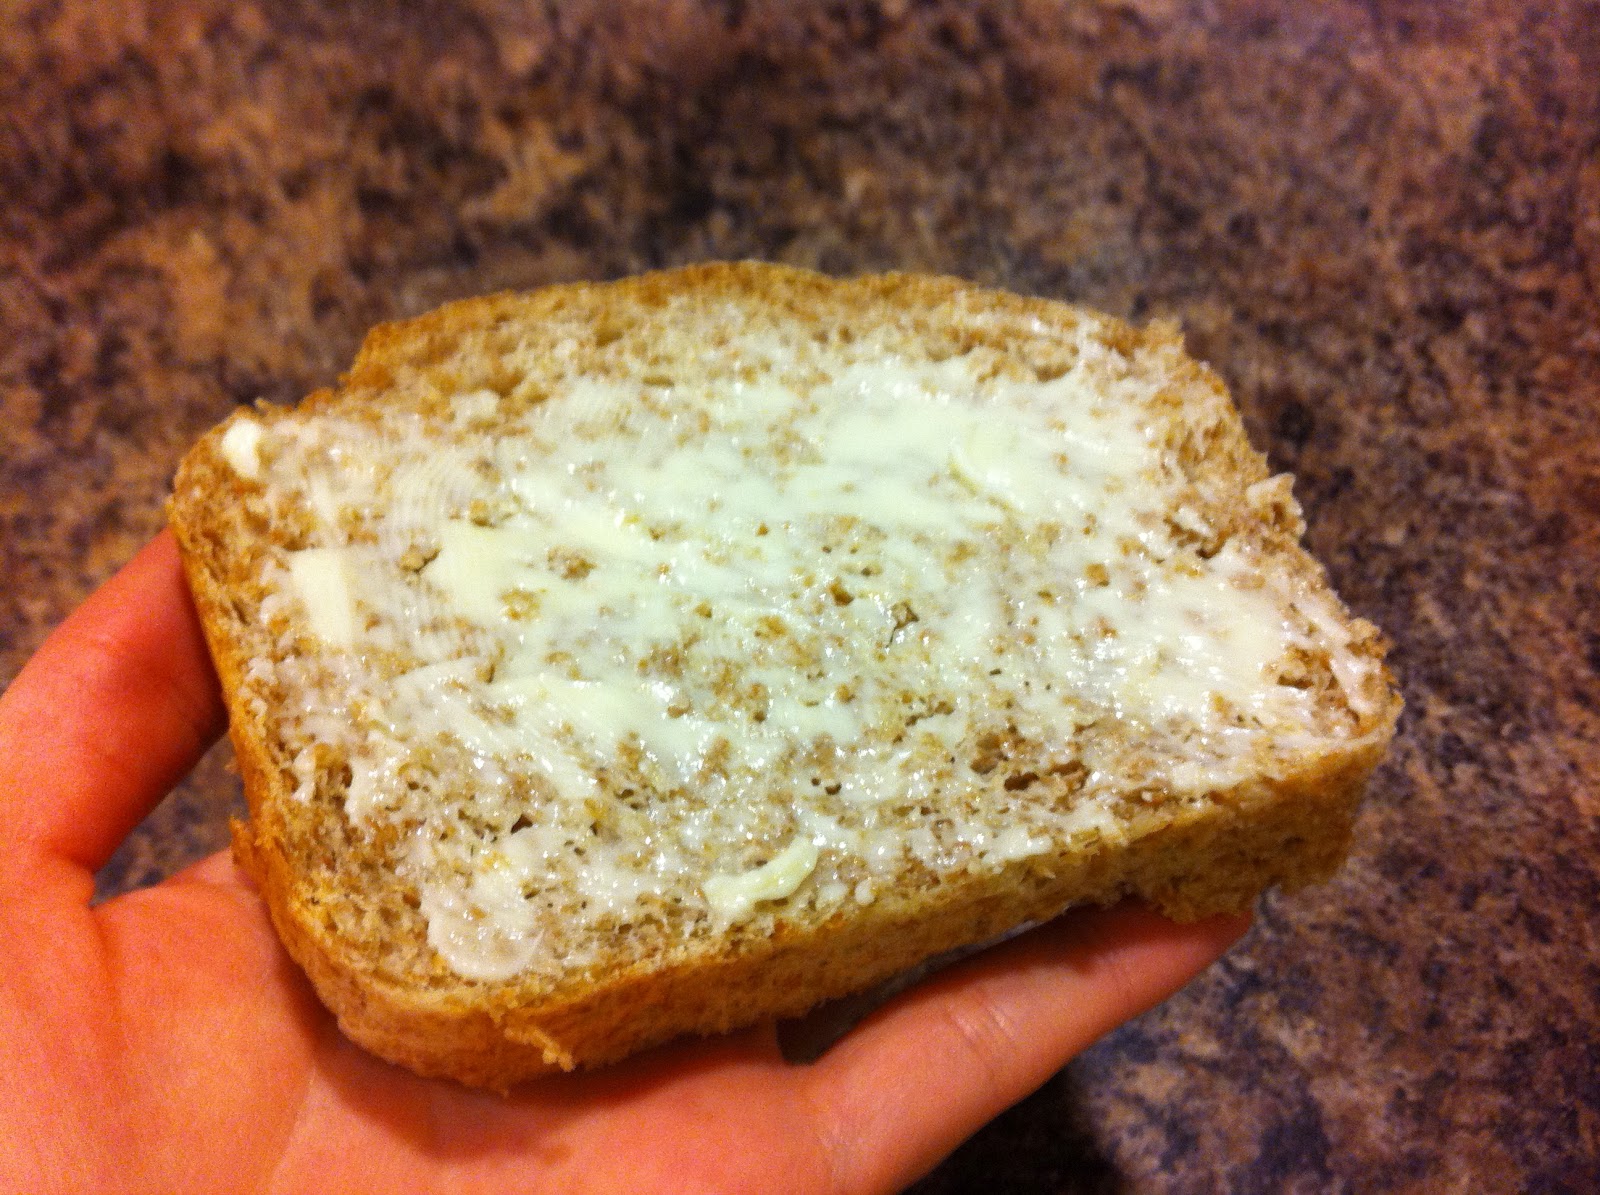
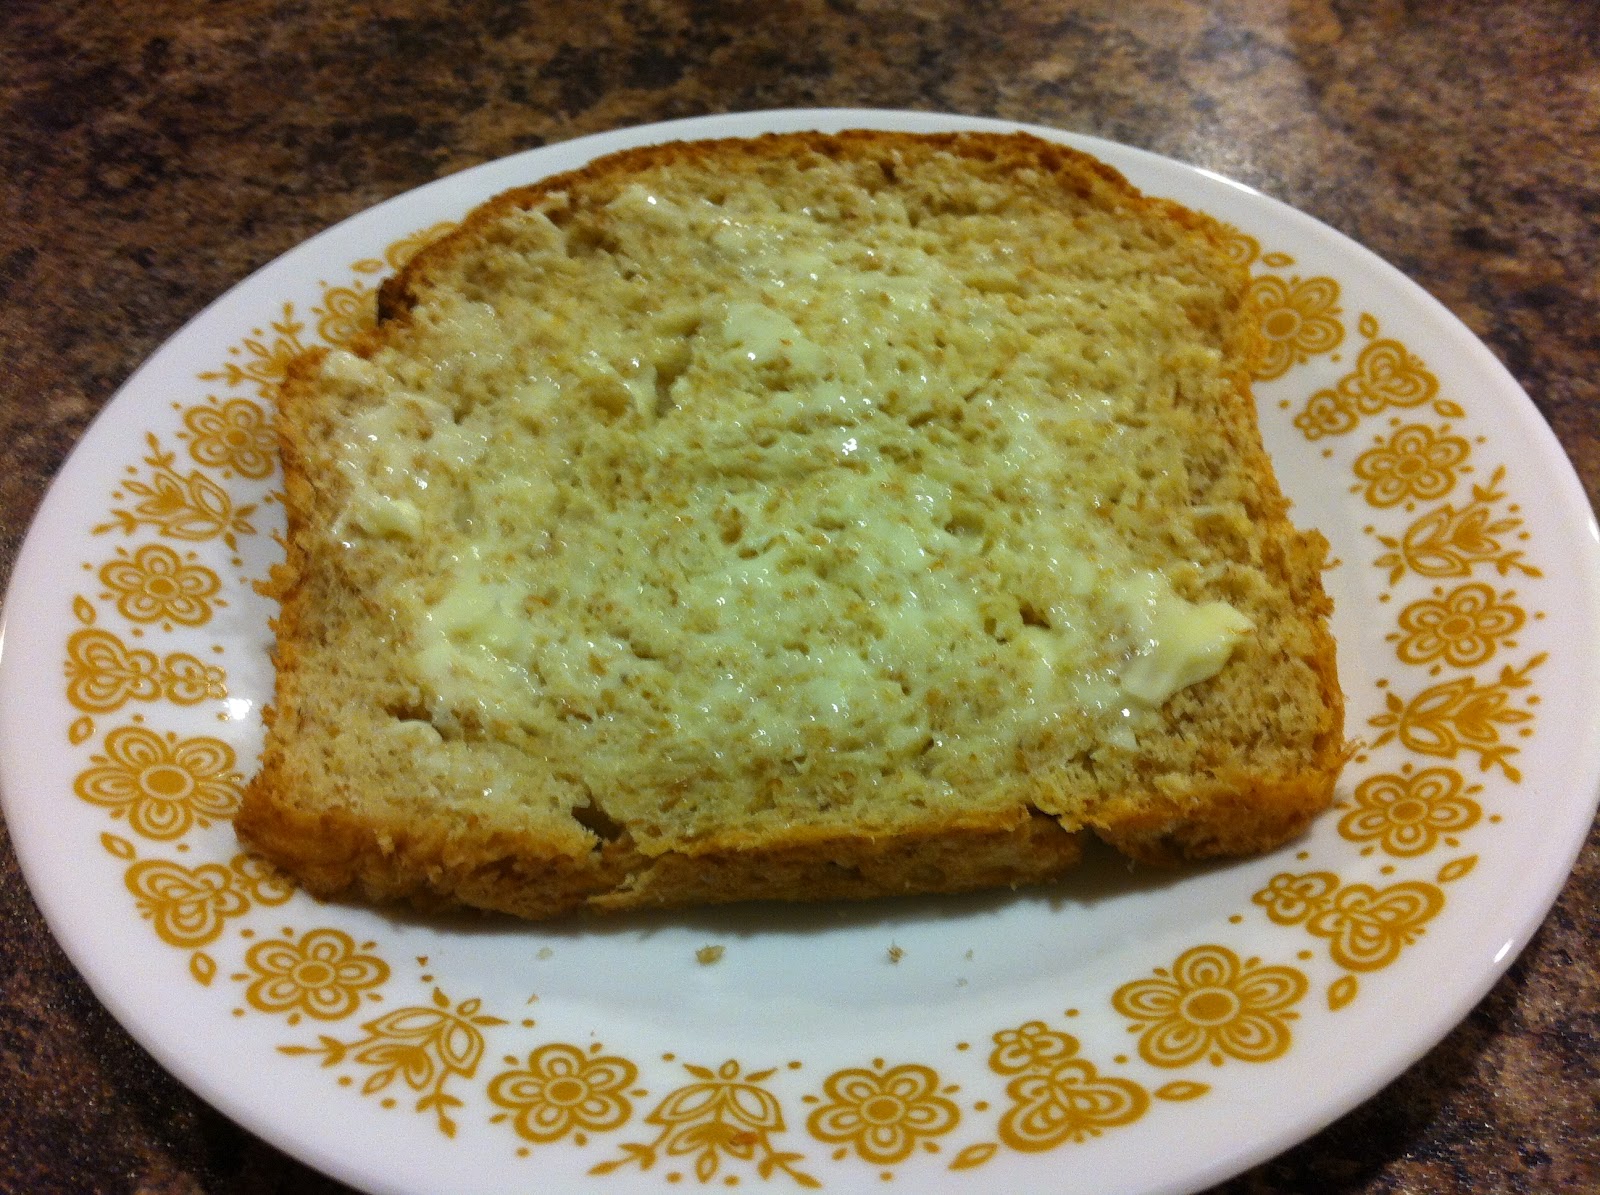
When I say that this may be the bread recipe I go back to again and again, I mean it is great for how I eat bread. I like it just plain with butter, and I don't eat sandwiches. (It was also great for French Toast.) But, I can see if you want your fresh loaves to be for your ham and cheese sandwich, this recipe may not be for you. Give it a try though.

I adapted the directions for the original recipe I got off of Find It, Love It, Share It who incidentally has the same green mixer that I had for too short of a period *sigh. On the original recipe, they call this Great Harvest Bread because apparently it tastes just like the real Great Harvest Bread. I have not tried this original and so I am not the one to tell you whether or not it actually tastes the same.


The one on the left has the quantities that are in brackets. It browned nicely and had a smoother surface. The one on the right used the smaller quantities, it didn't brown and the top is sort of cracked. It looks rustic. I actually like the look of the one on the right better for this type of bread.

Ingredients
Makes 1 loaf
3 1/8 C. Whole Wheat Flour (+ additional if required)
1 Tsp. Salt
1/4 C. Rolled Oats (or other add-ins such as flax seed, sunflower seeds, etc.) (or 1/3 C.)
1 Tbsp. Yeast (I used Instant and so that is what my directions will work with too)
1 1/3 C. Luke Warm Water
2 Tbsp. Honey (or 3 Tbsp.)

Olive Oil

Directions

~Add flour, salt, rolled oats, yeast, water and honey into mixer bowl and mix to combine.
~Knead for 5 minutes (or longer if doing by hand).
~Spray dough and bowl lightly with oil. Cover bowl with plastic wrap.
~Place bowl and dough in a warm spot and let rise until double in size (about an hour).
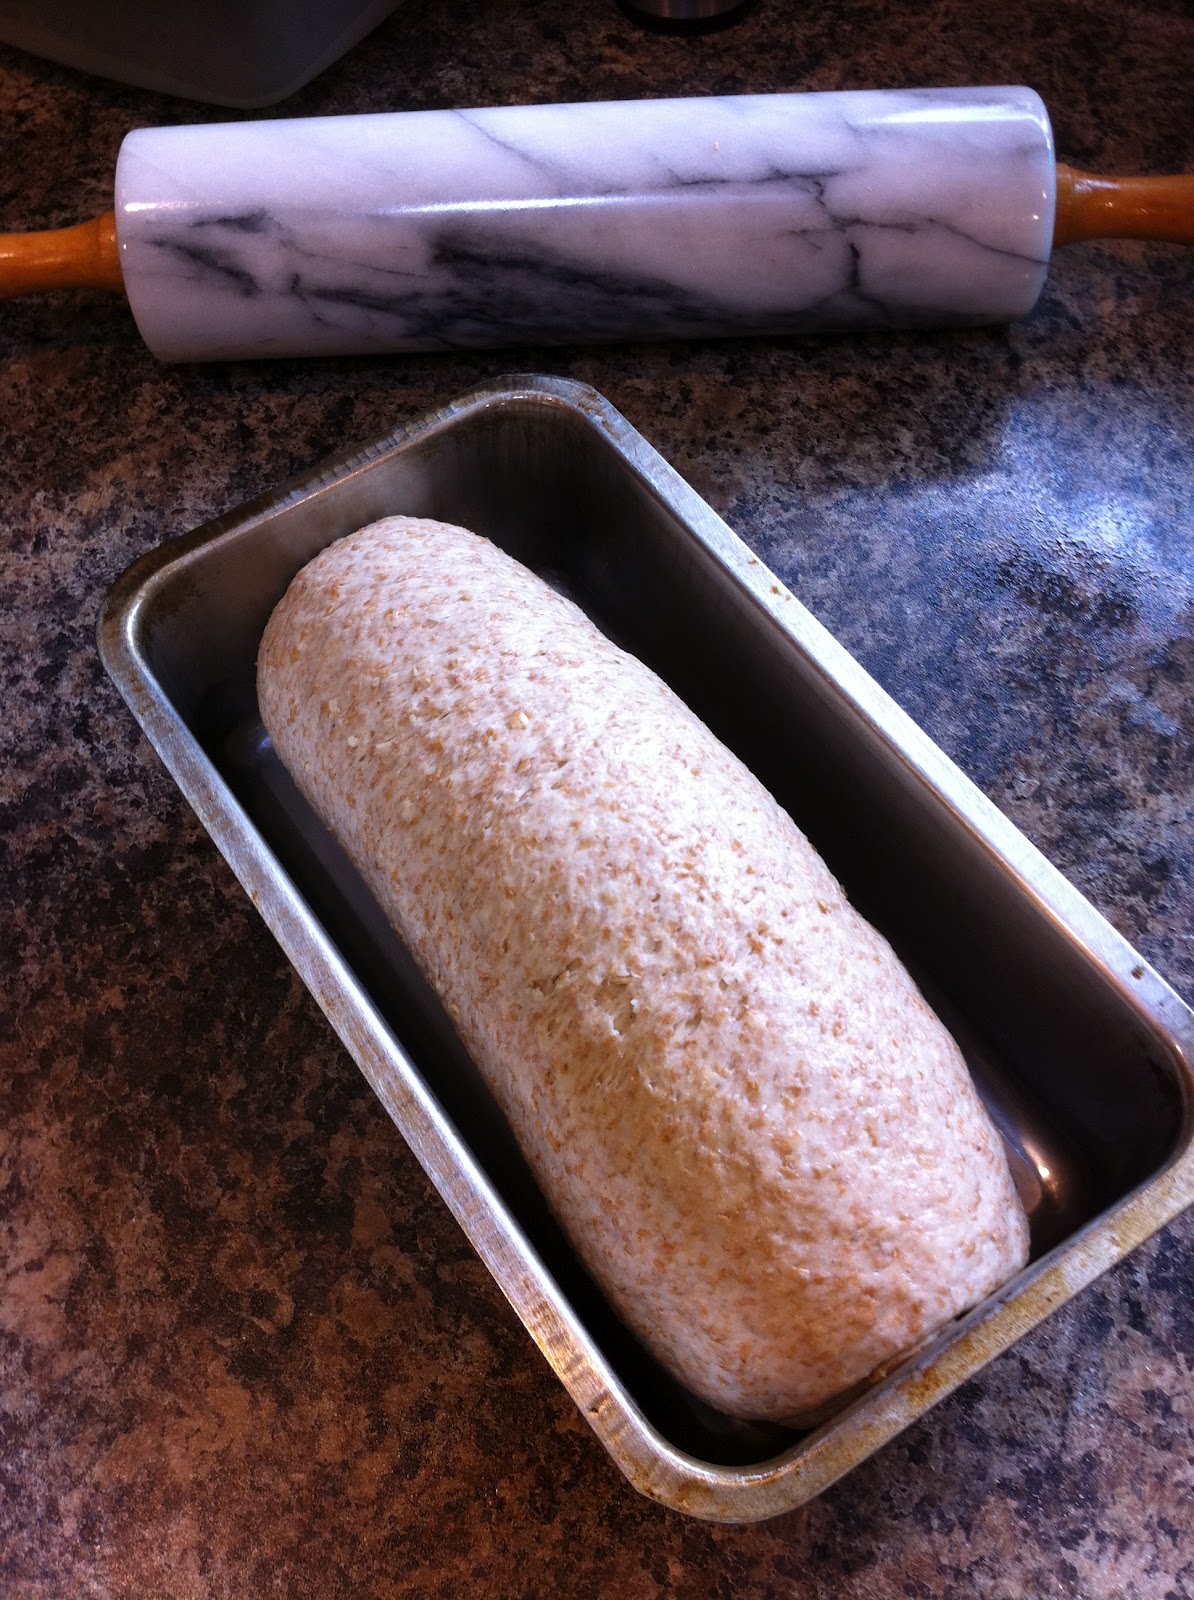
~Punch down dough. Roll out with a rolling pin and then roll into a log.
~Put log into a greased bread pan. Cover again with greased plastic wrap.
~Let dough rise again in a warm spot until doubled in size (about an hour).
~Bake in oven at 350 F until bread reaches an internal temperature of 190 F (about 23 minutes in my hot convection oven. Probably will take longer in most other ovens. Like 25-30 minutes.)
~Remove from oven and place on a cooling rack.
~When cool enough to touch, remove bread from pans and let cool completely on rack before cutting into.

Enjoy


Monday, 11 June 2012

Farm Country Multi Grain Loaves


I originally found this recipe over at Amanda's Cookin', where I believe she pulled it from Prudence Pennywise, but when I typed the name of this bread into google I found yet another food blog that had used and credited Prudence Pennywise. What I'm trying to say is, I'm definitely not the first person to zero in on this bread recipe and then decide to write a blog post about it.

The reason I'm posting about this bread in particular is because it took a bit for me to track down a whole wheat bread recipe that does not contain any dry milk powder. You see, I'm fine if a recipe calls for milk (like a lot of recipes do) because I can just sub it out for a non-dairy alternative. It's when dry milk powder is required that I find I have a problem and have to pass on the recipe. Now I'm sure there is a way around it, but my laziness led me to this recipe so I can't really complain.

As far as the milk goes, I'm sure dairy milk would work just fine. I ended up using 1 C. Coconut Milk & 1 C. Original Almond Milk because that was what I could find, after my original plan to use soy milk fell through due to lack of supply in our fridge. The combo of milks worked just fine, even after the small milk volcano that exploded in the microwave while heating the milk, and the smallish spillage that occurred while adding the milk to the bowl. In the end, it all worked out. I just have to try and remember that with this new microwave, things don't take as long to heat. You'd think I would have learned my lesson now, after all I've even had raspberries exploding on me in this new microwave, and I mean there were sparks and everything. Not good.

Now back to this recipe. I have to say that the bread does taste quite similar to an oats and honey bread I've made before and really enjoyed. The only problem with that recipe was that it only called for All Purpose Flour, and I wanted something a bit more nutritious than that. I guess that's a good thing though, that this healthy recipe tastes the same as the white bread one.


It seems that when this recipe was made at Amanda's Cookin', she complained that it was cooked to much on the top and was hard and quite dark. Now, I found the same thing occurred as well, or was about to occur I should say. Because I had read that comment, instead of setting the timer for 1 hr like the original recipe called for, I set it for only 20 minutes because usually bread only takes about 35 minutes in the convection oven. Well, when the timer went off after 20, I could not believe it. The loaves looked like they were more than done. After checking the internal temperature (did you know you can check if the bread is done simply with a meat thermometer? You want it to be around 190-200 degrees F internally), they unfortunately were not done. So I took the temperature down from 350 F to 300 and baked for another 10 minutes. Then I took it down to 275 F for the last 5 minutes. Luckily the top did not brown any more while the centre of the bread finished baking. All in all, just as I had originally thought, it took 35 minutes to cook. Even with the first 5 or so minutes being the oven just getting up to temperature (gosh, I love convection ovens...no preheating required. The only problem, I really burn stuff if I have to for some reason switch on the regular oven. I forget about the whole preheating burst of heat thingie...oops.) My recommendation, and what I'm going to try next time is baking the loaves at 325 F and see where that takes me.


Ingredients

Makes 2 Loaves

2 C. Milk
1 C. Old Fashioned Oats
2/3 C. Brown Sugar
5 Tbsp Butter
2 Tsp. Salt
2 Tbsp. active dry yeast (I used the same amount of Instant Yeast and it worked fine)
2 Eggs
1/2 C. Wheat Germ (can substitute whole wheat flour-I used the wheat germ though)
3 C. Whole Wheat Flour
3 C. All Purpose Flour (+ more if needed)
Extra Butter

Directions

~Heat milk in microwave until just boiling.

~Pour milk, oatmeal, sugar, butter & salt into mixing bowl & mix well.

~Allow mixture to cool to luke warm (about 15 minutes)

~Add wheat germ, whole wheat flour, yeast and eggs and mix on low speed, adding in the all purpose flour as you go.

~Knead on medium speed (or speed 2 of my KA stand mixer) for 6 minutes. But if dough is still sticky, add extra flour 1 Tbsp. at a time until it pulls away from the edge of the bowl.

~When done kneading, shape dough into a ball and rub the outside of the dough with butter.

~Place dough ball back into bowl and cover with plastic wrap and let rise in a warm place until doubled in size (about 1 1/2 hours). (To get this warm place, I boil a pot of water and then place a cooling rack over top the pot, then place the bowl on top of the rack and cover it all with a dish towel. It's perfect)

~Punch down dough, roll out with rolling pin and roll dough into a log and place in greased bread pans.

~Cover with greased plastic wrap and let rise again until doubled in size (about 1 hour).

~(Now here's where I'm going to change it from 350 F and 1 hour to...) Preheat the oven to 325 F and bake for 35 minutes or until internal bread temperature reads 190 F.

Enjoy