Showing posts with label MAIN DISHES. Show all posts

Tuesday, 27 January 2015

Hash

This is the meal I was talking about that allowed me to get to eat Hollandaise Sauce at a restaurant, and so I had to make it at home. It's great for leftover meat and potatoes, just fry up some veggies and add potatoes and shred the leftover meat. Ham, chicken, pulled pork, you name it, it works. I haven't listed quantities of ingredients because it really depends on how much leftovers you have. I just eyeball it and go from there, but I usually end up making it in a stock pot because my normal large pot isn't big enough. We eat this for dinner, but the restaurant served it for breakfast.

Ingredients

Oil
Onion, diced
Bell Peppers, diced
Mushrooms, diced
Hot Sauce
Worcestershire Sauce
Potatoes, cooked and cubed
Meat, cut into bite sizes pieces or shredded
Salt
Pepper
Steak Spice

Directions

~In large frying pan or pot, heat oil and add onions, season with hot sauce & Worcestershire Sauce and cook until translucent
~Add in mushrooms and bell peppers and continue to saute
~Add in potatoes and meat.
~Stir gently and allow to heat through.
~Season with salt, pepper, steak spice and addition hot sauce or Worcestershire to taste.
~Serve with Hollandaise Sauce to top

Enjoy

Friday, 18 July 2014

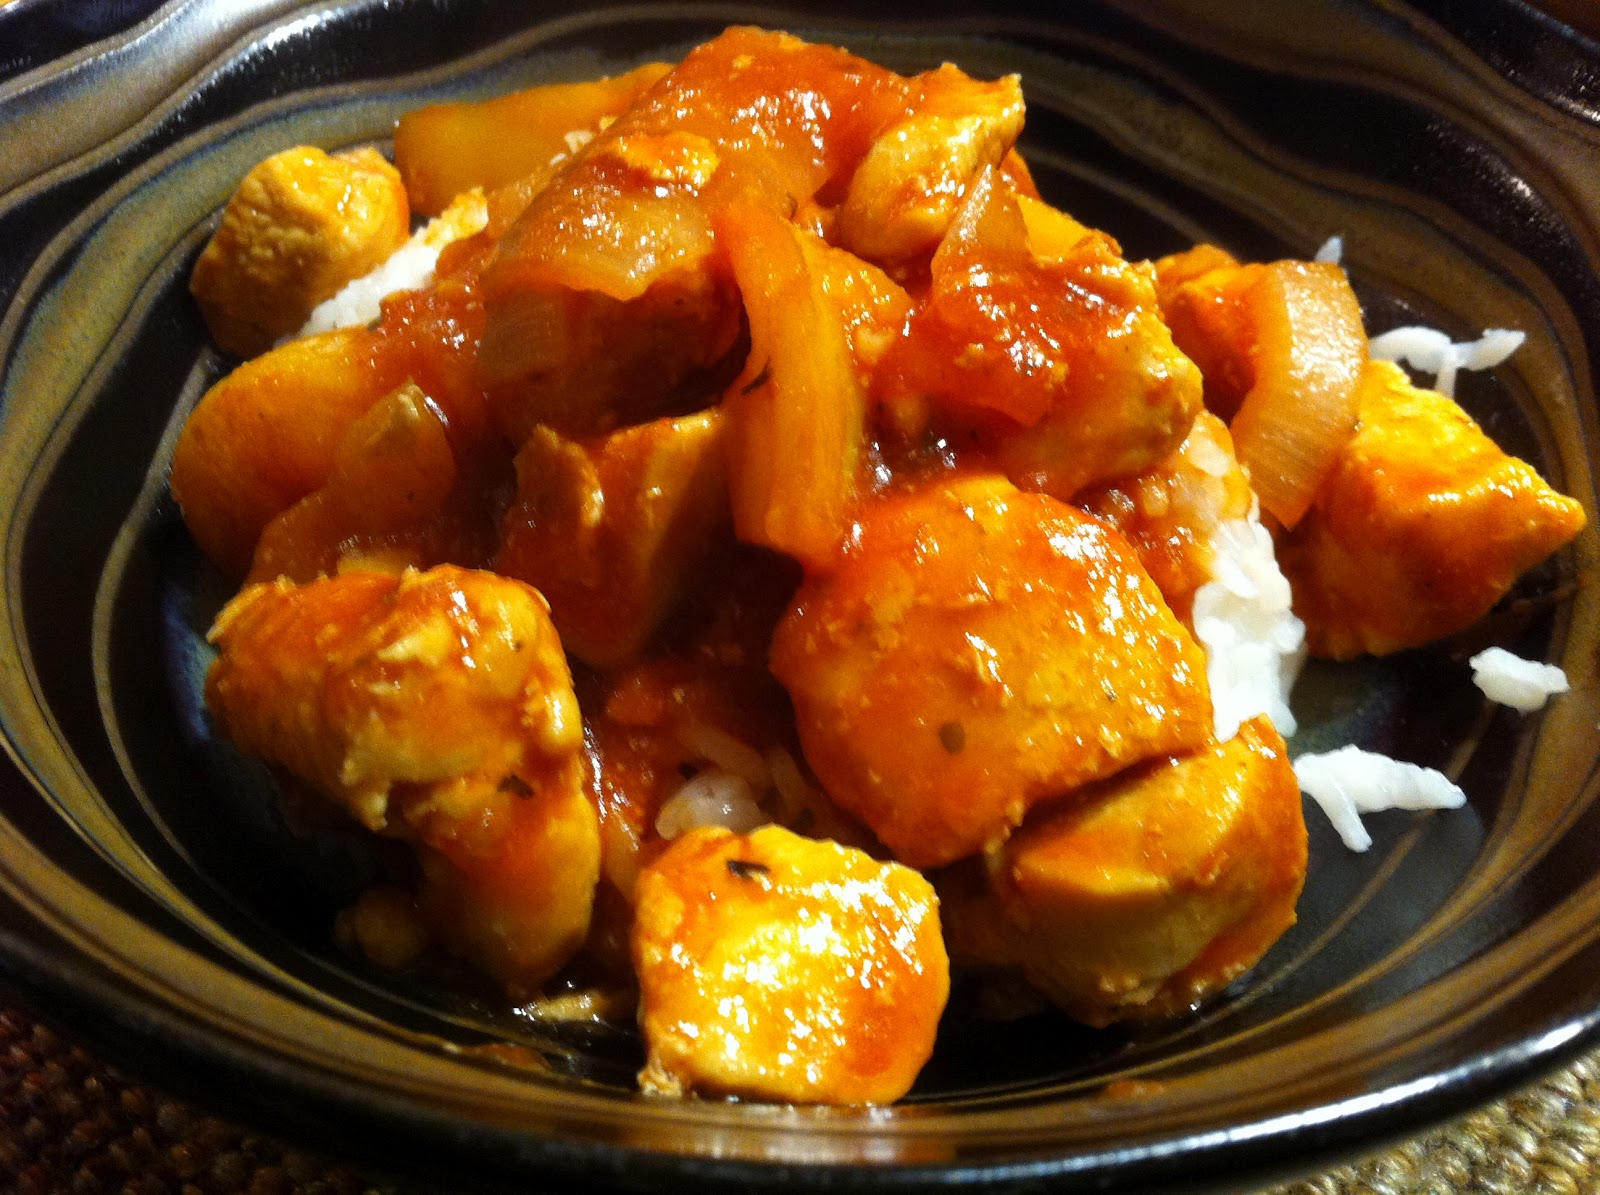
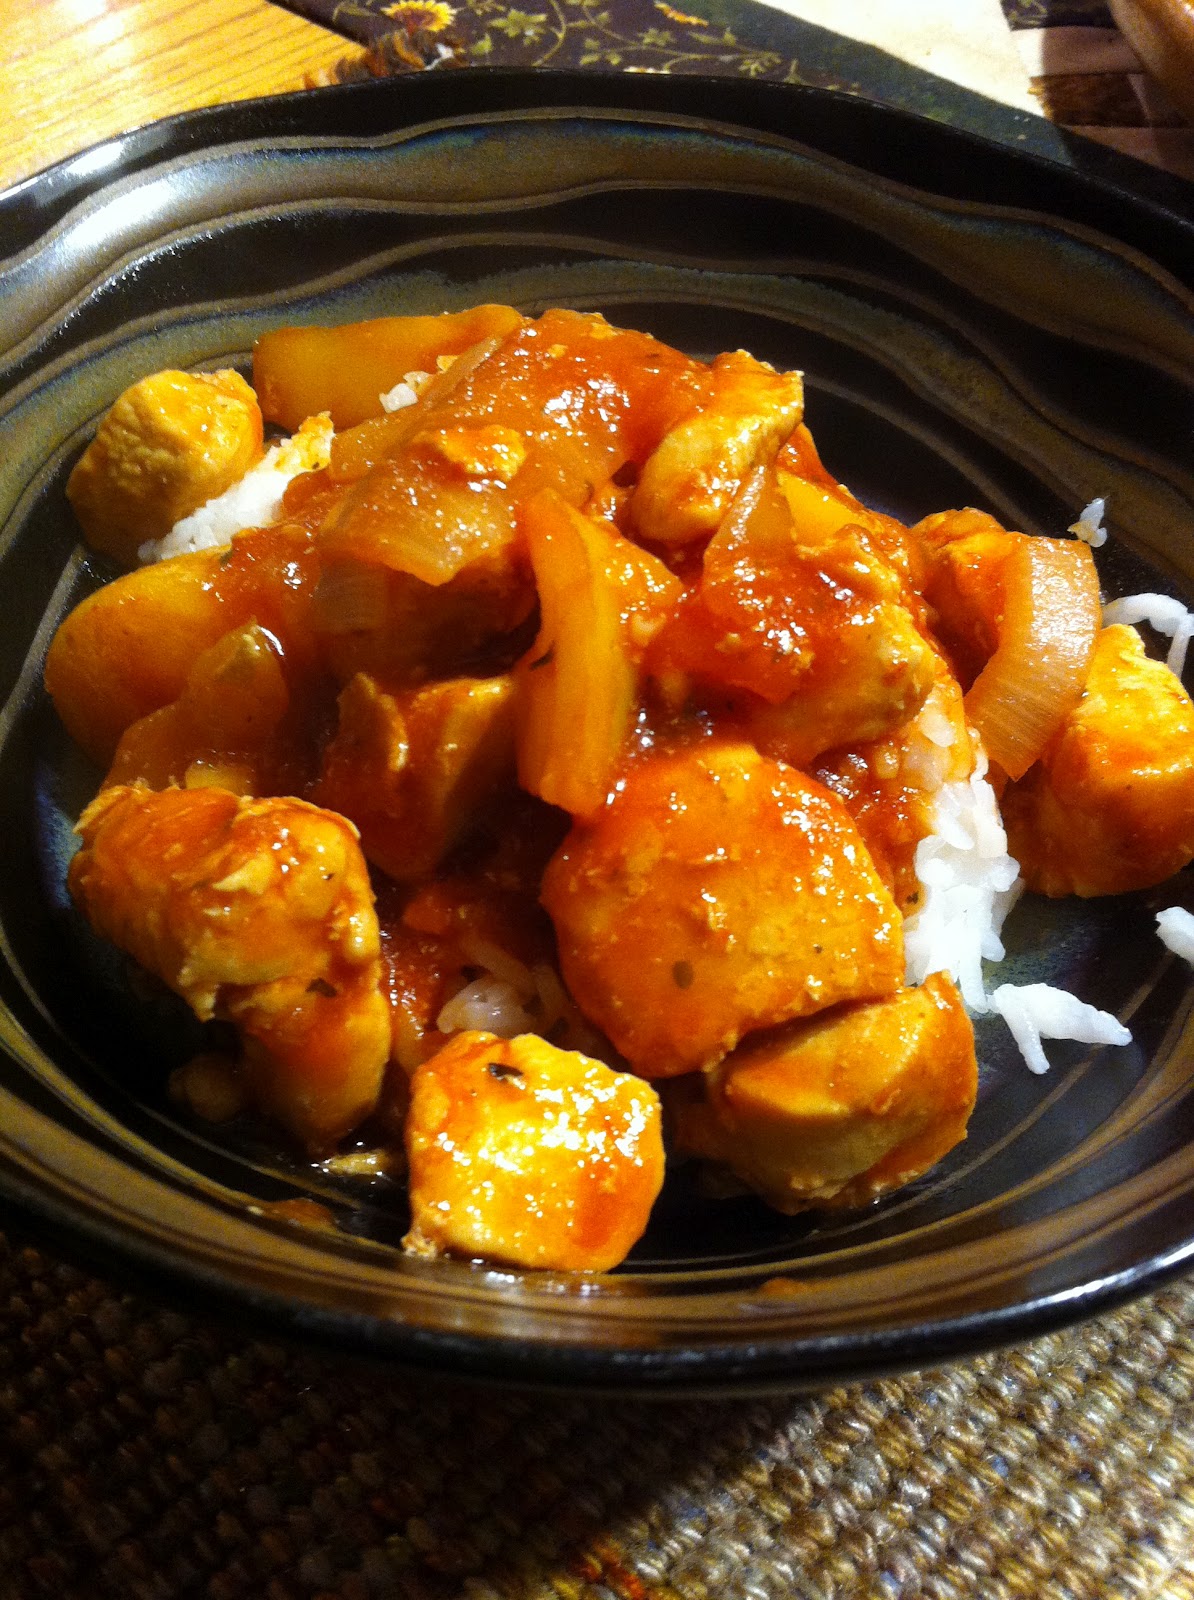
Butter Chicken


Recipe from Damn Delicious, & my very modified garam masala is from All Recipes.

Ingredients: Garam Masala

1 Tbsp. Cumin
1 Tbsp. Black Pepper
1 Tsp. Fennel
1 Tsp. Mustard Powder
1/2 Tsp. Cloves
1 Tsp. Chili Peppers
1 Tsp. Cinnamon
1/2 Tsp. Nutmeg

Ingredients

2 Tbsp. Coconut Oil
8 Cloves Garlic, minced
2 Onions, diced
2 Cans (14 oz each) Coconut Milk
2 Cans (6 oz each) Tomato Paste
1/4 C. Flour
7 Tsp. Garam Masala
4 Tsp. Curry Powder
1 1/2 Tsp. Chili Powder
1/2 Tsp. Ginger Powder
Salt
Pepper
6 Pounds Chicken, cubed

Basmati Rice

Directions

~Cook rice according to package instructions
~Saute onion and garlic in oil until translucent.
~Stir in coconut milk, tomato paste, flour & spices.
~Stir until there are no lumps and sauce starts to thicken.
~Simmer sauce.
~Cook chicken in a separate frying pan.
~Once chicken is cooked, add into sauce and stir to coat.
~Serve chicken and sauce over rice.

Enjoy!


Sunday, 24 February 2013

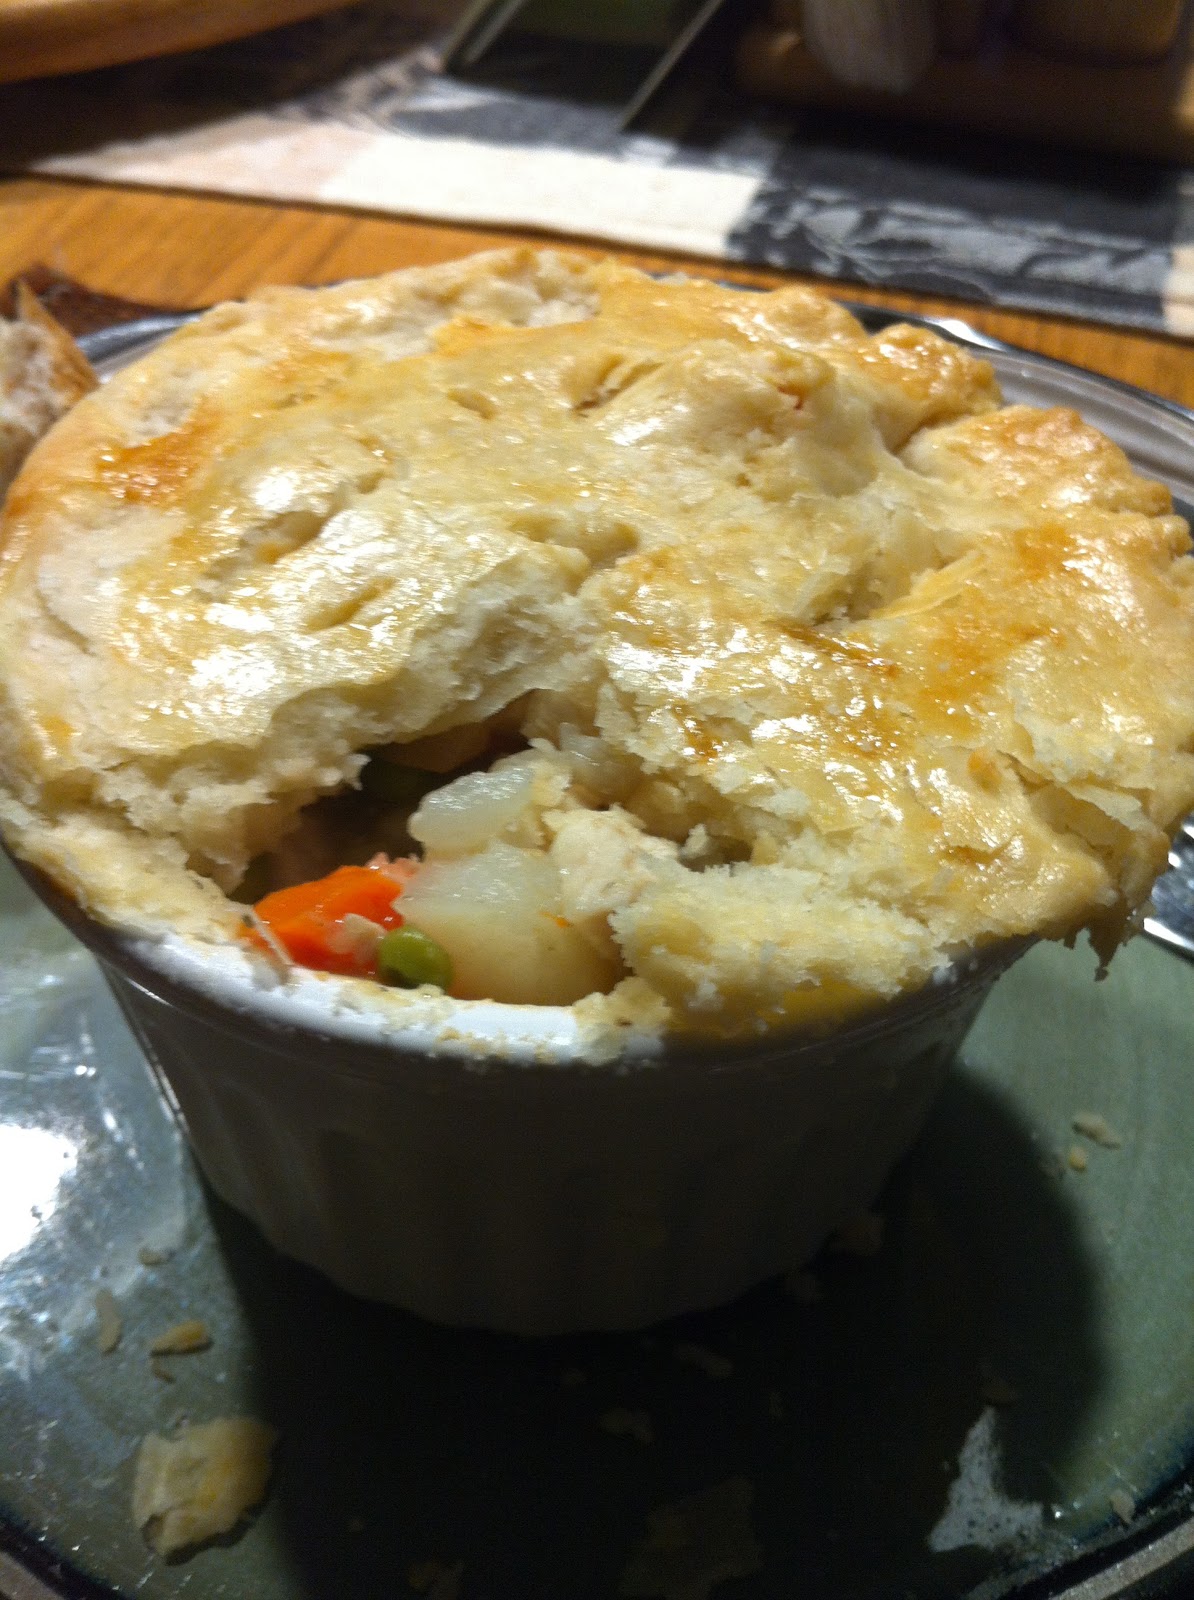
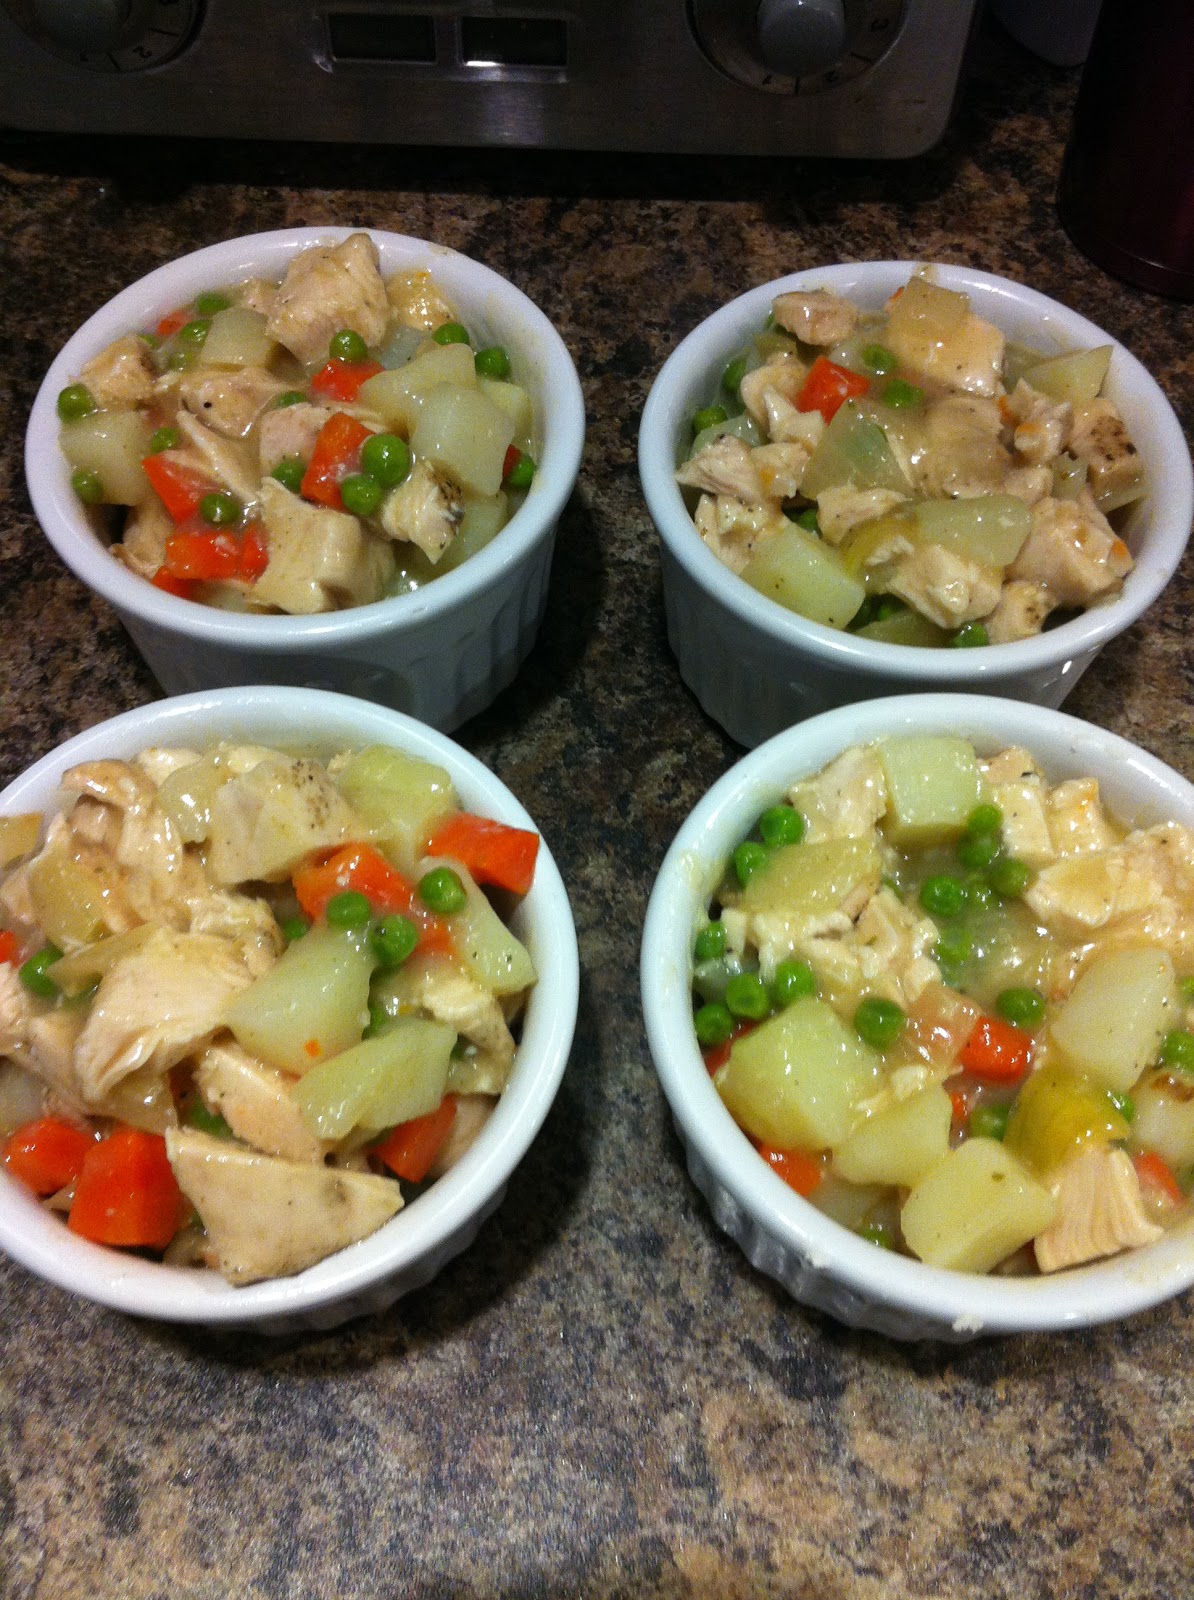
Chicken Pot Pies (Dairy Free)


These were quite a bit of work because we had nothing prepared ahead of time and we made the pastry from scratch. You could buy some pre made pastry sheets or use some leftover chicken and veggies from the previous nights dinner to take out a few of these steps. But, the homemade pastry was so worth it. It may not have been pretty (I've only ever made pastry one other time and that was years ago) but it was so incredibly flakey and delicious. I've not ever been a pie lover, it's something I'll eat but it's typically not the first (or second) thing I'd pick for dessert, but I now know why. When the pastry tastes like this, pie is so worth eating.

Pastry recipe is the one off the Tenderflake box.

Makes 5 individual ramekins and 1 regular sized pie

Ingredients

1/2 Recipe of Pastry
             5 1/2 C. Flour
             2 Tsp. Salt
             1 lb Tenderflake Lard
             1 Egg
             1 Tbsp. Vinegar
             Up to 1 C. Water

6 Chicken Breasts
Salt
Pepper
1/2 Tsp Poultry Seasoning

3 Carrots, peeled and diced
4 Medium Potatoes, peeled and diced
1 1/2 C. Frozen Peas

1 Tbsp. Butter
1 Large Onion, diced
4 Cloves Garlic, minced
5 C. Chicken Broth
5 Tbsp. Flour
1 Tsp. Salt
Pepper
1 Tsp. Poultry Seasoning

1 Egg

Directions

~Make pastry
        ~Stir together flour and salt
        ~Cut in the lard until you get pea sized pieces
        ~In a measuring cup whisk the egg, add in the vinegar and top up with cold water to a total of 1 C.
        ~Stir the water mixture into flour mixture, adding a bit at a time and only add enough to make the dough cling together
        ~Gather dough into balls.
        ~Dough can be refrigerated if not ready to be used right away (just pull out at least 30 min. before rolling) - don't roll dough until you are ready for it at the end as it won't come off of the counter once it is left for awhile and warms up
        ~You'll only need about half of this recipe, so reserve the rest in the fridge or freezer for later projects.


~Season chicken breasts with salt, pepper and seasoning and bake in oven until almost cooked entirely. 
~Allow chicken to cool slightly and cut into cubes.
~Cut carrots & potatoes. Place carrots and peas in one pot and potatoes in another and cook until tender. Drain.
~In a large saucepan melt the butter and saute the onions until golden on medium-high. Near the end, add in the garlic and cook.
~Add in 4 cups of the chicken broth, reserving the remaining 1 cup, stir and lower temperature to medium.
~Pour the 1 cup of broth into a mug and whisk in the flour 1 tbsp at a time until all lumps are gone. Add into the saucepan, whisking constantly.
~Season with poultry seasoning and continue to whisk until mixture thickens. Remove from heat.
~Preheat oven to 425 F
~Grease the dishes.
~In a large bowl combine chicken cubes, carrots, peas & potatoes. Pour in the sauce and mix to distribute.
~Scoop mixture into dishes.
~Coat top lip of dish with a bit of egg wash.
~Roll out pastry on a floured surface and lay over top of each mixture filled dish. Trim edges and press to seal around edges.
~Brush top of pasty with egg.
~Bake for 40-45 minutes or until pastry is golden.

Enjoy


Monday, 18 February 2013

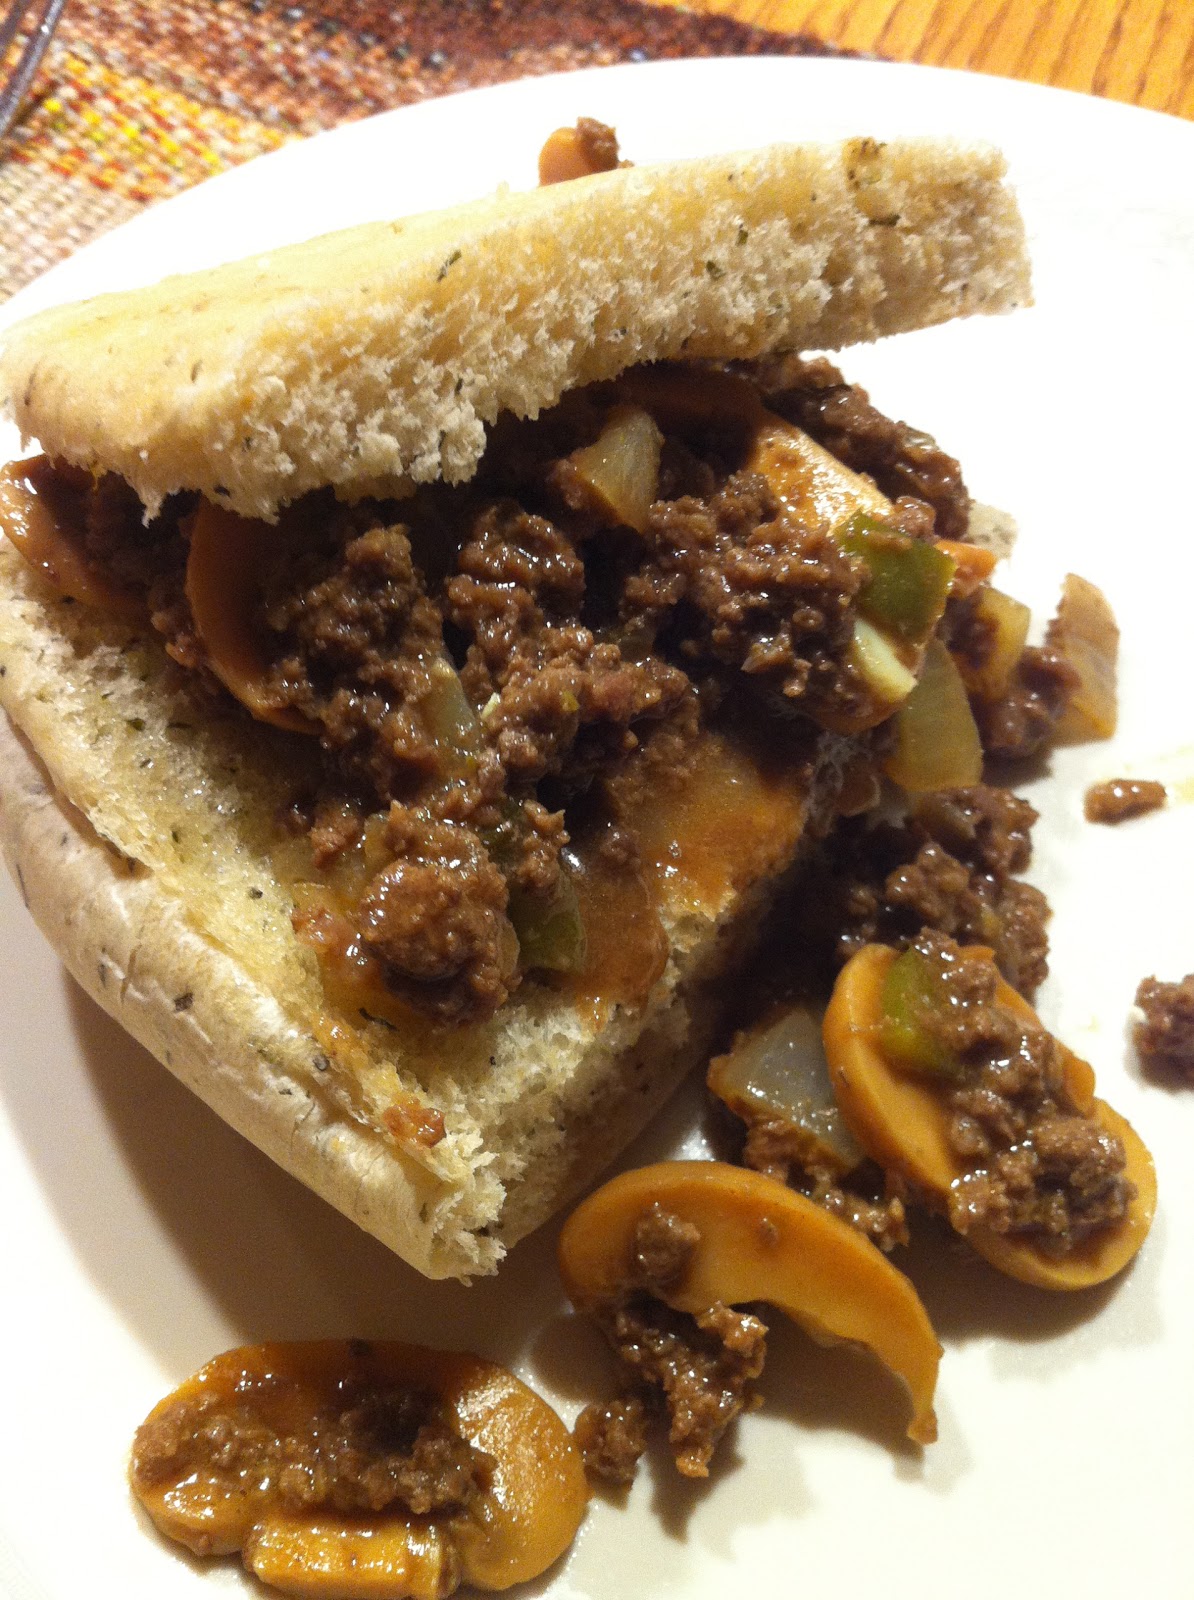
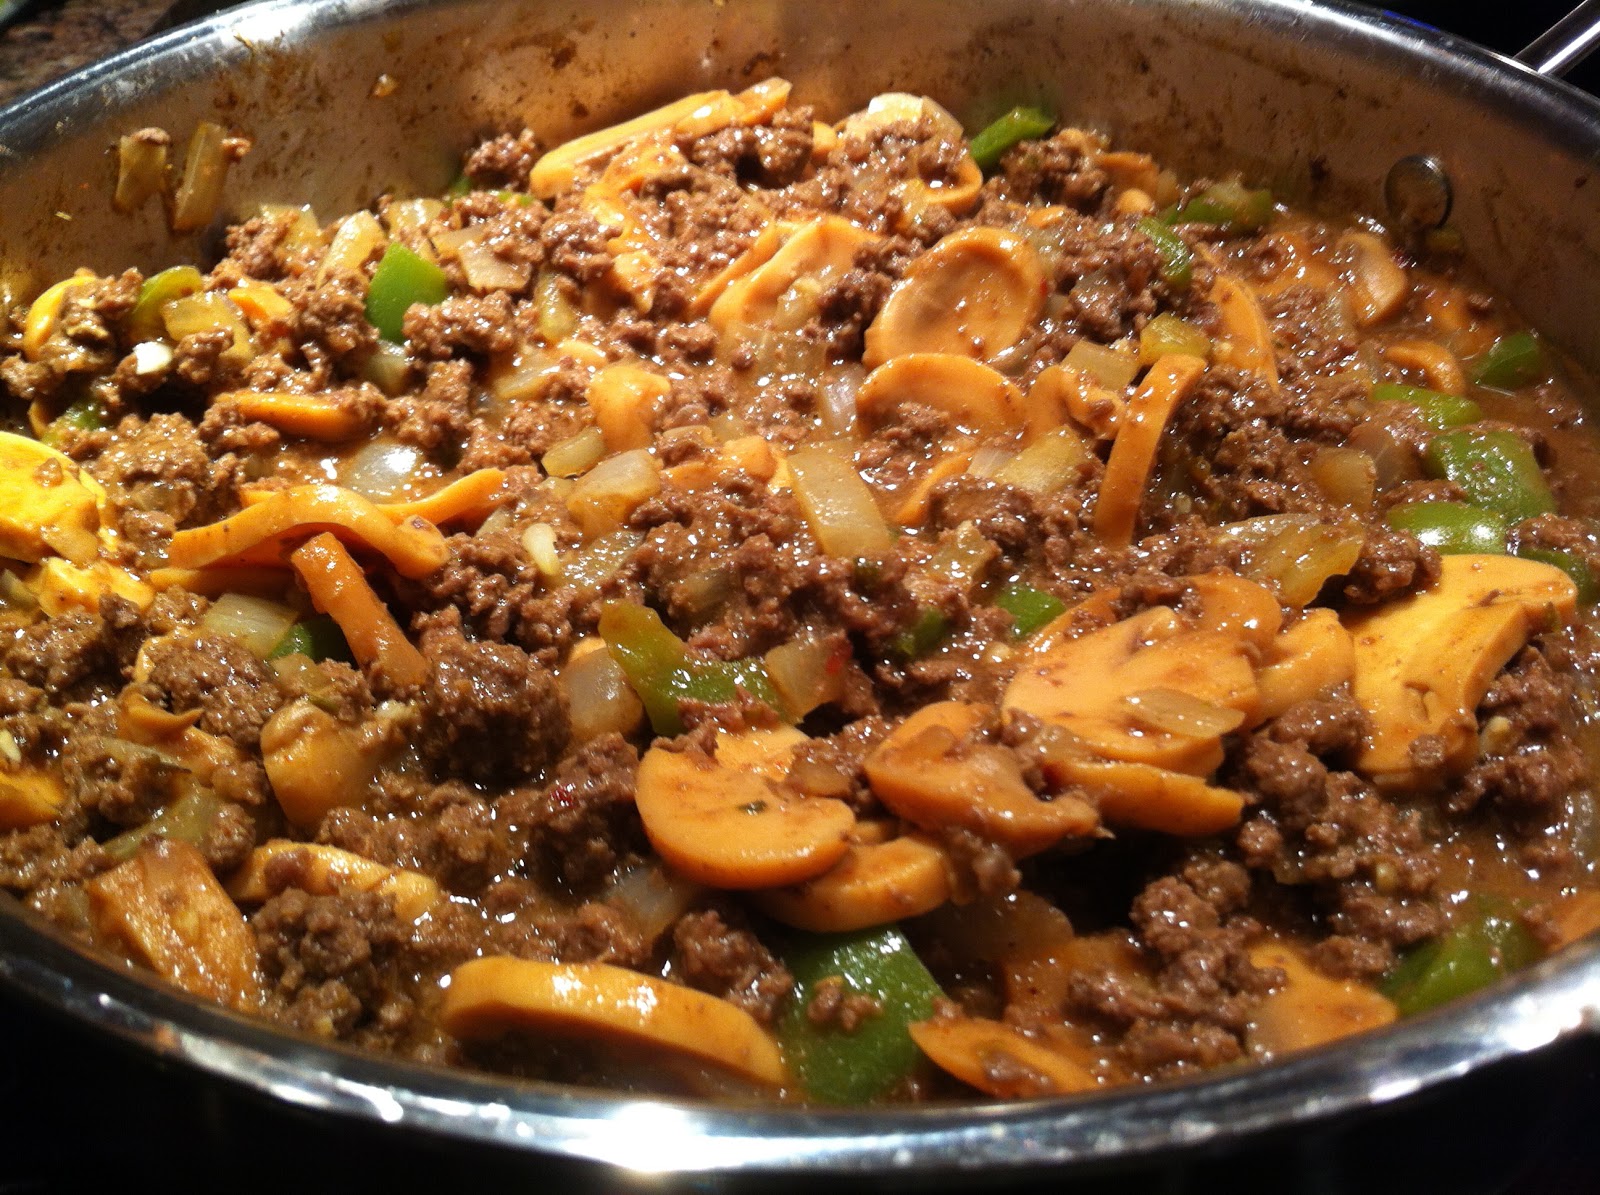
Cheeseburger Sloppy Joe (Tomato-Free)


Forgive me for what I'm about to do. I'm going to share a Sloppy Joe Recipe that is a little bit different. It has no ketchup and no tomato paste. Gasp! You'll survive, and you'll like it trust me. After looking at a few different recipes I came to the conclusion that the ketchup in the recipes was used as an ingredient to make a sort of BBQ Sauce, as it is mixed with spices and mustard, etc. And the tomato paste appeared to be a thickener. So, I cut straight to the chase and just added BBQ Sauce, and thickened it with flour and it worked beautifully.

The reason for calling it Cheeseburger Sloppy Joe (even though we didn't actually put any cheese on it at all - but you could and I'm sure it would be amazing) is because as it was simmering it smelled just like the smells I associate with hamburgers. Red meat, BBQ sauce, onions, mustard & spices. I think it was mainly the BBQ sauce & mustard combo that did it though. But, when you tasted it, it actually tasted nothing like it smelled which for me was a good thing because we just had had hamburgers the night before and I wanted something different and it was. I'm sure we'll be making this again which excites me because up until this point I have never eaten a sloppy joe.

Recipe adapted from Kayotic Kitchen.

Serves 6-8

Ingredients

2 lb ground meat

Salt
Pepper
1 Large Onion, diced
1 Green Pepper, diced
3 Cloves Garlic, minced
1 Can Sliced Mushrooms, drained
1/4 C. Yellow Mustard
1/3 C. BBQ Sauce
1 Tbsp. Brown Sugar
Dash or Two Tabasco
1 1/2 Tsp. Worcestershire Sauce
1 Tsp. Oregano
1/2 Tsp. Cumin
1/2 Tsp. Paprika
1/4 Tsp. Chili Powder
1 C. Water
1-2 Tbsp. Flour
Buns
Butter

Directions

~In a large skillet season meat with salt and pepper to taste and brown
~Add in the onions & peppers and cook until veggies have softened and meat is cooked
~Add in the garlic and stir just until cooked.
~Add in the mushrooms. Stir
~Reduce heat to a simmer and add in mustard, BBQ sauce, sugar, tabasco, worcestershire and spices. Stir to mix.
~Add about half of the water. Stir. If sauce is looking watered down, whisk flour into remaining water and add mixture to skillet. Stir. (Really just play it by ear. The moisture content is really going to depend on your cut / type of meat so if it's too runny add less water / more flour, and if it's not saucy enough add some more mustard / BBQ sauce / water. Find your happy medium.)
~Simmer for 15-20 minutes.
~Butter the buns and warm them in the oven until butter has melted (don't let the buns go crispy, just want them warmed)
~Scoop meat mixture onto buns

Enjoy!


Monday, 21 January 2013

Taco Pie


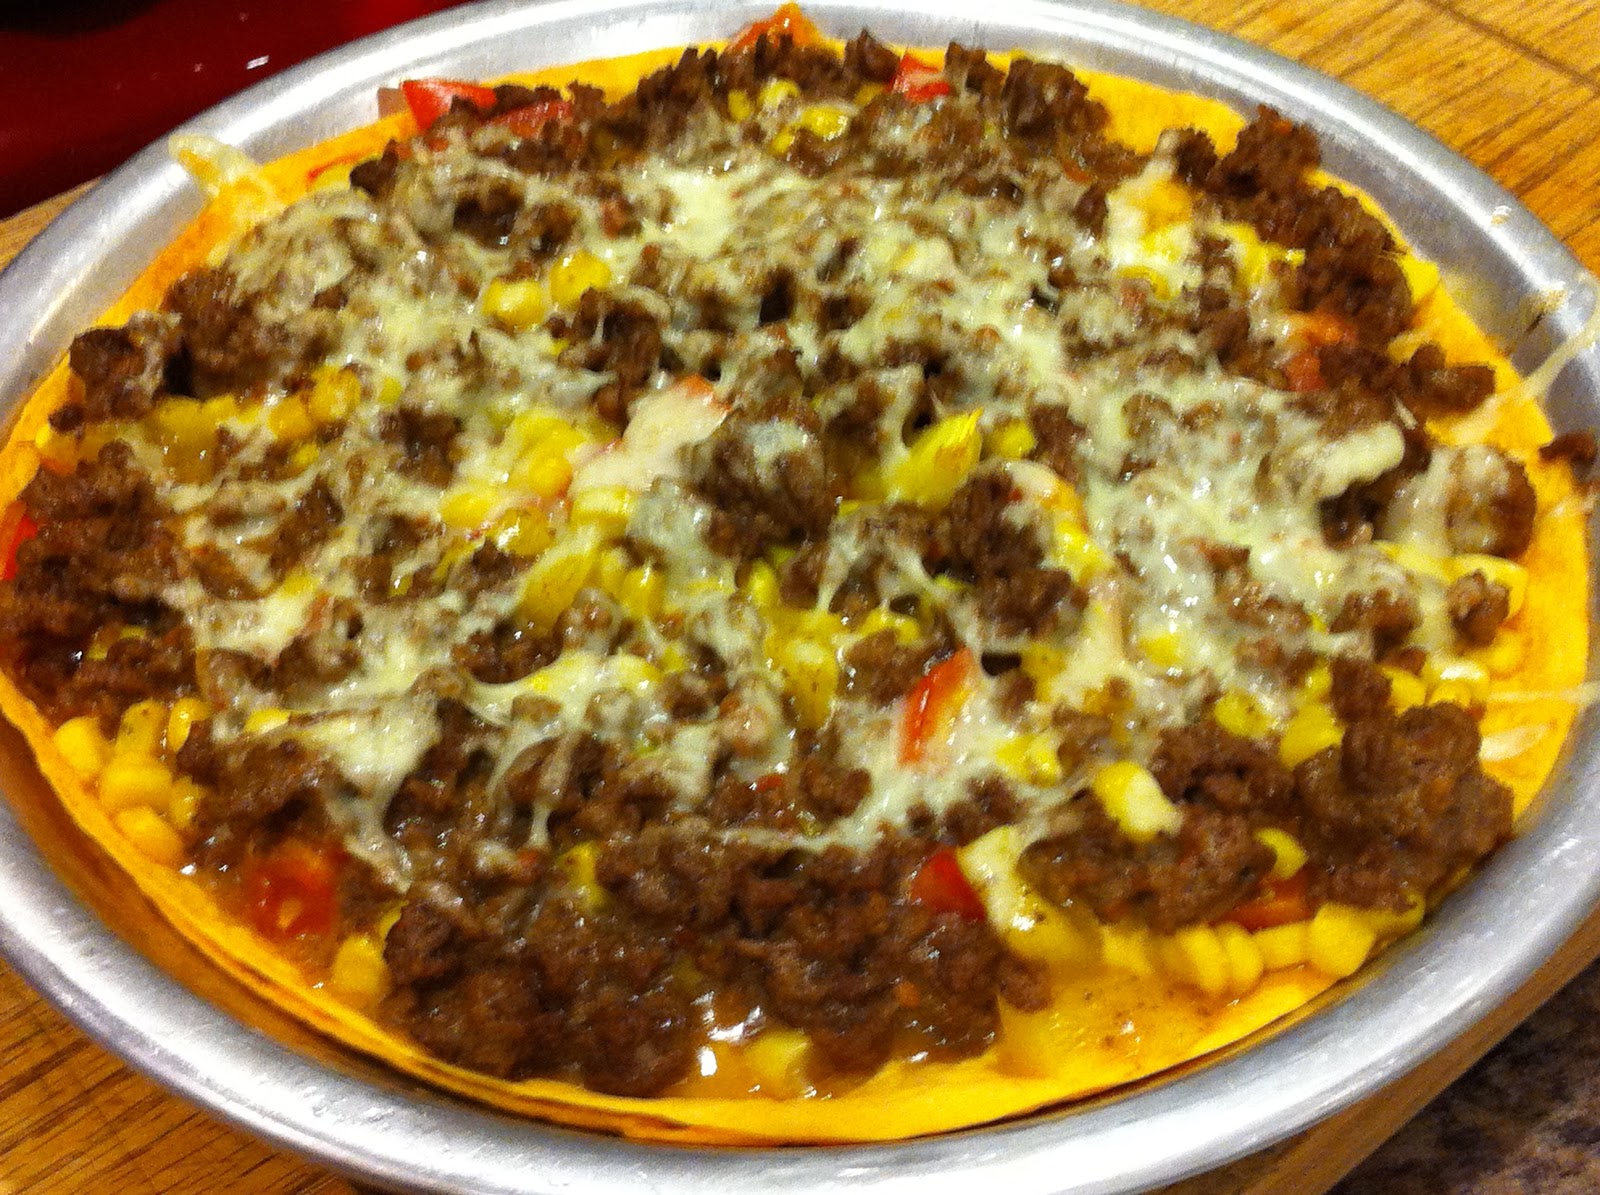
So this pie is basically the same thing you get in the Old el Paso Taco Pie box. But, it has more vegetables in it and it doesn't contain that scary taco seasoning that I'm sure is just sodium. It does contain that awful cheese sauce though in the form of Salsa con Queso. Unfortunately, this last time I made this I didn't enjoy it as much. They've changed the cheese sauce that I normally buy and much to my surprise, when I sampled it, it had absolutely no flavour. So, my dish was a bit bland to say the least. But, maybe it was just a faulty jar (at least that's what I'm telling myself, instead of that they changed their recipe). I might have to resort to making my own sauce at some point, but for now I'm going to try stick with the jar stuff simply for convenience. Not that it would be hard to combine velveeta and salsa to make the sauce myself.

Anyway, turns out I didn't have an adequately deep round pan to get the required four layers in. So my pie may look slightly strange because it only has two layers (I had to split it up into two shallow pie pans), but it still works just as well.

After I made this dish this past week I got to thinking that you could easily make this into a vegetarian option (not that I have any desire to go vegetarian), but using black beans instead of the beef. Just a thought.

So, the idea for this comes from Old el Paso, but really everything else is my own creation.

Serves 5

Ingredients

1 1/2 lb. Ground Beef
1/2 Onion, diced
1 1/2 C. Salsa con Queso (or whatever cheese sauce you decide upon)
1 1/4 C. Salsa
1/2 Tsp. Cumin
1 Tsp. Chili Peppers
4 Soft Tortillas
2 Tomatoes, diced
1/2 Bell Pepper, diced
1/2 C. Corn Kernels
1 C. Cheese, grated

Directions

~Heat skillet and cook beef and onions until cooked through.
~Add in cheese sauce, salsa, cumin & chilis
~Preheat oven to 350 F.
~Place 1 tortilla into a greased round dish (make sure the tortilla fills the dish)
~Layer with 1/4 of the beef mixture, vegetables and cheese.
~Top with another tortilla and repeat until you have four layers with the meat, veggies and cheese on top.
~Put in oven and bake until heated through and cheese is bubbly, approximately 15 minutes.

Enjoy


Friday, 30 November 2012

Quinoa Yam Patties


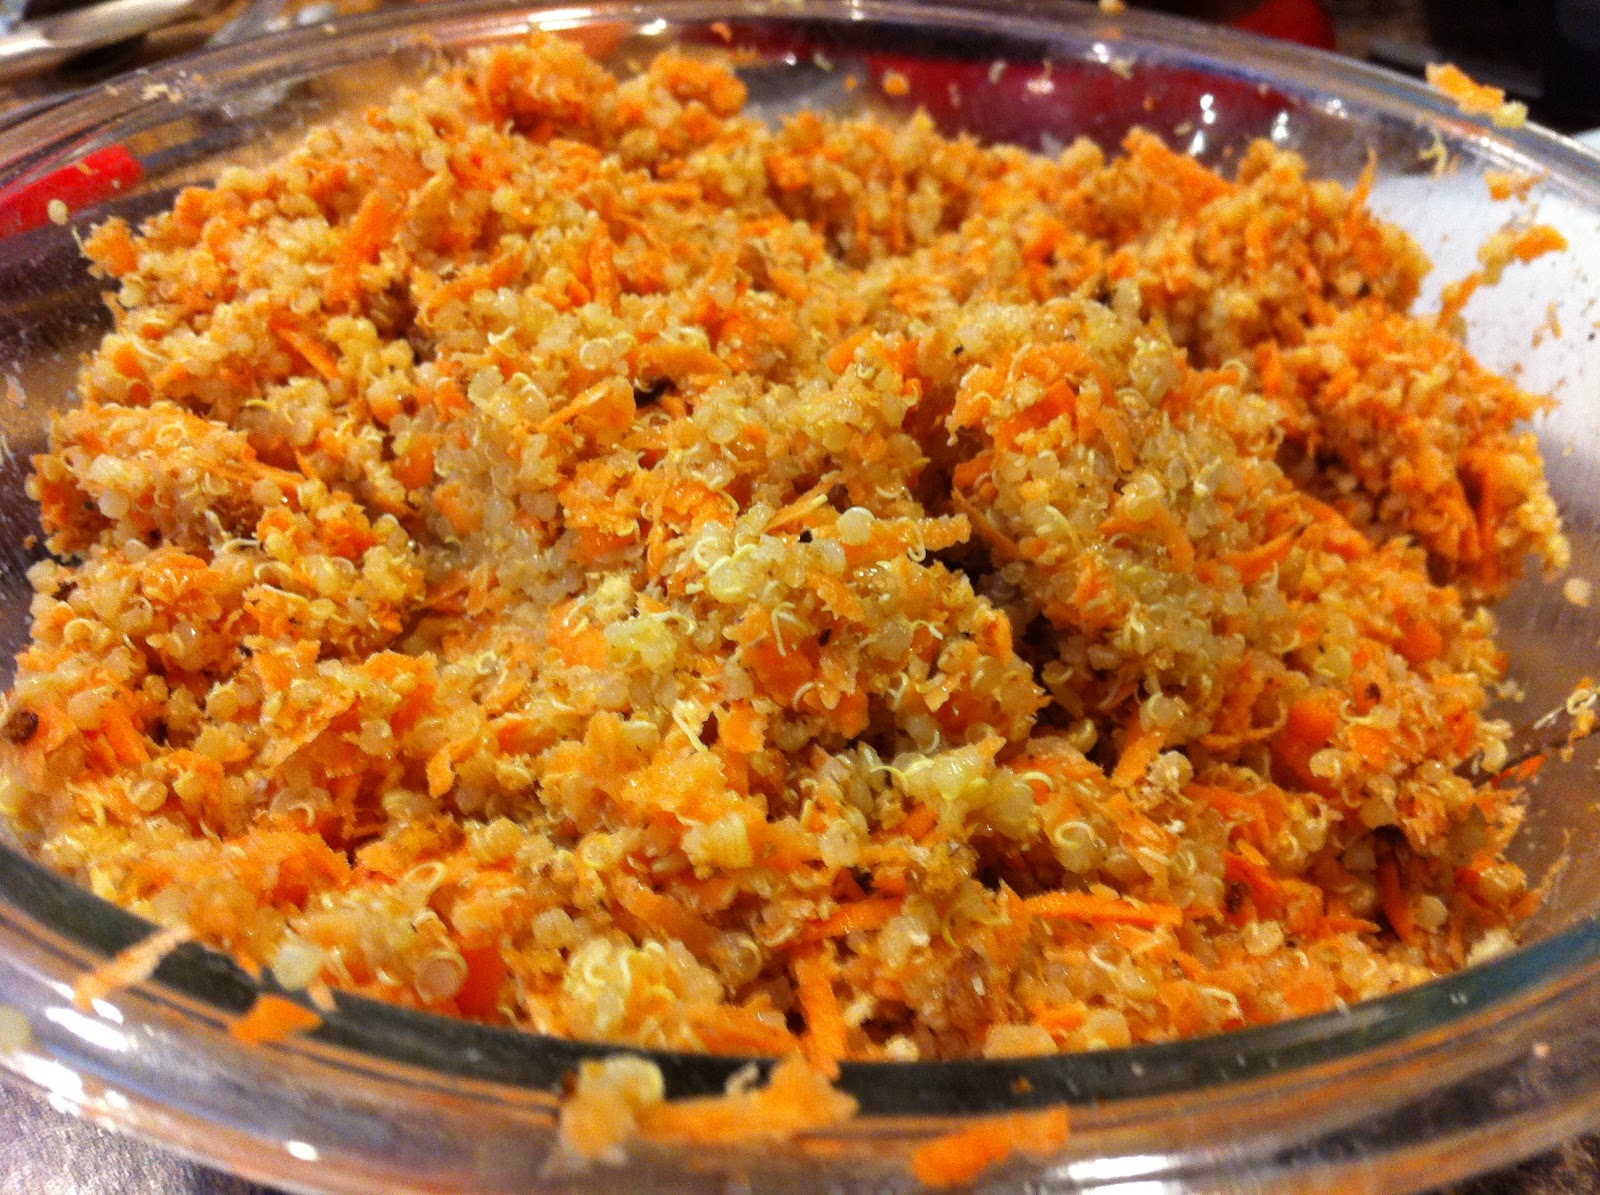
These didn't really form like I had expected them to. Nor did they taste like I had expected either. That's not to say that they were bad (we wouldn't have eaten them for 3 nights straight if they were bad), they were just different. I had originally decided to make them one morning. It seemed like a great idea (but they seemed to take all day to make, so a bit time consuming to say the least), and I really would have liked them to be ready for lunch, but they weren't. So dinner rolled around and I must admit, dinner time is when I always confirm that I could never be vegetarian. I don't need bacon or sausage for breakfast, or sandwich meat for lunch, but I do think dinner should contain meat. So, I didn't truly enjoy these the first night. But I do have to say, they were quite filling and had some decent flavour going (then again I just ate it by itself on a plate with a bit of thai sauce as we didn't have buns or burger fixings.)

The key thing to remember for this recipe is to let it cool completely in the fridge before trying to form patties. I didn't at first and that's what caused my nightmares. They went together much better the next day after they had sat.

So I guess the main question is, would I make these again? And I would have to say I honestly don't know. I really liked the idea of them, but what I imagined them to taste like, wasn't what they actually tasted like. So, even though they didn't taste bad, it's sometimes hard to overcome something that is different.

I adapted this recipe from In Sock Monkey Slippers. The idea to add the tahini came from Made to Create.

Makes 5 Patties


Ingredients

1 C. Water
1/2 C. Quinoa
1 1/2 C. Yams, shredded (about 1/2 large yam)
1 Egg, beaten
1/4 C. Bread Crumbs
1/4 C. Bran
1 Clove Garlic, minced
1/2 Tsp. Tahini
Salt 
Pepper
Olive Oil

Directions

~Rinse the quinoa and place into a pot of boiling water (1 C.)
~Simmer on low heat until all the water is gone (times vary depending on brand of quinoa), 10-15 minutes
~Allow quinoa to cool.
~Peel and shred the yam with a cheese grater.
~Place the yam in a piece of paper towel and squeeze out the extra liquids (isn't it an amazing colour??)
~In a large bowl, combine the quinoa, yam, egg, bread crumbs, bran, garlic, tahini, salt and pepper.
~Mix well and then place bowl in refrigerator to cool.
~When cool, form into patties.
~Heat skillet (or grill) and the oil, and cook burgers until they are golden on both sides and crispy.

Enjoy

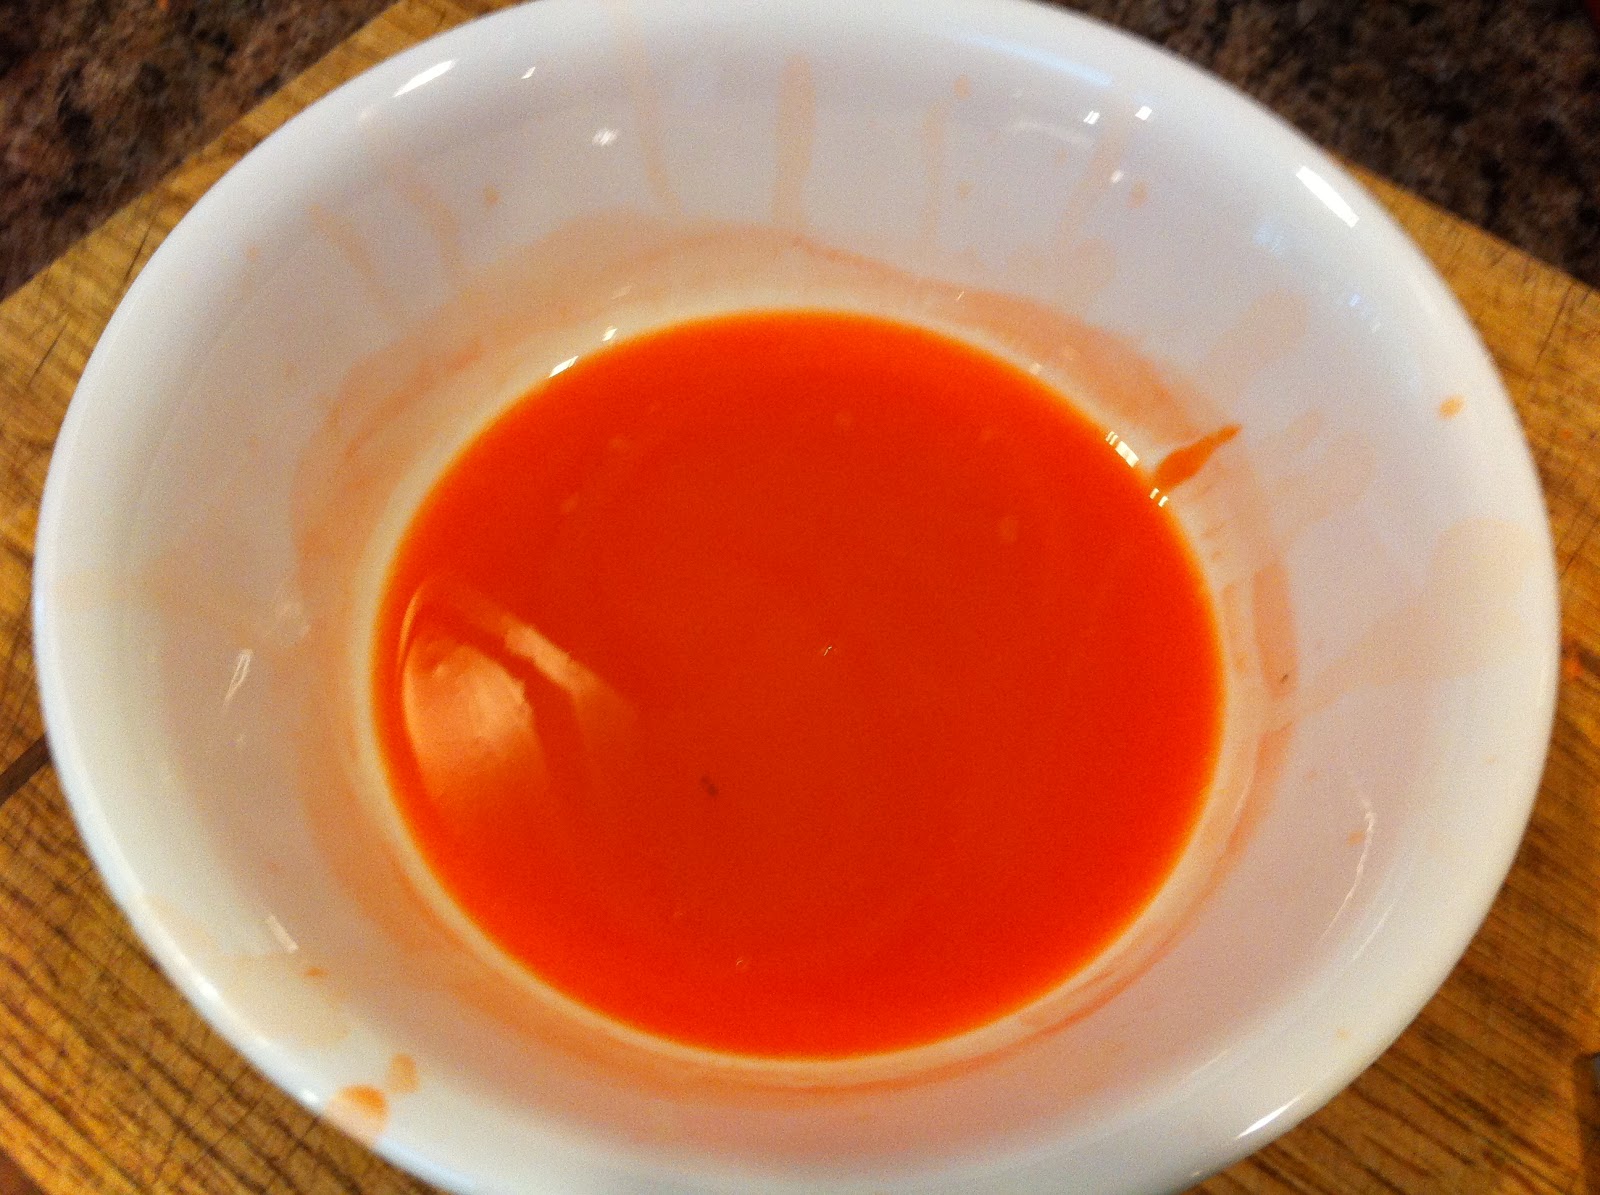
Never would have thought Yam Juice would be this vibrant and solid of a colour. Just thought I'd share :)

Wednesday, 12 September 2012

Beef Udon with Peanut Sauce


In the past I've attempted to make Thai / Asian Food, and it usually turns out less than stellar. This recipe on the other hand was anything but mediocre. Plus, as an added bonus, it looked pretty (it actually looked exactly like the dish I had last weekend at the local Japanese Restaurant that cost me $12. So score for restaurant quality looking food). I think what made it look so professional was that the carrots were cut into matchsticks, and the beef was cut really fine (instead of chunked liked we normally cut meat), and we used cabbage. I know you're probably thinking eww cabbage, and I typically think that way, but it really worked in this recipe.

One thing I may do for next time I make this is slightly reduce the peanut butter measurements and increase the thai sauce amount to compensate, because when it was really hot I didn't notice so much, but as it cooled down I found that the peanut butter began to become a bit sticky. Not that that's really a bad thing or anything, it's just for me that doesn't like peanut butter (I sure seem to be using it a lot lately though, ironically), I found it a bit strong. But, I think the main thing I don't like about peanut butter is the after taste, and this recipe did not have that after taste, so I enjoyed it. Also by reducing the peanut butter proportion, you'll be saving a lot of calories. I never really though about it when I was making it, but the original recipe didn't call for any meat and the reason why is because the peanut butter probably supplies what protein you need for the meal. So with both the peanut butter and meat in this dish, you're looking at a wopping 43g of protein per serving (hmm, I guess I do protein dishes well. I come by it naturally though, I always tell my Mom she's a protein addict.) Unfortunately, the calories and fat are also wopping numbers in this dish, but it tastes good (and it is your whole meal after all, so you shouldn't feel the need to consume any additional calories on top of this).

It's recipes like this one that make me with I had 6 hands so I could be manning all the different frying pans and woks at the same time, but even more so I wish I had a bigger stove. I've never understood people's obsession with gas ranges (because I cook on one at my cabin and I just never thought it was that great. Then again, we make toast and boil water on the stove at the cabin, we never stir-fry, etc. there so I guess that's why), that is until I start making recipes like this. More importantly, I understand why people want the extra wide, 6 burner ranges. A little 4 element electric stove just isn't good enough when you have 1 wok and 2 frying pans going (or trying to go) at the same time.

Recipe adapted from Damn Delicious who adapted from Recipe Girl .

Serves 4

Ingredients

1/2 C. + 1 Tbsp. Water
6 Tbsp. Reduced-Fat Creamy Peanut Butter
3 Tbsp. Brown Sugar
3 Tbsp. Soy Sauce
3 Tbsp. Rice Vinegar
1/4 Tsp. Ground Ginger (or 1 1/2 Tsp. Fresh Ginger, grated)
5 Tsp. Olive Oil (divided)
1 Tsp. Cornstarch
1 Tbsp. Thai Sauce
4 Cloves Garlic, minced
3 (7 oz) Packages Udon Noodles
1 C. Carrots, julienned
1 Small Onion, diced
1 C. Green Cabbage, shredded
1 C. Mushrooms, diced
1 lb Beef, sliced thin
*Optional* Sesame Seeds

Directions

~Prepare your vegetables and meat, set aside.
~In a large sauce pan, combine water, peanut butter, sugar, soy sauce, vinegar, ginger, 2 Tsp oil (reserving the rest), cornstarch, thai sauce and garlic, and bring to a boil. Whisk to get rid of the lumps as you heat.
~Cook udon noodles according to package instructions (or if they just need heated like mine, skip this step and place the noodles directly into the hot sauce and heat there.)
~Place noodles into sauce mixture and heat on low until mixture is heated through.
~Meanwhile, heat a wok and place part of the remaining oil into the hot wok. Add your carrots and stir-fry for ~30 seconds.
~Add the onions to the carrots and fry until they begin to soften.
~Next add in the mushrooms. After a quick stir, add in the cabbage. Keep on the heat until everything has just started to soften, then remove from the heat.
~Heat a frying pan, and add in the remaining olive oil. When oil is hot, cook your meat until it is cooked through.
~Transfer meat and vegetables into the noodle and sauce mixture and stir to combine.
~Serve with a sprinkle of sesame seeds if desired.

Enjoy


Nutrition Facts (per serving)
Serves: 4
Calories: 673
Carbs: 72g
Fat: 26g
Protein: 43g

Thursday, 23 August 2012

Sweet & Peach Chicken


For awhile now I've been on this sort of quest to find a good sweet and sour recipe. As fake and artificial tasting as the chinese food restaurant variety is, I still love it. So what I was looking for was never going to replace my take out sweet and sour, it just had to be good for a 'real' meal at home. Most recipes utilize ketchup in their sauces, which I was trying to avoid so I've never actually tried that variation of the recipe. I have made one with Kraft Catalina dressing which was good, but really not what I was going for as it was pretty watered down.

Then I stumble upon this recipe that I put on my 'to-make list' ages ago and just finally got around to doing so. The funny thing is, I had no idea that I was going to be making sweet and sour chicken. I thought it was going to be more fruity salsa like. Well, I was oh so deliciously wrong. This recipe turned out amazingly. Next time I might make one substitution though. Instead of using canned peaches, I might just substitute in an equivalent amount of pineapple. It would add a bit more of a kick to this sauce, and cut through a bit of the sweetness I think. Or I could just might omit the 1/2 Tbsp of sugar. Even though I was sceptical about adding it in because I thought the sauce would be sweet enough, I still did, but at a significantly reduced amount. I probably should have just gone with my gut instinct though.

Just as a warning again, I do cook / bake in huge quantities. These measurements that I include make enough to fill my wok right up to the brim. Mmm, yummy lunch leftovers for several days. But if you are aiming for just a one night meal for a family, try check out the quantities used over at  Kayotic Kitchen where I got this recipe from. For the most part I followed that recipe, but with a few slight changes.

Ingredients

1 Onion, chopped
2 Bell Peppers, chopped
1 Extra Large Can of Peaches (mine was 791 mLs I think), in juice (or syrup by I'm going healthy here)
1 Tbsp. Oil
2 lb Chicken, cubed
3 Garlic Cloves, minces
1 Tsp. Chili Peppers
6 Tbsp. Soy Sauce
2-5.5 oz Can Tomato Paste
1/2 Tbsp Sugar (optional)
1 Tbsp White Vinegar

Directions

~Chop your onion and pepper into chunks. 
~Cut the peaches into chunks, but reserving the liquid.
~Heat a large frying pan and then add you oil. When oil is hot, add your chicken and cook until it is no longer pink.
~Add in your onion and cook until onions start to soften. Then add in the bell peppers.
~When chicken is cooked through, mince garlic and add it in. Stir until garlic cooks but make sure not to burn it.
~Sprinkle in the chilli, stir to evenly coat the mixture.
~Pour in the soy sauce, and add the tomato paste and peaches with the juice. Stir.
~Sprinkle in the sugar and vinegar and give it a good stir.
~Place a lid on the pan and simmer until mixture is heated through.

Enjoy


Sunday, 29 July 2012

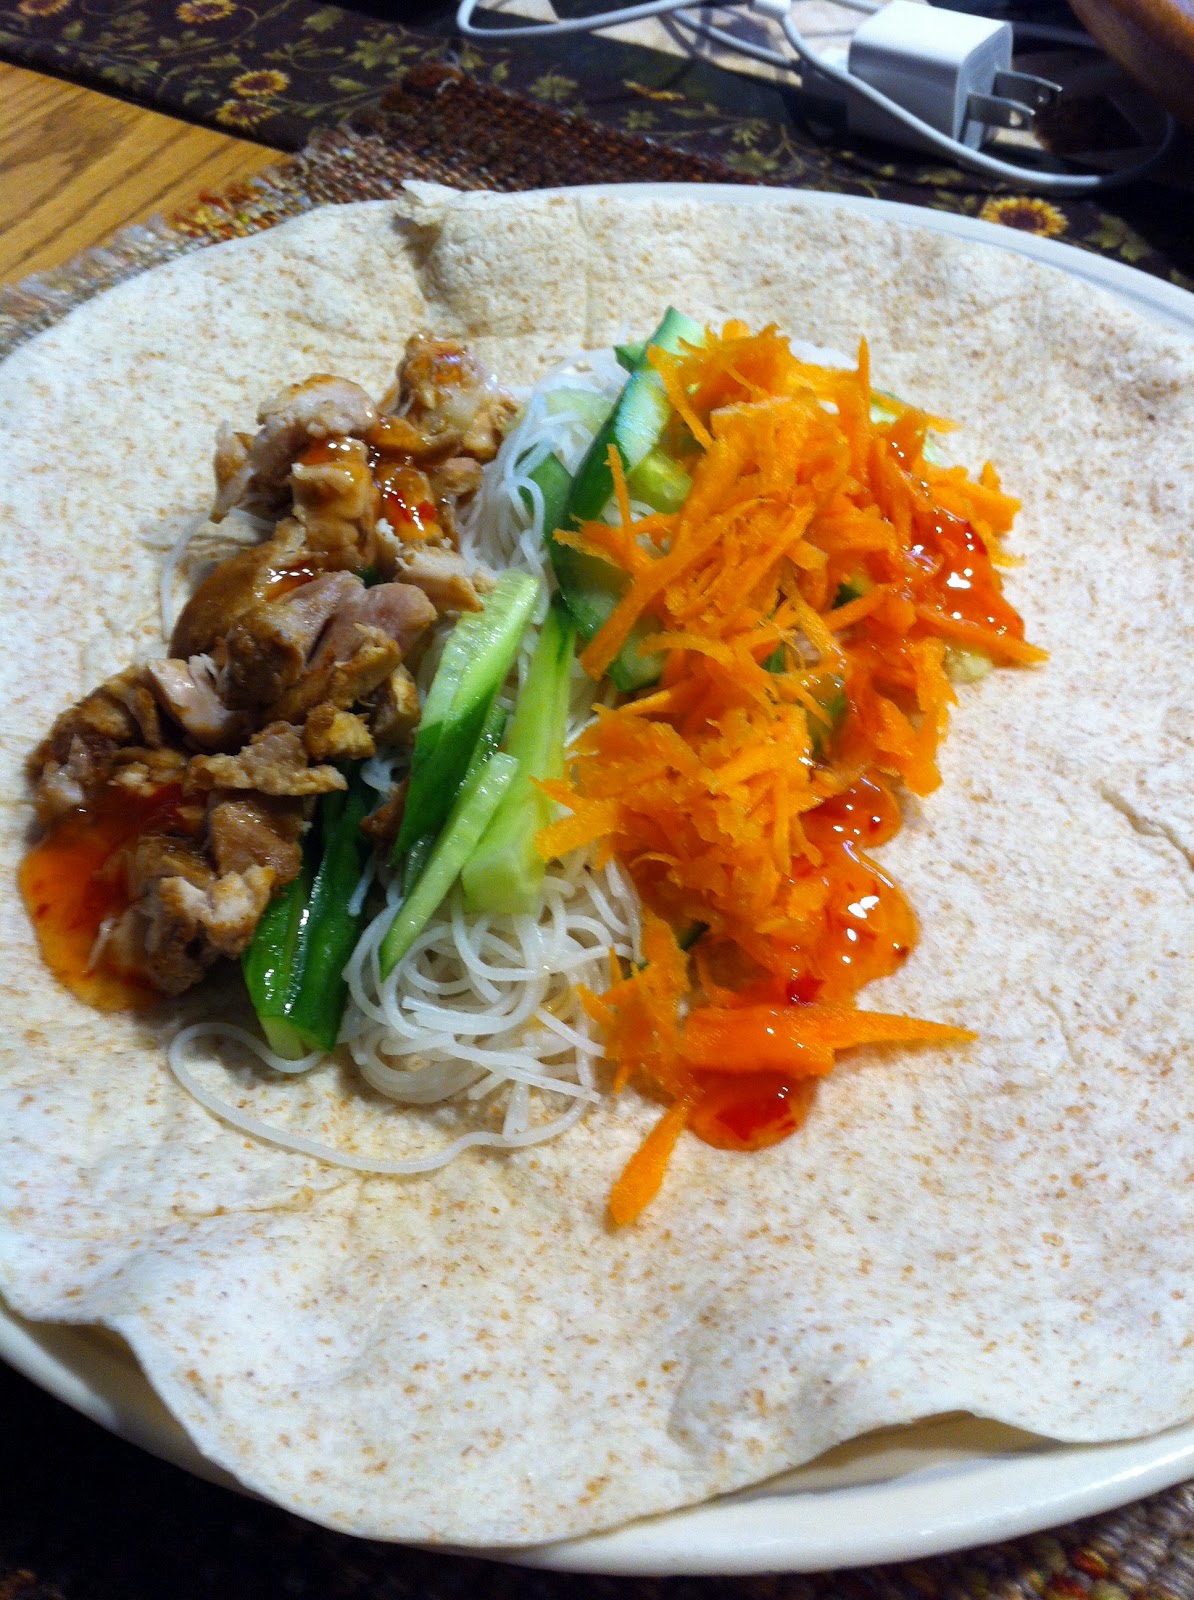
Thai Wraps


I guess I should probably post something healthy, just to prove that I can after the last several posts. This is another one of those, use up your leftovers things and it was just perfect. The chicken that had been cooked several days ago, may have just gotten a little old if we had to eat it plain again for yet another night, but this spiced it up just nicely. Plus, as an added bonus, I think from the time I opened the fridge to when we sat down at the table was less than ten minutes. Not a word of a lie. 

I first tried this creation at a friend's place. It was one of those, we need something quick but impressive sort of nights. So thanks Shannon for the great idea.

Makes: 4 Wraps

Ingredients

2 C. Chicken, diced (and cooked any way you like it.)
1 C. Carrots, grated
1/2 Long English Cucumber, cut into matchsticks
1/4 - 1/2 Red Onion, thinly sliced
1/3 lb Rice Noodles (these are typically bought in 1 lb packages)
1/4 - 1/2 C. Sweet Thai Sauce
4 Wraps

Directions

~Cook your chicken however you prefer, (we just used leftover chicken that we reheated) then cut it up into small slices.
~Cook noodles according to the package instructions.
~Prepare vegetables.
~Place wrap on a plate and microwave for 10 seconds to soften.
~Lay all ingredients down the centre of the wrap and roll it up.

Enjoy


Friday, 20 July 2012

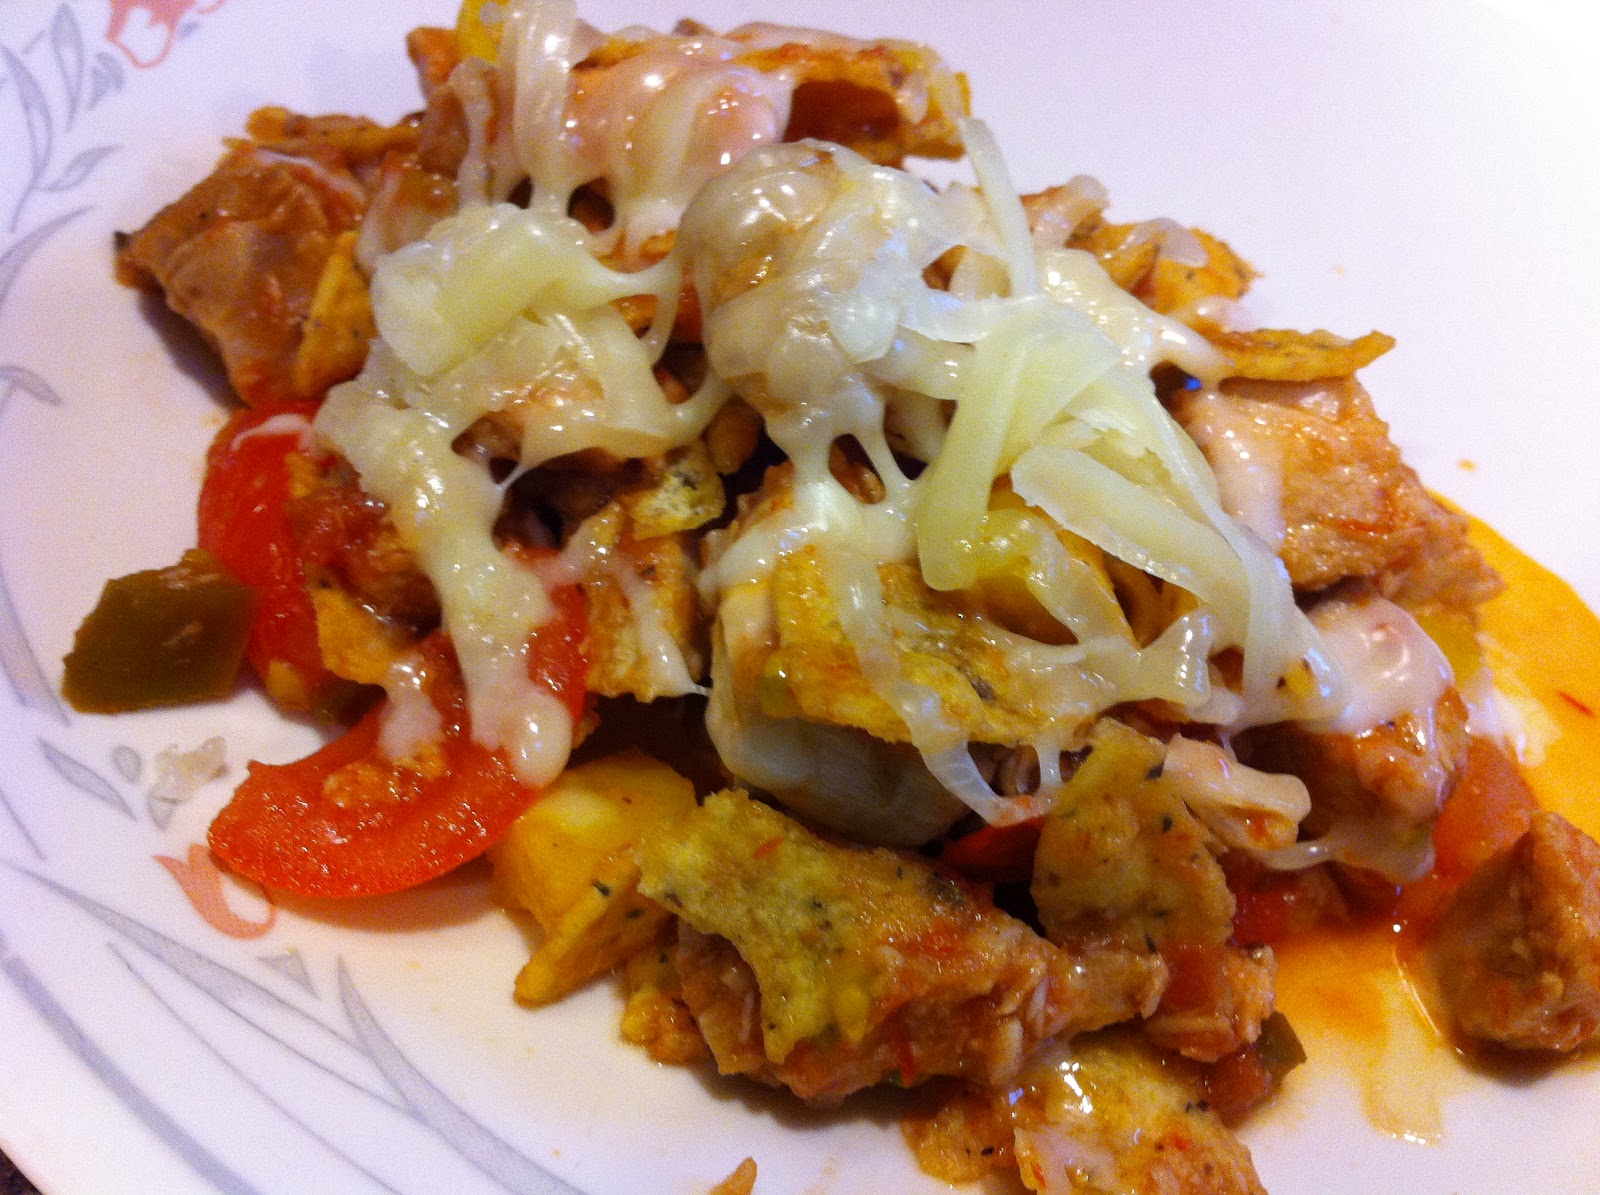
Inside-Out Nachos


Inside-Out Nachos or maybe better still, Upside-Down Nachos. Whatever you call this gooey looking mess, you can't deny that it is awesome. It tastes awesome, and is also awesomely simple to make. You see, we were out shopping and came across some great little tomatoes. They were bigger than the biggest cherry tomato I've ever seen, but smaller than a roma (but still round). Anyway, so I got thinking that I'd like nachos when I got home, but I hadn't had dinner yet and nachos really don't satisfy me for dinner. Plus, they really aren't all that good for you. So I came home and in less time than it took to put all the groceries away, I had this whipped up. You can serve this as either a side or a main dish, depending on your situation, because it does contain all the food groups. That is, if you count whole grain tortilla chips as from the grain food group. Try it, it's a much healthier alternative to nachos, but still has the same flavours.

Serves 2

Ingredients

1 C. Meat, cubed (I used a left-over pork roast, but you could easily cook up some ground beef, turkey, etc.)
1/2 C. Salsa
1/2 Tsp. Cumin
1/2 Bell Pepper, chopped
3 White Mushrooms, chopped
1 Medium Tomato, chopped
3/4 C. Tortilla Chips (I used the whole grain ones)
1/3 C. Cheese, grated

Directions

~Prepare your meat any way you want into bite size chunks. (I cubed the previous day's pork roast.)
~Place meat and salsa in a microwave safe bowl. Stir to evenly coat the meat.
~Sprinkle mixture with cumin.
~Add pepper, mushroom and tomato. Stir to evenly distribute everything.
~Microwave on high just long enough to heat everything through (for me this was about 2.5 minutes).
~Measure out chips and break them into small (quarter size) pieces. Add to heated mixture and stir to combine.
~Spoon mixture onto dishes and top with grated cheese. 
~If cheese doesn't melt you can return the dish to the microwave for 20 seconds.

Enjoy


Monday, 18 June 2012

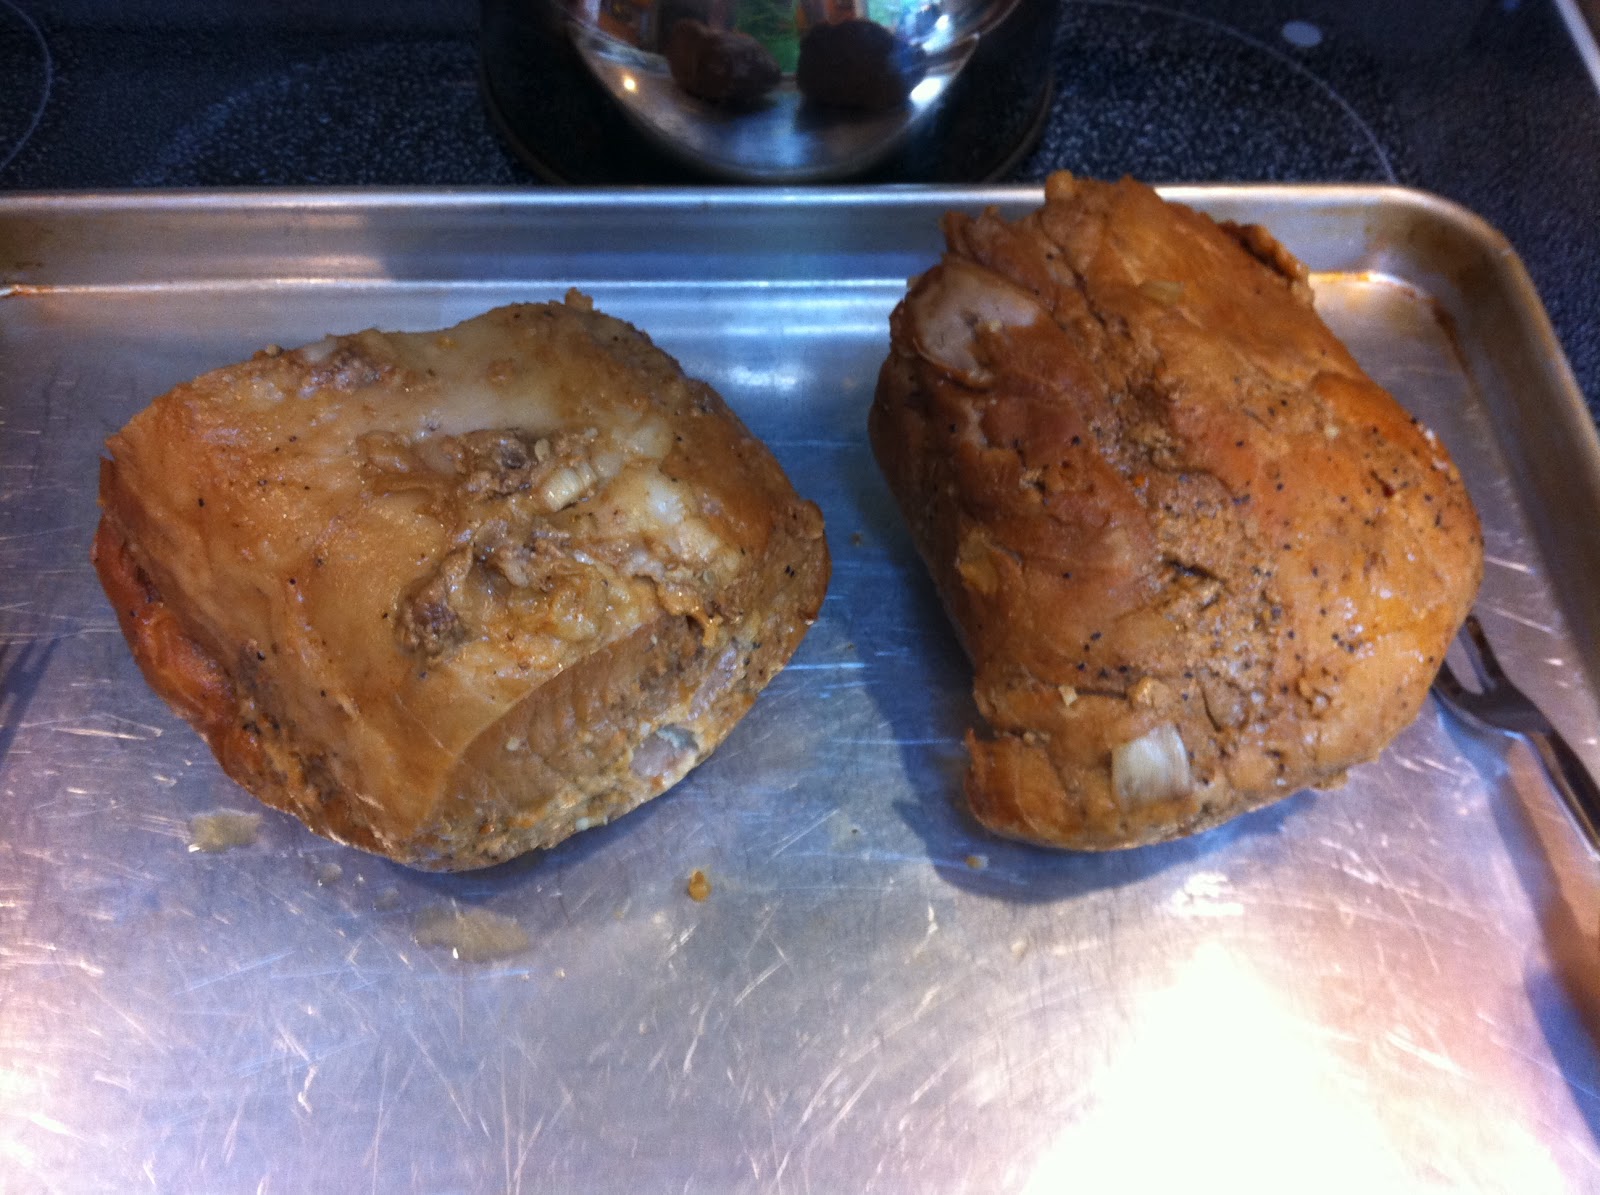
First Go At Pulled Pork


Well, I've finally been able to cross something off of my cooking bucket list. Yes, I've been wanting to make pulled pork, and today I finally found a recipe that did not call for you to cook the meat in the oven for 12 or 14 hours (something I was not prepared to do). So I found this recipe that works in the crock pot and luckily enough it didn't call for any tomato paste/ketchup in the sauce like so many seem to do. (One person who will be eating this can't eat tomatoes. Not that there is many tomatoes in ketchup.) A lot of the spices that the original recipe called for, can't be tolerated either and so I substituted for ones that could be. So I get the sauce all made and I'm pouring it over the large roast and I have this awful realization. This recipe calls for worcestershire sauce, something that I have never actually read the label on to check if it contains any dairy for any reason. So I scramble to grab the bottle and with a hint of relief I read that their is no dairy in it. Unfortunately though, in my excitement to make pulled pork finally, I never considered that worcestershire sauce contains soy sauce. Something else that can't be eaten. (You see now why pulled pork was on the bucket list, it's because of all the obstacles that would have to be overcome.) Well, it was too late for this poor roast though as it was by now coated in this stuff. So I go and pull out the two different types of packaged BBQ sauce we always use, just to see if they contain worcestershire sauce, so at least I could wave them around and say 'see, you eat it in this.' Much to my disappointment though, neither of them did. But, they both contained tomatoes in some form, and one even contained milk. Hmm, interesting. The two things I was consciously trying to avoid putting in this sauce.

Another oops on my part was that I made the rub up and the sauce without really realizing how large of a roast I had to work with. So, as I'm staring at my measly little bowl of liquid and a huge roast, I realized that I had made a blunder. So I made another batch of sauce, and doubled it this time. So what you see in this recipe is a tripled batch of sauce. The take home message, look at the size of your roast before making any decisions on how much sauce you'll need.

For my second go at making the sauce I ran out of apple cider vinegar and so I mixed about 2:1 white vinegar to apple juice (just because...hey, they both say vinegar and apple right?).

You know what I'm just realizing now as I type this? I never actually tripled the rub. Oh well, I don't think I'd bother with the rub anyways next time. Even if I did, I'm not sure that I would triple it though. With the quantities I have listed here, it still covered the entire roast, albeit lightly.

The original recipe was from Eat Cake for Dinner. In the end though, I really just used her recipe as a guide line. Most of the ingredients she used were substituted out for something else and so this recipe will bear little resemblance to the original. But I still am going to credit her, because I honestly would have had no idea where to start, without her recipe. Besides changing ingredients, I also didn't let the roast sit overnight with the rub on it. I just applied it and let it sit while I made the sauce. It was kind of a last minute decision to make this, this morning.


Ingredients

5-6 lb Pork Loin
1 Onion, sliced
6 Cloves of Garlic

Rub:
1/4 C. Brown Sugar
1 Tsp. Paprika
1 Tsp. Chili Powder
2 Tsp. Montreal Steak Spice
Salt
Pepper

Sauce:
3 C. Apple Cider Vinegar (or use 2 C. White Vinegar, 1 C. Apple Juice like I ended up doing.)
3/4 C. Worchestershire Sauce
2 Tbsp. Sugar
1/2 Tbsp. Dry Mustard Powder
2 Tsp. Montreal Steak Spice
1 Tsp. Paprika
1 Tsp. Chili Powder
6 Cloves of Garlic, minced

2 C. Water

2-3 C. BBQ Sauce (depending on how saucy you like it / how much the meat absorbs / how runny your sauce is)

Directions

~Mix together rub ingredients and then rub onto roast (I did this step and I'm not entirely convinced I would do it again, as I used almost the same ingredients in the sauce that I cooked the meat in). Let roast sit (I only did this for maybe 20 minutes, but you could do it overnight if you are better at planning ahead than I am).
~Slice onion and prepare garlic (I just crushed each garlic clove)
~Put meat into crock pot
~Top meat with the garlic and onion. 
~Combine all the sauce ingredients together in a bowl and stir to combine. 
~Pour 2/3 of the sauce over the roast, reserving the remaining sauce for when the meat is cooked (place in a jar in fridge)
~Add the water to the crock pot.
~Cook meat until internal temperature reads 160 F. (Took me 6-7 hours on a mix of high and low settings.)
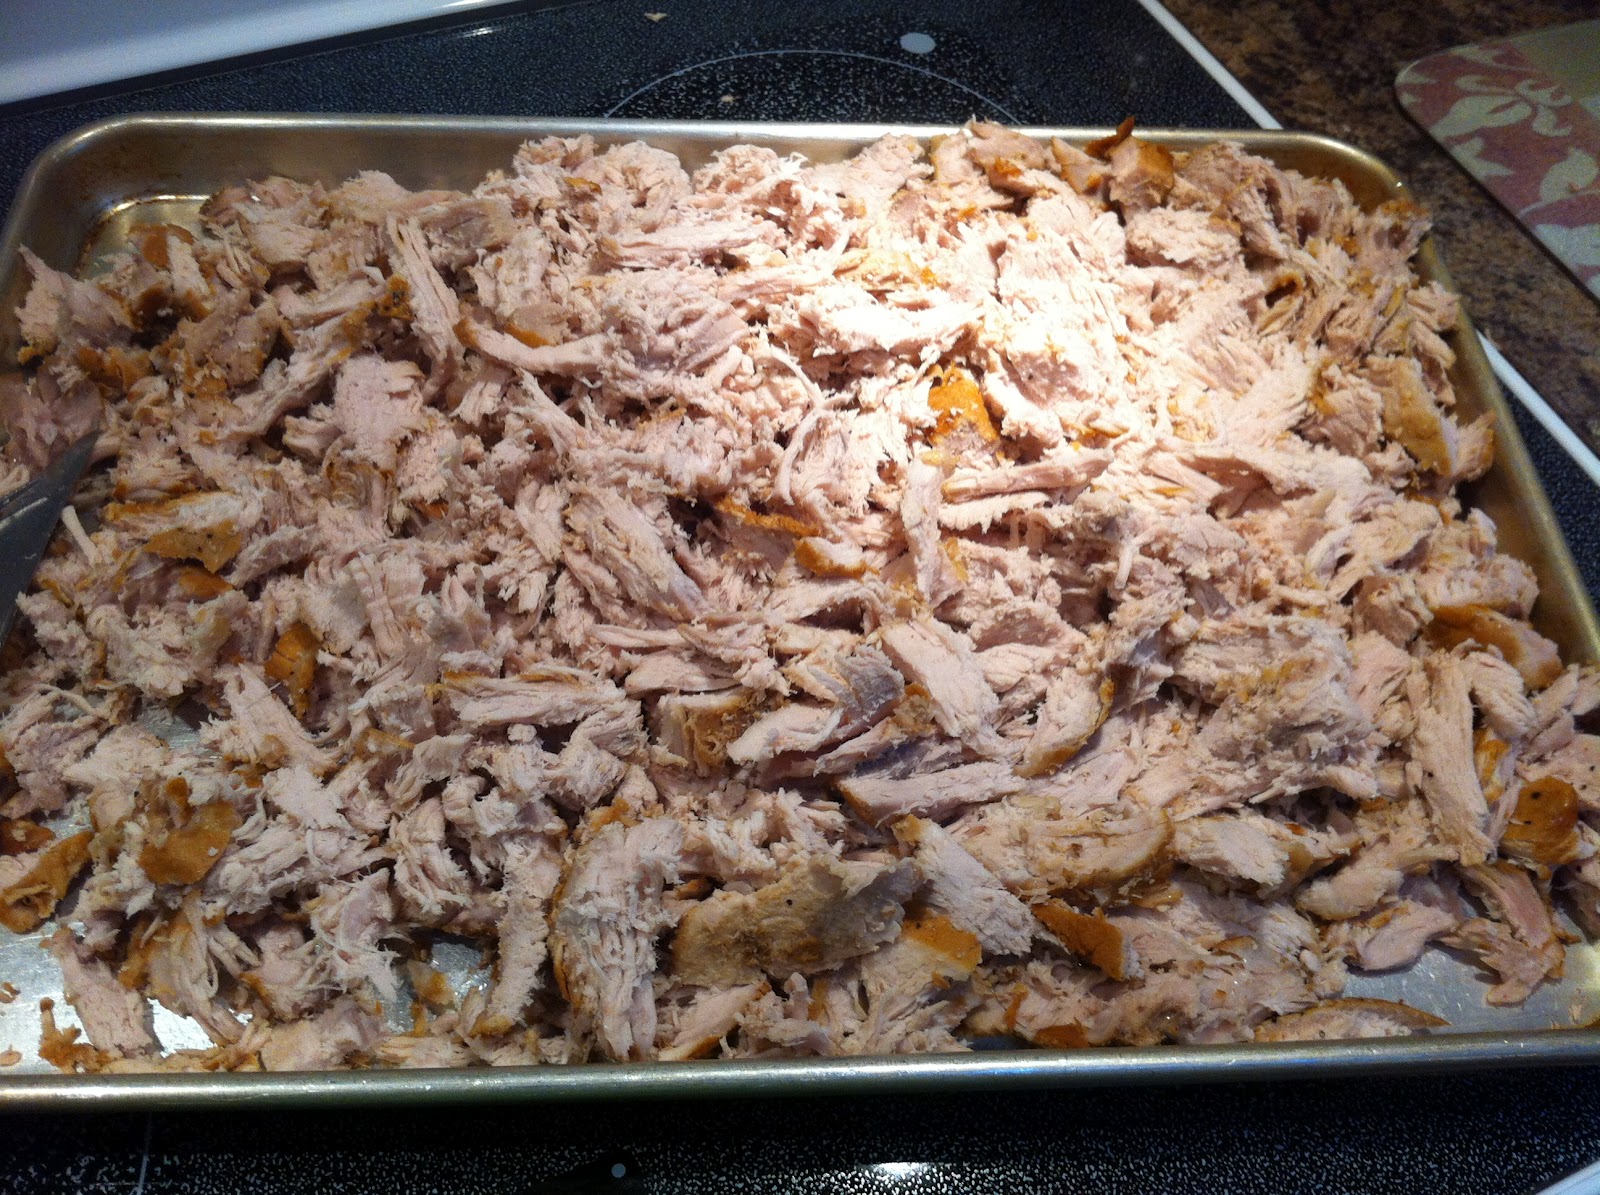
~When meat is done, pull roast out and place on a cookie sheet (or baking dish if you used a smaller roast. You just want a dish with an edge) and pull it. (We used a mix of forks and serrated knifes because it was too hot to touch.)
~Discard juices and onions from crock pot.
~Place pulled pork back into the empty crock pot.
~In a microwavable dish, combine reserved sauce from earlier and about 2 C. of BBQ Sauce. Mix to combine and place into microwave to heat until just warmed through.
~Pour sauce over meat in crock pot.
~Stir to coat meat in sauce.
~If mixture looks too dry, add in additional sauce to your liking.
~Turn crock pot on low to warm mixture through.
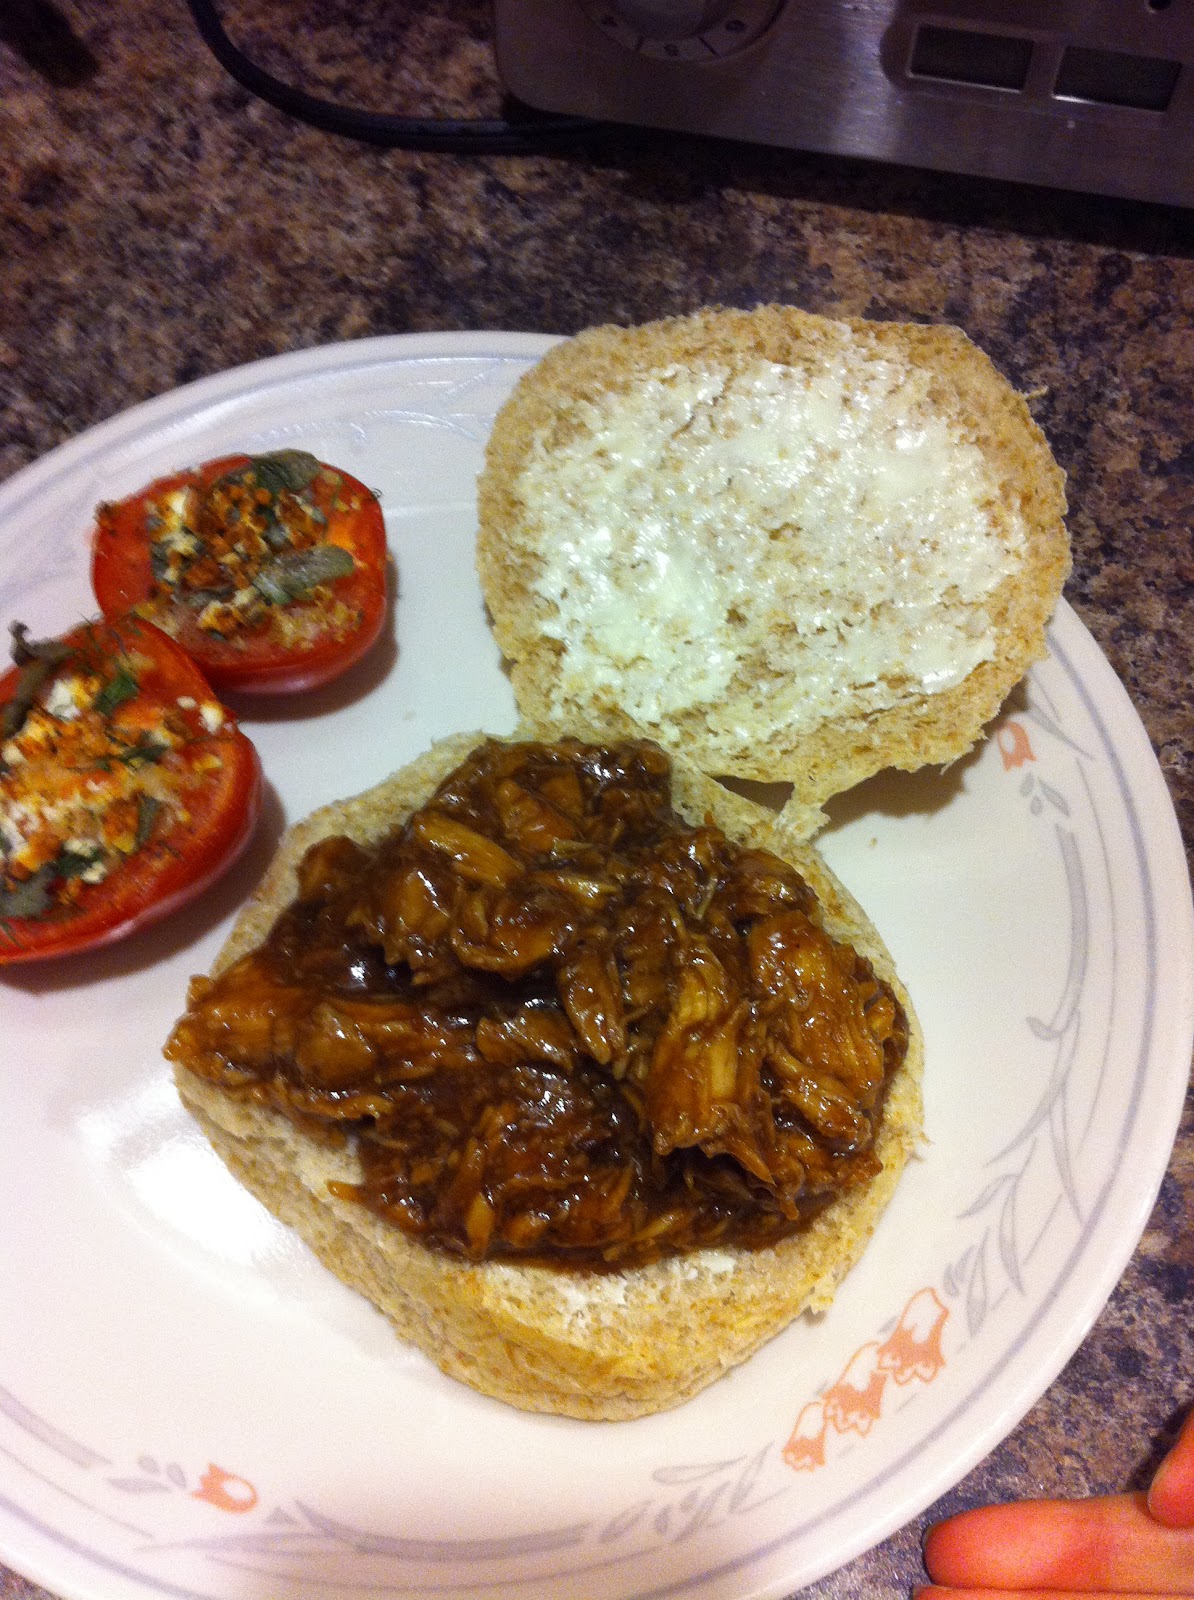
~Serve on buttered buns or just eat straight from the crock pot (If you can't wait to try it!)

Enjoy


Oh, one last thing. Four large eaters consumed half of this in one night. (I admit, I did have to go back for seconds.) So I'd say this would feed about 8 people with a little extra to spare. 

Wednesday, 13 June 2012

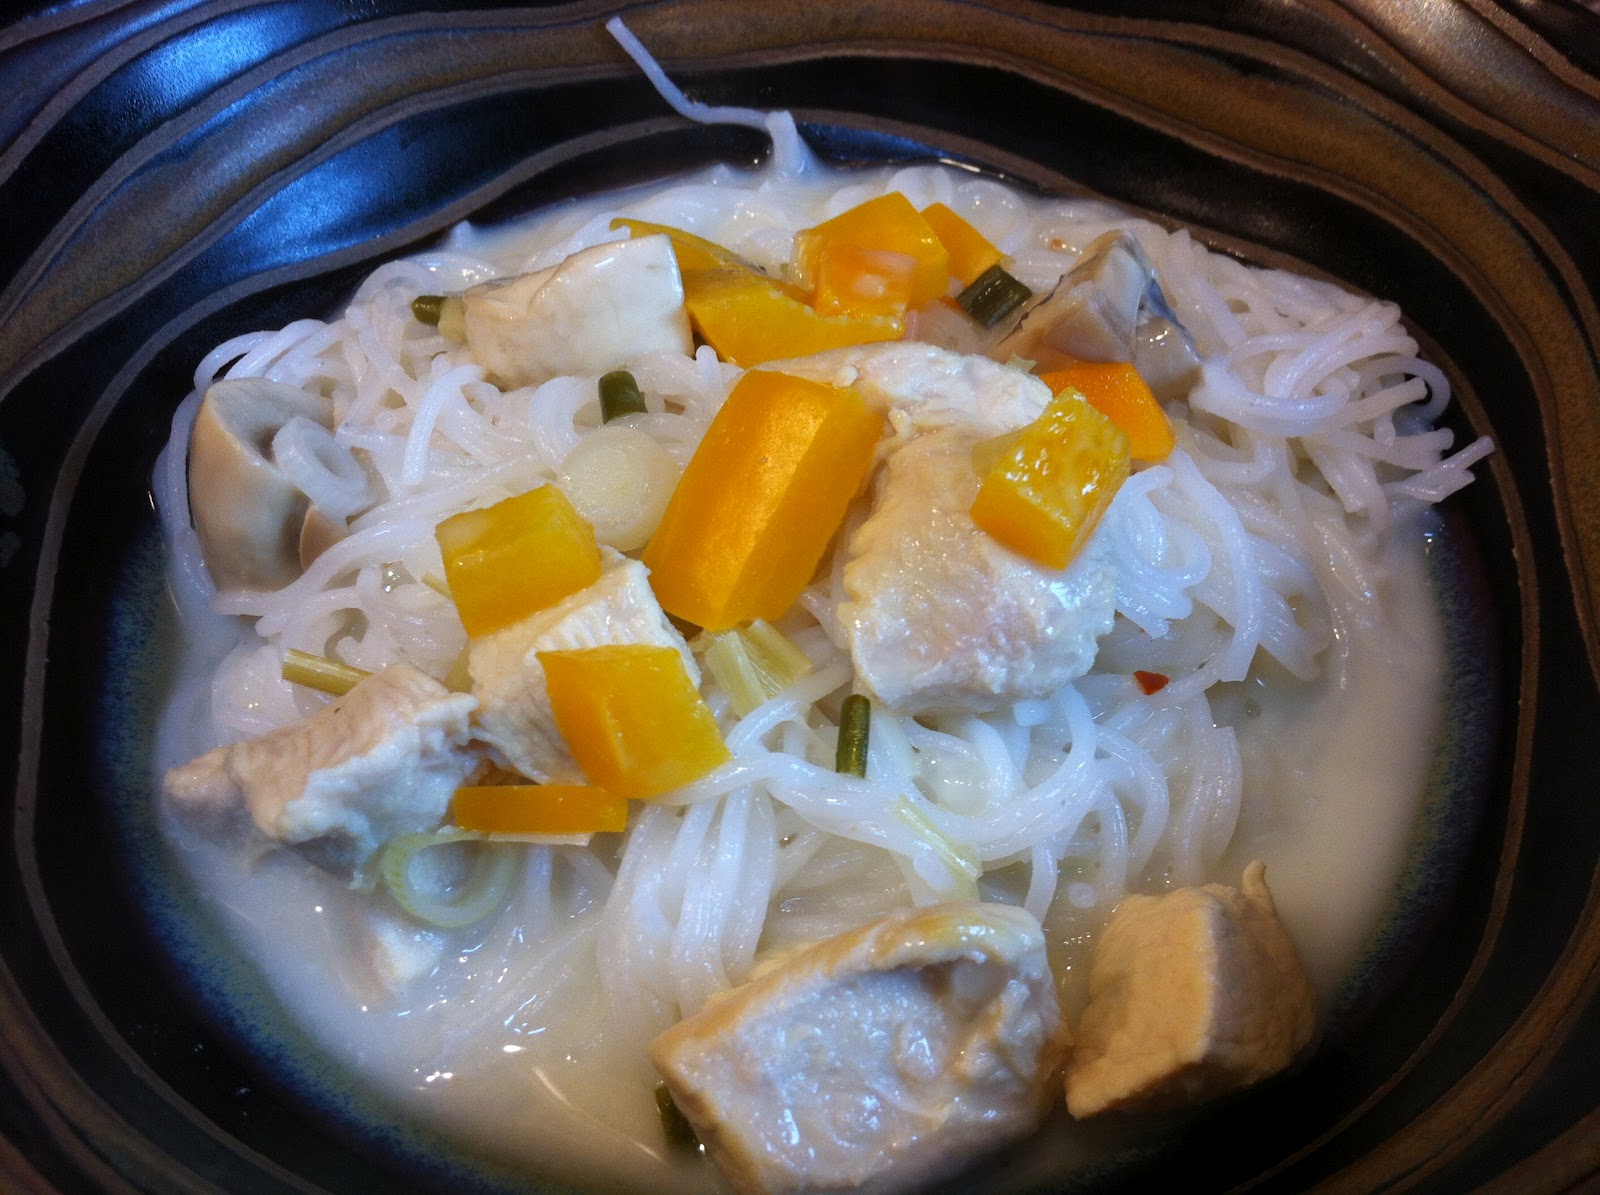
Thai Coconut Noodles

I made this for dinner the other day. It's something that has been on my list to make for awhile now and I was glad to finally get to try it. Now, typically I'm more of a person that likes a heavier dinner and a lighter lunch (I know, I know), and while I did enjoy this for dinner, I wasn't sure I would make it again. But maybe that was because it was grey and rainy out and June, which makes it all that much worse and I may have just been wanting some heavy winter comfort food. Or, because I associate dinner with garlic, and there actually was no garlic in this recipe. Something I might change if I make it again by adding a clove or two into the sauce. So, I gave it a chance and ate it the next day for lunch and it was much, much better as a lunch food.

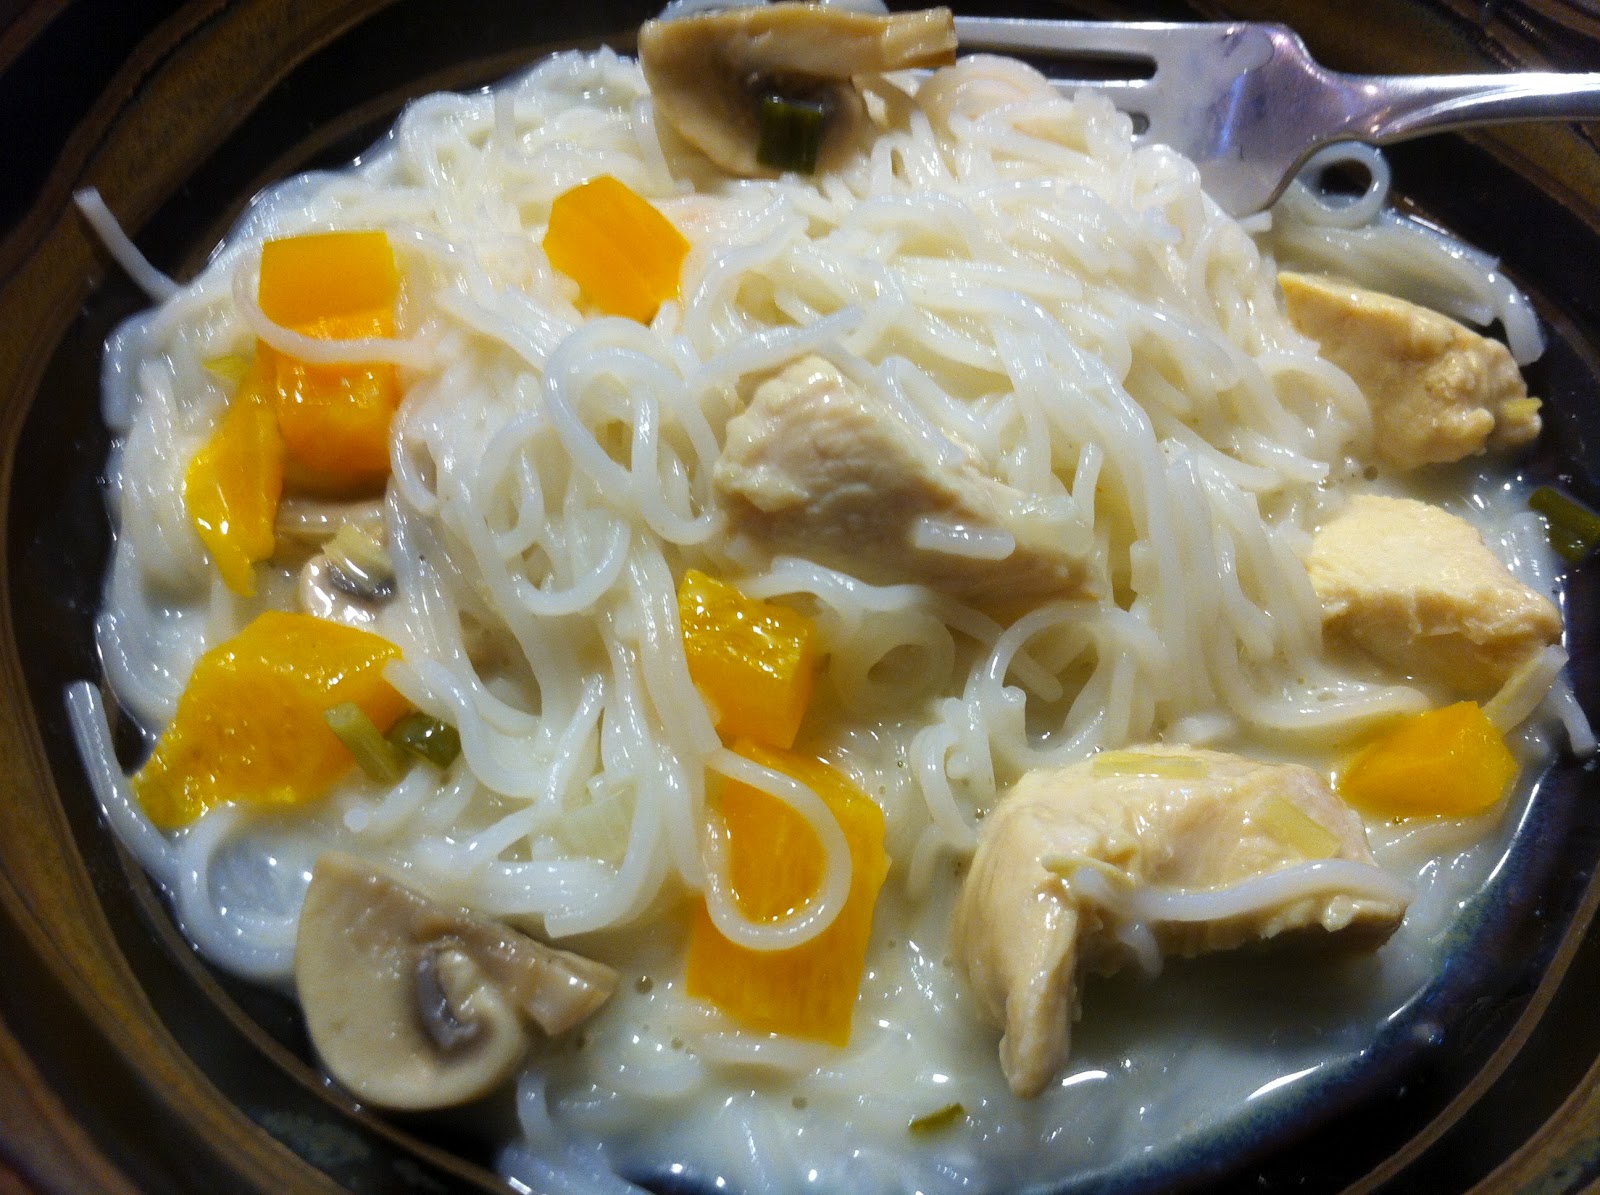
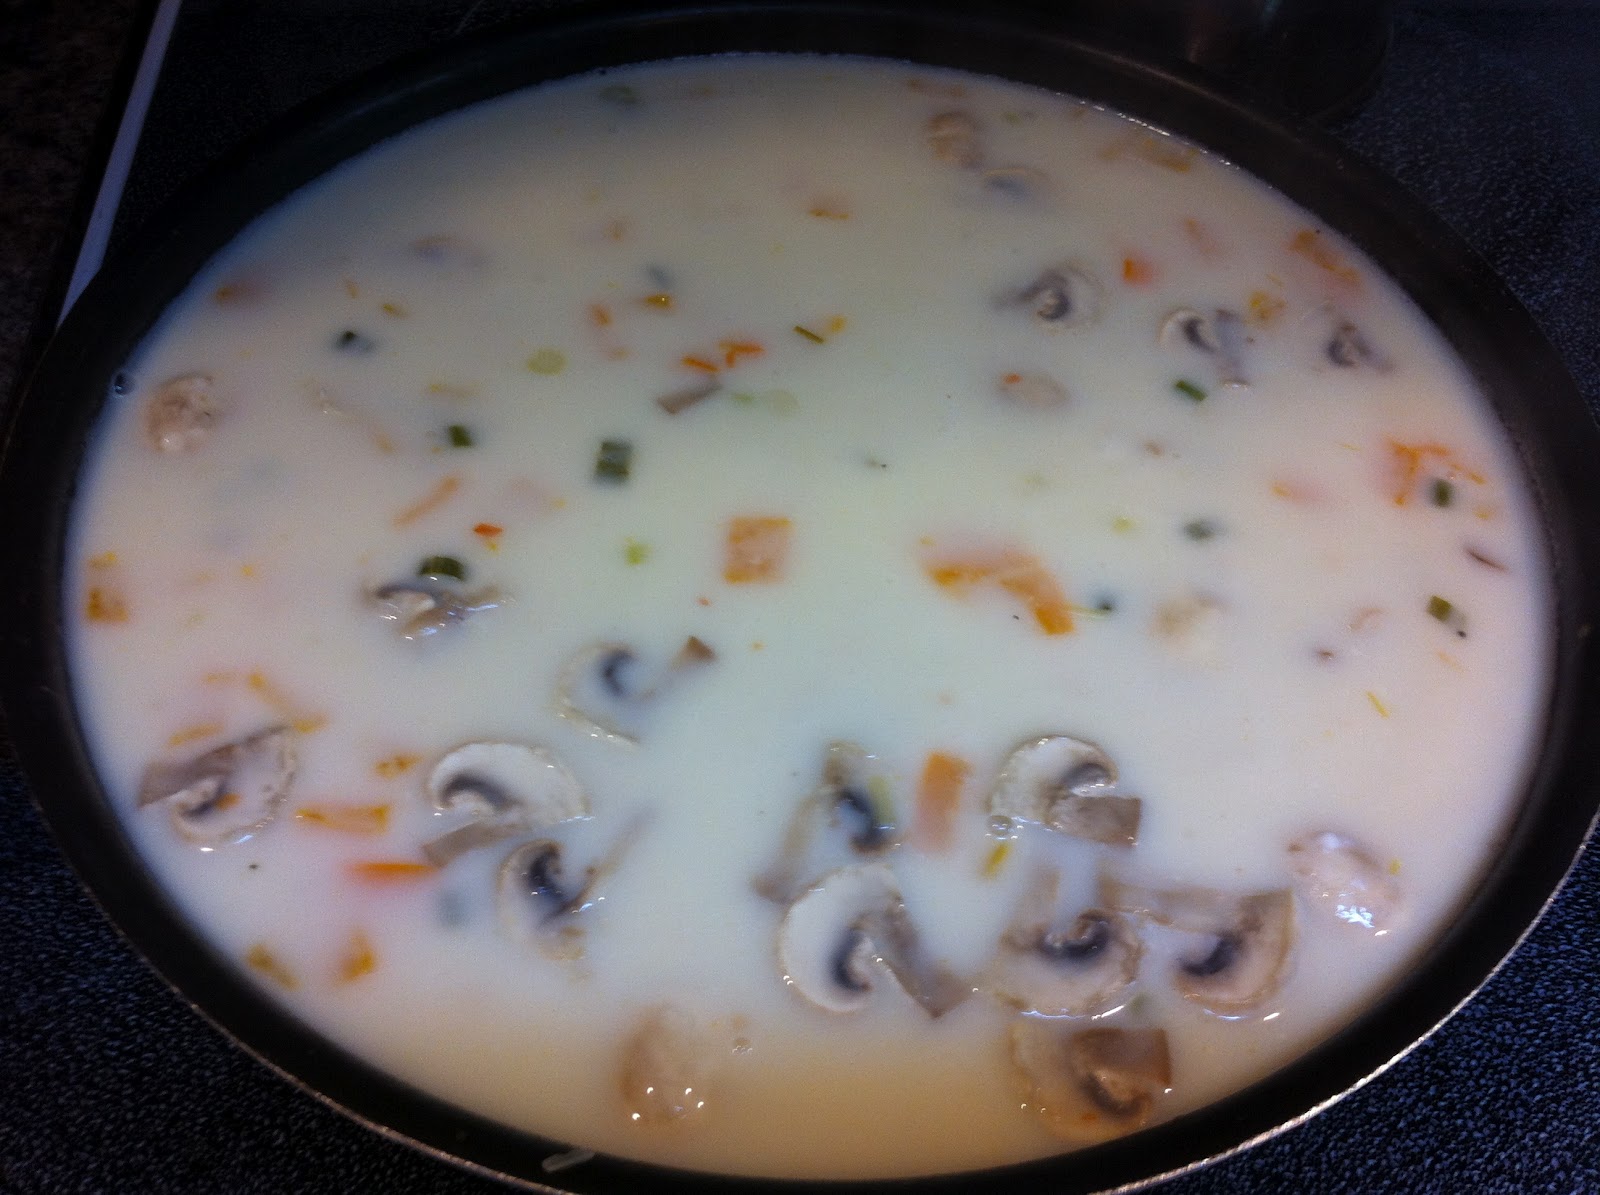
This is a really light meal. The rice noodles are fluffy and airy and the coconut milk makes you think you'll be digging into a heavy calorie laden cream sauce, but when you taste it, it is anything but that. The sauce as we were making it almost looked like clam chowder (not that I've ever actually made clam chowder, nor do I ever intend to). But, if you are looking for a healthy, light meal than this is definitely for you. I'm not saying this was a bad recipe, I actually think it was pretty good. It was just not really what I'm used to, but I probably could get to liking it if I gave it a chance.

On a final note, I doubled this recipe and so far 3 people have eaten two meals from it and there is still more left over. It made a lot more sauce than I was expecting.

The original recipe can be found over at Kayotickitchen.

Ingredients

1/2 lb Rice Noodles (for me this was half a package)
2 Chicken Breasts, cut into chunks,
1/2 Red Chilli Pepper (I didn't have this so I just substituted about 1/2 tsp of chilli flakes, but might increase to 1 tsp next time)
1 Green Onion
2 White Mushrooms
1 Bell Pepper
Juice from 1 Lime
1 1/2 C. Water
Thumb-size piece Fresh Ginger
1 Tsp Ground Lemongrass (or 1 stalk)
1 Bouillon Cube, Chicken Flavoured
1 Can Coconut Milk (I used the light variety and it worked fine but I just doubled the cornstarch)
2/3 Tbsp Cornstarch
1 Tsp Honey
Salt
Pepper
Cilantro (optional and I didn't use this)

Directions

~Cut chicken, bell pepper and mushrooms into bite size chunks or slices.

~Deseed and finely chop the chilli pepper

~Peel and grate the ginger. Slice the lemon grass and process in a food processor until flakey. Slice the green onion into small pieces

~Pour water, bouillon, lemongrass, ginger, lime juice and chilli pepper into a large pot. Bring to a boil.

~Add chicken and let it simmer for about 10 minutes or until chicken is cooked. Half way through, pop in the bell peppers, green onions and mushrooms.

~In another pot, cook noodles according to package directions.

~In a small bowl, mix cornstarch with approximately 2 Tbsp of water. Whisk to get rid of the lumps and then pour into chicken mixture, stirring constantly to prevent chunks from forming.

~Add coconut milk and stir.

~Season with salt and pepper to taste and honey. Allow to simmer until heated through.

~Serve sauce and chicken mixture over noodles.

Enjoy