Showing posts with label LEMON. Show all posts

Friday, 1 March 2013

Blueberry Lemon Curd Galette


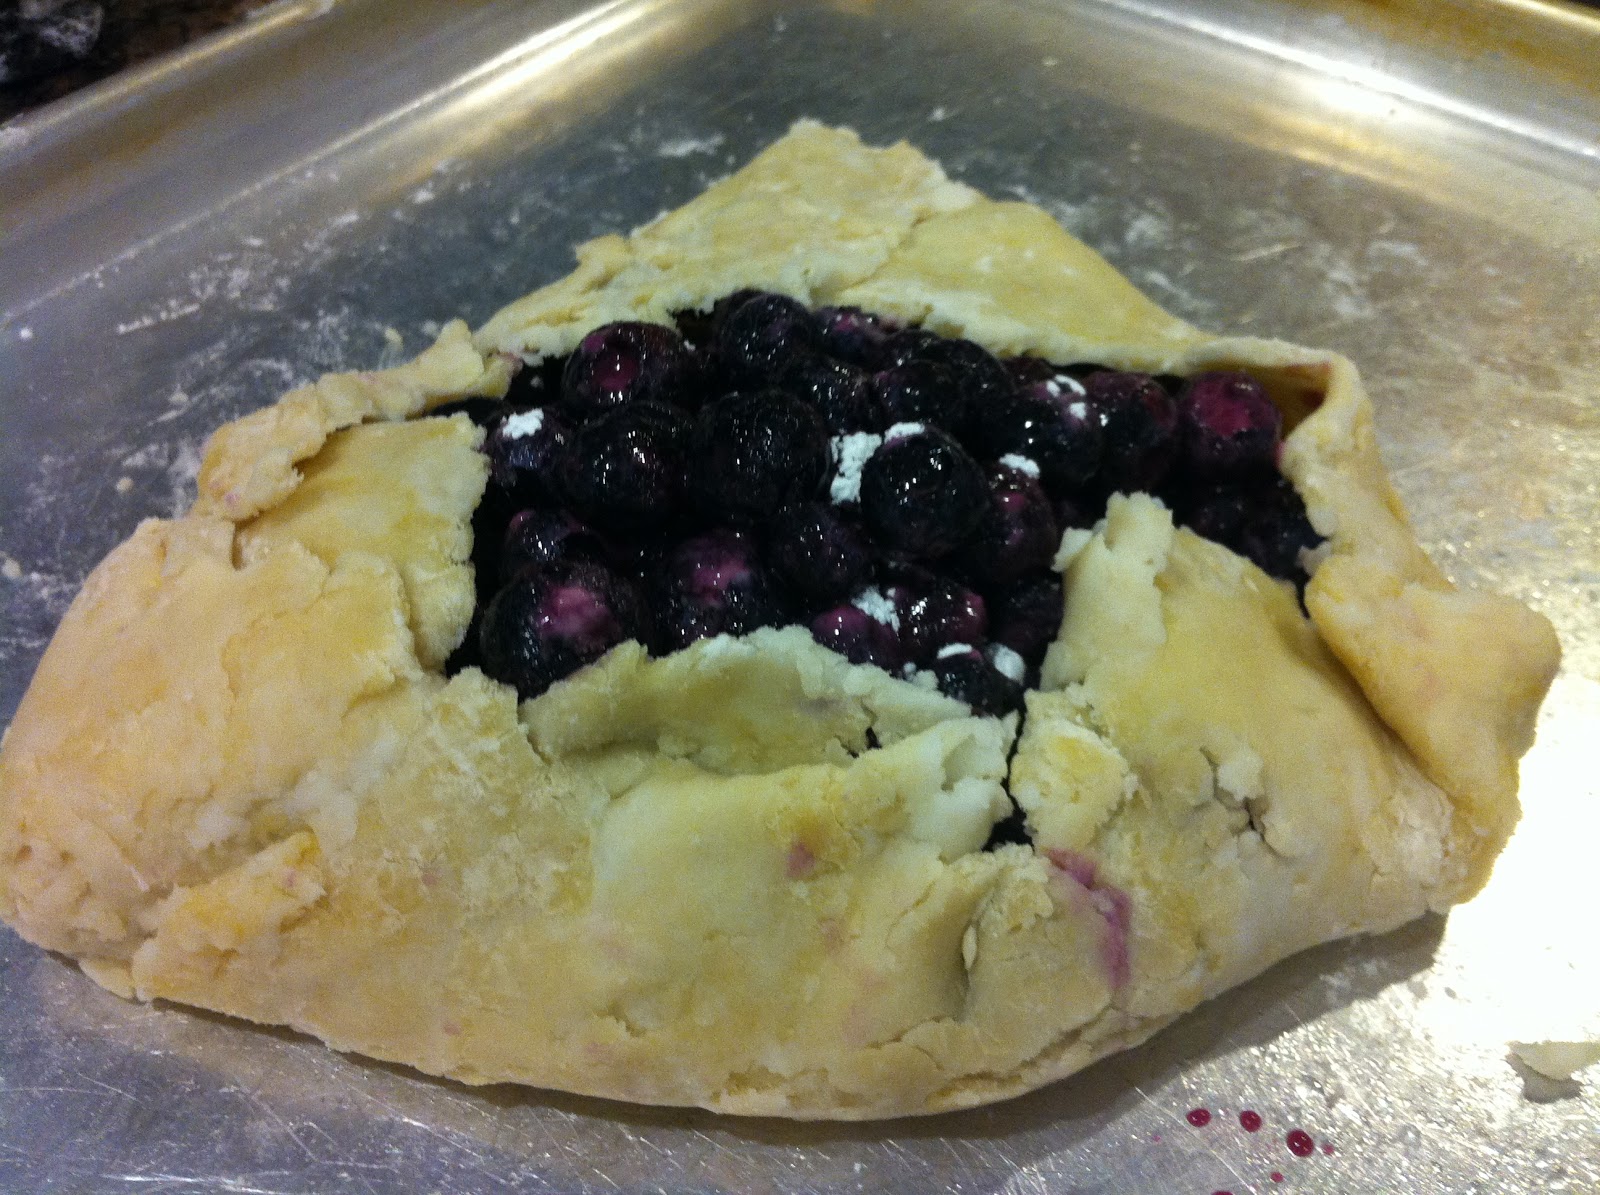
Okay, I know this looks messy and like I ruined my cookie sheet but I can assure you it actually came off the sheet beautifully and once it was on a plate you would never know that all the innards leaked out of it.

The beautiful thing about this is that it looks about as far from perfect as could be, but the rustic look is in right? Right? So really, imperfect is perfect now or at least that's what I'm telling myself. The other great thing about this is that you can really make them as big or as small as you want. Because you aren't limited to the size of a pie pan. I ended up making 4 of these (we cut them into 3 or 4 pieces) and I used about 1/2 - 2/3 of this pastry recipe. It was a great recipe to use up the leftover pastry from the chicken pot pies because I was able to make as many of these as I wanted at the size that I had pastry available for. It wasn't like trying to stretch not enough dough into a pie pan. Plus with my little bit of scraps I was going to throw out at the end I decided to do something with them as well so scroll down to the bottom for that.


The pastry really didn't roll out that well.

But it all tastes the same in the end


Makes 2 Galettes

Ingredients

1/3 Batch of Pastry, divided in 2 
4 C. Blueberries (I used frozen, fresh would work too)
Lemon Curd
5 Tbsp. Sugar
2 Tbsp. Cornstarch
1 Egg
Sugar

Directions

~Preheat oven to 350 F
~Grease a cookie sheet or large baking dish.
~Place 2 rolled out pastry circles onto greased pan (I slid 3 or 4 knives under the edges of the pastry to make it easier to not over-fill it and it helped to just flip the pastry up over the edges when done - see picture above if confused with what I'm trying to say here.)
~Spread lemon curd over the pastry, leaving about an inch around the edge.
~In a bowl combine berries, sugar and cornstarch. Toss to coat evenly.
~Scoop berries on top of lemon curd.
~Flip up edges of pastry over the berries and with your hands press together to seal.
~Bake for 30-35 min. or until pastry is golden.

Enjoy

And this is what you can do with the scraps. Roll it out into a long rectangle, scoop a bit of curd in the centre and fold it up and press the edges together with your hands to seal. Bake with the galette at 350 F but for a little less time (say 25-30 min.), just watch them and when they are golden they are perfect.

Monday, 17 December 2012

Luscious Lemon Square


I was walking through Costco a few weeks ago and got really excited when I saw they had in cases of Meyer Lemons. I've heard so much about them, but I've never seen anyone get them in. So I scooped up a case with the intentions of making lemon curd with them. Well, they sat in the garage for a while and I went about my Christmas Baking, until one day I realized in a panic, I'd pulled all my Christmas Recipes, but I'd forgotten one very important one, Lemon Square! Then I got really excited because I knew I had these untouched Meyer Lemons just waiting to be used, and really, I needed to make something else besides curd, because I don't need 18 Lemons worth of curd. Then the harsh reality struck. You need an oven for Lemon Square.

No big deal, after months of the new oven being on back order, it was supposed to arrive in a weeks time. It didn't. Then we finally bought the same one from a different store and it was supposed to come in a weeks time. It did. But the delivery people didn't leave it because it was damaged. I think a few people were about to strangle a few other people if you know what I mean. Anyway, a few days after the latest disaster, I came home and we had a new oven. The store had loaned us a floor model until they could get us our actual oven. Thank god is all I can say.

To give you an example of how excited I was (and still am), last night I got home from an 8 hour shift at five o'clock. I was feeling really sick all day at work, but when I got home I felt perfectly normal (strangely enough). So I set out on a spree to finish up the Christmas Baking (I would have succeeded if I hadn't have ran out of Worcestershire Sauce, and then at eleven o'clock started feeling really sick again). I dusted the lemon squares that I'd made the night more, I cut them, photographed them and packaged them up. I defrosted my spiral cookies, cut them, photographed them and baked them. I then tossed together another batch of bits and bites but ran out of the sauce part way through so I had to abandon my efforts with only part of that batch baked. And, I dipped 160 Buck Eyes. By eleven o'clock my back hurt, I felt sick, tired and my hands were so cracked and sore from washing them too many times that I gave up and went to bed leaving a stack of dishes a mile high. But it was a successful effort.

Back to the Lemon Square and the Meyer Lemons. I knew everyone said these lemons didn't have the tartness of other lemons. After making both this square and my curd with them, I have to say they are definitely good, but as a true lemon lover, I think I'd like to stay with the bit of a kick that the traditional lemon offers. I'm really glad I tried them though, they just changed the flavours of these things a little bit too much. But, that being said, these were things I love for what they were before. Maybe if I made something utterly new with the Meyer Lemons, and didn't have anything to compare it to, I would enjoy them. Until then, I think I'll just stay with the typical lemon.

This recipe came from my next door neighbour. I have included the single batch recipe (makes 1 - 9x13 pan) with the crust doubled for extra thickness. Because this is a favourite every Christmas, I ended up doubling it again and making 2 trays.

Makes 30 squares.

Ingredients

Crust
1 C. Butter, softened
1 C. White Sugar
1 Lemon, zest
2 1/2 C. Flour

Lemon Layer
4 Eggs
1 2/3 C. White Sugar
3 Tbsp. Flour
1/2 Tsp. Baking Powder
1/2 Lemon, zest
6 Tbsp. Lemon Juice (Juice of 2 Lemons)
1 Tsp. Vanilla Extract

Icing Sugar

Directions

Crust
~In a medium bowl, cream butter, sugar and lemon peel.
~Gradually stir in flour to form a soft crumble dough. (Very important**Make sure there is no clumps of butter, otherwise when you bake it, you'll get pits in your crust were the butter chunk melted)
~Press evenly into the bottom of a greased 9x13 baking dish and pack down very firmly with your hands.
~Bake at 350 F for 15 minutes, or until crust just begins to take on a golden colour around the edges

Lemon Layer
~While crust is baking, in a large bowl, whisk eggs well.
~In a separate bowl, stir together sugar, flour and baking powder.
~Gradually whisk the sugar mixture into the eggs.
~Whisk in lemon zest, juice and vanilla and then pour evenly over hot crust and return to oven.
~Bake for 20-25 minutes or until top is lightly browned (if you have a hotter oven like I used to, you might want to bake at 350 F for 10 minutes then reduce heat to 300 F after that, to prevent it from browning too much - I didn't have to do this though with my new / temp. oven)
~Once cooled, sprinkle top with icing sugar (by placing a small amount of sugar in a sieve and tapping gently over top the bars).
~Cut into bars or squares.

Enjoy

**If you don't want the thicker crust as I have described (or you don't have enough ingredients on hand for a spur of the moment baking extravaganza), you can simply half the crust ingredients to return this recipe to it's normal amounts (don't half the Lemon Layer as it was never doubled).

Monday, 24 September 2012

Smashed Potatoes with Herbed Butter


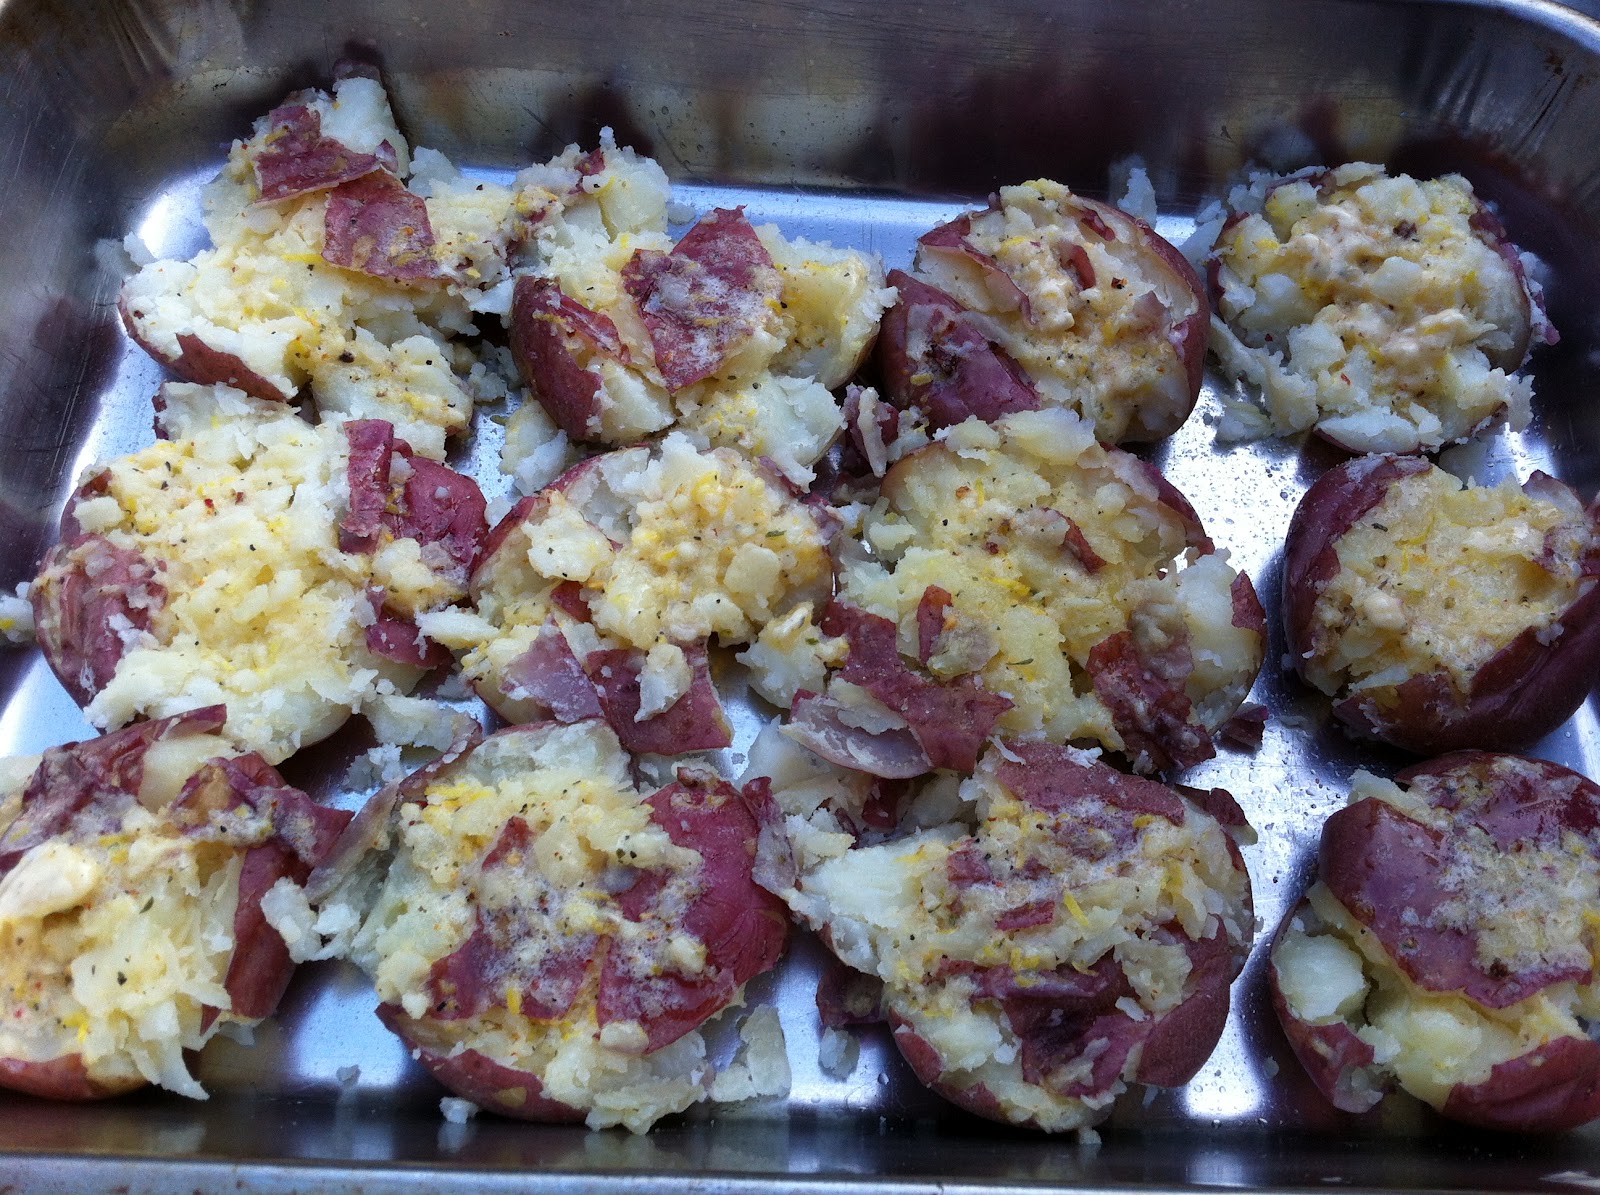
I've made these once before. The first time instead of using the greek spices I used fresh dill. Unfortunately, the time for fresh dill has come and gone and I was left staring at the dried spice drawer trying to come up with a substitute. I briefly considered some Montreal Steak Spice (which would be very good I'm sure), but not exactly what I was hoping for, for tonights dinner. So, I went garlicky and lemony and let me tell you, it has been hours now since I ate and my mouth is still burning from the garlic. What I'm trying to say is, if you aren't a huge garlic fan (let me slap some sense into you...kidding) you might want to reduce the number of garlic cloves in this. Then again maybe not, as I was using amazingly fresh and crisp (not rubbery in the slightest, hallelujah), local farm garlic. So I think it may have had a bit more of a kick than the grocery store variety would have.

The idea for smashing the potatoes has come from multiple blogs. The herbed butter is my own creation.

Makes 8 servings


Ingredients

16 medium Red Potatoes
1/2 C. Butter
Zest of 1 Lemon
1 Tsp. Lemon Juice
1/2 Tsp. Hot Sauce
5 Cloves Garlic, minced
1 Tsp. Greek Spice Blend
Salt
Pepper

Directions

~Bring a large pot of water to the boil and place potatoes in the pot.
~Meanwhile in a small bowl, whip the butter until it is smooth.
~Zest the lemon and add it in to the butter along with the lemon juice, hot sauce, minced garlic and greek spices.
~Mix well to combine.
~Place into fridge while the potatoes boil, allowing for the flavours to develop.
~Boil potatoes until they are fork tender. Then drain.
~Preheat oven to 375 F.
~Grease a cookie sheet and line up the potatoes on it.
~With a potato masher, gently press evenly on the top of each potato to crush it just enough so the whites of the potato are visible.
~Place a dollop of the butter mixture on top of each smashed potato and then spread so it covers the entire top surface.
~Season with salt & pepper
~Bake potatoes in the oven (or on the BBQ as I had to do) until the top surface begins to brown and crisp (10-12 minutes).
~Serve with a dollop more of the herbed butter.

Enjoy (and don't think of all the cholesterol)!


Sunday, 16 September 2012

Raspberry Pancakes


I know that every person that spends any time in the kitchen has that one fear. Be it pastry, yeast breads, or pancakes. Yup, I'll make bread a few times a week and if I had a need for a pie I wouldn't have a problem with making one. But pancakes, those are my nemesis. Pancakes are my Dad's specialty. The first day that everyone is all together at the cabin is always pancake day. Now I've never seen him make pancakes from scratch though. He always buys that Aunt Jemima Buttermilk Pancake Mix (I am not being compensated for this, and all opinions are my own) and adds eggs and oil and vanilla soy milk and then more pancake mix. His batter looks like paste as there is no measuring going on, just dumping things in (or so it would appear). I know a double batch is never enough, usually he ends up tripling or quadrupling. Anyway, if we have company they always take their first bite of pancake and you can see them thinking how can this taste like this, it comes from a box? Wanna know the secret? Of course you do. It's the soy milk. Vanilla, fat free soy milk. Even though it's fat free, it is still a million times richer, creamier and vanillaier than regular milk. Resulting in the best buttermilk pancakes (minus the buttermilk) that you could ever image. Then to top it off, they're cooked on a gas stove on an ancient old cast iron griddle (instead of the electric griddle we have at home). The end result is a pancake that looks like it's burnt to snot, but actually doesn't taste one bit charcoaled.

My dad even got one of the neighbourhood kids in a jam because he got the poor kid to confess that the pancakes were better than the ones his mom made. Of course that didn't go over so well with her.

So you can probably see why pancakes are my nemesis. I could count on my one hand how many times I've tried to cook pancakes and I could also tell you how many times I've wrecked them (those numbers would be equal). I either end of having them raw in the centre, or like shoe leather they are so tough because I'm trying to avoid the rawness. Yup, not good.

Today I decided to tackle them though, and while they weren't raw or tough, they were slightly burnt (and you could taste it because electric heat and teflon is not as forgiving as a flame and cast iron). All-in-all though, I was pretty happy and I will be making these again, probably with some slight adaptations (such as the addition of some lemon zest and a bit more lemon juice). The original recipe was intended to be a raspberry streusel pancake, which sounds amazing (plus it had coconut oil and coconut milk in it, yum), but I didn't go that route. When I have a chance I might make the original recipe just as it was written, but for today I decided to change things up and go raspberry lemon (you know it's my fave right?) instead.

Please check out the original Raspberry Streusel recipe at Baking Serendipity (who got it from Two Peas & Their Pod), as it still does look truly awesome and mine has been adapted a bit from the original.

Makes ~10 pancakes (1/3 C. batter each)


Ingredients

2 1/2 C. Whole Wheat Flour
2 Tbsp. Sugar
2 Tsp. Baking Powder
1 Tsp. Baking Soda
Pinch of Salt
2 C. Vanilla Almond Milk
2 Eggs
1 Tbsp Olive Oil
1/2 Tbsp. Vanilla
1 Tsp. Lemon Juice
Zest of 1 Lemon
1 C. Raspberries

Directions

~Mix dry ingredients (flour, sugar, powder, soda & salt) in a large bowl.
~Add in the wet ingredients (milk, eggs, oil, vanilla and lemon juice) & stir.
~Wash & smash raspberries with a fork then fold berries and lemon zest into batter. (It's okay if the batter is slightly lumpy.
~Scoop batter (I used a 1/3 C. measuring cup to transfer the batter) onto a hot and greased griddle or skillet.
~Flip when bubbles in the centre burst.
~Cook the other side until it is golden brown.

Enjoy!


Nutrition Facts
Per 1 Pancake
Makes: 10 (1/3 C. Batter) Pancakes
Calories: 160
Carbs: 29g
Fat: 4g
Protein: 6g

Saturday, 8 September 2012

Lemon Garlic Pasta


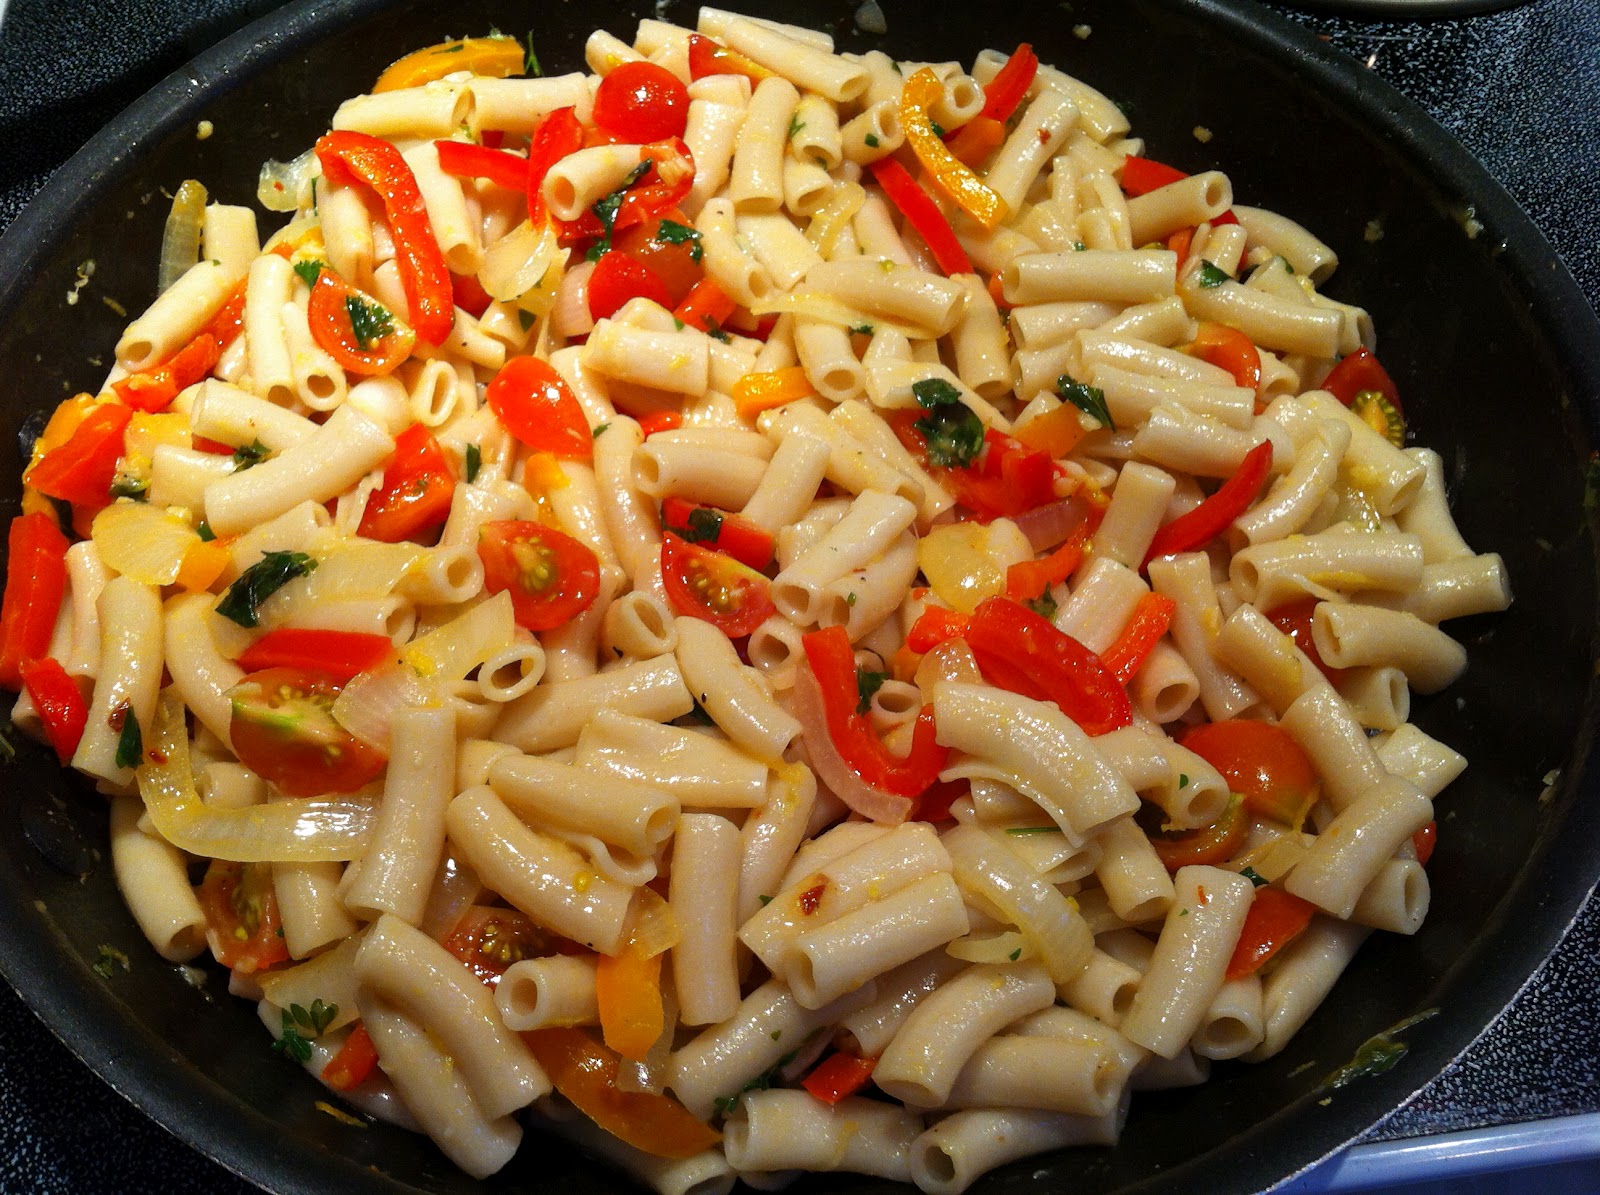
I wanted pasta. But I wasn't interested in a rich tomato sauce, nor could I stomach the fat in (nor did I have the ingredients for) an alfredo or cheese sauce. This recipe worked though because it used butter instead of olive oil (which I find has a very strong flavour) and it had lemon in it (my fave). While it was very good (surprisingly good even) the first night, it wasn't as great as leftovers because the pasta really absorbed the limited liquid and was really dry and flavourless the next night. So my recommendation: eat it, enjoy it, love it the first night and don't leave any leftovers.

I looked over multiple recipes before making this, but ultimately this creation is my own, and I don't usually brag, but I'm really proud of this recipe.

Serves: 6-8

Ingredients

1 lb Pasta
2 Bell Peppers
1 Onion
20 Cherry Tomatoes
4 Cloves Garlic, minced
2 Lemons, Zested
1/2 C. Lemon Juice
2 Tbsp. Basil
2 Tbsp. Parsley
3 Tbsp. Butter
Salt
Pepper
*Optional* Parmesan or Feta Cheese

Directions

~Slice onions and peppers into matchstick slices.
~Slice tomatoes into quarters.
~Prepare garlic and zest the lemons.
~With kitchen scissors, cut up your fresh herbs into small pieces.
~Bring a pot of water to a boil and add your pasta and cook according to the package instructions. ~Drain the water when pasta is done.
~Heat a large frying pan and add the butter.
~Season with salt and pepper to taste.
~When the butter is melted and hot, add in the onions and stir until they begin to soften. 
~Add in the peppers. Continue to cook and stir until they too soften.
~Add in the fresh herbs, the zest and the minced garlic.
~Stir until the garlic cooks, making sure not to overcook.
~Add the drained pasta into the frying pan and pour the lemon juice over top.
~Stir to coat the mixture evenly.
~Toss in the tomato quarters and give one last stir to mix.
~Serve with a sprinkle of parmesan or feta cheese if you so desire.

Enjoy


Saturday, 28 July 2012

Margarita Cookies


I had to laugh one day when I was sitting in class. I don't actually remember what was being discussed exactly, it probably was about an upcoming exam and what you should do in order to get the best possible mark. Well, all I remember was the instructor blurting out that she really liked chocolate and tequila. While I didn't agree with her on many points that she discussed in class, I do have to agree with that statement. It wasn't the only time I've had an instructor give a hint on how to boost your exam mark. One time in high school the teacher said she like Reese's and so the next test we wrote one guy in the class stapled a King Size Pack of the chocolates onto his test before he handed it in. I wonder how that turned out for him?

So, as you can probably figure out, these cookies were a good match for me. Unfortunately, I started making them and really didn't have all the ingredients and I'm not talking about sugar or flour. I mean, my limes were all the colours of the rainbow (1 was green, 2 were yellow and 2 where purple), so I salvaged the one that still looked like a normal lime and added in some lemons as substitute. Unfortunately it seems that every time I go to make something with lemons I have limes, and vice versa. I also didn't think I had any oranges, but then I found some satsumas in the bottom of our citrus bucket. Well, I don't think satsumas really zest very well to begin with, and these ones were pretty ripe so they would have nothing to do with zesting. Then I realized I'd taken my tequila to the cabin and left it there. So I replaced that with Triple Sec.

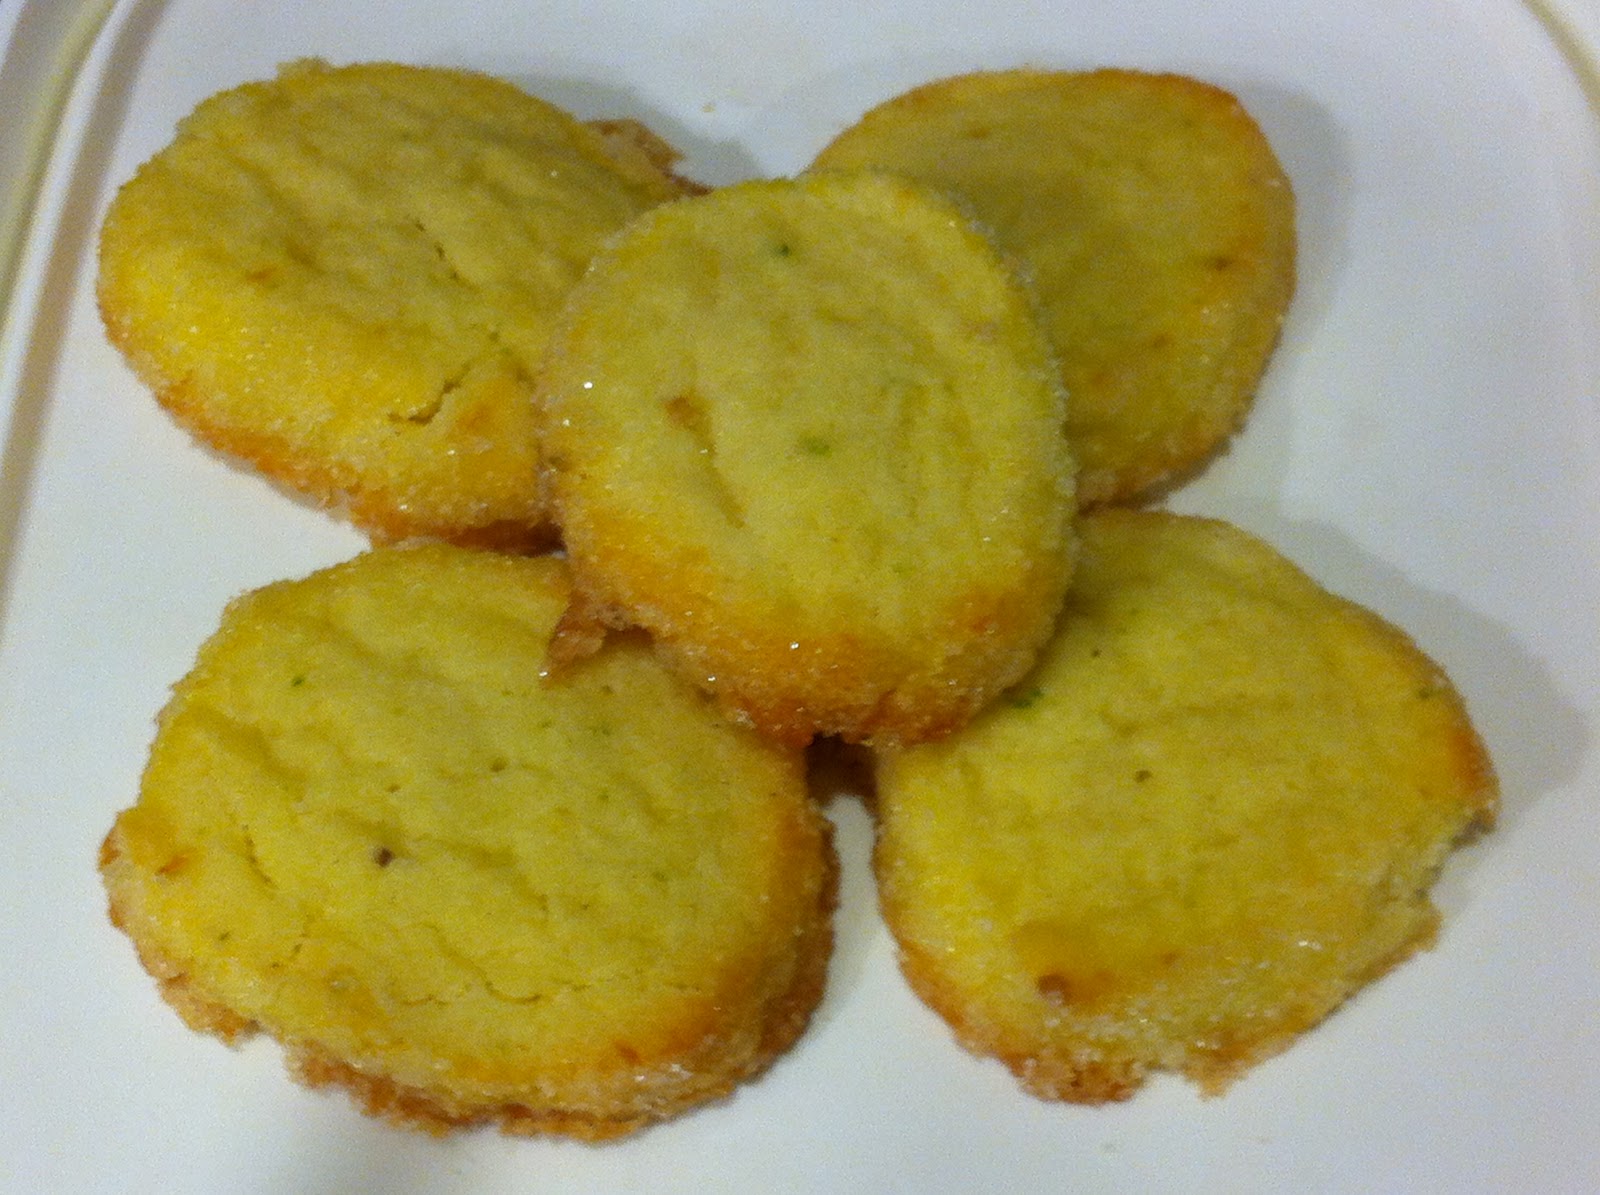
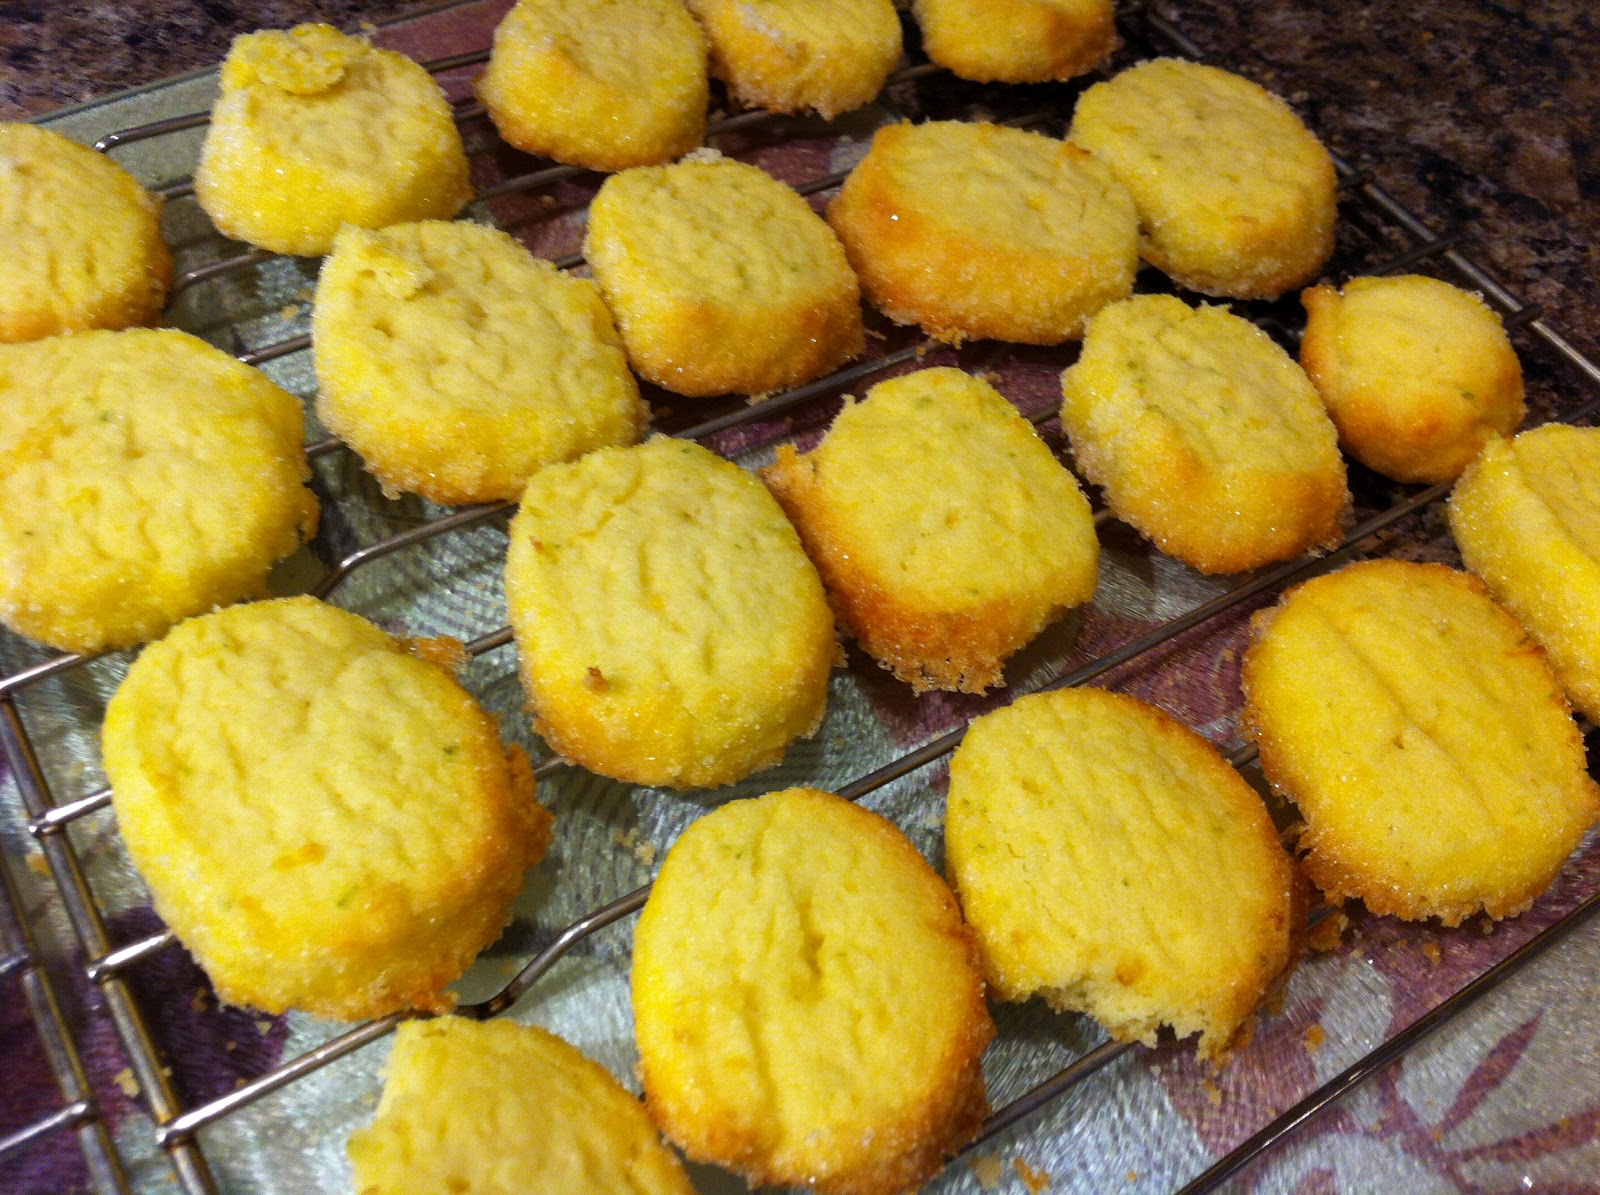
All in all, these cookies are more like citrus shortbread than Margarita Cookies. But, I really wanted to make them for the weekend and this was the last chance I was going to have to get in the kitchen so I had to settle for these changes. I'm going to post both what I did and what the original recipe was, because I really liked the flavour of what I ended up with, but would still like to try the lime and tequila pairing just to see what that's all about. What I ended up with was a citrusy sugar cookie / shortbread like cookie that was perfectly bite size and yummy. And by bite size I mean extremely tiny (smaller than even my small cookies I make), but that's okay right?

One final note, I found the directions on this recipe really wordy and so I really was just scanning through looking for what I knew should have been there. This caused one problem and I beg you not to repeat my mistake. The recipe said place cookies on a lined baking sheet. I didn't do this. I never line my sheets as I've never had a problem with them. Sometimes I don't even grease them when called for, because things just seem to come off of them easily. Anyway, don't make this mistake. Please, please, please GREASE the cookie sheet. Because these cookies are brushed with egg yolk and then rolled in sugar, the edges caramelized onto the sheets and I could not get them to come off. The first 3 or 4 slid off perfectly when I pulled the trays from the oven and quickly scooped them off, but they cooled (and hardened) quickly after that and it was the point of no return. I ate a lot of part cookies as I was trying to  transfer them to racks, and I made a huge mess. So again, GREASE your cookie sheets. That's all.

I got this recipe from All Things Yummy and it looks like the recipe originally came from Dorie Greenspan's Sables au Citron but Smitten Kitchen adapted it to what it is today. How's that for a credit? Whew!

I'm going to put the original recipe in black, and what I used instead beside in green for easy reference.

Makes: 5 1/2 Dozen

Ingredients

1 C. Butter
2/3 C. Icing Sugar, sifted
2 Egg Yolks, at room temp.
Pinch of Salt
2 Tsp. Tequila (4 Tsp. Triple Sec)
Zest of 2 Limes (1 Lime)
Zest of 1/2 Orange (3 Lemons)
2 C. All-Purpose Flour

Coating:
1/2 C. Clear Sanding or other course sugar (1/3 C. White Sugar)
2 Tsp. Flaky Maldon Sea Salt (1 1/2 Tsp. Sea Salt)

Directions

~GREASE cookie sheets.
~Put the butter in mixing bowl and beat until smooth.
~Add in the sifted icing sugar and beat again until the mixture is smooth and silky.
~Beat in 1 of the egg yolks (reserving the other for later), salt, tequila and zest.
~Beat in flour just until the flour disappears.
~Divide the dough into 3 balls and wrap in plastic and refrigerate for about 30 minutes.
~Form each ball of dough into a log that is approximately 1 - 1 1/4 inches thick.
~Wrap the logs in plastic and chill again for 2 hours (1 hour).
~Preheat oven to 350 F.
~Combine your two ingredients for the coating.
~Beat your remaining egg yolk.
~Brush logs of dough lightly with the egg yolk and then roll in the sugar coating. (I found it easiest to do both the brushing and the rolling on a spare cookie sheet. Then to press the coating in I transferred the log to another piece of plastic and rolled it up sushi making style and pressed the coating in this way.)
~With a sharp knife, slice each log into cookies (about 1/4" thick) and place on the cookie sheets.
~Bake for ~8 minutes or until edges where the egg coating is starts to turn golden but the rest of the cookie is still light.
~Remove trays from oven and pull cookies off right away.

Enjoy


Sunday, 15 July 2012

Tarter Sauce


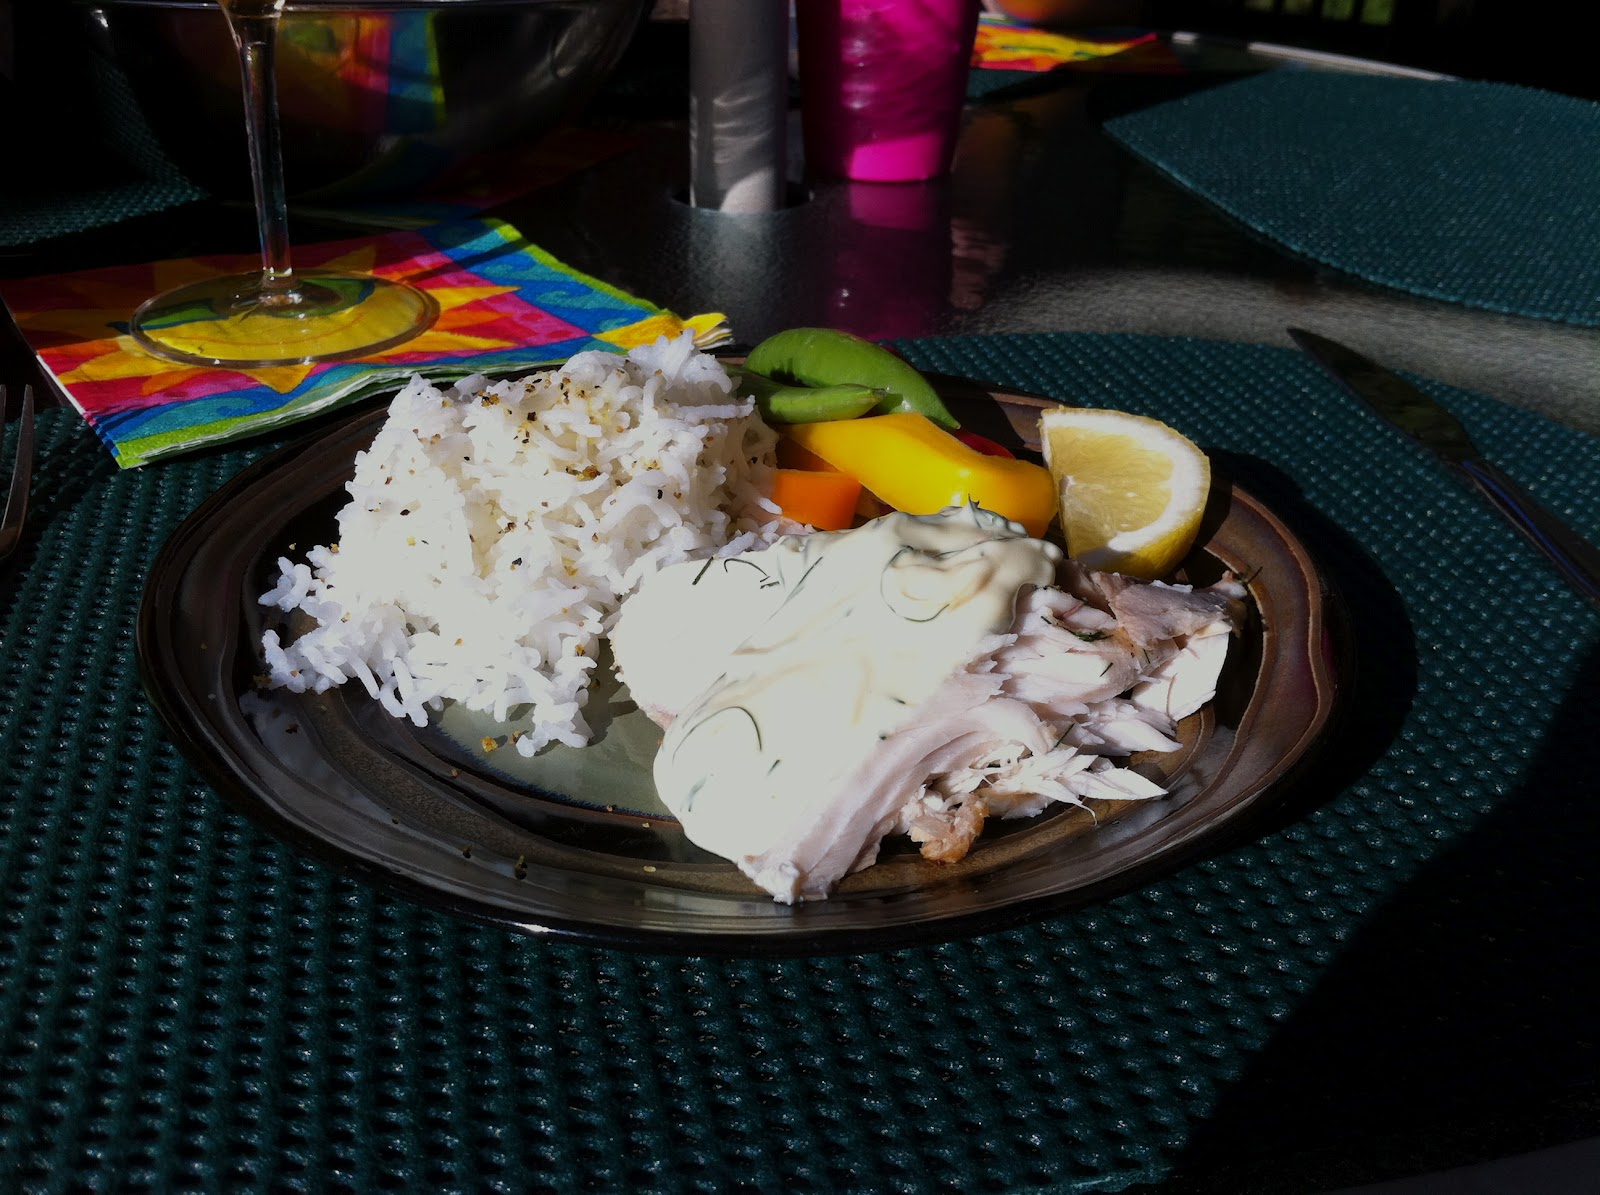
So, the only problem with this tarter sauce is that I have a really awful picture to show for it. Unfortunately, the sun was just a little too bright and all the things on the plate seemed to become a blinding mass of glowing white. It's too bad because if I had have had just a couple more minutes I would have got a decent picture, alas that didn't happen. So, as a bit of compensation I'm going to include a couple of unrelated (to the recipe at least) images that I really like because they just seem to represent summer.

No, I don't have a recipe for this. I think it was canned peaches, tequila, some juice and ice, but I can't say for sure. You see, I made this last summer in a huge batch that I then kept in the freezer for when the time was right. Well, that time never came last summer, it was simply too cold out to be drinking frozen concoctions. But today was finally a frozen drink day. Maybe one day I'll make it again and post the exact recipe. Until then, enjoy this nice taste of summer.


But back to the tarter sauce. This tarter sauce recipe is a lot like a basil lemon veggie dip that we make as well. I much prefer this, because I'm more of a dill person than a basil person. The good thing about both of these recipes though is that they are a creamy white dressing that does not have sour cream in them. Yay, dairy free! Because the tarter sauce is so similar to the basil veggie dip, I have been known to use up the tarter sauce on my raw veggies.

Recipe based very very loosely off of a recipe I clipped out of our local grocery chain's (Thrifty Foods) flyer.

Makes: 1 C. of Sauce

Ingredients

1 C. Mayonnaise
Zest of 1 Lemon
Juice of 1/2 Lemon
3-4 Tbsp. Fresh Dill
2 Tsp. Yellow Mustard
2 Tsp. Pickle Juice
4 Dill Pickles, finely chopped
1/2 Tsp. Hot Sauce
Salt
Pepper

Directions

~Measure out all ingredients and combine them in a container. (I just mix in the container I'm going to store it in, that way I don't make more dishes than necessary.)
~Mix well to combine.
~Store in the fridge for at least half an hour to develop the flavours. (Really the longer the better, but sometimes that just doesn't work out.)

Enjoy...on fish, burgers or as a veggie dip!


Wednesday, 27 June 2012

Lemon-Lime Brownie


I've done something bad. I mean really, really bad. I don't know if I should even admit this. Okay, I'll tell you...I...made...a brownie that had no chocolate in it. Gasp! I know, I feel so guilty. I guess I've always known that if there was one thing that could pull me away from chocolate, it would be lemon.

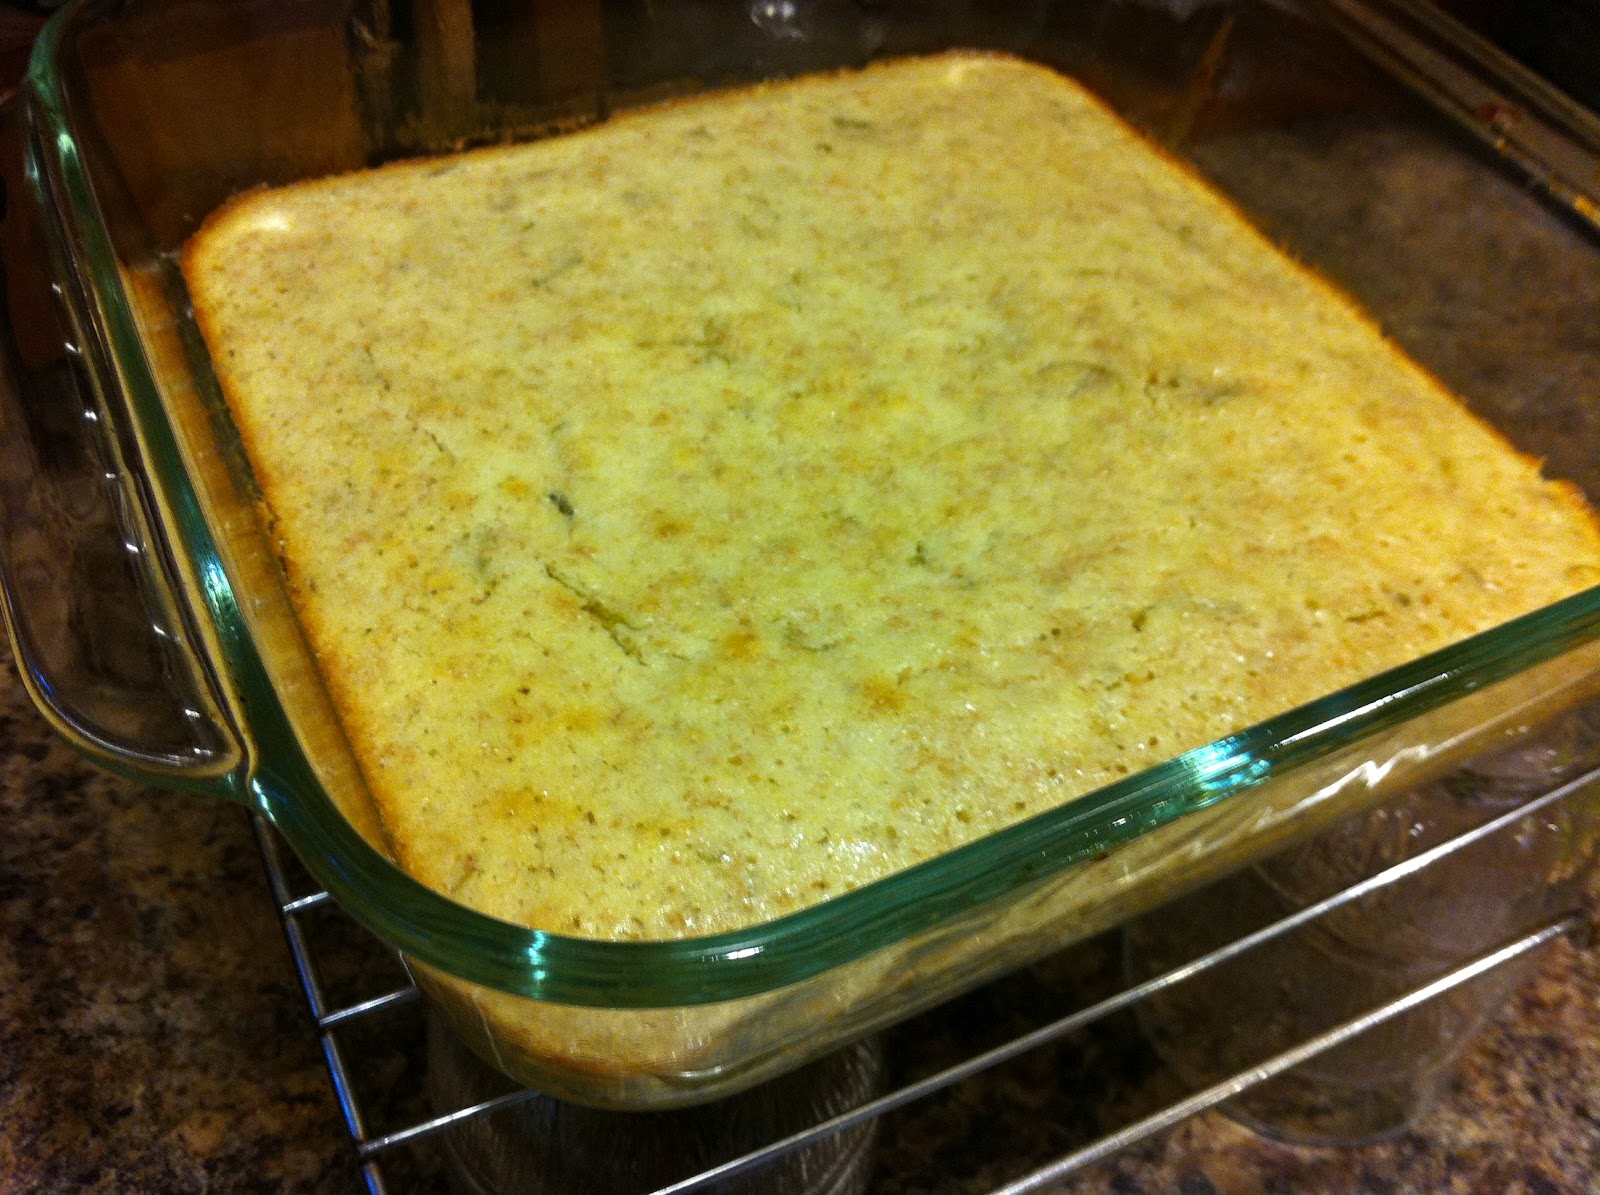
This recipe made its way around the food blog world a while ago and I am glad I finally got around to making it. I had high hopes at the beginning for this brownie (yellowie??) but when I pulled it out of the oven I was a little disappointed. It took forever for everything to cool and the glaze to set, and so finally I just gave up and dug in. I had to find out what it tasted like. Well, it has the taste of a typical lemon square (you guys all know the one I'm referring to right? With the shortbready crust and the lemon-eggy mixture on top), but without all the hassle. This really only did take mere minutes of active kitchen time, which disappointed me. I had just had two days that I had not made anything and I was going through withdrawal and then this only took ten minutes. There was no way that only 10 minutes of baking was going to cure my kitchen withdrawal symptoms. So my solution, make two things in one night. Anyway, when I say I was disappointed with this recipe, I in no way mean I was disappointed with the taste or look of this square. It even tasted better the following day right out of the fridge.

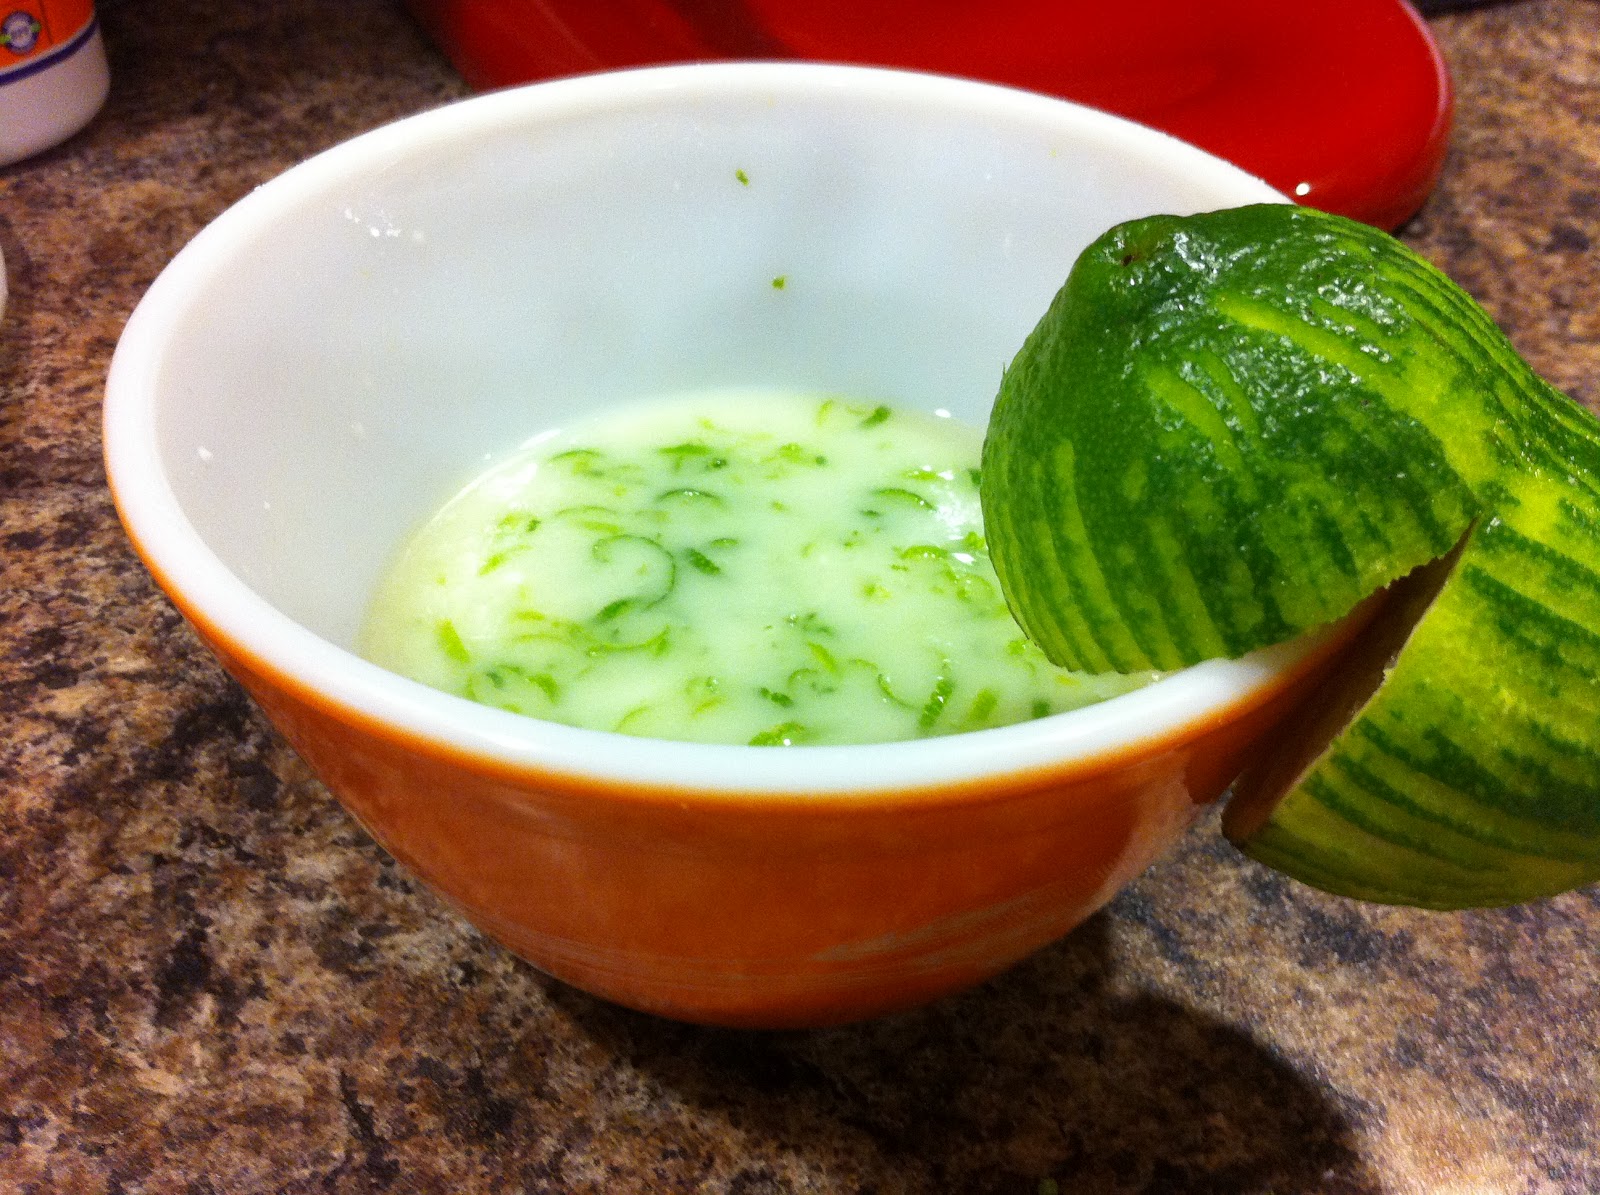
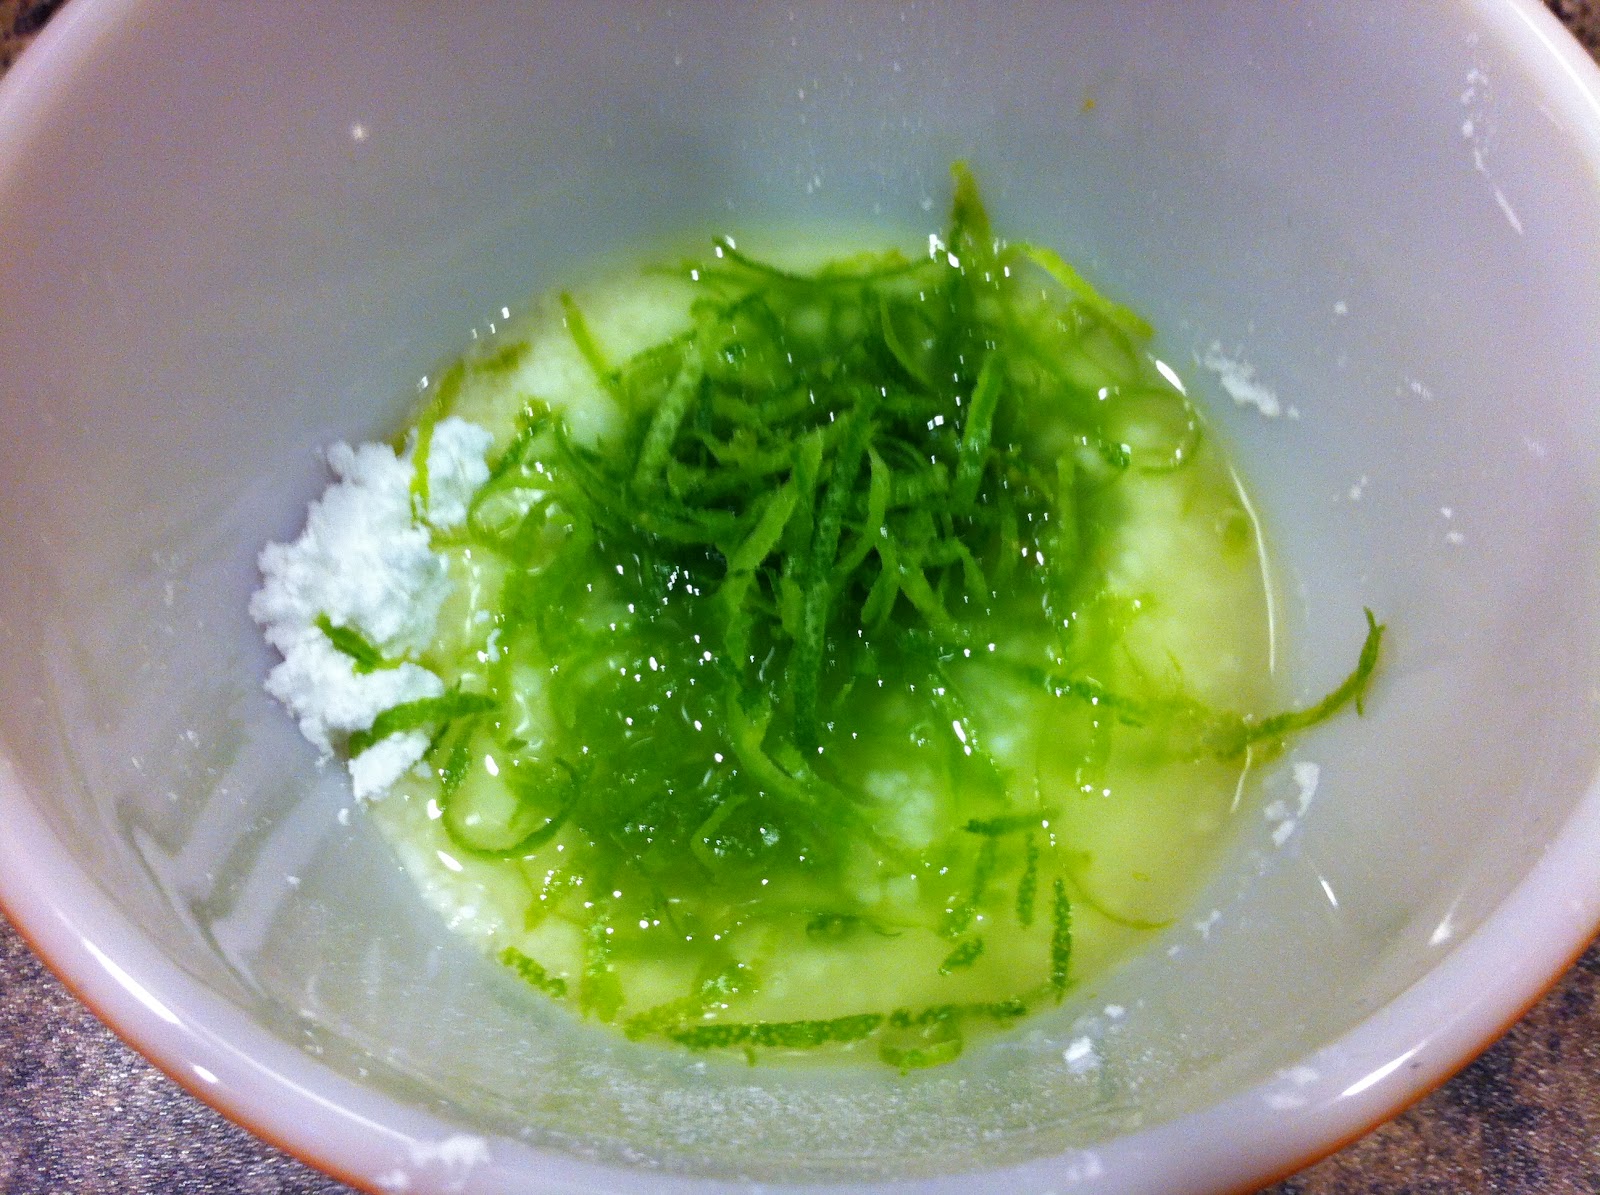
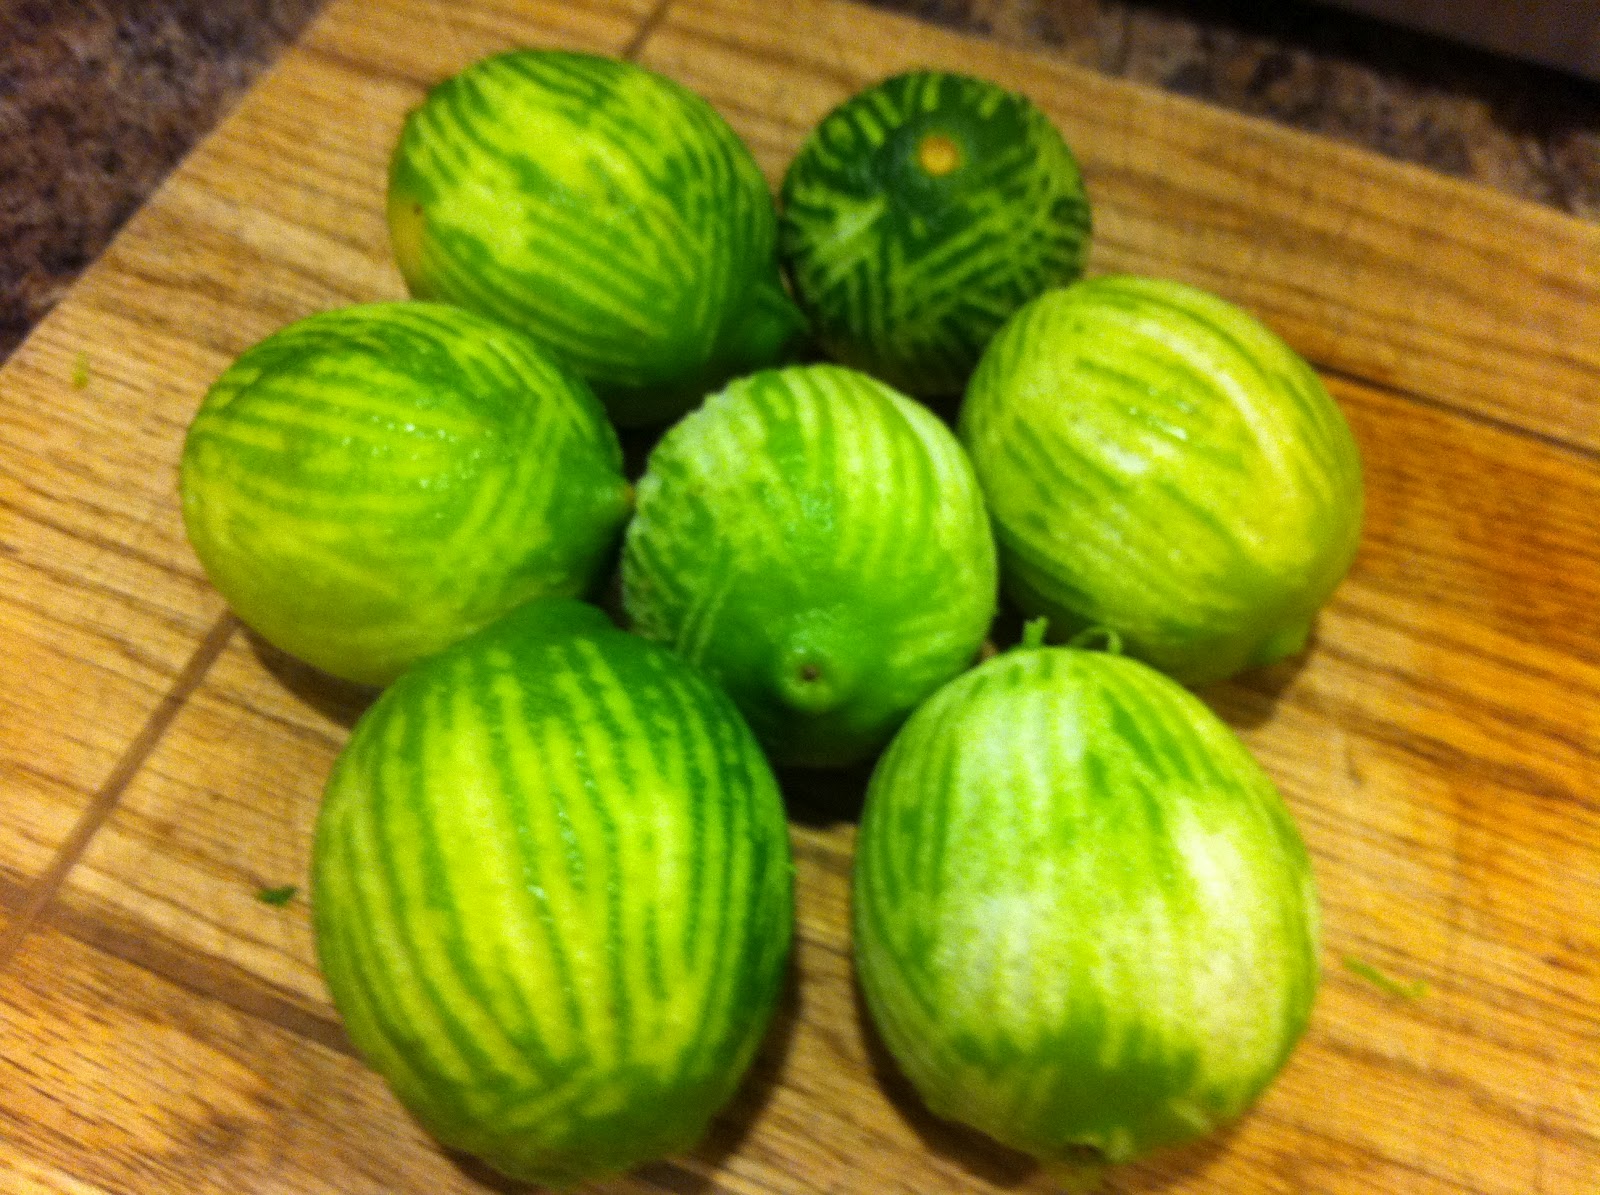
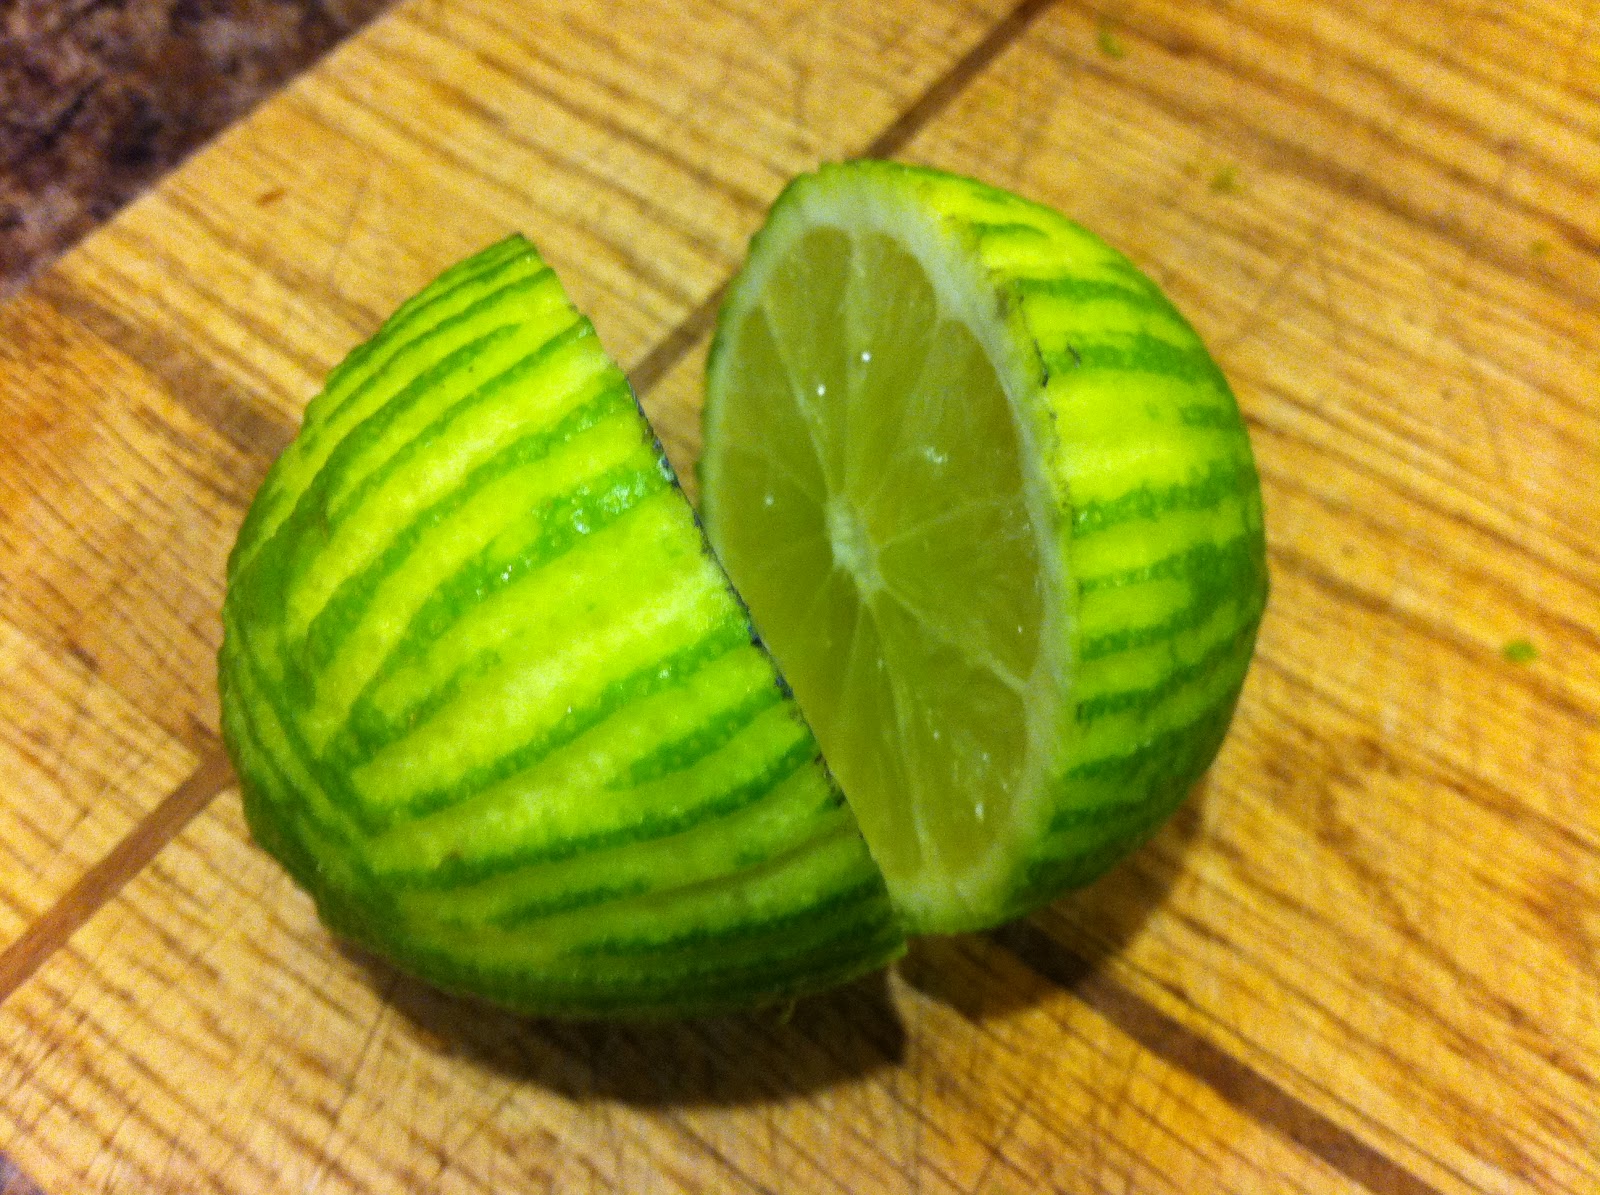
The original recipe that I used called for lemon juice and lemon zest. Well, we always have a bottle of lemon juice in the fridge so that was simple enough, but we don't buy lemons all that often. We do buy limes and so I usually use the zest from the limes and the juice from the bottle. It works, and I get pretty green flecks in stuff. Anyway, so I used 7 limes in this recipe because they were pretty tiny. You'd probably only need 3-4 lemons. But, I was left with 7 zested and unjuiced limes. What to do, what to do? Oh, I know, this weekend is the long weekend. I'll make margarita mix. So, stay tuned for this adventure.

Back to the brownies though. A couple things I would recommend is that you double this recipe (and still put it in an 8x8 pan), because the single batch of batter made the thinnest of layers and I was kinda hoping for something a bit more dense. The other thing was that the glaze recipe I used called for a lot of liquid and not as much icing sugar as I would typically use for a glaze. Because I felt like this glaze was not going to harden up like I wanted it to, I kept adding in extra icing sugar. So much so that I don't actually know how much extra I added in. The original called for 1 C. sugar, 4 tbsp. juice. This wasn't a good ratio for me, so I'm going to say I used 1 1/2 C. sugar, 4 tbsp. juice, but if you want a harder glaze, make sure the mixture isn't watery when you pour it on the brownie and adjust your sugar accordingly.

In other completely unrelated news, I just bought my first silicone muffin pan, and I must say it you don't have one of these, you need to march yourself down to the nearest department store and buy yourself one. Or two. They are amazing. I was sold after removing one muffin from the tin (or silicone). You don't require paper liners which means this is a more economical and environmental option. Plus, the ease alone is worth it. You don't have to try to pry the muffins out with a knife, they simply pop out. It's pure magic. When I say I was quickly sold, I mean I popped one muffin out of this new pan and then went to try (key word try) and remove a muffin from the old metal tins and I quickly realized how fast you can fall in love with a kitchen gadget. (You'd think I was getting paid to sing these praises, but I'm not.) So, back to the lemon brownies.

This recipe has made its way around the blog world extensively. The version I used was from Becky Charms, but the original recipe can be traced back I believe to Rita's Recipes.

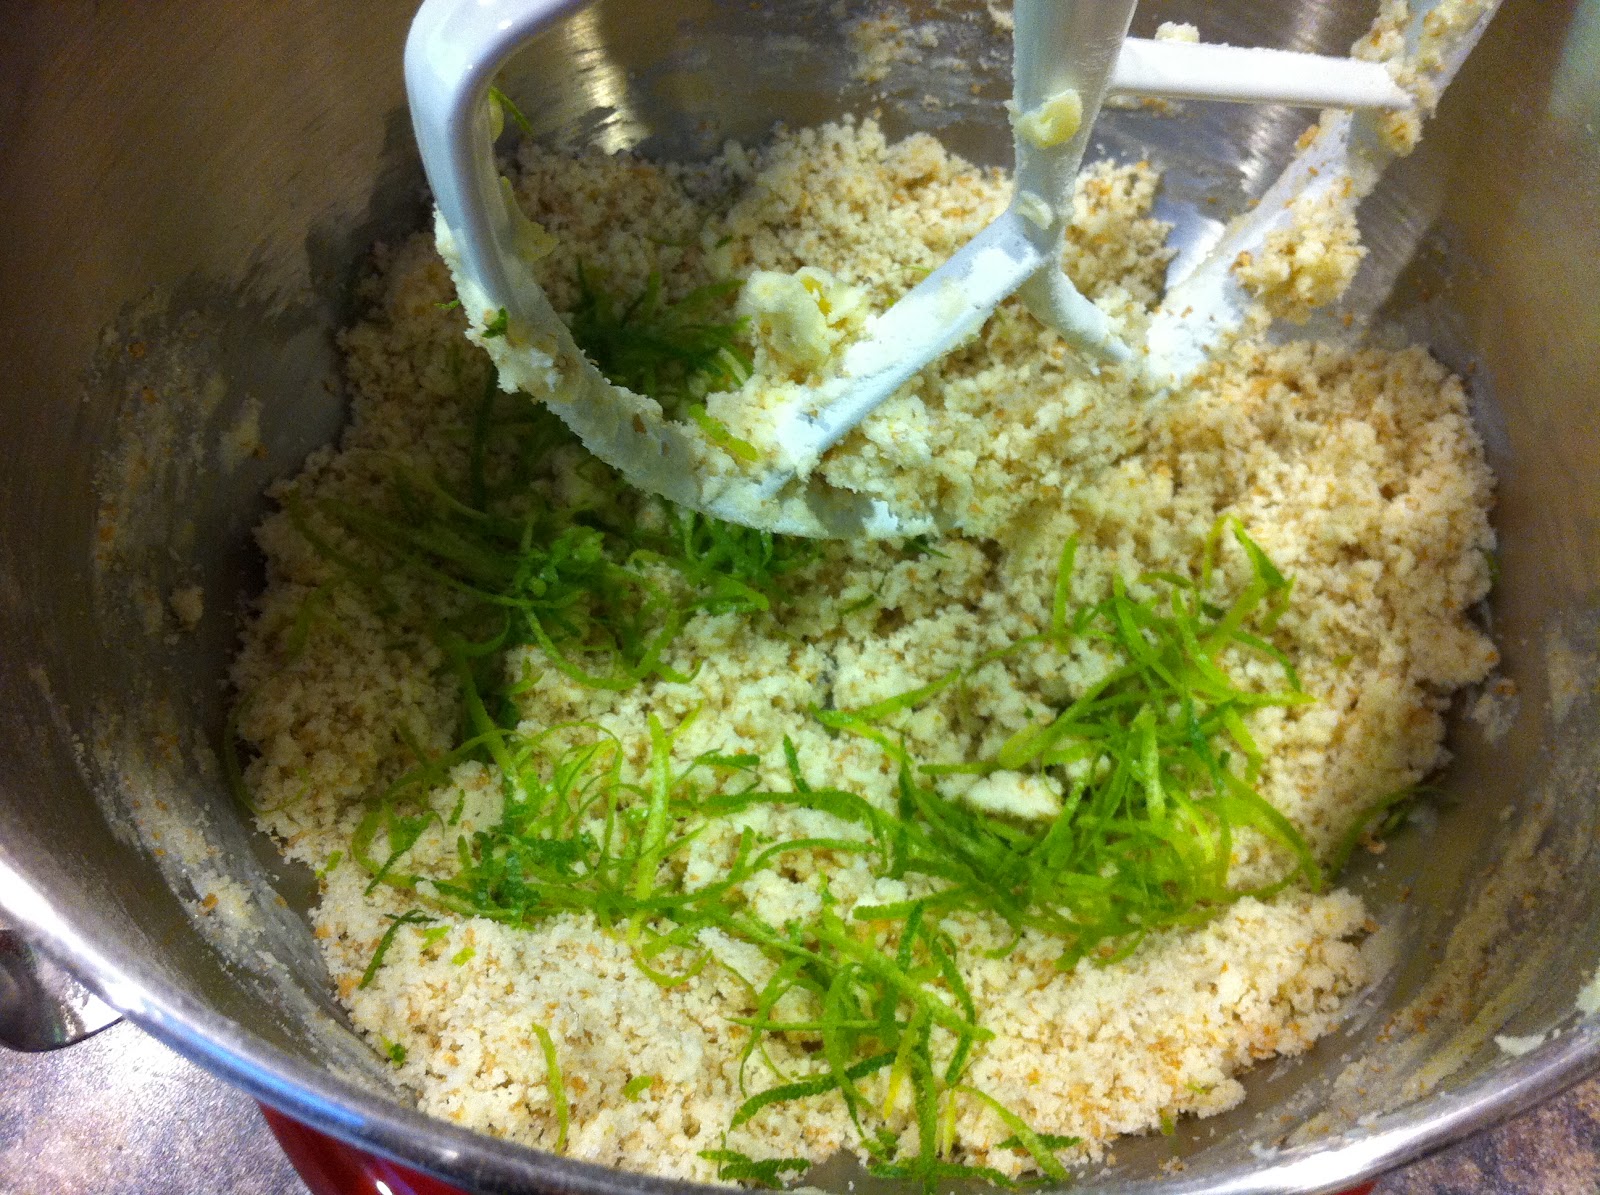
On another side note, I may have gotten a little carried away with taking pictures for this post. But it was fun and everything was green so they were just begging for the shots.


Ingredients
Makes thin layer in an 8x8 pan (I'd recommend doubling both the batter and glaze)

Brownie:
3/4 C. All Purpose Flour (I used 1/2 C. Whole Wheat, 1/4 C. All Purpose)
3/4 C. White Sugar
1/4 Tsp. Salt
1/2 C. Butter, softened
2 Eggs
2 Tbsp. Lemon Zest (I used Limes)
2 Tbsp. Lemon Juice

Lemon Glaze:
1 1/2 Rounded C. Icing Sugar
4 Tbsp. Lemon Juice
2 Tbsp. Lemon Zest (or Lime)

Directions

~Preheat oven to 350 F.
~Grease an 8x8 baking dish.
~Zest & juice your lemons.
~In your mixing bowl, combine flour, sugar, salt and butter until crumbly.
~Add in zest, juice and eggs. Beat until smooth and creamy.
~Pour into baking dish and until it just begins to turn golden around the edges and a tooghpick comes out clean (23-25 minutes). If you're doubling the recipe (like you should be), adjust the bake time accordingly.
~Let brownies cool on a rack.
~While they are cooling, mix together icing sugar, juice and zest in small bowl. Whisk together and make sure there are no lumps of sugar remaining. (Because I don't have a fine grater for the zest, I had to push the mixture through a sieve to remove all the hard, long chunks of zest.)
~Spread half the glaze over the brownies. Let set.
~Spread the other half of the glaze on top of the first layer. Let set.

Enjoy


Wednesday, 20 June 2012

Lemon Raspberry Breakfasts

For the continuation of the lemon curd series, I had intended to share with you the 2nd Best Breakfast Ever. Until I realized that there was something else that edged this breakfast off of the silver medal podium. The thing was, it was basically the same breakfast with only one slight change. What I've decided now to do is share with you all three of these breakfasts that are fighting for the title of 2nd Best Breakfast.

But what about the #1 Breakfast you ask. Well, I can't do the big reveal before I do the countdown...

There is no recipe for these breakfasts, they are simply guidelines and suggestions. The only thing you need is to get yourself some lemon curd. Now you could just go and buy some for $5 for a measly little jar or you could make your own according to this simple recipe that can be found here.

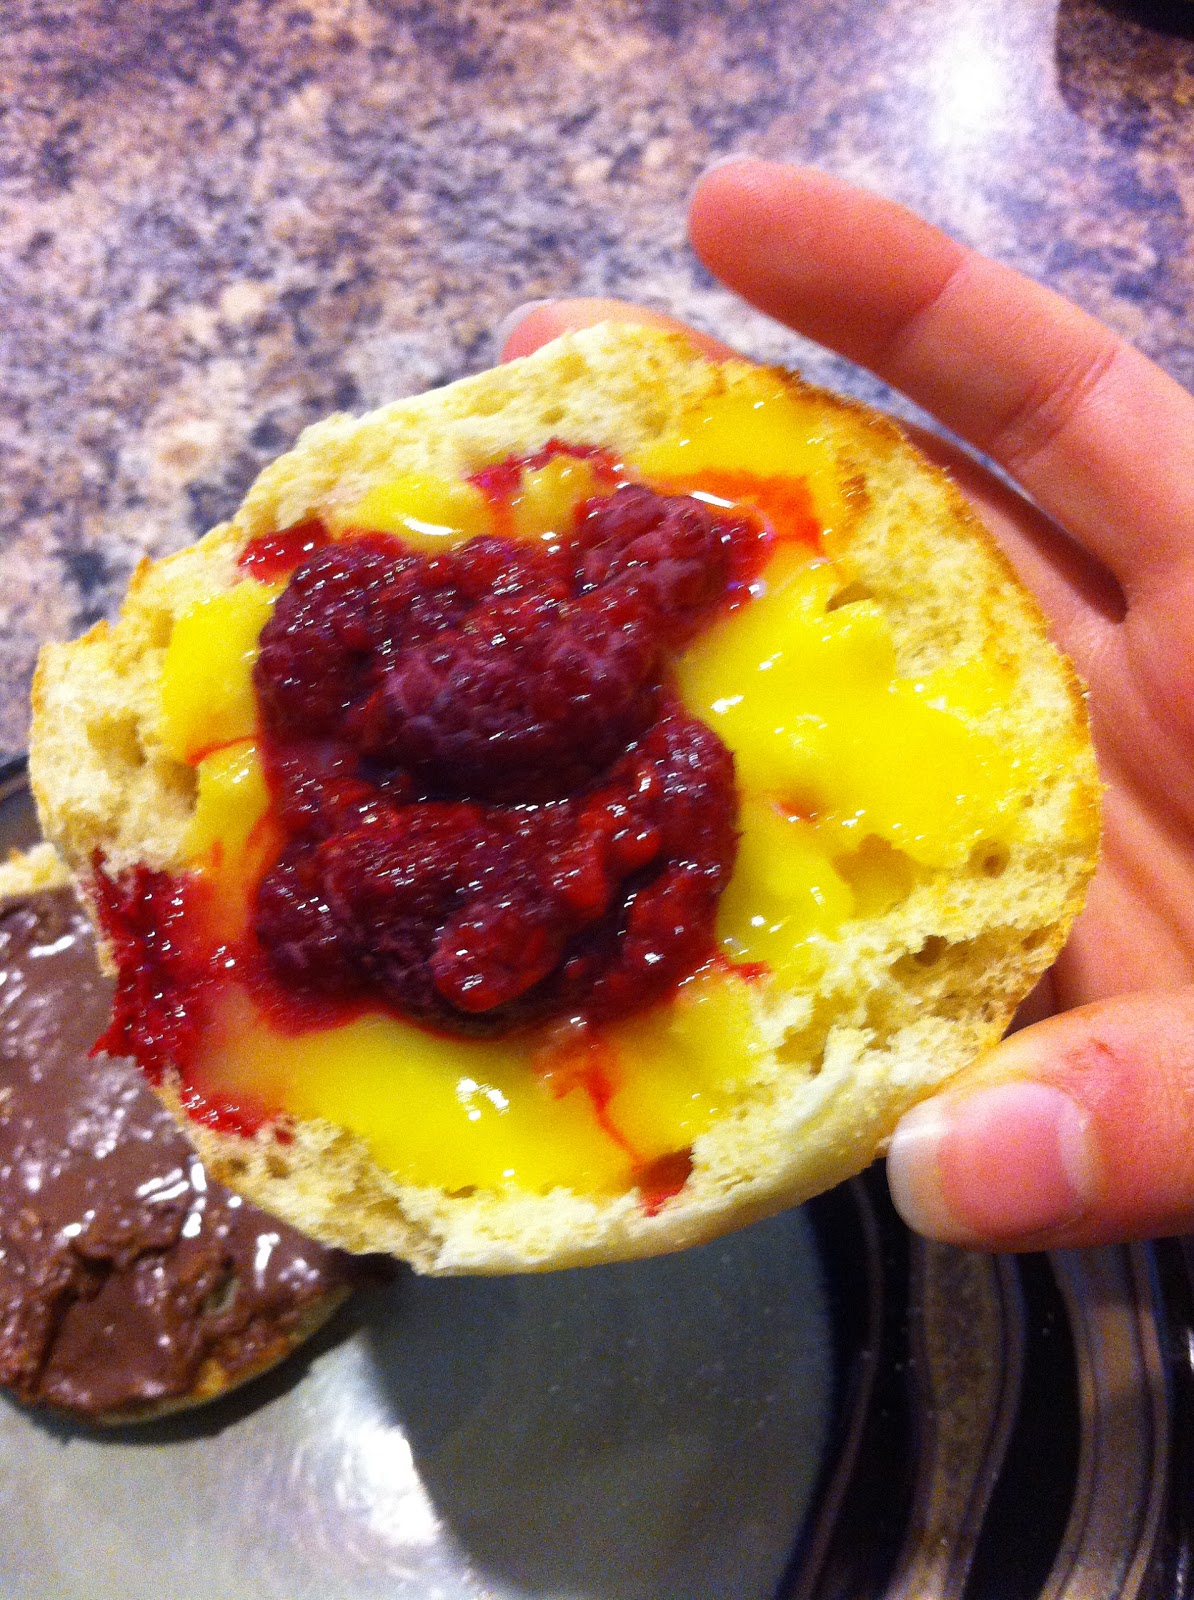
#4 Best Breakfast:   Lemon Raspberry English Muffins


Simply toast your English Muffin, spread the lemon curd and top with raspberries (for all these I used frozen raspberries that had been defrosted in the microwave and so they mushed into a sort of sauce. Fresh would be just as good.)

#3 Best Breakfast:   Lemon Raspberry Buttermilk Pancakes  


Do the same thing as above. Prepare your pancakes, then top one with curd then raspberries and the other raspberries then curd (trust me, try doing this different order. You get a completely different flavour for each, and I can't tell you which one is better.)

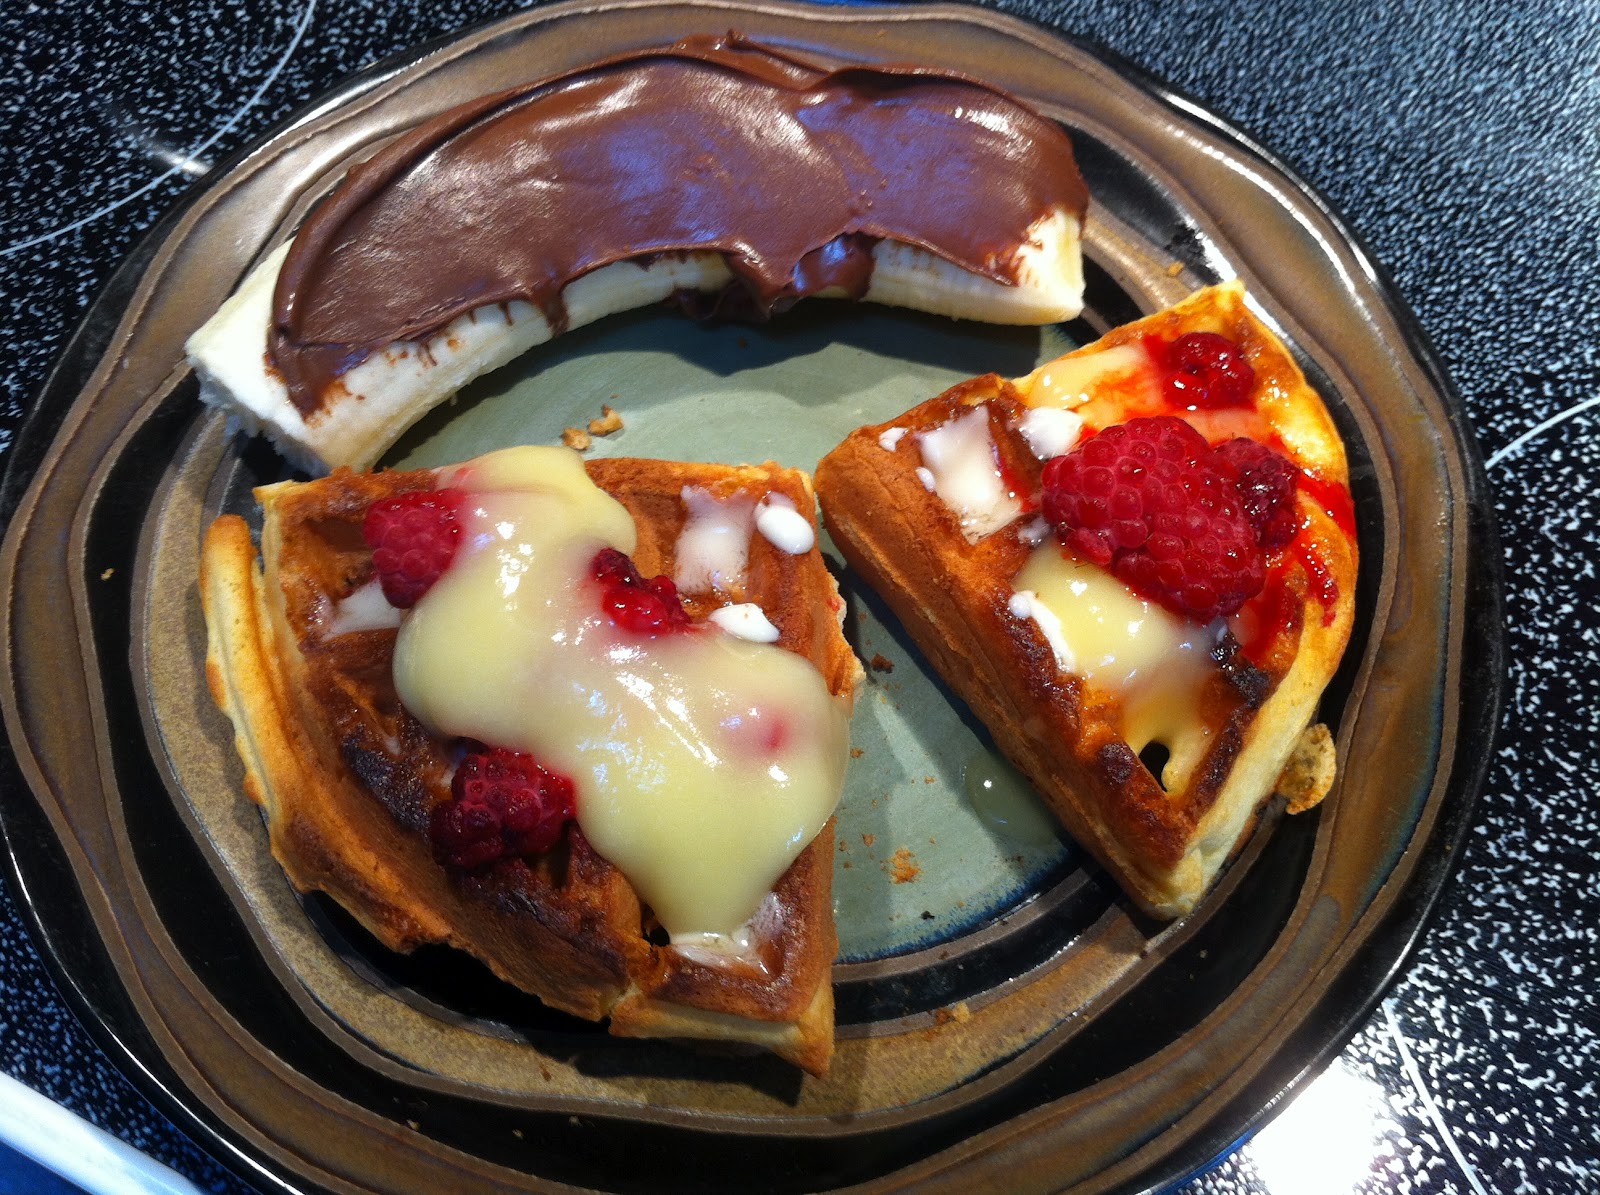
#2 Best Breakfast:   Lemon Raspberry Waffles


So with this one, top first with butter. Then just as you do with the pancakes, top part raspberry then lemon, and the other as lemon then raspberry. (Oh yeah, and that is a nutella covered banana on the plate as well.)

Okay, so I just want to give a bit of reasoning for why these ranked as they did. While I thought the English Muffin would be excellent, I was actually kind of disappointed when comparing it to the waffle. The flavour wasn't as full. The pancake was much better, but the pancakes are pretty sweet and flavourful and I felt like the pancake itself was competing with the curd/raspberry instead of complimenting it. So, as good as it was, I still wanted some good maple syrup on my pancakes. The waffle on the other hand was different. While I normally eat syrup on my waffles, I had no regrets when I topped it with lemon and raspberry. It was just absolutely perfect, and I have to admit I cleaned out the frozen waffle supply in the freezer pretty quickly. 

Now, we've counted down to #2, but the question still remains. What is my #1 breakfast? You'll have to check back later for the reveal. 

Sunday, 10 June 2012

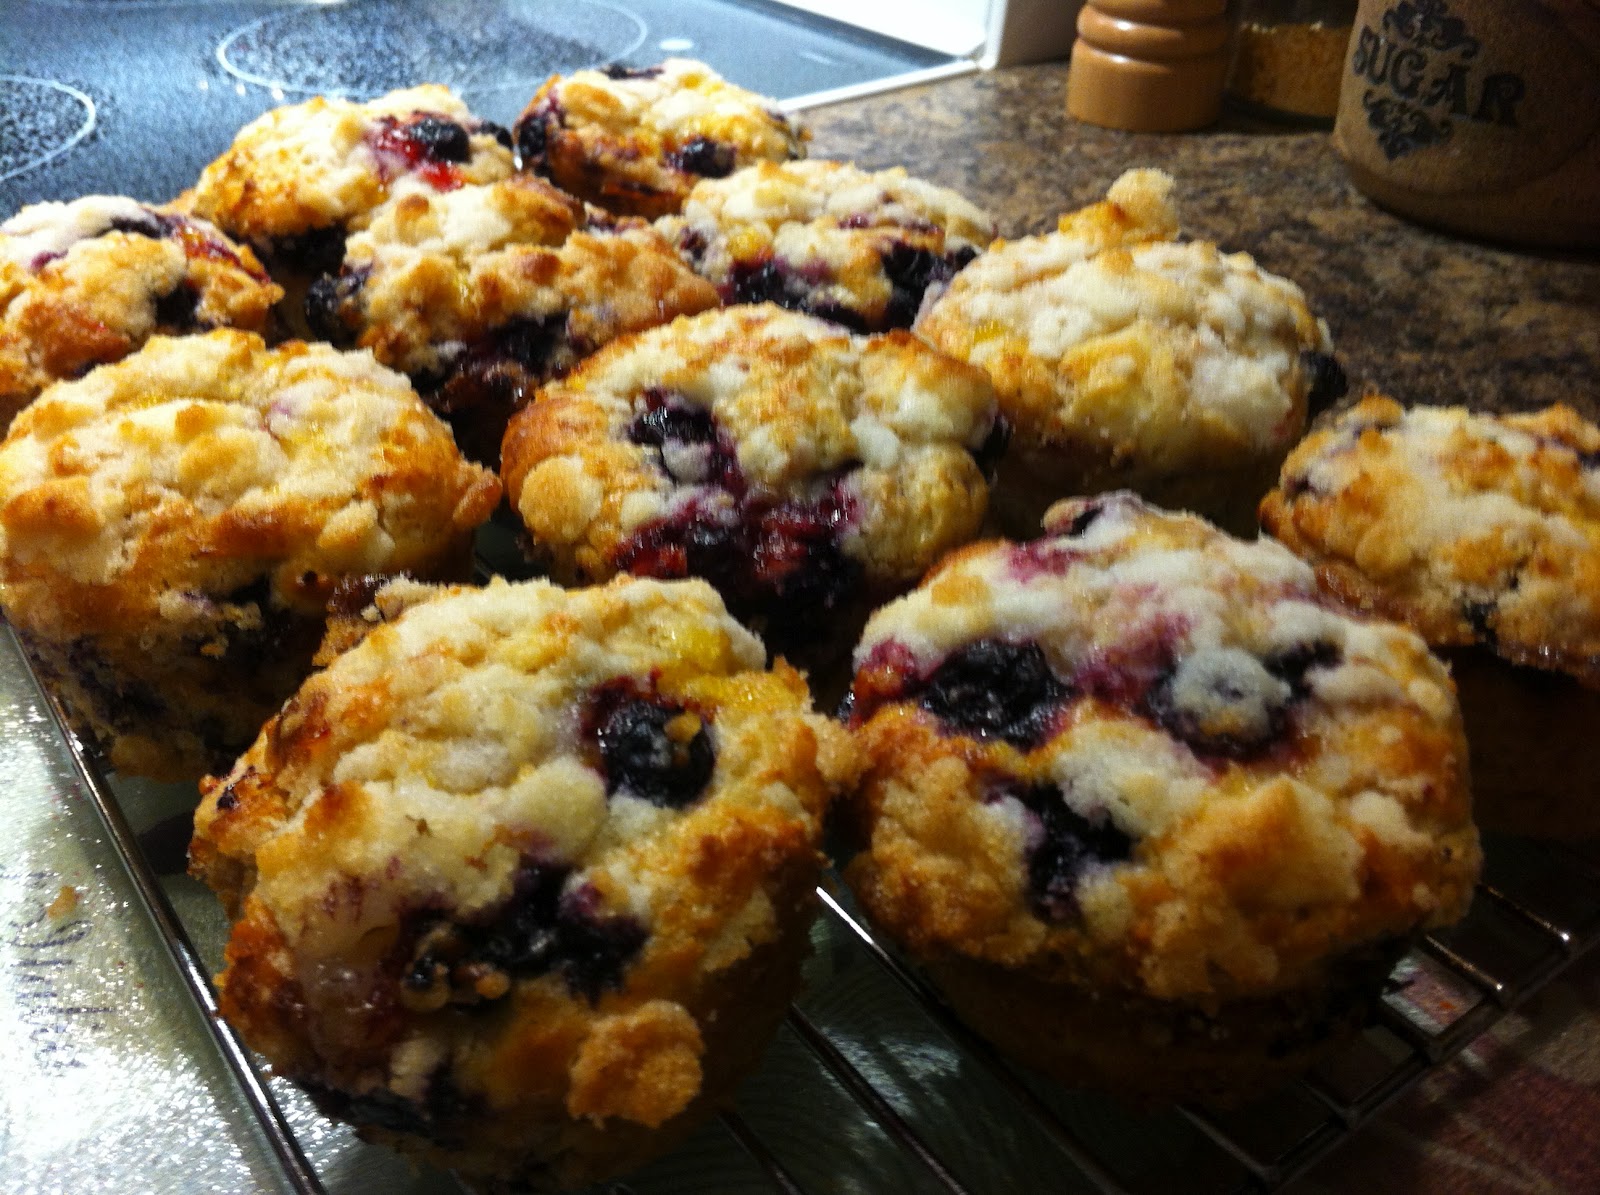
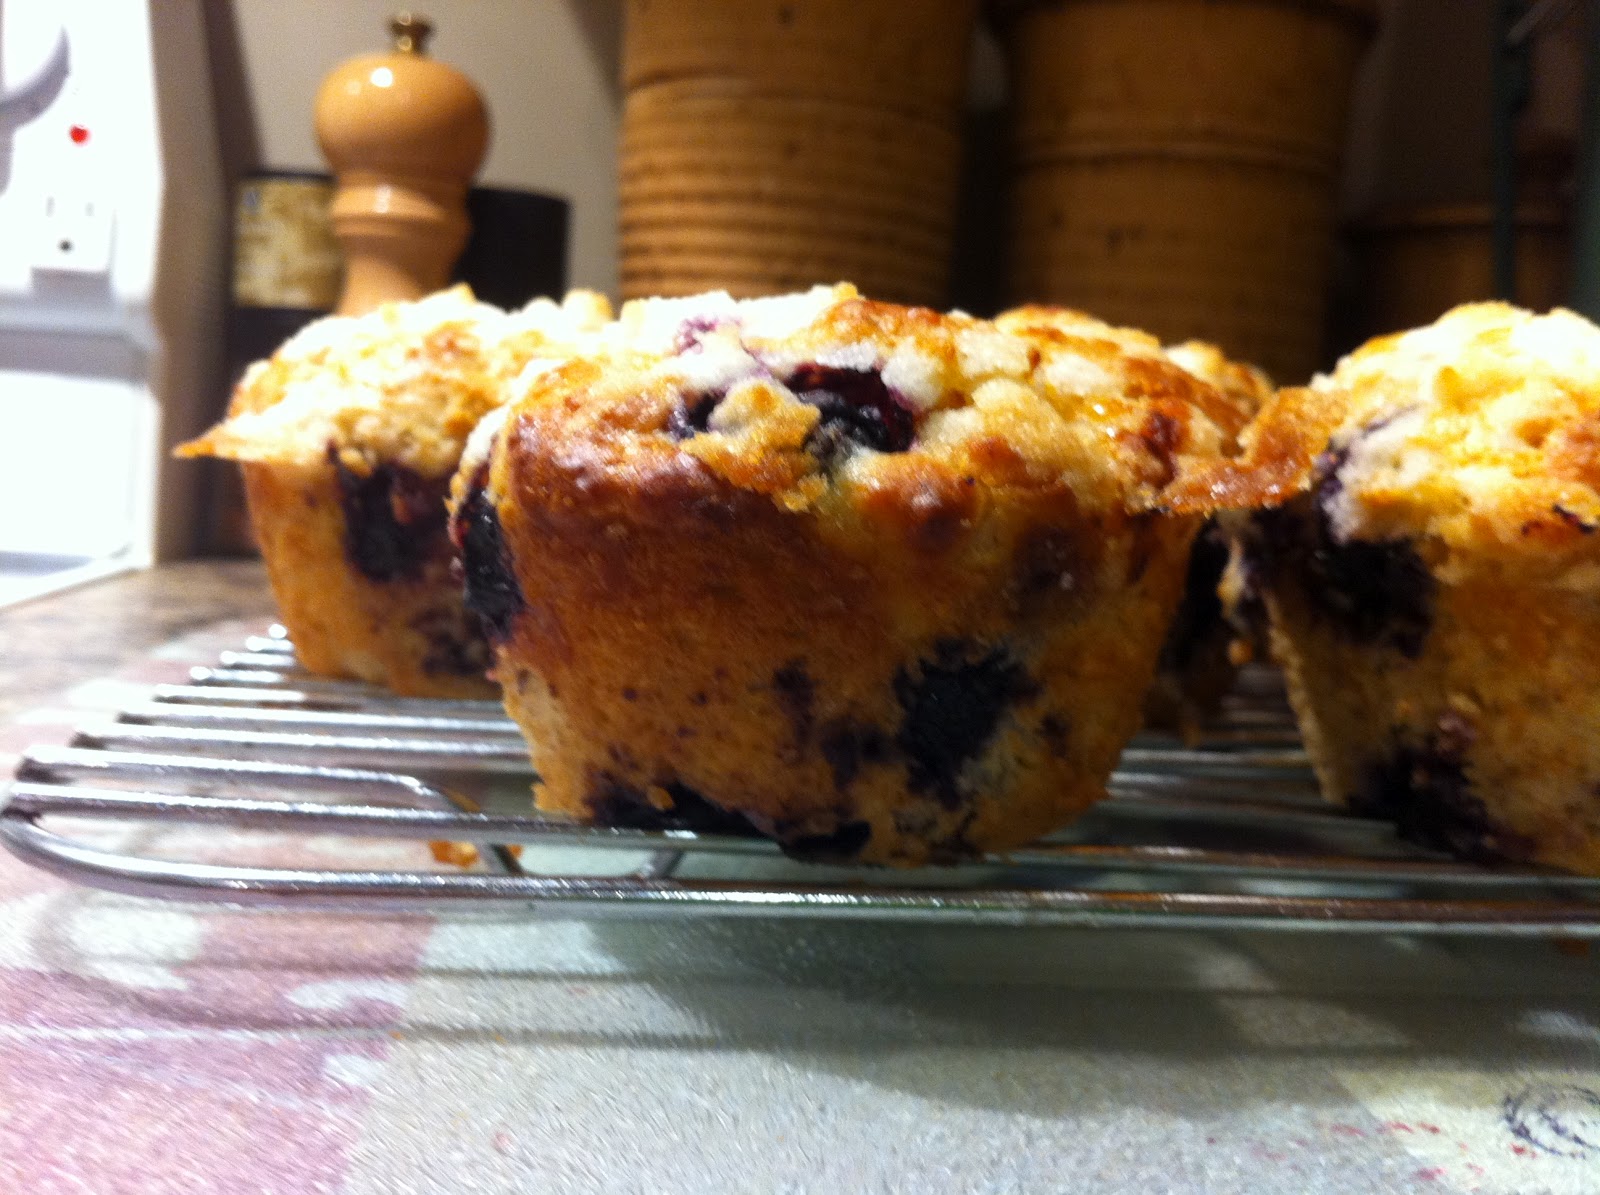
Lemony Blueberry Macaroon Muffins

I've been on the hunt lately for the perfect muffin recipe. Now, amazingly enough I had thought I had found it in the first recipe I tried. It was a great basic muffin recipe that would allow you to add in anything and everything. It was great. It has a brown sugar streusel topping and was not cakey whatsoever.  But then I got bored of it. Or maybe I should say I got sick of it. After all, I had to have made at least a half a dozen batches of it in under 3 weeks. So, that was when I started looking. What I was really looking for was a good lemony muffin with blueberries in it. The problem is, so many muffins just taste like cupcakes. Which was okay, but not really what I was going for. After all, if you want a cakey muffin you can just stop by any grocery store or Tim Hortons (yes, did I mention I'm Canadian? :)

The next thing I found was that the lemon flavour never really came through in any of the muffins I tried, and I started to think that lemon juice being added to a lot of the recipes was more to curdle the milk into a makeshift buttermilk than anything else. (Did you know you could do this? It's just new to me and an awesome trick when you don't have any buttermilk on hand, or you are using dairy substitutes.) Finally I found a recipe that I was convinced would be it, because instead of just using a lot of lemon juice or lemon zest, they used something different. Now you probably see where I'm going with this...Lemon Curd. Yes, the recipe called for you to do a molten centre of lemon curd. Well, after making the muffin I had the same problem as the person who wrote the recipe, the curd just dissolved into the batter upon baking because the batter was pretty runny for a muffin. No molten centre could be found, nor could you even detect that anything had ever even been there to begin with.

I'd all but given up (a little too dramatic maybe?) until I realized I had one more muffin recipe that I had saved to my files. While it didn't look much different from the other recipes I had tried, I decided to give it a try with a few adaptations and what do you know, it was amazing. I've actually made this recipe twice in a row without changing anything, which is a huge feat for me because usually I switch out the add ins every time and use different fruit, berries, etc. as to not got bored. So I have to thank, For the Love of Cooking, for this great muffin recipe. While I did make some adaptations such as the lemon curd and using blueberries instead of raspberries, I pretty much followed her recipe for the batter exactly as she has written. The only thing is, I may have to try use the raspberries at some point, because the only thing I love more than blueberries is raspberries.

Even though the batter is thicker for this recipe, the lemon curd still melts away into the batter upon cooking. The only difference with this muffin recipe is that because of the thickness of the batter, the melted curd doesn't go very far. So while there isn't a surprise of gooey goodness when you bite into these muffins, there is a distinct spot that you can taste the fuller lemon flavour and you can actually see where the curd melted through. Plus there is a slight difference in texture. All-in-all, it is definitely worth the extra work to add the lemon curd into this recipe.

After all this time, I can't help but think now that the flavour and consistency I was chasing could actually be found in a cookie (yes I know, strange right?) that I had made many years ago. I should probably go back and try that recipe again, and maybe even put it in a muffin tin to bake.

Now just a small disclaimer, while I've named this recipe Macaroon Muffins, there isn't actually any coconut in them whatsoever. The reason for this name is because when you pull these babies out of the oven the muffin top looks exactly like a macaroon due to the baked streusel on top. Plus, they are just as heavenly.

On a final note, I would not recommend using muffin cups for this recipe, or any recipe that you decide to stuff with lemon curd. The reason being, that the butter and sugar in the curd in addition to the blueberries really caramelizes on the edges when cooking and I had an awful time separating the paper from the muffin in the first batch I made that used the paper cups. Instead, just grease your muffin tins really well, and I would also recommend greasing the top surface of the tins as well, because the streusel topping overflows a bit and while I have found that the base of the muffin pops out pretty easily, it is actually the overflowing muffin top that can pose a bit of an issue due to all the sugars caramelizing.

Ingredients

Makes: 12 Muffins

Muffin:
2 C. Flour (I used 1 C. All Purpose and 1 C. Whole Wheat)
1/2 C. White Sugar
1 Tbsp. Baking Powder
1 Tsp. Salt
1/2 C. butter, melted
1/2 C. Milk (I used Light Vanilla Soy Milk)
Juice of 1 lemon (probably between 1/8-1/4 C. depending on the size and juiciness of your lemon)
1 Tsp. Vanilla
2 Eggs
Zest of 1 Lemon  
1 1/2 C. Blueberries (Fresh or Frozen, I used Frozen)


Streusel Topping:
1/4 C. White Sugar
2 Tbsp Flour (I used All Purpose)
2 Tbsp Butter

Directions

~Preheat oven to 400 F

~Grease muffin tins both inside and on the top surface for best results

~In a large bowl, combine the flour, sugar, baking powder and salt. Stir well to blend

~In a medium bowl, whisk butter, milk, juice, zest, vanilla and the eggs together.

~Pour the liquid mixture into the flour mixture and stir just to combine.

~Add in the berries and mix in, ensuring they are evenly distributed in the batter.

~Spoon batter into greased muffin tins. Then with a spoon, make a well in the centre of the ball of batter. 

~Fill well up with a scoop of lemon curd and then gently fold back muffin batter over the curd to cover the well. (It is okay to have a little bit of curd poking out of the top). Set muffin tin aside.

~In a small bowl, combine the sugar, flour and butter for the streusel and with your fingers, massage ingredients until they combine and form a sort of crumble.

~Top muffins with the crumble and place in oven to bake for approximately 15 minutes. Don't over bake or you'll loose the moistness from the curd.

~Cool muffins to ease in their removal from the tins.

Enjoy...and stay tuned yet again for another idea for which to use lemon curd.


Saturday, 9 June 2012

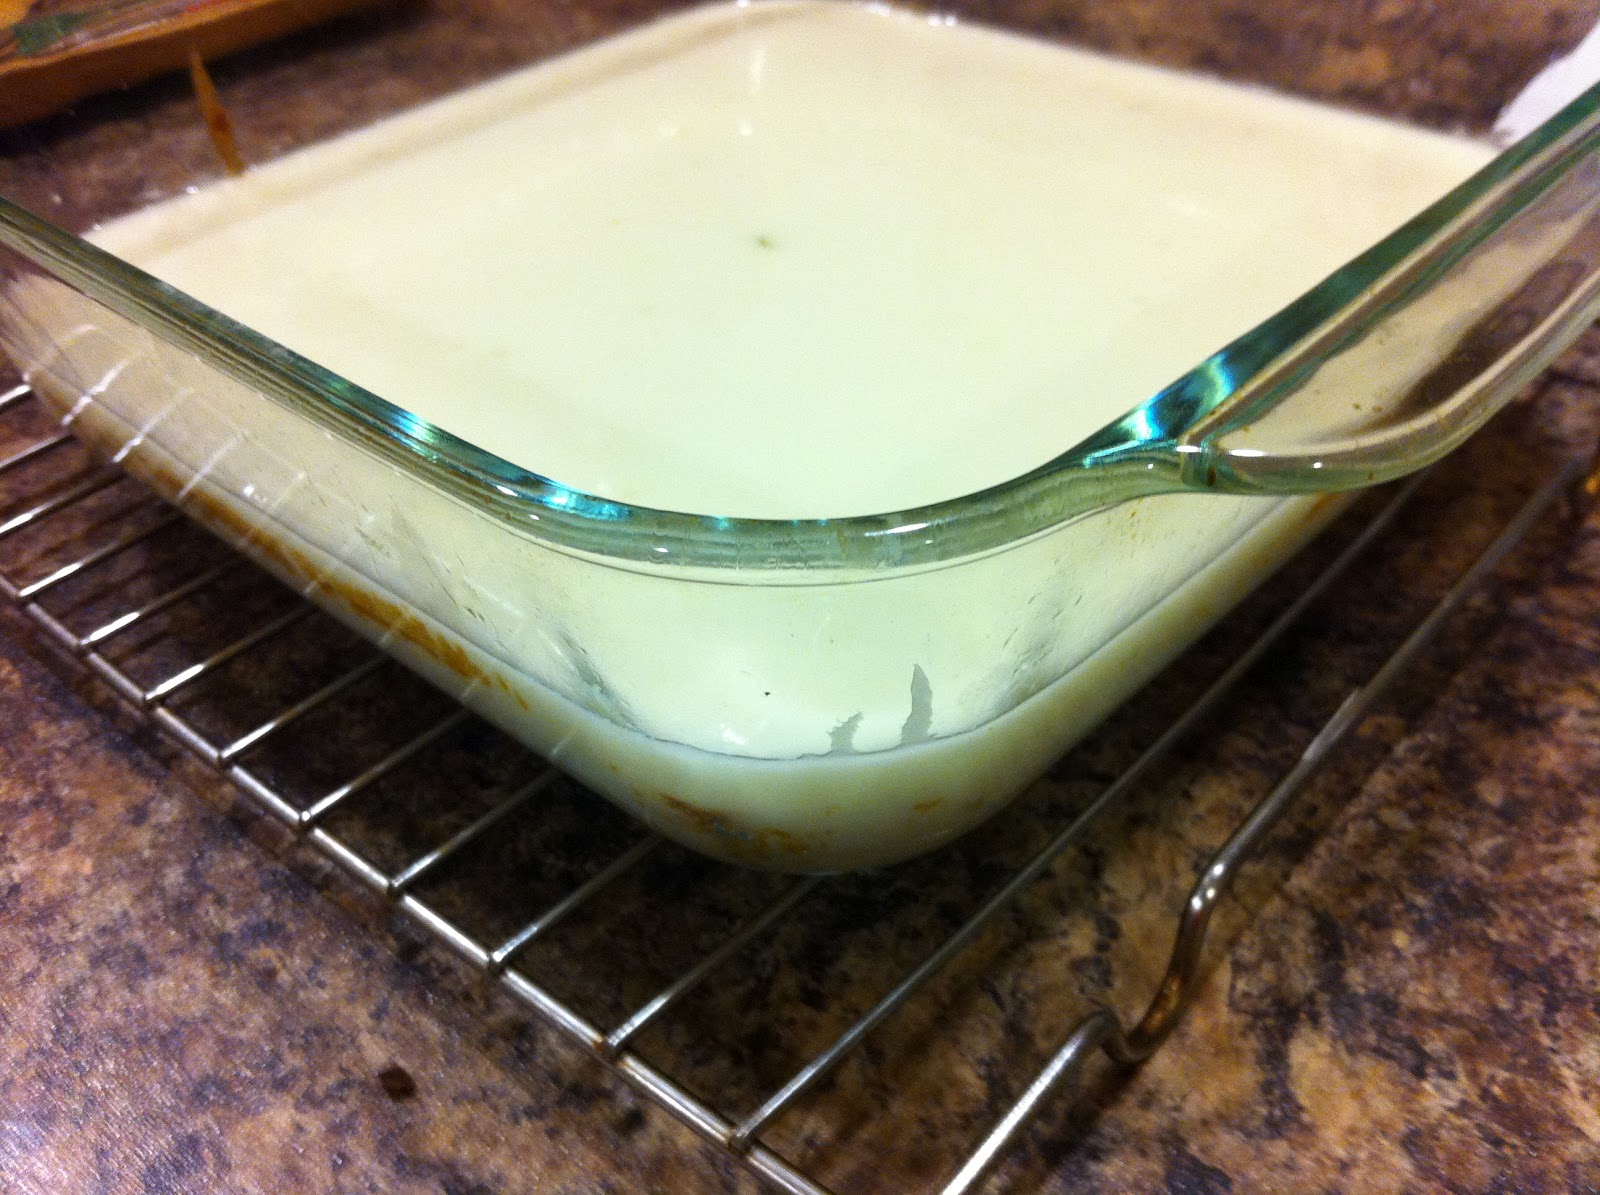
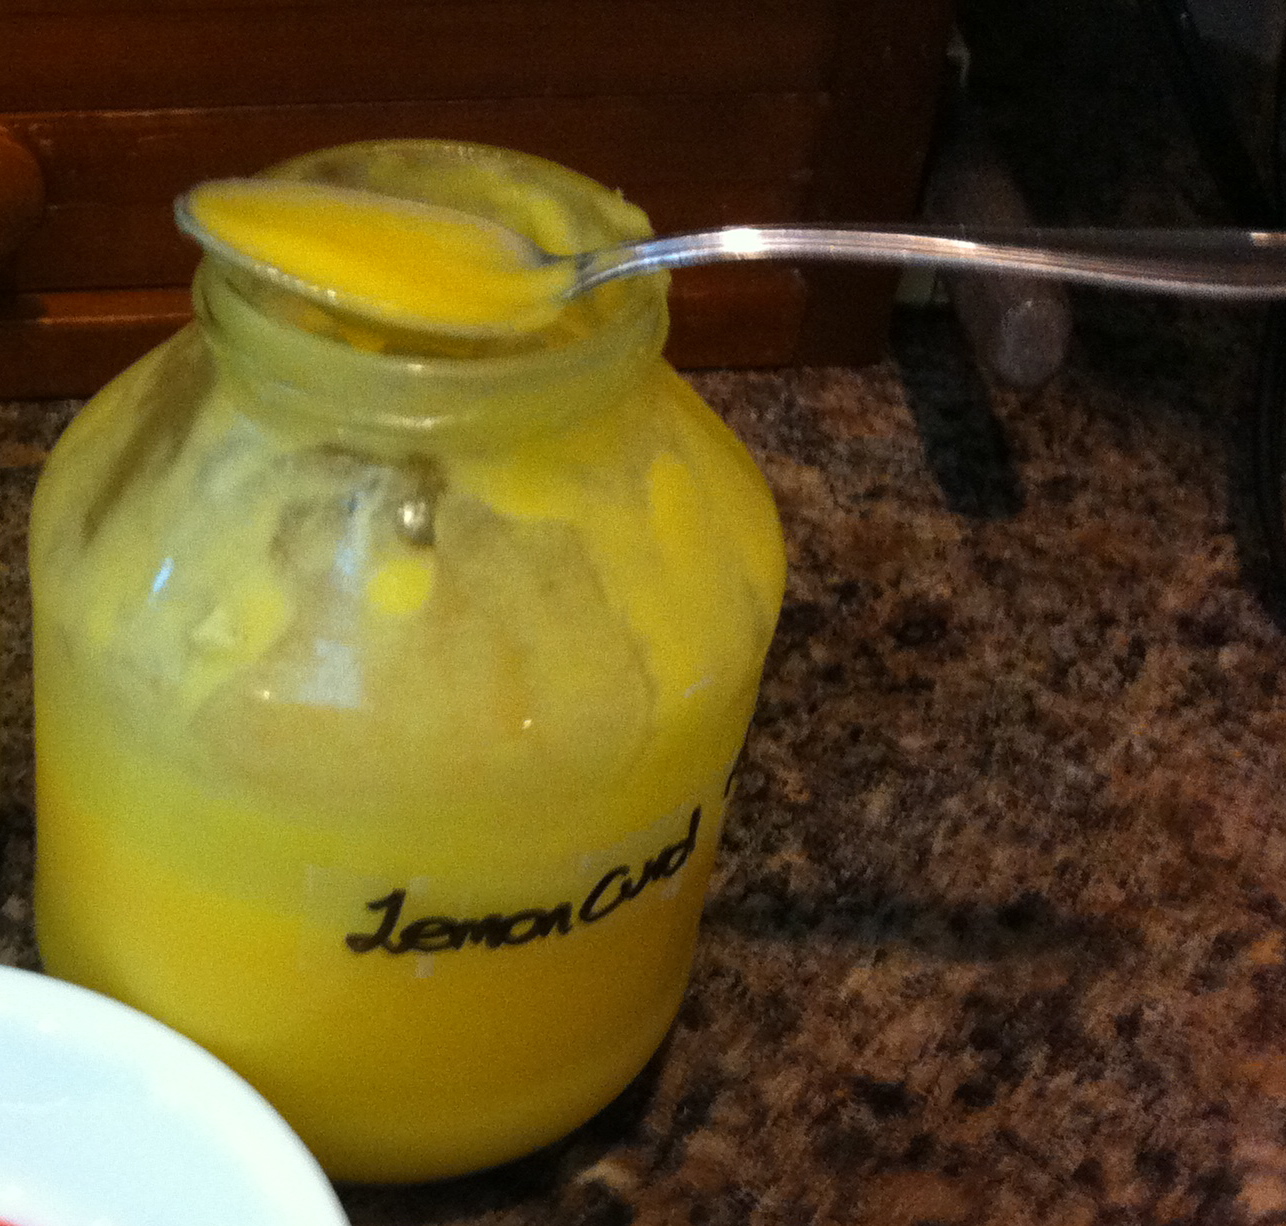
Microwavable Lemon Curd

I'm just going to make this short and sweet. Basically, I'm addicted to this stuff. I went searching for a lemon curd recipe and stumbled across this great one on recipes.com. Stay tuned for a couple of recipes that I included this amazingly lemony goodness in. But it is so good that you really don't need a recipe as an excuse to use it. Why not just eat it by the spoonful like I do? Look at it this way, you will be saving countless calories by not putting it with bread/cakes/muffins/etc. See where I'm going with this? That being said, I strongly encourage you to go and make this, and eat it however you feel like. It's so darn easy to make, how could you resist?

Ingredients

1 C. White Sugar
3 Eggs
1 C. Fresh Lemon Juice (I used the juice from the 3 zested limes and then topped it up with Real Lemon, Lemon Juice)
3 Lemons, zested (I actually used limes and it was amazing)
1/2 C. Margarine, melted

Directions

~Whisk the sugar and eggs together in a microwavable dish until smooth.

~Mix in juice, zest and margarine.

~Cook mixture in microwave for 30 second intervals. Stir mixture thoroughly after every 30 seconds, to prevent eggs from becoming chunky (you don't want scrambled eggs curd)

~When mixture coats and remains on the back of a metal spoon it is done. (For me this took approximately 4 minutes total cooking time)

~Run mixture through a sieve to remove any egg chunks or pieces of zest.

~Store in the fridge (the mixture will thicken up even more as it cools so don't be alarmed that it is still pretty runny before this step).

Enjoy, and stay tuned for some great ideas for which to use the curd...

Okay, I'll give you a hint. It involved berries...lots of berries, both recipes actually :)