Showing posts with label VEGETABLE. Show all posts

Monday, 22 July 2013

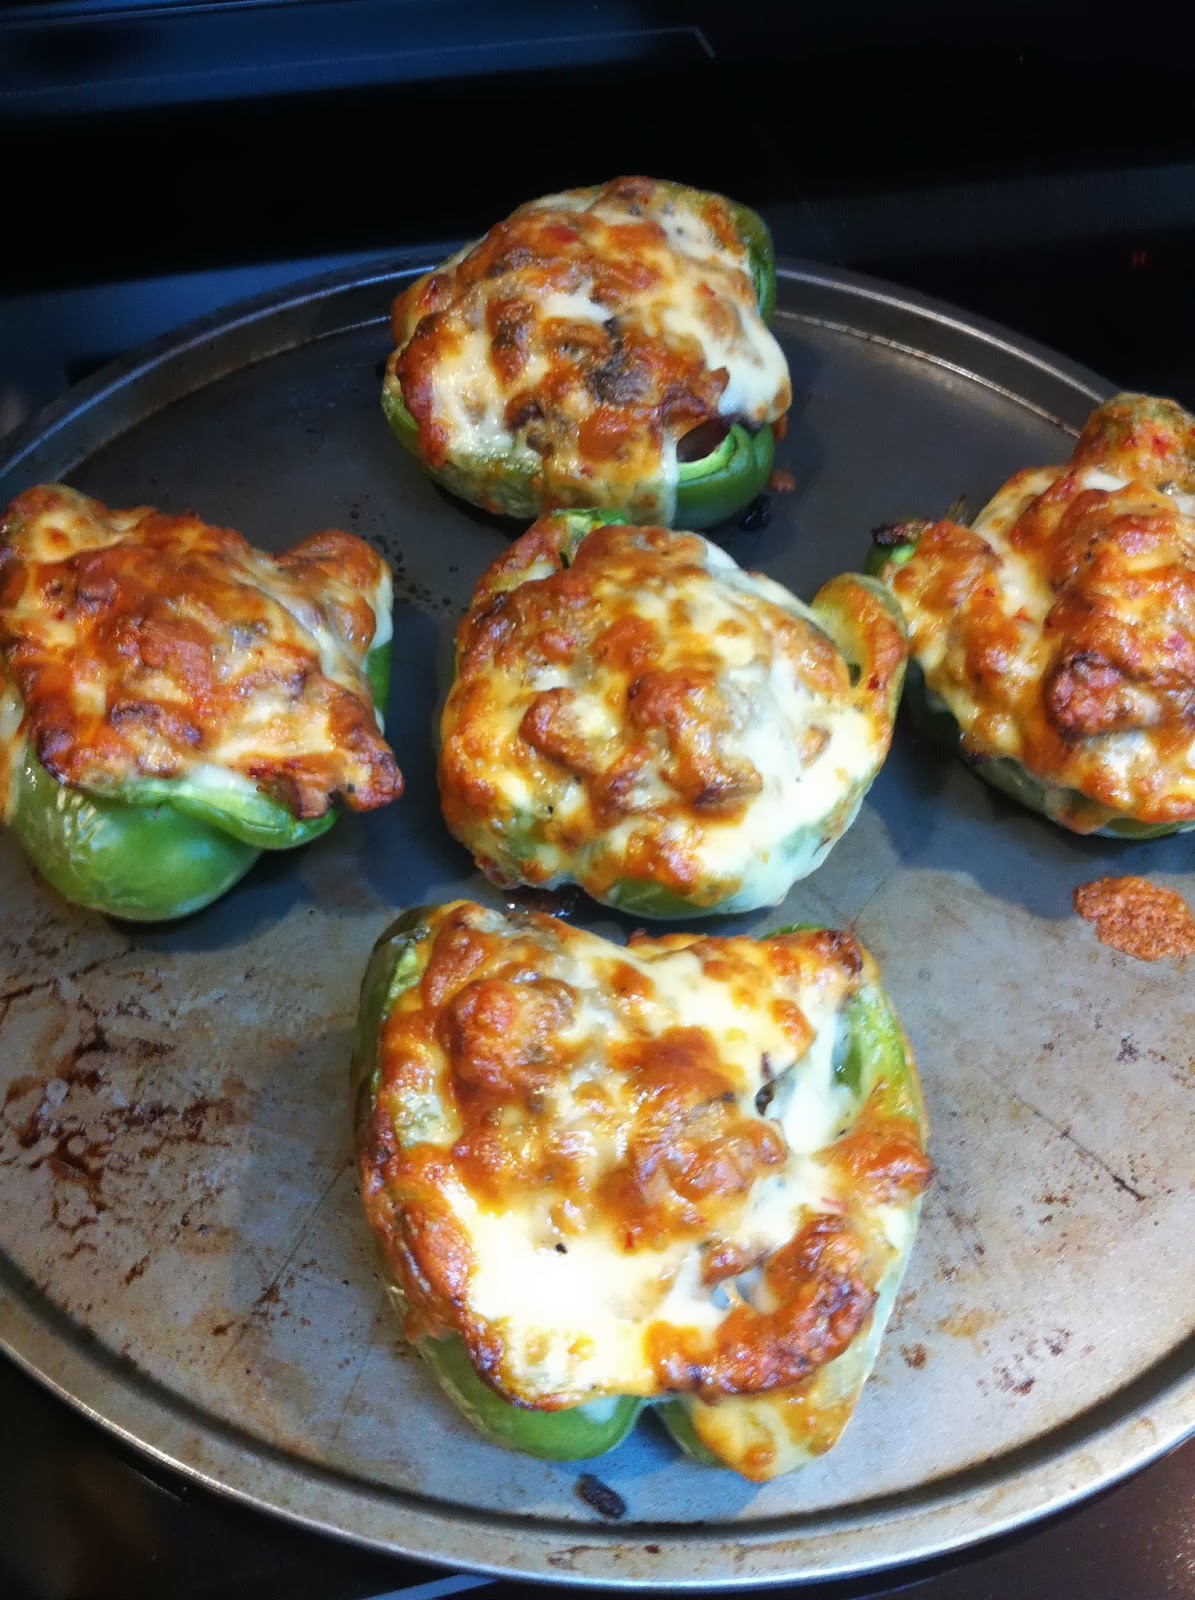
Philly Cheese Steak Stuffed Peppers


These were a success. Like a really, really big success. Usually only some of the more unique things I make, pass the 'would I make this again test?'. This one passed with flying colours and everyone seemed kind of shocked that this slightly bizarre concept could taste so amazing.

Recipe from Quick & Easy Recipes.

Ingredients

8 oz. thinly sliced roast beef (or leftover steak)
8 Slices Provolone Cheese (I used a spicy Monterey Jack and it was amazing, don't use havarti it just melts away to nothing)
2 Green Bell Peppers
1 Onion, diced
1 C. Mushrooms, sliced
2 Tbsp. Butter
2-3 Cloves Garlic, minced
Salt 
Pepper

Directions

~Preheat oven to 400 F
~Slice peppers in half lengthwise and remove the seeds and stem.
~Place a slice of cheese in side each half of the pepper
~Combine onion, mushrooms, butter, salt & pepper in a heated skillet and saute until softened.
~Add in beef slices and stir long enough to heat.
~Add garlic and cook, stirring constantly.
~Scoop mixture into each pepper.
~Top with another slice of cheese.
~Bake for 15-20 minutes, or until the cheese on top is bubbly and golden.

Enjoy

Sunday, 24 February 2013

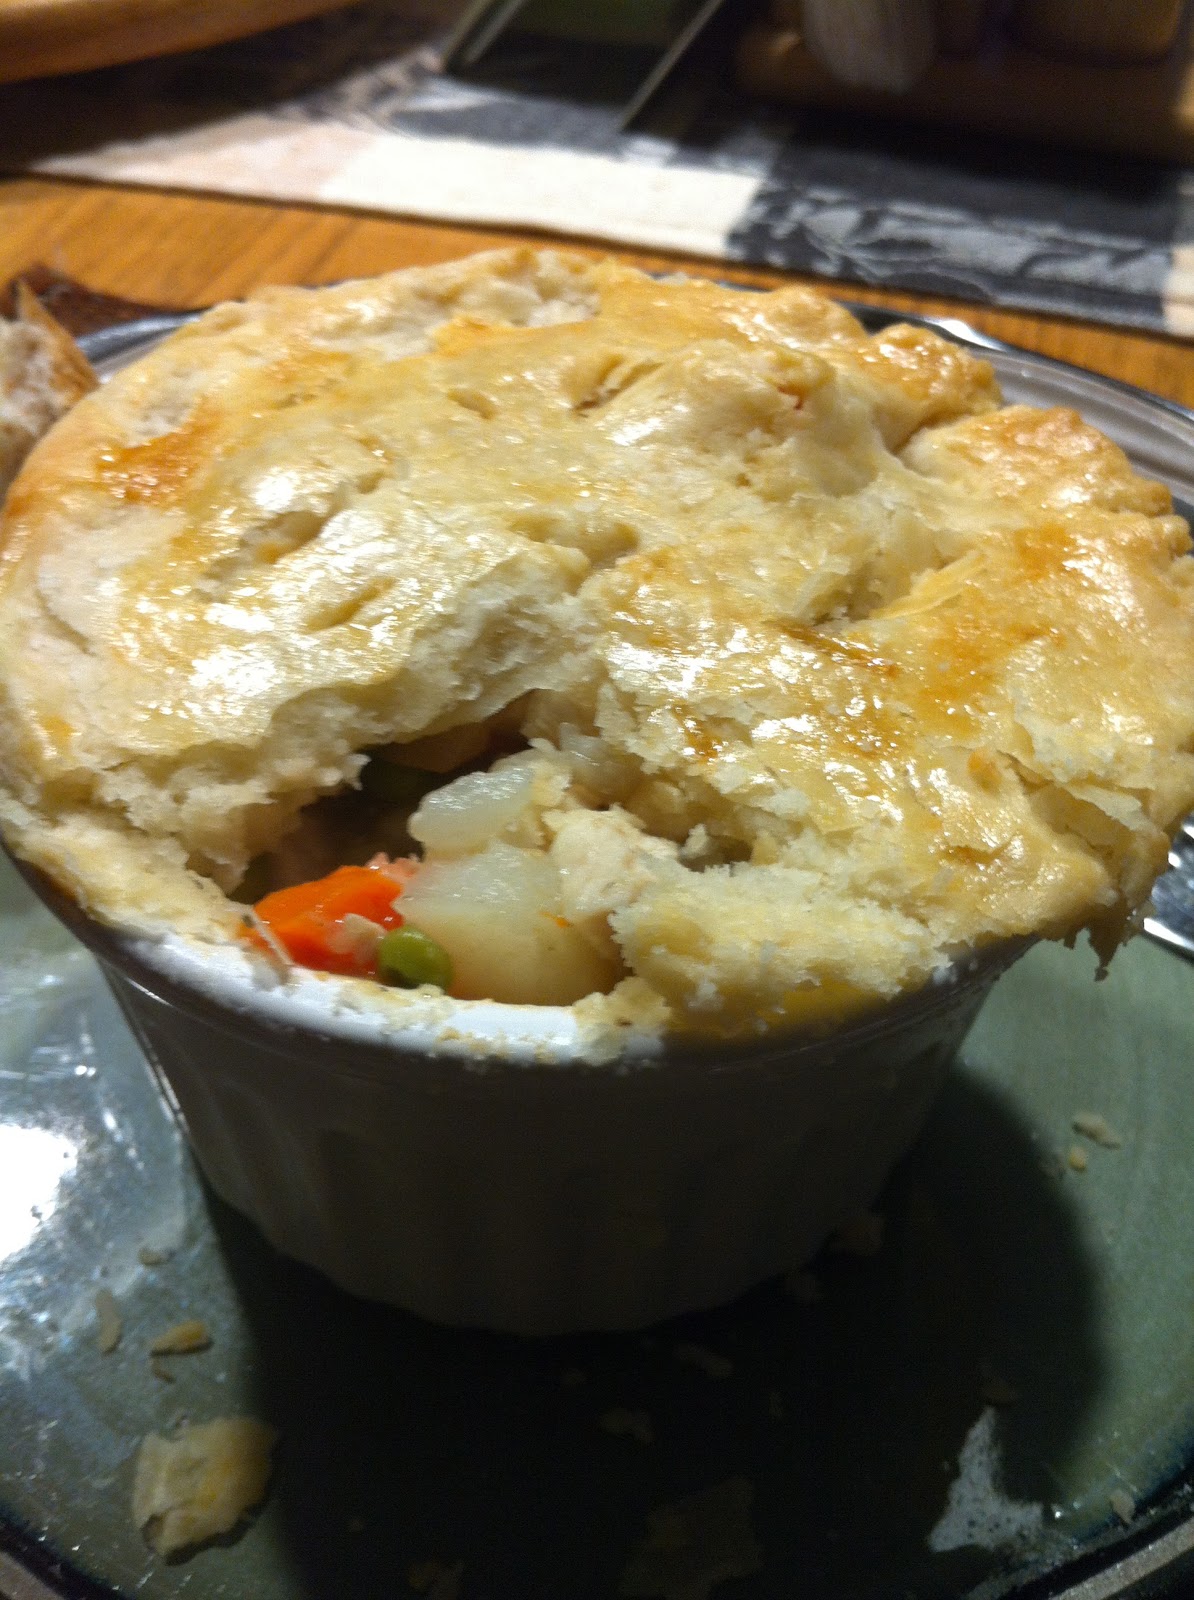
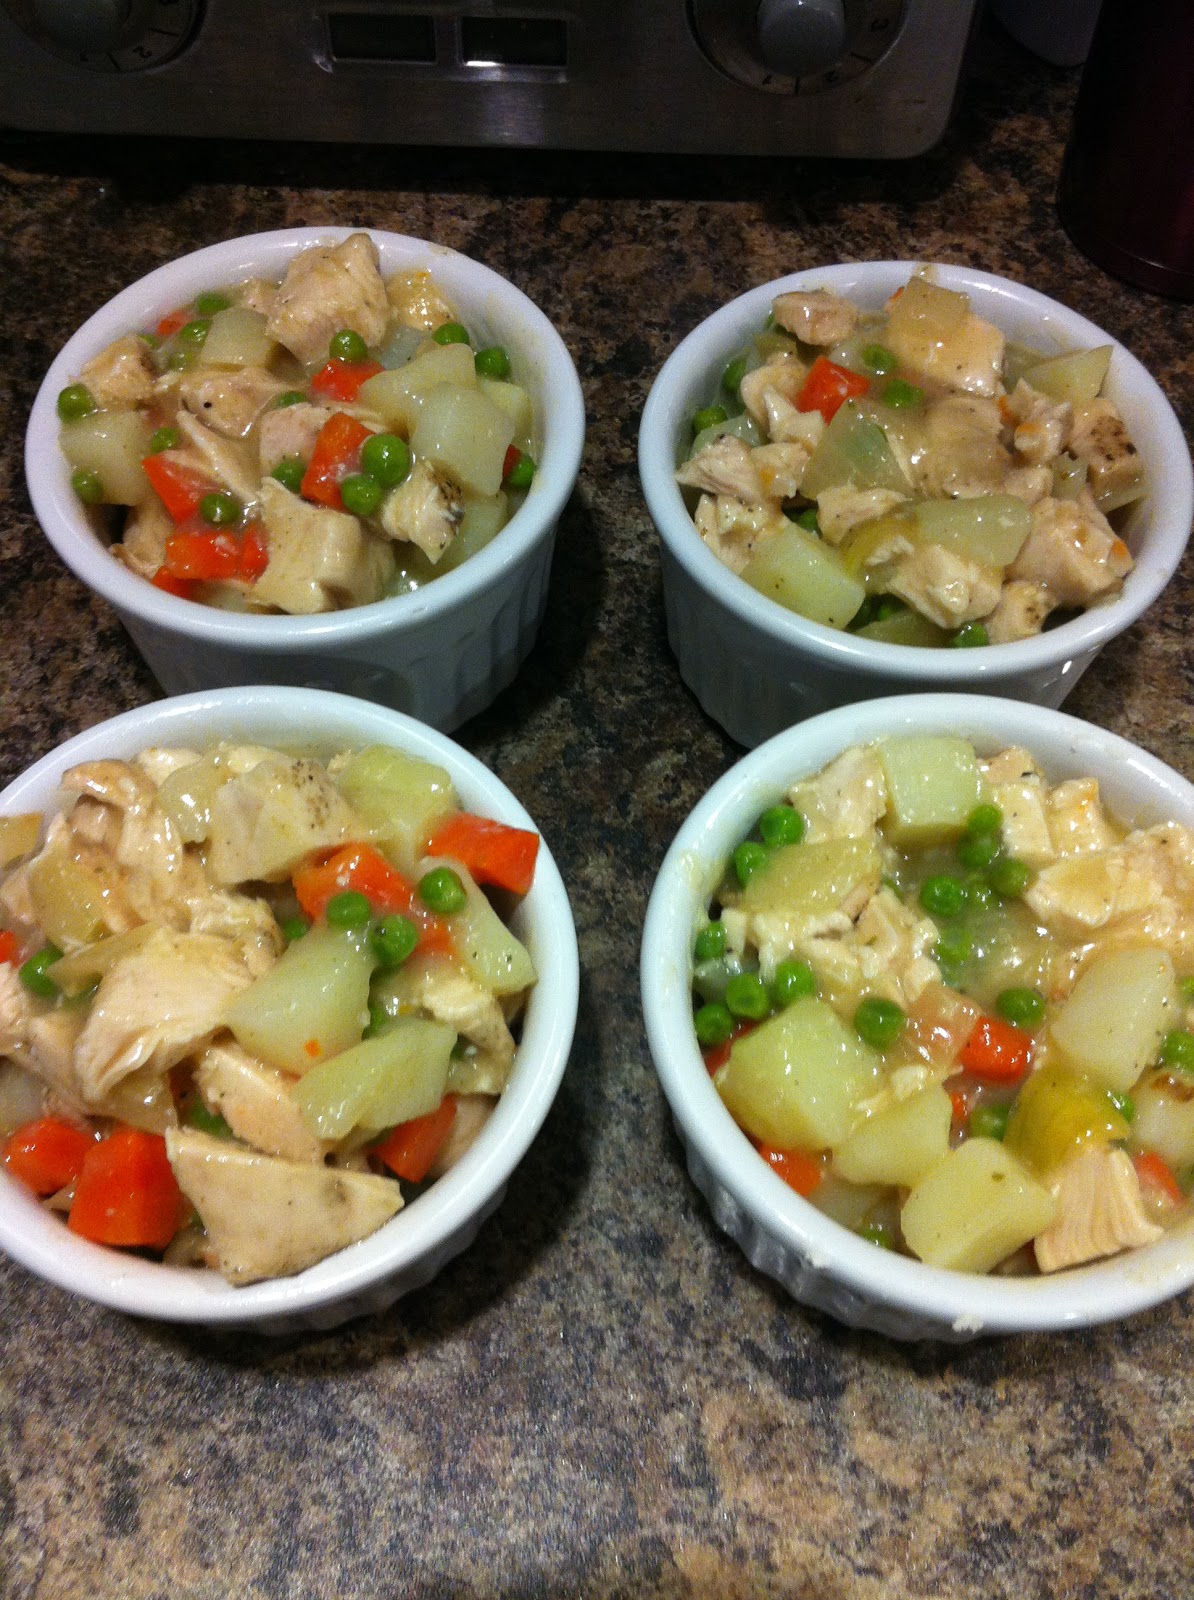
Chicken Pot Pies (Dairy Free)


These were quite a bit of work because we had nothing prepared ahead of time and we made the pastry from scratch. You could buy some pre made pastry sheets or use some leftover chicken and veggies from the previous nights dinner to take out a few of these steps. But, the homemade pastry was so worth it. It may not have been pretty (I've only ever made pastry one other time and that was years ago) but it was so incredibly flakey and delicious. I've not ever been a pie lover, it's something I'll eat but it's typically not the first (or second) thing I'd pick for dessert, but I now know why. When the pastry tastes like this, pie is so worth eating.

Pastry recipe is the one off the Tenderflake box.

Makes 5 individual ramekins and 1 regular sized pie

Ingredients

1/2 Recipe of Pastry
             5 1/2 C. Flour
             2 Tsp. Salt
             1 lb Tenderflake Lard
             1 Egg
             1 Tbsp. Vinegar
             Up to 1 C. Water

6 Chicken Breasts
Salt
Pepper
1/2 Tsp Poultry Seasoning

3 Carrots, peeled and diced
4 Medium Potatoes, peeled and diced
1 1/2 C. Frozen Peas

1 Tbsp. Butter
1 Large Onion, diced
4 Cloves Garlic, minced
5 C. Chicken Broth
5 Tbsp. Flour
1 Tsp. Salt
Pepper
1 Tsp. Poultry Seasoning

1 Egg

Directions

~Make pastry
        ~Stir together flour and salt
        ~Cut in the lard until you get pea sized pieces
        ~In a measuring cup whisk the egg, add in the vinegar and top up with cold water to a total of 1 C.
        ~Stir the water mixture into flour mixture, adding a bit at a time and only add enough to make the dough cling together
        ~Gather dough into balls.
        ~Dough can be refrigerated if not ready to be used right away (just pull out at least 30 min. before rolling) - don't roll dough until you are ready for it at the end as it won't come off of the counter once it is left for awhile and warms up
        ~You'll only need about half of this recipe, so reserve the rest in the fridge or freezer for later projects.


~Season chicken breasts with salt, pepper and seasoning and bake in oven until almost cooked entirely. 
~Allow chicken to cool slightly and cut into cubes.
~Cut carrots & potatoes. Place carrots and peas in one pot and potatoes in another and cook until tender. Drain.
~In a large saucepan melt the butter and saute the onions until golden on medium-high. Near the end, add in the garlic and cook.
~Add in 4 cups of the chicken broth, reserving the remaining 1 cup, stir and lower temperature to medium.
~Pour the 1 cup of broth into a mug and whisk in the flour 1 tbsp at a time until all lumps are gone. Add into the saucepan, whisking constantly.
~Season with poultry seasoning and continue to whisk until mixture thickens. Remove from heat.
~Preheat oven to 425 F
~Grease the dishes.
~In a large bowl combine chicken cubes, carrots, peas & potatoes. Pour in the sauce and mix to distribute.
~Scoop mixture into dishes.
~Coat top lip of dish with a bit of egg wash.
~Roll out pastry on a floured surface and lay over top of each mixture filled dish. Trim edges and press to seal around edges.
~Brush top of pasty with egg.
~Bake for 40-45 minutes or until pastry is golden.

Enjoy


Monday, 7 January 2013

Buffalo Cauliflower 'Wings'


Okay, these are good. And by good I mean I think I took the top layers of skin off of my tongue. Yes folks, these are very hot. But good, oh so good. I had requests to make them two nights in a row.

So as I said, these are hot, hot, hot but they taste exactly like hot wings, but not so much like buffalo wings but that could easily be remedied by using the buffalo flavoured Frank's Hot Sauce instead of the original.

Serves 6 people

Source Tasty Kitchen

Ingredients

1 Head Cauliflower, in florets
1 C. Milk
3/4 C. Flour
3 Garlic Cloves, minced
1 C. Hot Sauce
2 Tbsp. Butter

Optional ** Blue Cheese or Ranch Dressing for dipping

Directions

~Cut cauliflower into florets.
~Preheat oven to 425 F
~In a medium bowl whisk together milk, flour and garlic
~Dip each piece of cauliflower into mixture and let excess drip off.
~Place on a greased cookie sheet
~Spray tops of cauliflower with oil
~Bake for 20 minutes until fork tender
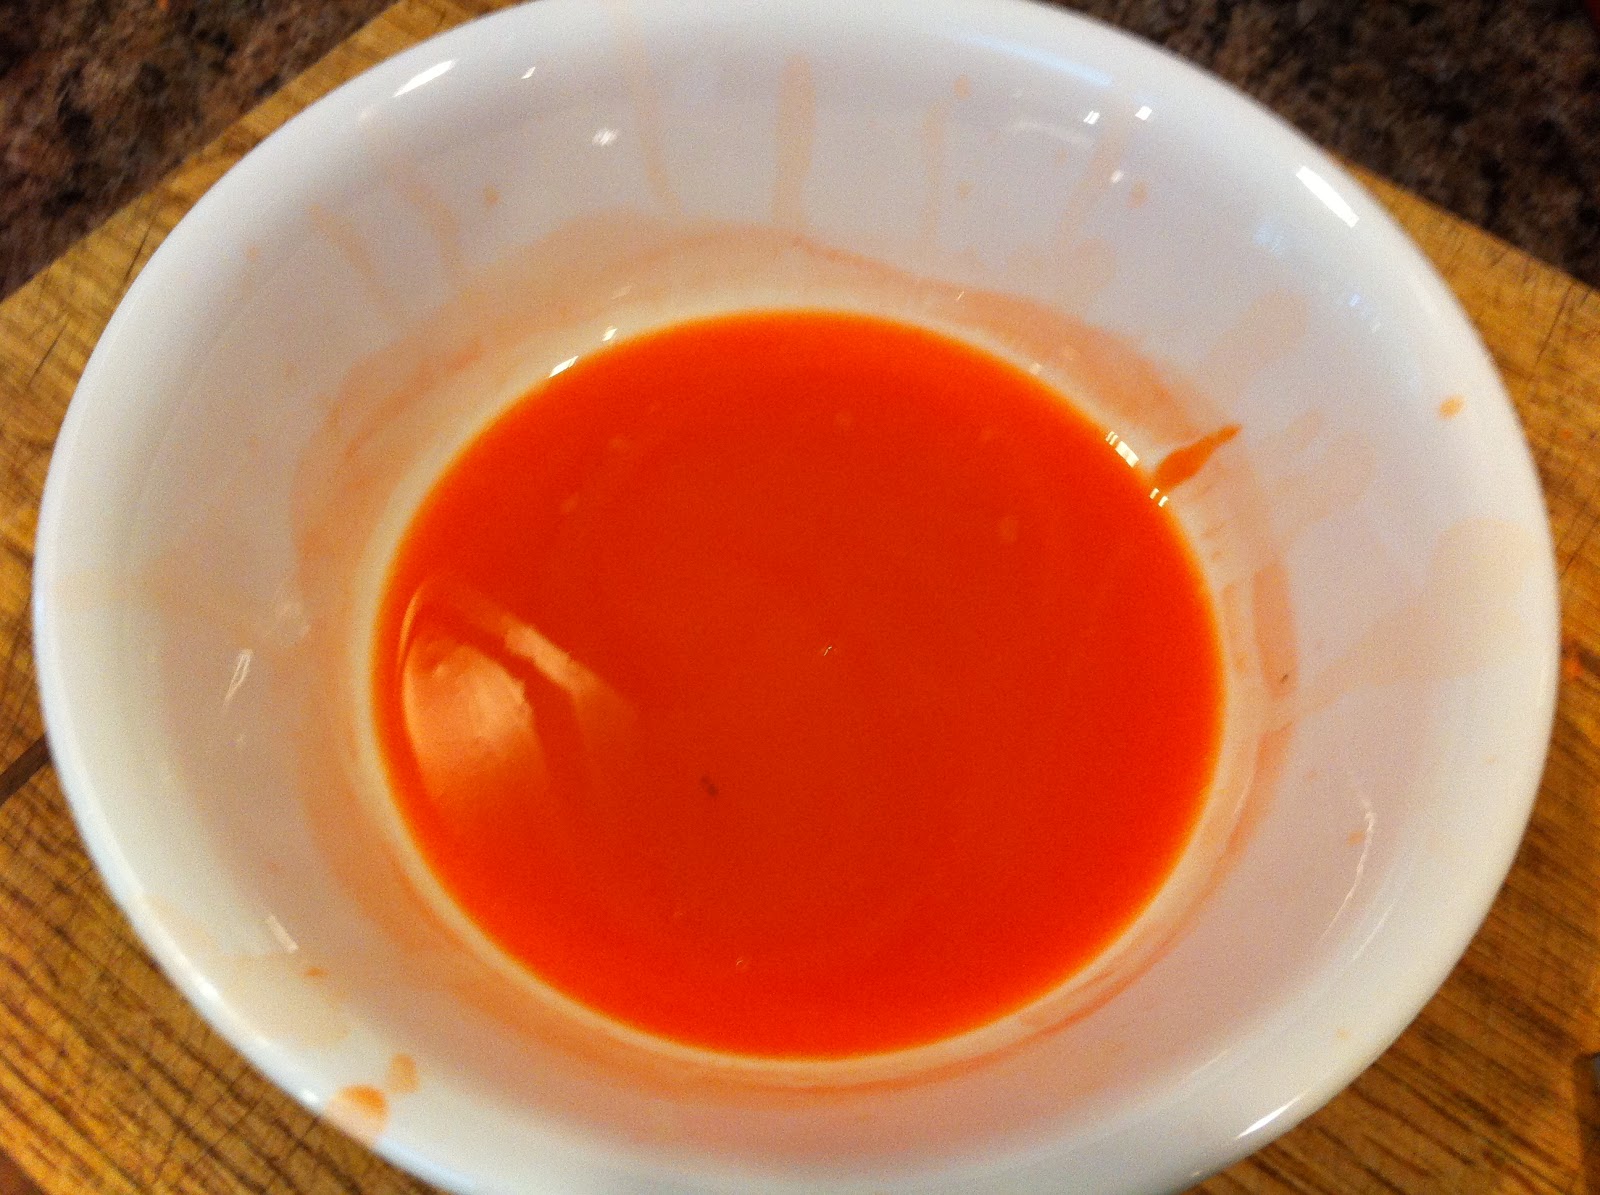
~While baking, in another medium microwave safe bowl melt butter then add hot sauce.
~Heat mixture just before tossing the baked cauliflower in it.
~Serve immediately as it cools very quickly.

Enjoy

Friday, 30 November 2012

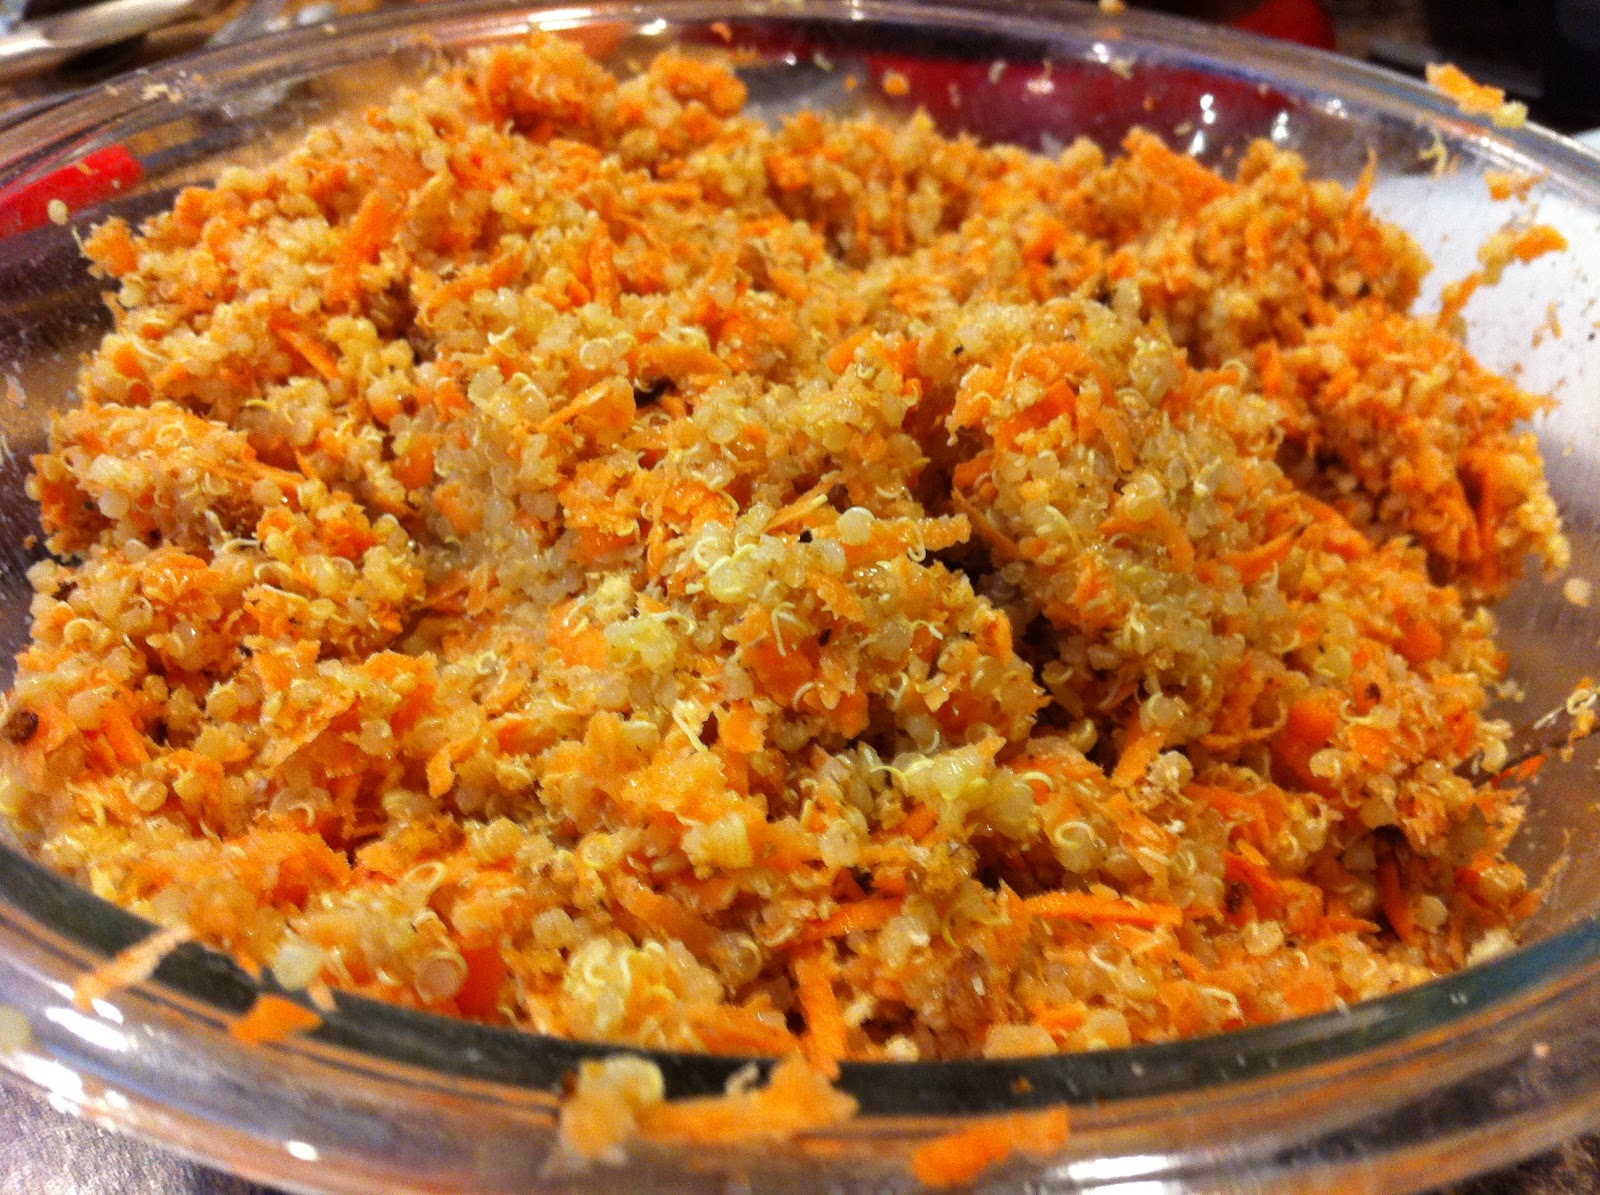
Quinoa Yam Patties


These didn't really form like I had expected them to. Nor did they taste like I had expected either. That's not to say that they were bad (we wouldn't have eaten them for 3 nights straight if they were bad), they were just different. I had originally decided to make them one morning. It seemed like a great idea (but they seemed to take all day to make, so a bit time consuming to say the least), and I really would have liked them to be ready for lunch, but they weren't. So dinner rolled around and I must admit, dinner time is when I always confirm that I could never be vegetarian. I don't need bacon or sausage for breakfast, or sandwich meat for lunch, but I do think dinner should contain meat. So, I didn't truly enjoy these the first night. But I do have to say, they were quite filling and had some decent flavour going (then again I just ate it by itself on a plate with a bit of thai sauce as we didn't have buns or burger fixings.)

The key thing to remember for this recipe is to let it cool completely in the fridge before trying to form patties. I didn't at first and that's what caused my nightmares. They went together much better the next day after they had sat.

So I guess the main question is, would I make these again? And I would have to say I honestly don't know. I really liked the idea of them, but what I imagined them to taste like, wasn't what they actually tasted like. So, even though they didn't taste bad, it's sometimes hard to overcome something that is different.

I adapted this recipe from In Sock Monkey Slippers. The idea to add the tahini came from Made to Create.

Makes 5 Patties


Ingredients

1 C. Water
1/2 C. Quinoa
1 1/2 C. Yams, shredded (about 1/2 large yam)
1 Egg, beaten
1/4 C. Bread Crumbs
1/4 C. Bran
1 Clove Garlic, minced
1/2 Tsp. Tahini
Salt 
Pepper
Olive Oil

Directions

~Rinse the quinoa and place into a pot of boiling water (1 C.)
~Simmer on low heat until all the water is gone (times vary depending on brand of quinoa), 10-15 minutes
~Allow quinoa to cool.
~Peel and shred the yam with a cheese grater.
~Place the yam in a piece of paper towel and squeeze out the extra liquids (isn't it an amazing colour??)
~In a large bowl, combine the quinoa, yam, egg, bread crumbs, bran, garlic, tahini, salt and pepper.
~Mix well and then place bowl in refrigerator to cool.
~When cool, form into patties.
~Heat skillet (or grill) and the oil, and cook burgers until they are golden on both sides and crispy.

Enjoy

Never would have thought Yam Juice would be this vibrant and solid of a colour. Just thought I'd share :)

Tuesday, 30 October 2012

Green Bean Casserole


I've never really had any desire to make this dish until we went to Costco and bought a huge bag of these Crispy Fried Onions. They were little shavings of onions that had been fried and then packaged up to be used on salads, burgers or casseroles. So, that's what brought me to making this dish. I found it okay, not great, but okay. But that could have been because the beans we got were kind of rubbery and not so stellar. Others that tried it really liked it. But, I like vegetables just as vegetables, they don't need to be all dressed up for me to like them, so that may have been another reason.

The recipe for this came from Campbell's.

Serves 6

Ingredients

4 C. Cooked Green Beans
1 Can Condensed Cream of Mushroom Soup
1/2 C. Milk
1 Tsp. Soy Sauce
Pepper
1 C. French Fried Onions, divided

Directions

~Wash beans and snip the ends off.
~Boil beans until tender in a pot of water, then drain
~In a medium bowl, combine the soup, milk, soy sauce and pepper to taste. Stir.
~Mix in 2/3 C. of the onions and the beans.
~Spoon mixture into a greased 1 1/2 quart casserole dish.
~Bake in the oven at 350 F until mixture is bubbling (20-25 minutes).
~Sprinkle with remaining onions and return to oven for 2-5 minutes (watching that it doesn't begin to burn).

Enjoy


Wednesday, 19 September 2012

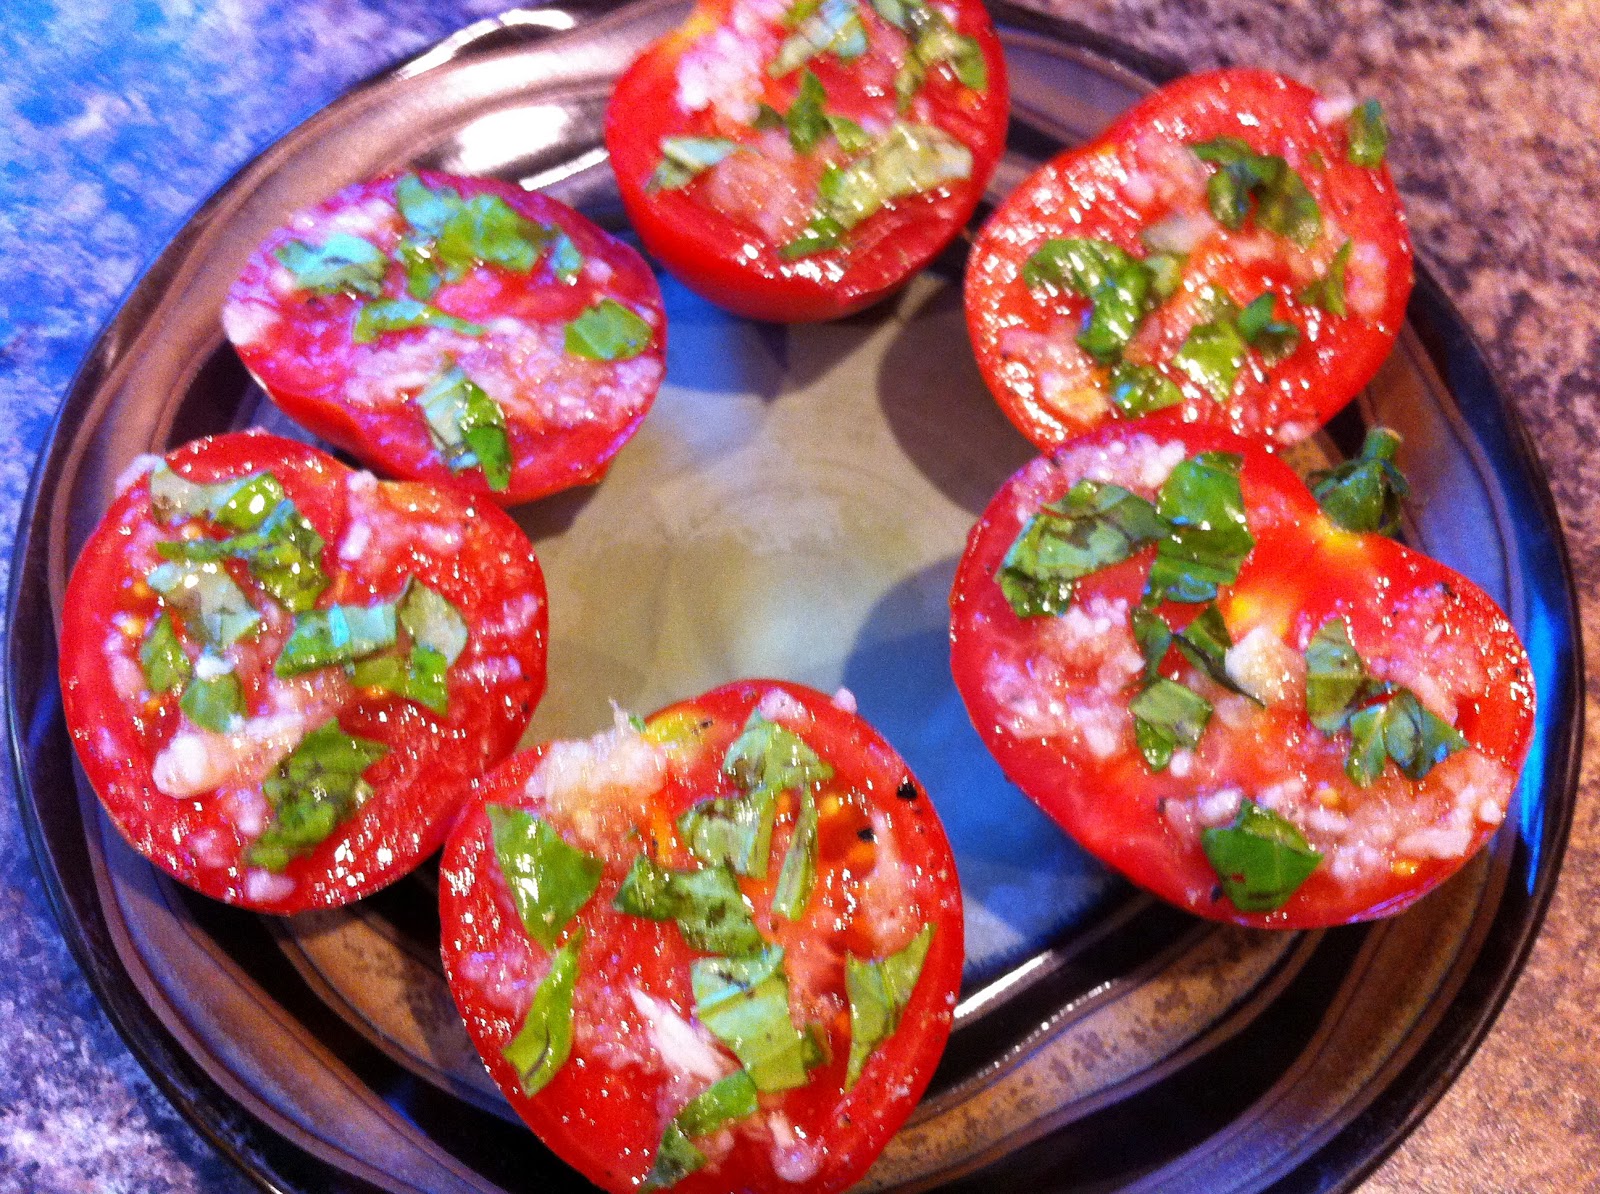
Grilled Tomatoes


Our tomatoes are finally ripening much to the little tomato addict's (and peanut butter, cheese, peas, bananas, garlic...addict's) delight. Yes, that would be my dog. You know, I think she only likes her little bite of steak she gets occasionally because we smother it in garlic. The steak, well it just messes with her being a vegetarian. I believe she's truly a vegetarian at heart.

Back to the tomatoes. It's amazing some days that I get any fruit off the plants because Kona runs up, grabs a tomato off the plant and runs to go eat it on the grass. It's not just tomatoes though. She sits under the raspberry bushes and aggressively nips each individual berry off the bush. Then there was the pea fiasco a few years ago. Let me tell you first, that we don't plant peas any longer. The first summer we planted them, Kona ran and picked the peas off the vine. Then the next summer, she got so excited that there were going to be peas in the garden that she ripped the vines right out of the ground and started flinging and chasing them around the back yard. Unfortunately, she pulled all the vines out before they produced any actual peas (the vines themselves must to a dog smell the same as the peas).

Moral of the story is: My dog is a vegetarian.

Back to the tomatoes. I was able to wrestle a few nice looking tomatoes out from under her nose and I decided to grill them. Typically I do these on a pan under the broiler, but because our oven is still broken and we were BBQing, I did them out on the grill instead.

Serves 3

Ingredients

3 Tomatoes
2 Cloves Garlic, minced
2 Leaves Fresh Basil
1/2 Tbsp. Olive Oil
Salt
Pepper

*Optional*
Feta Cheese

Directions

~Wash tomatoes and slice in half.
~Brush flat surface with oil.
~Spread the garlic and finely chopped basil over the oil.
~Season with salt & pepper
~Lightly brush over the top again with oil.
~Sprinkle with feta cheese if desired.
~Place on a baking sheet and under the broiler or directly onto the grill and grill until tomatoes soften and warm through.

Enjoy