Showing posts with label COOKIES. Show all posts

Wednesday, 17 July 2013

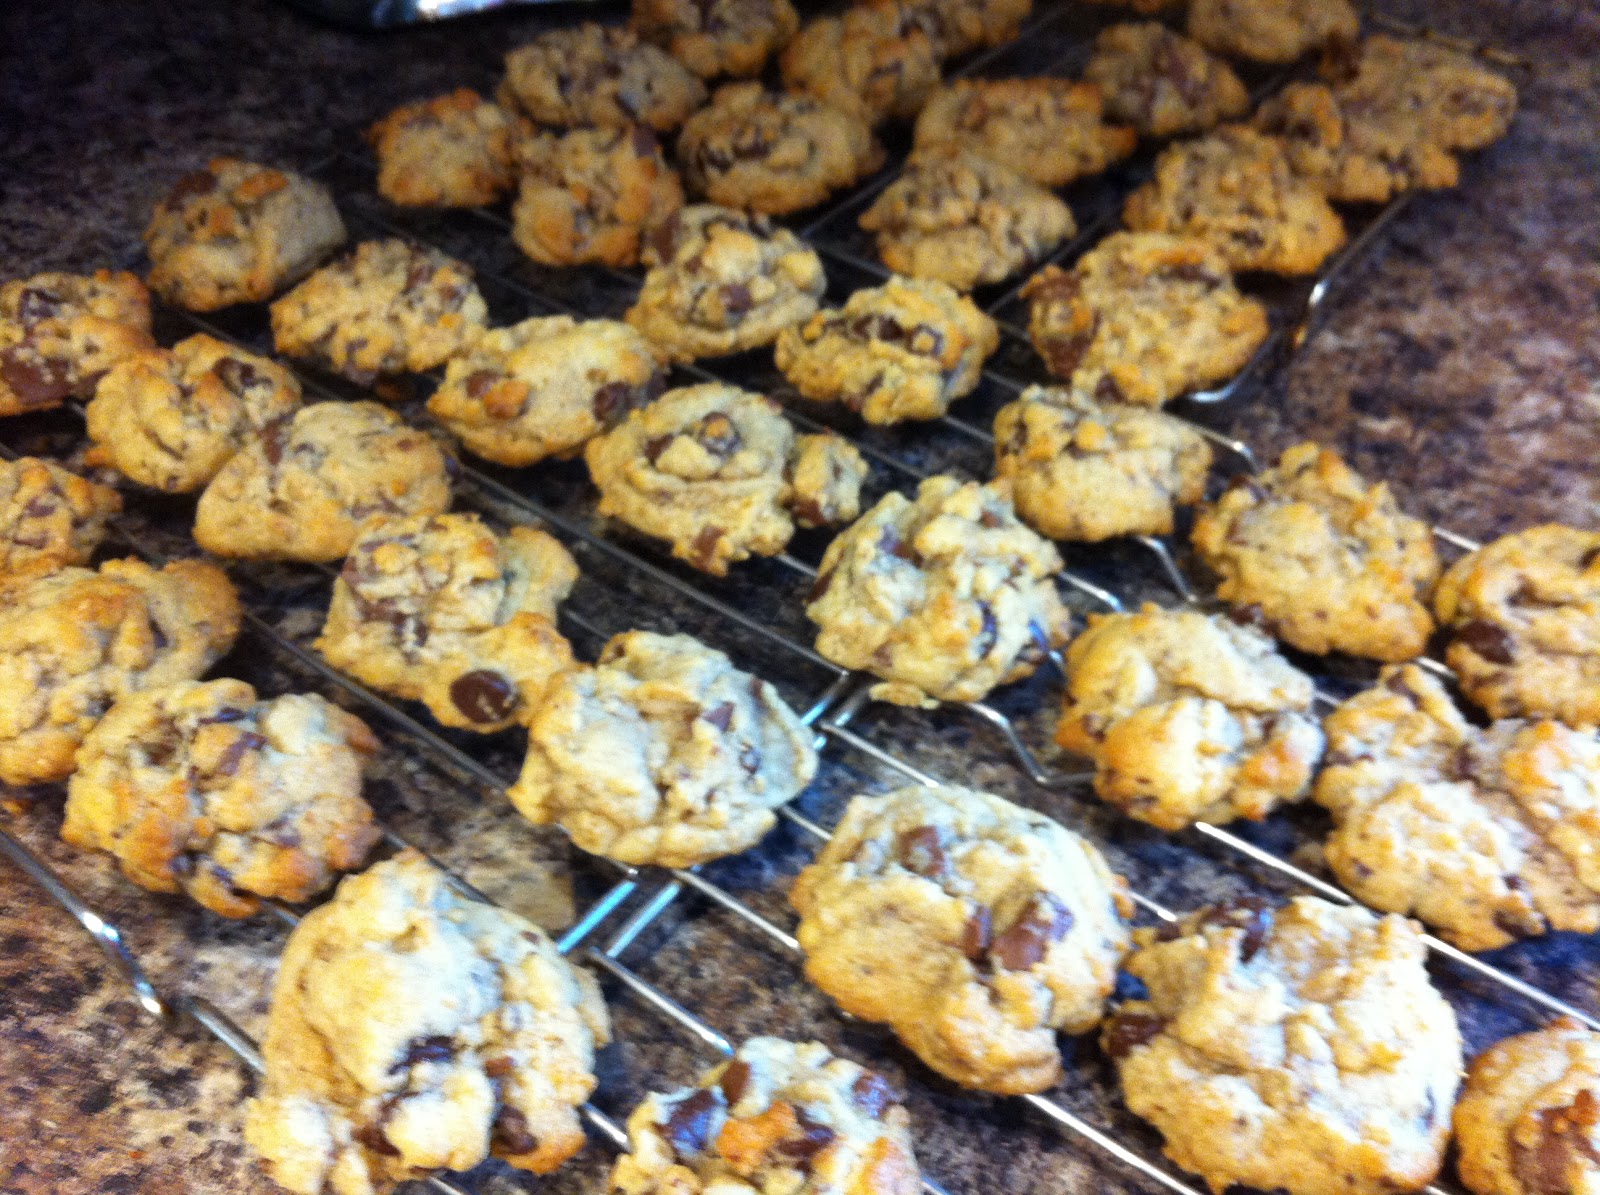
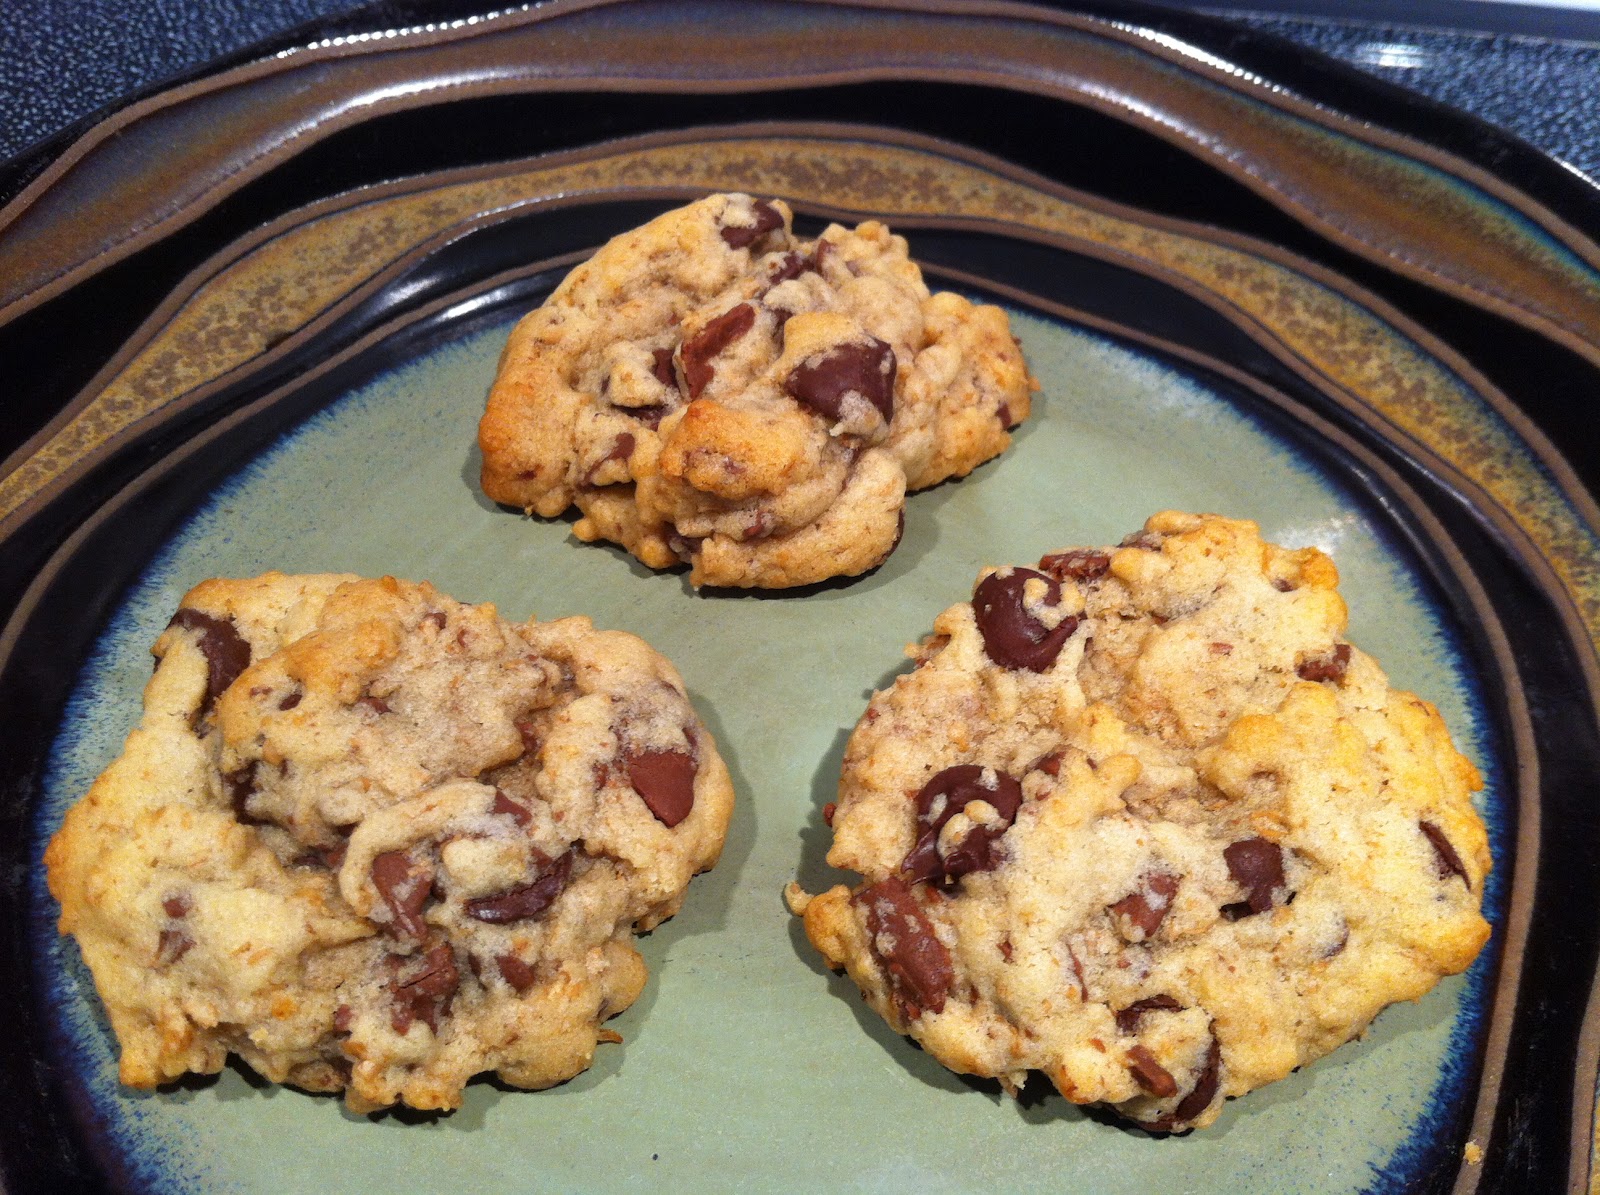
Pudding Cookies


This is another one of those recipes I have copied down from two different spots at two different times and go back to find out they are the same recipe.

I double this recipe and so that means you use two packages of pudding. The recipe calls for vanilla, but I usually don't have two of the same flavours on hand at the same time. So I have ended up making vanilla-lemon one time, and vanilla-chocolate another. Both good, but I think I'll stick with the vanilla-lemon or vanilla-vanilla combo, just because the cookies are supposed to be chocolate chip cookies with a kick. As soon as you add the chocolate pudding, it makes them look like you've added cocoa to them, and in my eyes, that's a totally different cookie.

It's taken me awhile to type this up, and I'm realizing I didn't mark down how many cookies this made (it was a lot) or how much chocolate chips I added. Oops. The original recipe calls for a 12 oz bag of chips, so I'll just put that, but because I scoop from the Costco size box, I always measure in cups not bags. So I'm guessing it was somewhere between 1 and 2 cups, but that's completely dependent on chocolate preference, etc. Just do what you want. I'm also realizing that there is no salt in this recipe. Which is really strange. Hmm

Recipe from Kraft Foods

Ingredients

1 C. Butter
3/4 C. Brown Sugar
1/4 C. White Sugar
1 Pkg. (4 serving size) Instant Vanilla Pudding
1 Tsp. Vanilla
2 Eggs
2 1/4 C. Flour
1 Tsp. Baking Soda
1 12 oz Bag Chocolate Chips

Directions

~Preheat oven to 375 F
~Cream together butter and sugars.
~Add in pudding and vanilla, then the eggs.
~Mix in the flour and baking soda
~Stir in the chips
~Drop onto cookie sheet and bake for 10 minutes.
~Cool on rack.

Enjoy

Sunday, 16 December 2012

Xmas Swirl Cookies


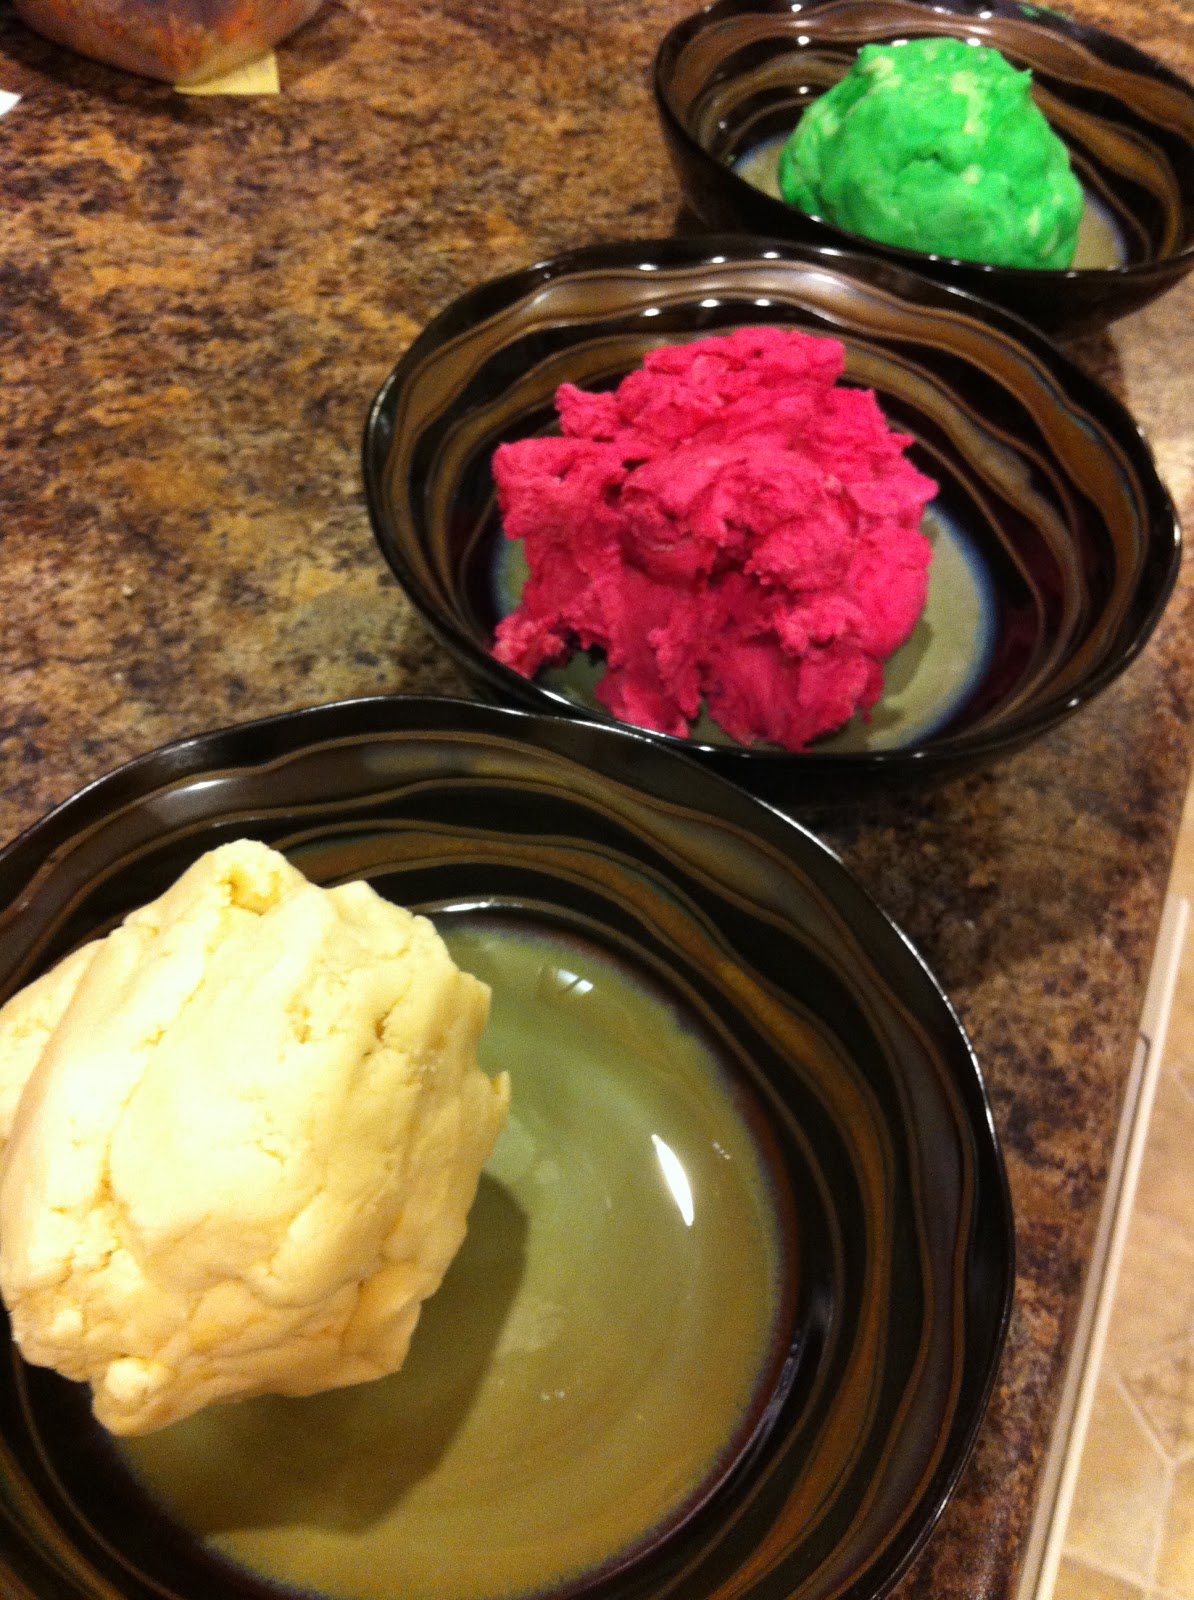
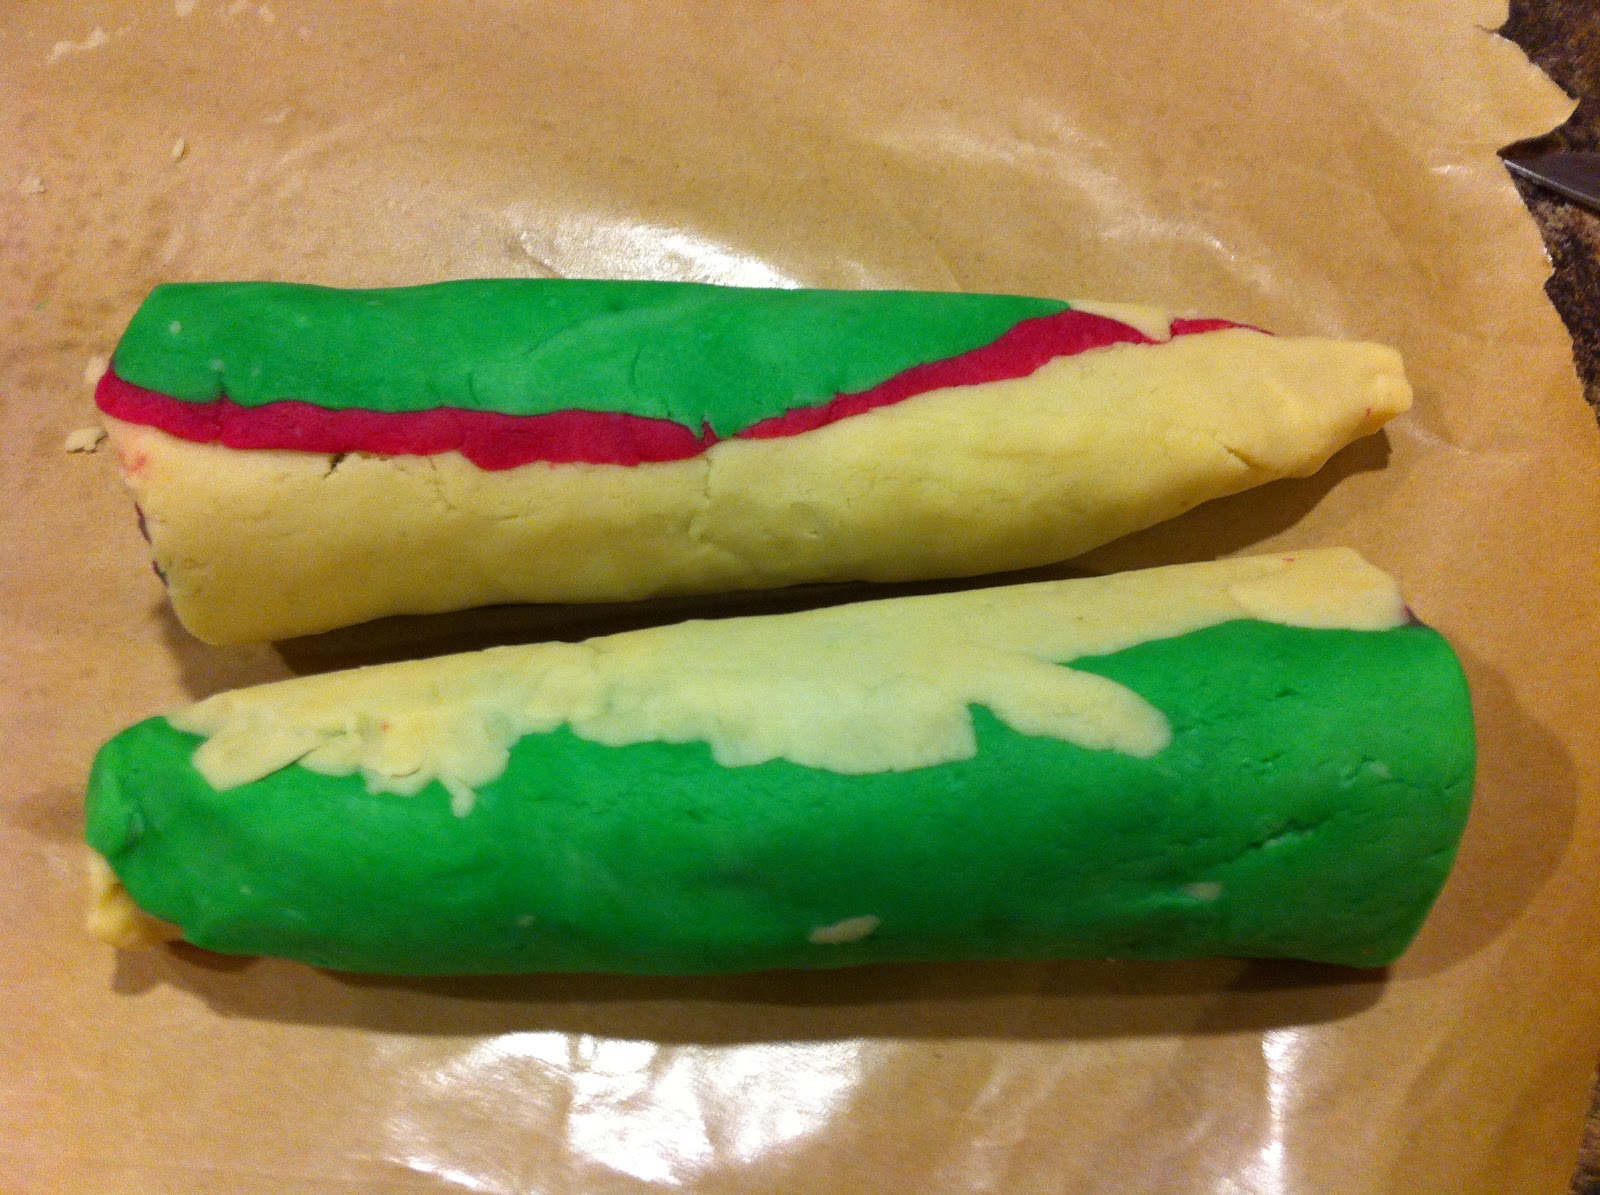
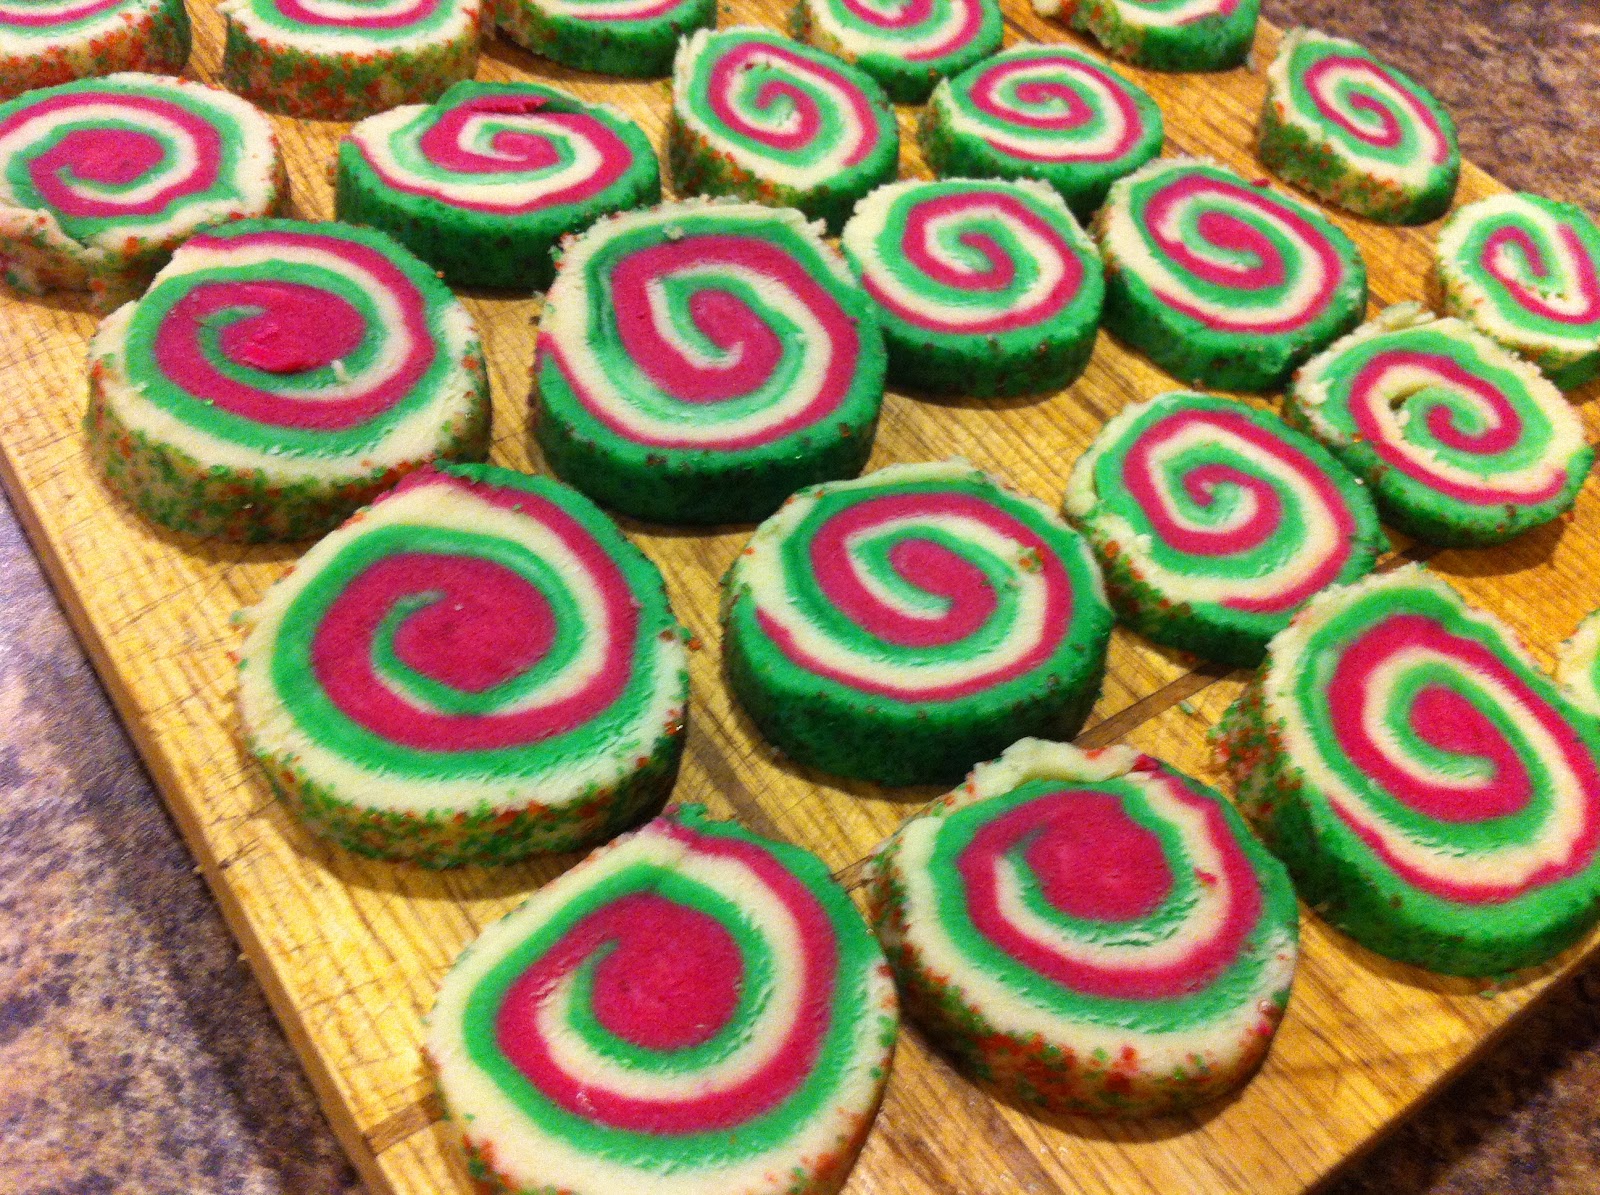
I made these cookies ages ago but never baked them because of the oven situation. What I did was I made them, rolled them up and then threw them in the freezer, to be cut and baked later. It was kind of frustrating to make as I was a bit over ambitious and I decided to go for three different colours instead of the two that most people shoot for. Anyway, in the end I did get them to roll, but I have to tell you it was a struggle and I was cursing them. I had my doubts that they were going to look good when I cut them after all of my difficulty rolling them, but they look beautiful and perfectly even.

To get enough cookie dough to facilitate me making three layers (and three colours), I increased the original recipe by 50%. That way I would have the same amount of dough for each colour that was originally called for, for the two colour recipe. Follow? Or is it way too early / late for that. Either way, just go with it, I'm going to explain my three colour way. If you want the two colour way, just follow the link below to the original recipe. Because of adding 50% more, the quantities are kinda different, but all doable values. Just warning you.

I substituted out the flavouring called for and put in peppermint extract in the green dough. It's not bad, but I think if I make these again (even though I like mint), I'll just stick with a bit more vanilla and call it a day. After all, the other two colours just tasted like regular sugar cookies so it was a bit different to have a bite of sugar cookie then a bite of peppermint sugar cookie.

One final note. The original poster commented that this recipe was not to be made in your KA Mixer. Instead you were supposed to use a food processor. My food processor wasn't going to be big enough for this amount of dough, plus I'm yet to find something my KA doesn't do well, so I disobeyed instructions and used the mixer.

Just a disclaimer, I had fun taking pictures and because the making process was spread over something like 4 days, I got a lot of pictures.

Recipe comes from Sprinkle Bakes.

Makes 3 dozen cookies


Ingredients

3 C. All Purpose Flour
3/4 Tsp. Baking Powder
3/8 Tsp. Salt
1 C. Icing Sugar
3/8 C. White Sugar
1 3/4 C. + 1/8 C. Butter
1 1/2 Tsp. Vanilla
3/4 Tsp. Peppermint (or other - maybe more vanilla) Extract
1/2 Tsp. Green Food Colouring
1/2 Tsp. Red Food Colouring
Sprinkles

Directions

~In large mixing bowl, combine flour, baking powder, salt and the sugars and mix to combine. 
~Add in the butter and process just until the dough turns crumbly.
~Add the vanilla and mix until a ball forms.
~Divide the dough evenly into 3.
~Place ball 1 in a bowl and reserve for later (white ball)
~Place ball 2 back in mixing bowl and add your peppermint extract and green food colouring and mix to distribute the flavour and colour. Put green ball aside.
~Place ball 3 back in cleaned mixing bowl and add the red food colouring and process just until colour is distributed evenly. 
~Roll each ball of dough out onto a sheet of wax paper, to an 1/8" thick. Cover with wax paper and transfer to a cookie sheet and place in the refrigerator to chill for at least 2 hours.
~When dough has chilled, remove from fridge and peel away the top sheets of waxed paper from the doughs.
~Place the white dough down first and brush the top surface with water (I forgot this step, maybe that was one of the reasons I had difficulty. Oops).
~Using the wax paper under the green dough, invert the green dough and place on top of the white dough. Pull away the wax paper. Press down to seal them together.
~Repeat the last two steps with the red dough on top of the green dough.
~Trim the edges so that each layer is even.
~When the dough has warmed slightly, roll up the doughs so you get a long roll. If the white layer tears as you roll, pinch and patch it back together. (You won't be able to tell once you cut it into slices anyways).    **I found it easiest to cut the rectangle of dough into two before rolling it, otherwise it was going to be too long of a roll and very awkward to work with. So cut the rectangle half way down the longest part of the rectangle to make two shorter long sides.
~You can now get rid of the last piece of wax paper that was underneath the white layer.
~Once you have your log, roll it a couple of times with both hands along the countertop the make sure everything is adhered together properly.
~Roll your logs into sprinkles and press in gently with your hands to make sure they have stuck.
~Wrap logs in plastic wrap and chill until firm enough to slice. Or alternatively you can place in the freezer and defrost when needed (which works beautifully when you had no oven to bake things in).
~When log is chilled, cut into slices either with a knife or preferably use dental floss (strange but it works amazingly). These cookies don't rise or expand so what size you slice is going to be the size that you pull out of the oven.
~Bake in a preheated oven at 325 F until the white portions of the cookies have just started to turn golden. Approximately 15-20 minutes.

Enjoy (and pat yourself on the back for accomplishing a lengthy and difficult recipe that actually turned out well in the end.)


Thursday, 6 September 2012

Chocolate-PB-Oatmeal (No-Bake) Cookies


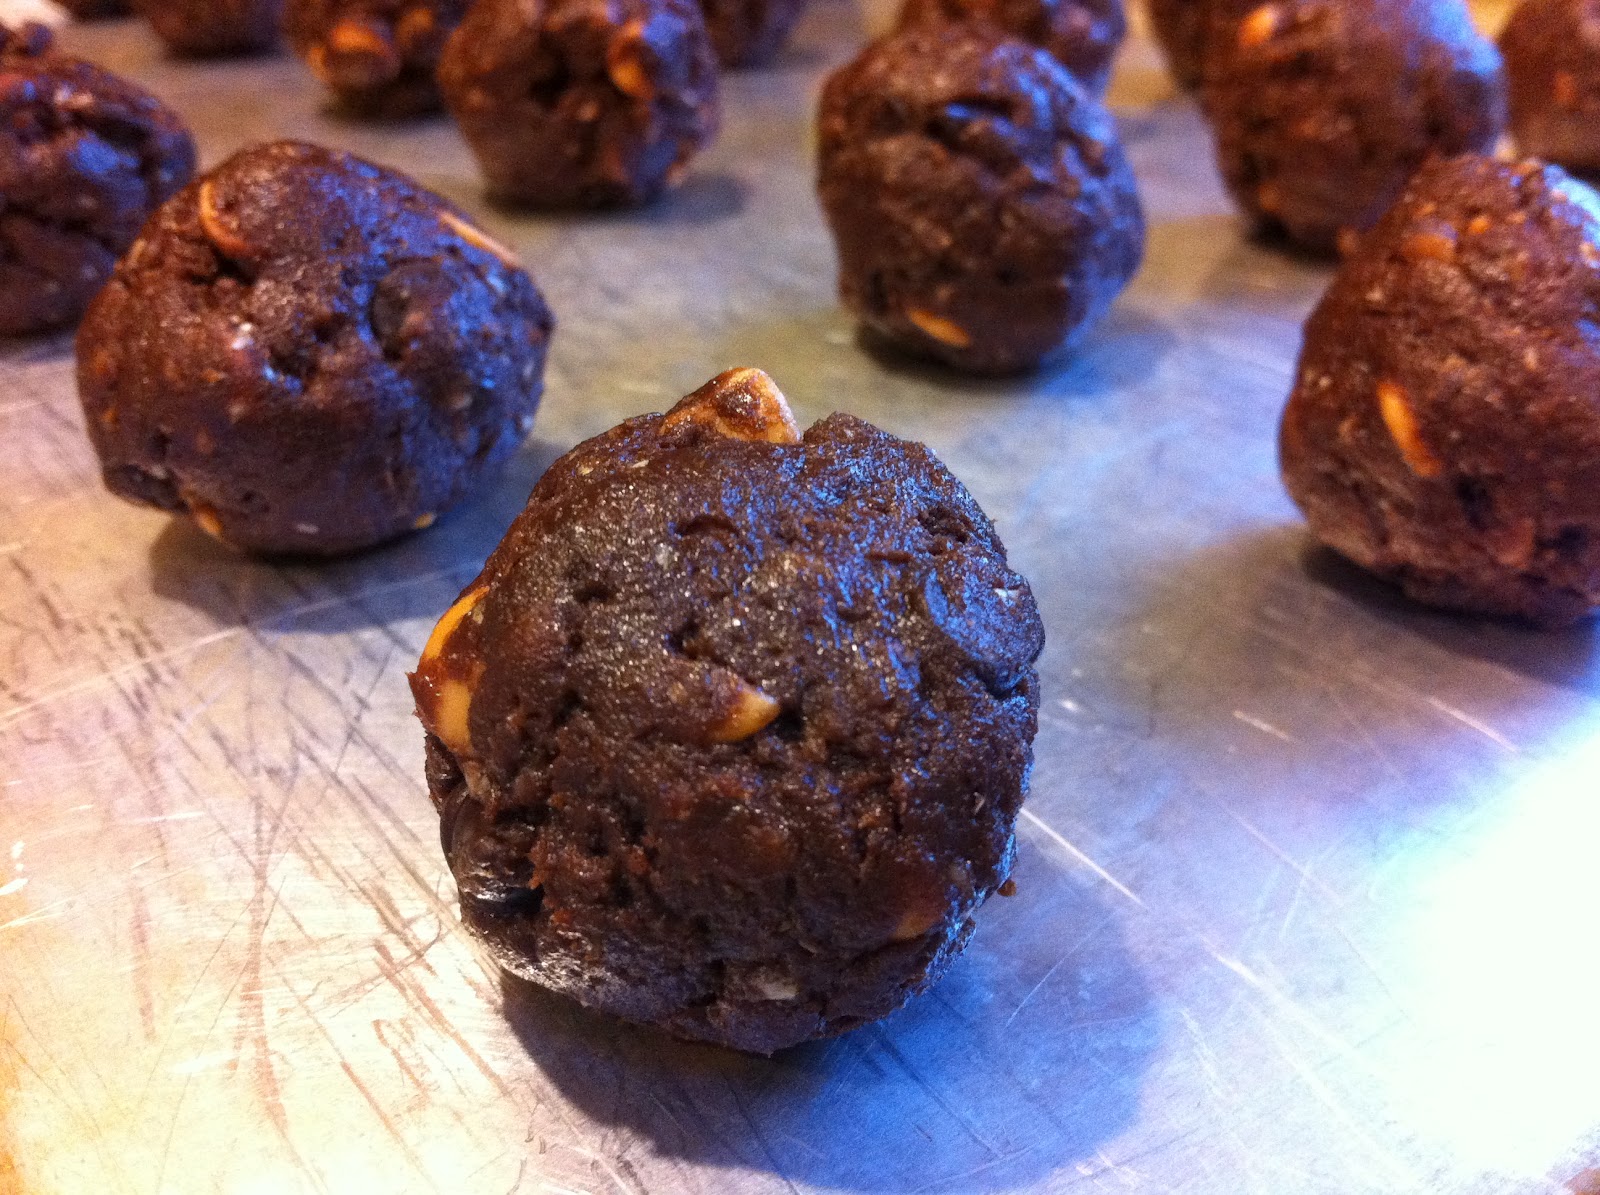
Unfortunately, I'm still ovenless. Meaning that I'm also cookieless. I've now officially cleared out the freezer of every extra cookie I had hidden away. So I went on a hunt-a rather difficult hunt actually-to find a no-bake cookie recipe. What I came up with was this one. It seems that basically all the no-bake cookies are only a slight variation from this one. Some use less peanut butter or more or less oatmeal, or a different amount of vanilla, but for the most part they are the same.

I was impressed with these cookies as far as no-bake go, but if I make them again I think I'll substitute in nutella instead of peanut butter. Because even though I can tolerate a bit of peanut butter in desserts, I found it a bit overwhelming of a flavour in these cookies.

I was pleasantly surprised that even though these cookies had a fair amount of oatmeal in them, they were more than just dry, oatmeal filled cookies. I probably won't go out of my way to make these again once my oven is fixed (the PB version...I might make a nutella version), but they definitely satisfied the craving currently.

On another very positive note, I'm now for the most part done with all my plums. So it's back to chocolate time we go.

This recipe is from the Food Network.

Makes: 4 dozen cookies

Ingredients

2 C. Sugar
4 Tbsp. Cocoa
1/2 C. Butter
1/2 C. Milk (I used vanilla low fat soy milk)
1 C. Peanut Butter
1 Tbsp. Vanilla
3 C. Oatmeal

Directions

~In a saucepan, melt the butter, then add the sugar, cocoa and milk. Stirring constantly as you bring it to a boil and boil for 1 minute.
~Add the peanut butter and vanilla, and stir to melt.
~Mix in the oatmeal and reduce the heat. Cook oatmeal until it begins to soften.
~Drop mixture by the spoonful onto a wax paper lined (or greased) cookie sheet.
~Place sheets into fridge to cool and set.
~Remove cookies from cookie sheets when set and store in an airtight container in the fridge.

Enjoy


Monday, 30 July 2012

The Ultimate Chocolate Chip Cookies

Awhile ago I said I was going to go through and post about my 3 favourite chocolate chip cookie recipes. Unfortunately, I think my list has now changed yet again as I've tried out more and more recipes. But, while this recipe may no longer be in my top 3, I still felt like I had to share it because these cookies do have a unique flavour (due to all shortening / no butter and all brown sugar / no white) and I did promise earlier that I would reveal my top 3 of that point in time. So here it is.

On a much sadder note, you may have noticed that there is no images for this post. Well I have a good excuse (and no it's not camera problems or bad pictures). I'd just rolled out the cookies all perfectly and got them lined up nicely on the cookie sheets while the oven was preheating. Now because I use the convection, I don't really have to preheat but bear with me. So the oven was at about 270 on it's way to 375 and I had just opened the door to put the first tray of these lovely cookies in and this absolutely awful sound came from the oven. The digital controls also dimmed right down and at first I thought we'd just had a brown out, but the overhead lights were on and they didn't flicker at all. But then again, the awful grinding / frying electronics sound that was emitted from the oven wasn't your typical (or healthy oven) sound. After fiddling around with it for a bit I decided to throw the cookies in anyways because according to the thermometer it looked like the temperature was still rising. It was at 280 and so I set the timer for 7 minutes because the recipe said 8-10 and I figured because it wasn't at 375 it would take almost the full amount of time (even though the convection usually cooks way quicker). So the buzzer goes off after 7 minutes and the digital thermometer only said 340 (which isn't right, it should have got up to temperature by that time, so I'm positive now that something isn't right). Well I opened the door and my cookies were perfectly (and evenly) dark, dark brown. And I mean, you know that golden that you talk about seeing a hint of around the edges of a cookie to know they are done, well these cookies were that colour everywhere. But upon touching them they still seemed really doughy (just the texture that I would pull them out of the oven at on a normal day). An important thing to note is that these cookies really aren't supposed to brown much if at all. So I tried them and they tasted normal, they just didn't look so swell. I don't know what's happened to the oven, it seems like the fan wasn't spinning properly on the convection and maybe something to do with the thermostat, but I don't know for sure. All I know was that the sound that I heard was a really nasty sound. So now will you forgive me for not posting a picture of these cookies?

This recipe can be found on the box of the Golden Crisco.

Makes: 3 1/2 dozen

Ingredients

3/4 C. Golden All-Vegetable Shortening (Crisco)
1 1/4 C. Brown Sugar
1 Egg
2 Tbsp. Milk
3 1/2 Tsp. Vanilla
1 3/4 C. Flour
1 Tsp. Salt
3/4 Tsp. Baking Soda
1 1/4 C. Semi-Sweet Chocolate Chips
3/4 C. Milk Chocolate, chunked

Directions

~Preheat oven to 375 F.
~In mixer bowl, cream together shortening and sugar until light and fluffy.
~Add in egg, milk and vanilla and beat well to combine.
~Mix in flour, salt and soda, and beat.
~Stir in chocolate.  
~Scoop dough onto cookie sheets and bake for 8-10 minutes (for soft cookies) or 11-13 minutes (for crunchy cookies).
~Cool slightly on sheets and then transfer to cooling racks to cool completely.

Enjoy

Saturday, 28 July 2012

Margarita Cookies


I had to laugh one day when I was sitting in class. I don't actually remember what was being discussed exactly, it probably was about an upcoming exam and what you should do in order to get the best possible mark. Well, all I remember was the instructor blurting out that she really liked chocolate and tequila. While I didn't agree with her on many points that she discussed in class, I do have to agree with that statement. It wasn't the only time I've had an instructor give a hint on how to boost your exam mark. One time in high school the teacher said she like Reese's and so the next test we wrote one guy in the class stapled a King Size Pack of the chocolates onto his test before he handed it in. I wonder how that turned out for him?

So, as you can probably figure out, these cookies were a good match for me. Unfortunately, I started making them and really didn't have all the ingredients and I'm not talking about sugar or flour. I mean, my limes were all the colours of the rainbow (1 was green, 2 were yellow and 2 where purple), so I salvaged the one that still looked like a normal lime and added in some lemons as substitute. Unfortunately it seems that every time I go to make something with lemons I have limes, and vice versa. I also didn't think I had any oranges, but then I found some satsumas in the bottom of our citrus bucket. Well, I don't think satsumas really zest very well to begin with, and these ones were pretty ripe so they would have nothing to do with zesting. Then I realized I'd taken my tequila to the cabin and left it there. So I replaced that with Triple Sec.

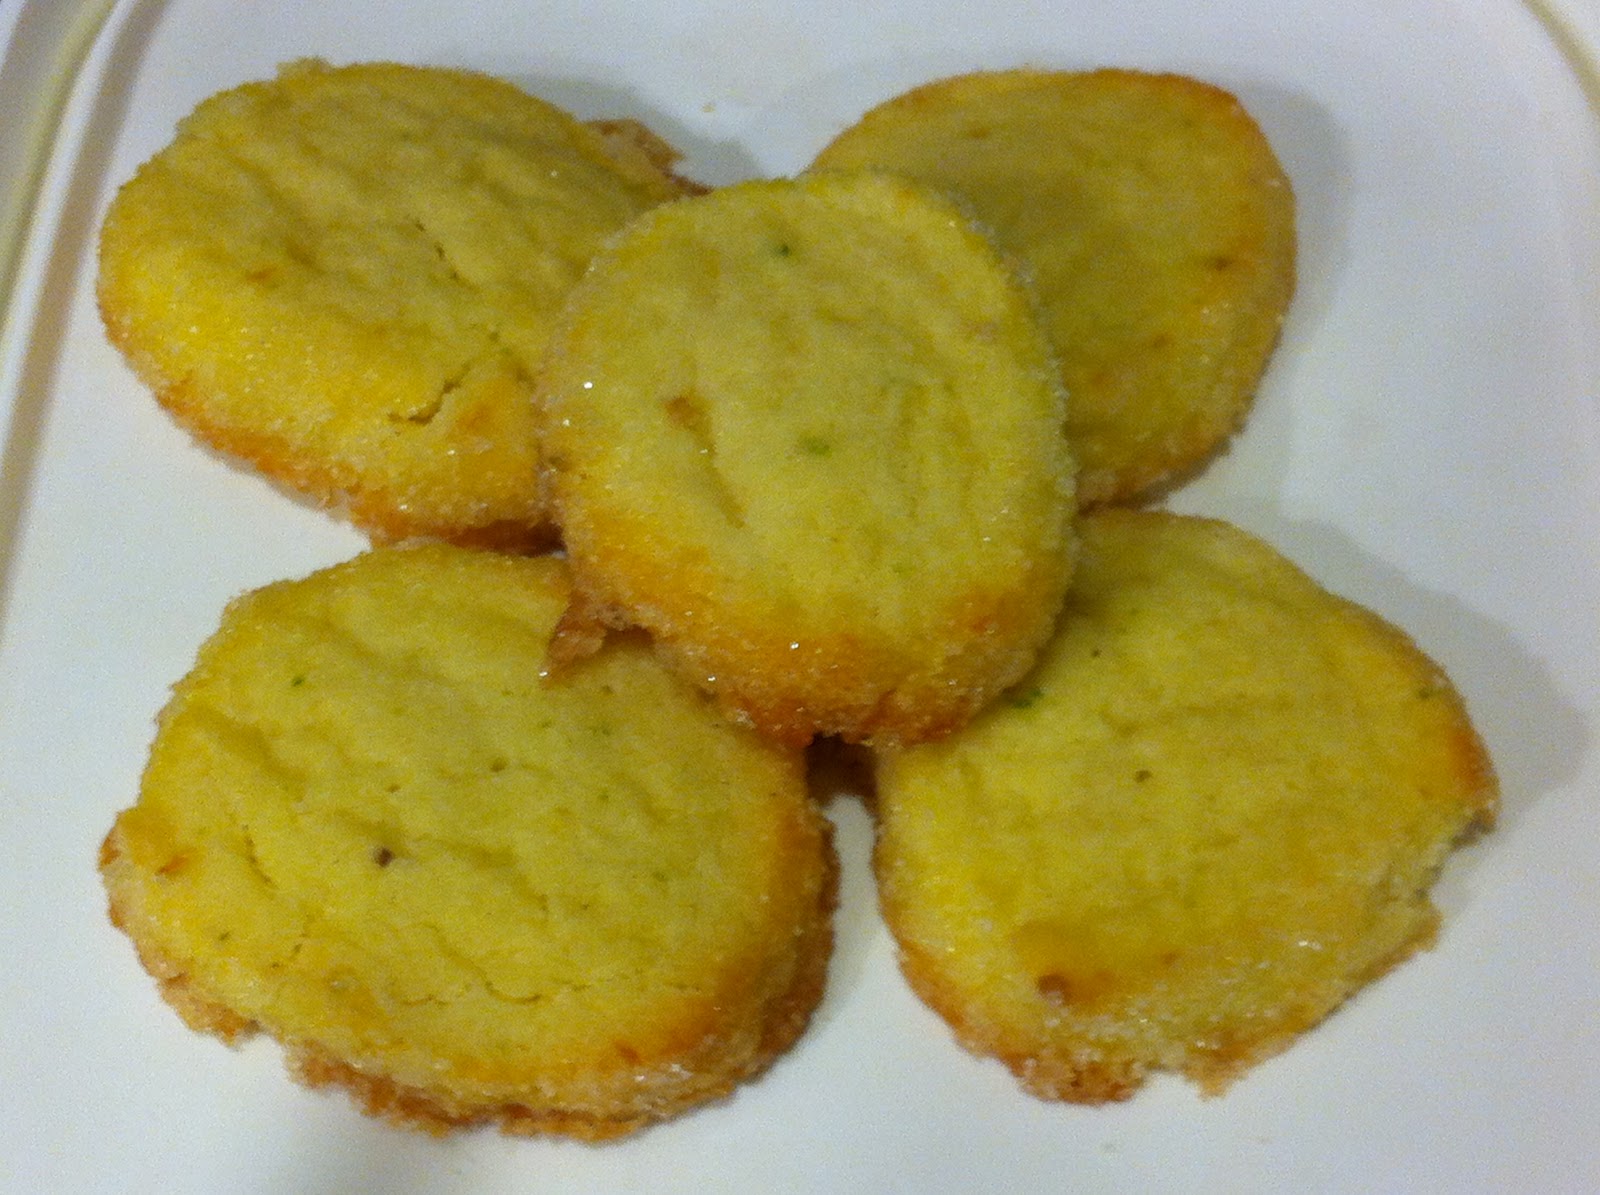
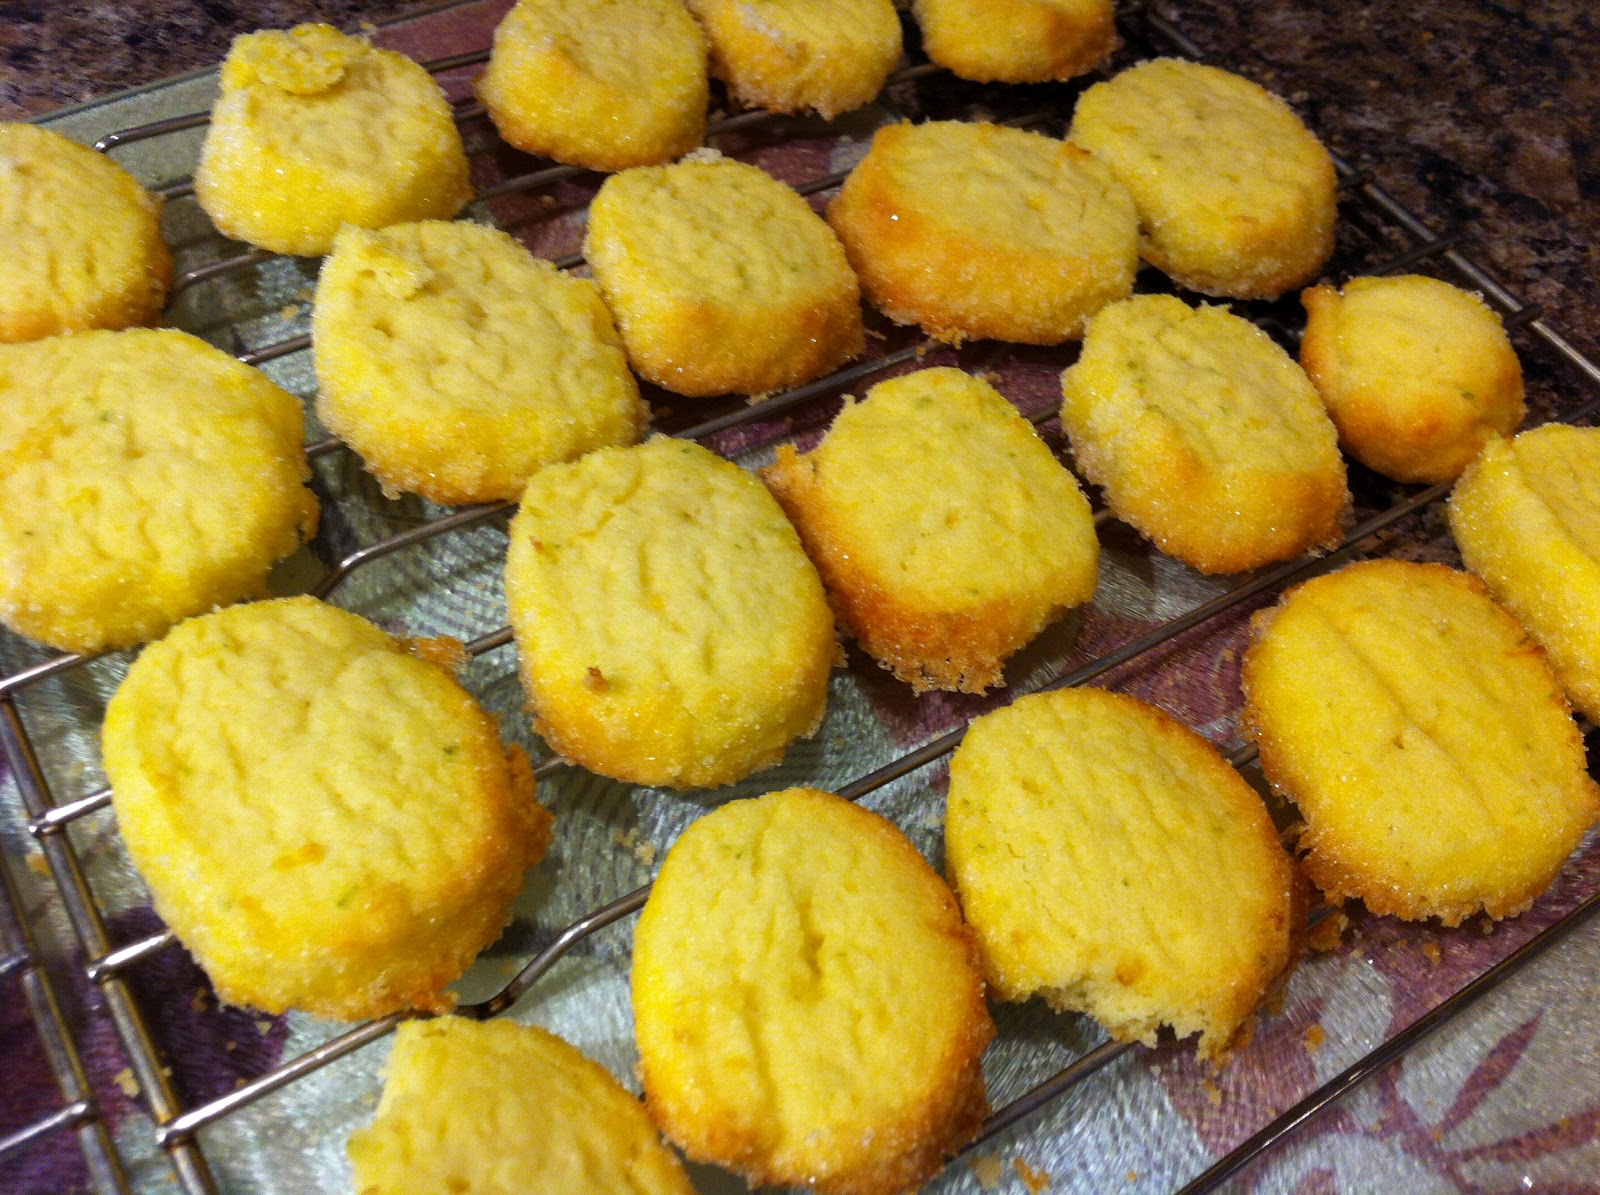
All in all, these cookies are more like citrus shortbread than Margarita Cookies. But, I really wanted to make them for the weekend and this was the last chance I was going to have to get in the kitchen so I had to settle for these changes. I'm going to post both what I did and what the original recipe was, because I really liked the flavour of what I ended up with, but would still like to try the lime and tequila pairing just to see what that's all about. What I ended up with was a citrusy sugar cookie / shortbread like cookie that was perfectly bite size and yummy. And by bite size I mean extremely tiny (smaller than even my small cookies I make), but that's okay right?

One final note, I found the directions on this recipe really wordy and so I really was just scanning through looking for what I knew should have been there. This caused one problem and I beg you not to repeat my mistake. The recipe said place cookies on a lined baking sheet. I didn't do this. I never line my sheets as I've never had a problem with them. Sometimes I don't even grease them when called for, because things just seem to come off of them easily. Anyway, don't make this mistake. Please, please, please GREASE the cookie sheet. Because these cookies are brushed with egg yolk and then rolled in sugar, the edges caramelized onto the sheets and I could not get them to come off. The first 3 or 4 slid off perfectly when I pulled the trays from the oven and quickly scooped them off, but they cooled (and hardened) quickly after that and it was the point of no return. I ate a lot of part cookies as I was trying to  transfer them to racks, and I made a huge mess. So again, GREASE your cookie sheets. That's all.

I got this recipe from All Things Yummy and it looks like the recipe originally came from Dorie Greenspan's Sables au Citron but Smitten Kitchen adapted it to what it is today. How's that for a credit? Whew!

I'm going to put the original recipe in black, and what I used instead beside in green for easy reference.

Makes: 5 1/2 Dozen

Ingredients

1 C. Butter
2/3 C. Icing Sugar, sifted
2 Egg Yolks, at room temp.
Pinch of Salt
2 Tsp. Tequila (4 Tsp. Triple Sec)
Zest of 2 Limes (1 Lime)
Zest of 1/2 Orange (3 Lemons)
2 C. All-Purpose Flour

Coating:
1/2 C. Clear Sanding or other course sugar (1/3 C. White Sugar)
2 Tsp. Flaky Maldon Sea Salt (1 1/2 Tsp. Sea Salt)

Directions

~GREASE cookie sheets.
~Put the butter in mixing bowl and beat until smooth.
~Add in the sifted icing sugar and beat again until the mixture is smooth and silky.
~Beat in 1 of the egg yolks (reserving the other for later), salt, tequila and zest.
~Beat in flour just until the flour disappears.
~Divide the dough into 3 balls and wrap in plastic and refrigerate for about 30 minutes.
~Form each ball of dough into a log that is approximately 1 - 1 1/4 inches thick.
~Wrap the logs in plastic and chill again for 2 hours (1 hour).
~Preheat oven to 350 F.
~Combine your two ingredients for the coating.
~Beat your remaining egg yolk.
~Brush logs of dough lightly with the egg yolk and then roll in the sugar coating. (I found it easiest to do both the brushing and the rolling on a spare cookie sheet. Then to press the coating in I transferred the log to another piece of plastic and rolled it up sushi making style and pressed the coating in this way.)
~With a sharp knife, slice each log into cookies (about 1/4" thick) and place on the cookie sheets.
~Bake for ~8 minutes or until edges where the egg coating is starts to turn golden but the rest of the cookie is still light.
~Remove trays from oven and pull cookies off right away.

Enjoy


Saturday, 21 July 2012

The Prettiest Chocolate Chip Cookies


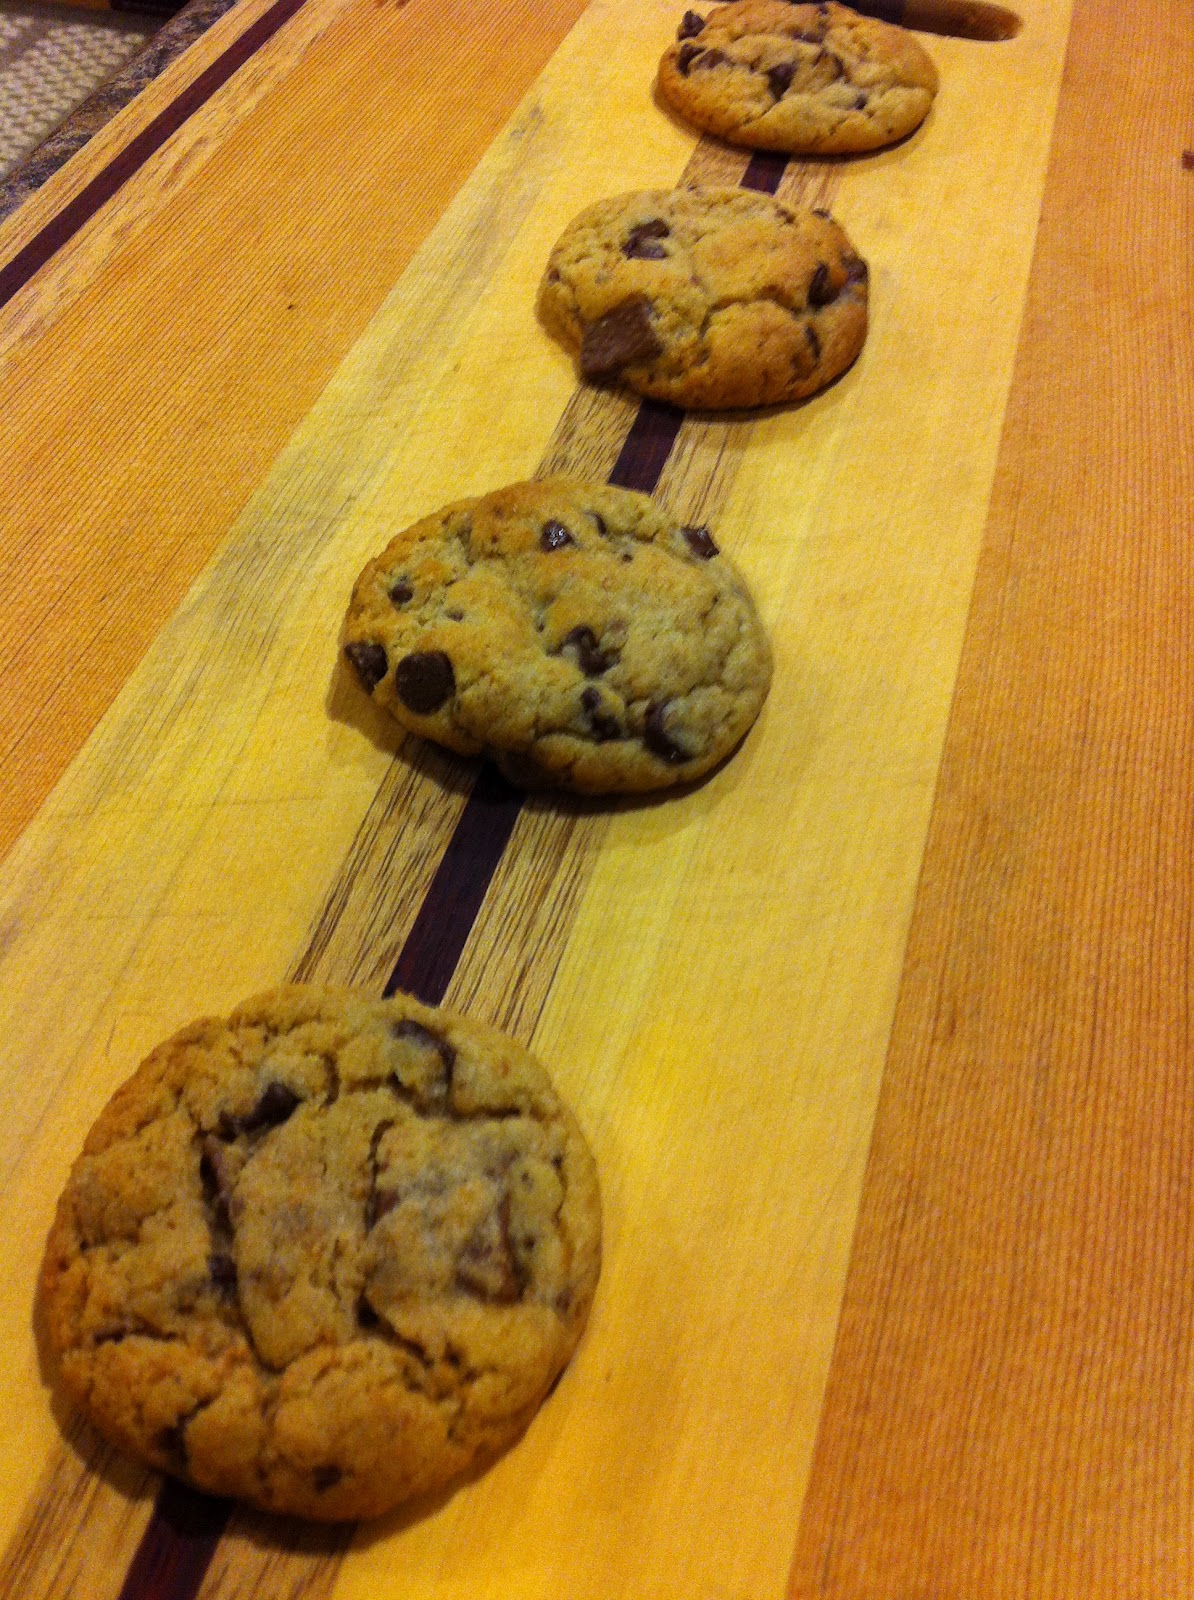
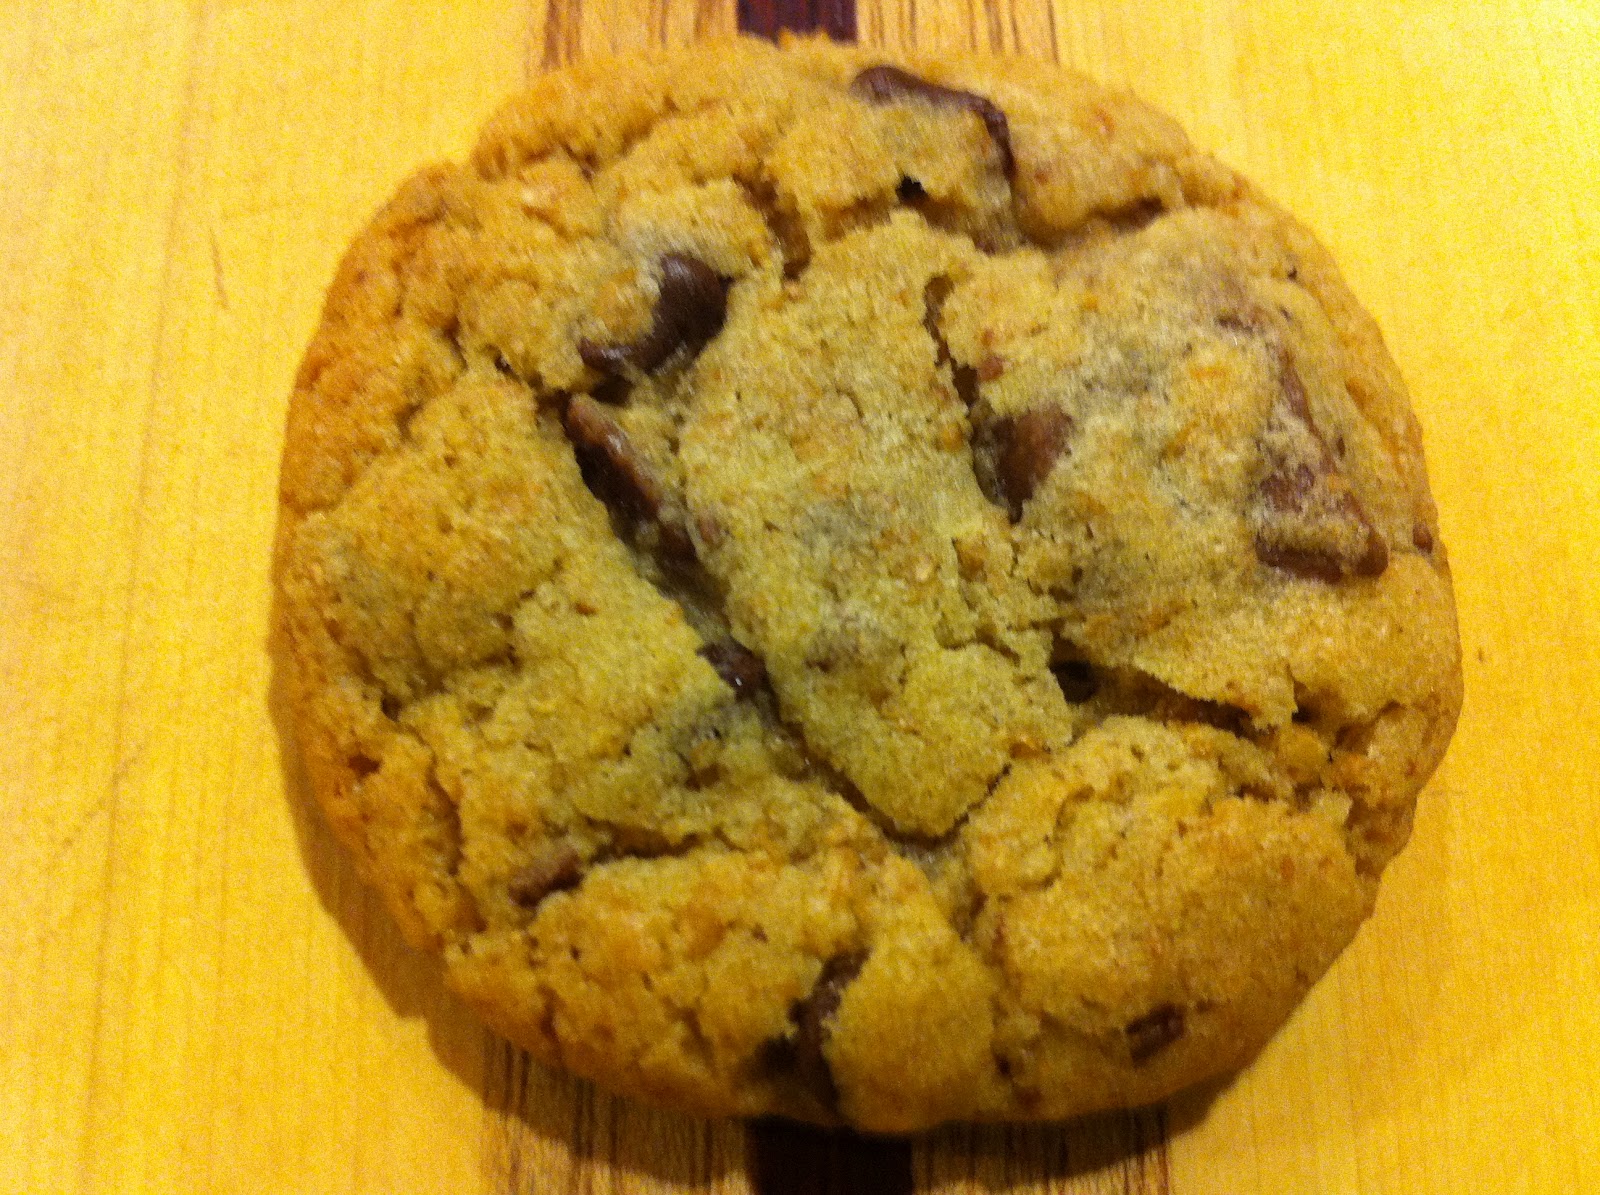
These cookies are the Pretties Chocolate Chip Cookies I've ever made. Oh yeah, and they taste not too bad either. Looks and charm, what more can a girl ask for? No seriously, they're puffy and crackled and perfectly round and smooth, but they also contain a large quantity of chocolate.

On a side note, I feel like I named this blog wrong. I should have called it Konie's Kookies, because as you can see, I seem to make cookies (and muffins) more than anything else.

I'm going to make this post completely random and shoot off in another completely opposite direction now, because I don't have anything else major I'd wish to talk about today. And because it's my blog, so I have the authority to make these types of decisions you see. So, you know how I usually claim I'm a healthy eater (except for those cookies and muffins I'm always posting about)? Well, I'm sitting here typing up this post about chocolate filled chocolate chip cookies, as I'm stuffing my face with fish and chips. And I'm not talking something I prepared myself. I mean full on fat and salt content that would probably make me start crying if I allowed myself to think about what I had just consumed. But I won't go there...no I won't. So I'll just talk about cookies. Because you know, I love those things too much to ever give them up.

This recipe is from The Big Green Bowl.

Makes 6 1/2 dozen (and I didn't even make them bite size like I typically do. These were normal sized.)


Ingredients

2/3 C. Vegetable Shortening (I used the regular one [it came in a blue box for me], verses the golden one [in the yellow box])
2/3 C. Butter (for anybody using cubes, this is 1 cube + 2 1/2 Tbsp.), room temperature
1 C. Sugar
1 C. Brown Sugar
2 Eggs
1 Tbsp. Vanilla
3 1/2 C. Flour
1 Tsp. Baking Soda
1 Tsp. Salt
1 1/2 C. Semi-sweet chocolate chips (or whatever type you prefer)
1 C. Milk Chocolate Bar, chopped

Directions

~Preheat oven to 375 F
~In mixer bowl, combine shortening and butter. Mix well to soften.
~Add sugar and then cream together (I did this for almost 3 minutes to get it really whipped.)
~Add eggs and vanilla. Mix again to combine.
~Add in flour, soda and salt. Mix again until everything is well incorporated.
~Stir in the chocolate.
~Scoop dough and really quickly in your hands roll it into a loose ball then place onto cookie sheet. (Don't handle for more than a few seconds as the dough is already really soft.)
~Bake for 7-9 minutes, until they have the faintest hint of golden around the edges, but the centre still appears uncooked.
~Cool slightly on sheet and then transfer to a cooling rack to cool completely.

Enjoy


Wednesday, 18 July 2012

Hot Chocolate Chip Cookies


Well I have something I have to get off my chest. I did something this evening I swore I'd never do, but the devil pulled me in. Yes, I'm talking about Pinterest. You see, I've only ever set foot on that dreaded site twice, and the first time it was really by accident. The thing is, I know myself too well. I have this amazing amount of focus and so I can sit down and lose myself and look at the clock and see that it's four hours later. No, I know that Pinterest and I will not get along, and it is not because I won't like it.

It may sound funny that the reason I found myself on the site wasn't because of food. After all, you would think that because I have a food blog, I would want to find more inspiration.  But actually, it was because of kitchens. My mom always said that when you spend enough time living in a house, you'll learn what's good and what's bad about the set up and you'll make those adjustments for the next house you get. I never really understood what she was saying, because she kept talking about sections of floor, corners and cupboards (or that's what I think she meant.) Now I get it though, because as I've been spending more and more time in the kitchen I've come to realize that one day when I finally get to build a house from the ground up, the kitchen is going to be the focal point of the house. I know a lot of people say that when you have company over, you don't want them anywhere near your kitchen because it's such a mess, but the reality is, you spend most of your time in the kitchen even when you have guests, and most of the people I know just cram themselves into the kitchen with you regardless of how ugly of a mess you have. (Some even start doing dishes because they feel sorry for you.) So, why not make it a large space that is amazing? Yeah, I can see a lot of money being spent in the future on this kitchen. Even though I am so incredibly thrifty, I think that that would be a good use of money.

So this brings me back to Pinterest. Because I sort of have these ideas in my head, but I'm not artistic in the slightest and thus have no really good way to express what I'd one day like, I figure I can start accumulating images now of what other people have done and then one day put them all in front of someone with some artistic ability who can connect it all together. So that is my justification for signing on to the whole Pinterest craze. It's kind of like my Twitter usage. I signed up there and then never used it so I deleted my account. Then I resigned up and still to this day I have never sent a single tweet. I do follow many many people though. Mainly surrounding country music or anyone that has anything to do with the Bachelor/Bachelorette (yeah, yeah I know, but haters can hate.)

Back to the food. I didn't like these cookies. Then I still didn't like them. But then I really liked them. At first I found them to be lacking something. But, maybe that was just because I was comparing them to what I believe is my favourite chocolate chip cookie which have so much flavour. Well, then these cookies didn't get eaten all that quickly so I threw them in the freezer, because even stale or bad cookies come out of the freezer tasting better. Well, frozen they weren't wonderful either so I stopped eating them but didn't throw them out (I guess I had hope for these poor suckers.) Then a few days ago we were out of cookies, except for some really bad oatmeal ones (I don't know why I made them, I'm not even fond of oatmeal cookies, but I had a craving for them), and so I pulled the container out of the freezer one more time...and they were good. Actually, better than good. Now I don't quite know what it is. Maybe it's just that at first I was comparing them to the best cookies and then by the end it was a comparison with the worst cookie. Or as I'm sitting here I'm remembering that I really overcooked the first couple of trays of these cookies. Maybe all the cookies on the top layers of the container were the overcooked ones, and now I'm getting to the normal ones. Or, maybe it's just a little of both.

With all that being said, I won't get rid of this recipe like I had been planning to do awhile ago. I wasn't even going to post on this recipe even though I had the pictures all ready to go, but things change.

I used the recipe that I got from Catz in the Kitchen, and because I didn't plan to share the recipe, I never marked down if I made any changes to it. I'm pretty sure I stuck with it pretty closely as I don't stray too far with cookie recipes. I usually only slightly increase the vanilla and add more chocolate. Oh, and for the hot chocolate mix, I used a package of Starbucks Mix that was caramel flavoured with caramel pieces in it. When I went backtracking to try and find who the original poster was for this recipe, I had to trace it back through many blogs. And I think I can say that The Little Things I Find is where it originated. One thing I just noticed is there they call for 4 packages of hot chocolate mix, which seems a bit excessive to me and I'm glad the recipe I used only called for the one.

I never knew what 'creaming' meant until I got my mixer. Before I used to 'crumble' not 'cream' butter and sugar. Oops!

Ingredients

3 1/4 C. Flour
1 Pkg. Hot Chocolate Mix
1 Tsp. Salt
1 1/4 Tsp. Baking Soda
1 C. Butter, softened
1 C. Sugar
2/3 C. Brown Sugar
2 Eggs
1 Tsp. Vanilla Extract
2 C. Chocolate Chips

Directions

~In a medium bowl, whisk flour, hot chocolate mix, salt and baking soda together. Set aside.
~In a mixing bowl cream together butter and sugars.
~Add the eggs and vanilla to butter mixture and mix to combine.
~Pour the dry ingredients into the wet ingredients and mix.
~Stir in chocolate.
~Place dough in the fridge for 1 hour.
~Preheat oven to 350 F.
~Drop cookies onto cookie sheet and bake for 10 minutes, making sure to not over bake (which is hard seeing as they are already a dark colour to begin with, but a very important step).
~Cool cookies slightly on baking sheet and then transfer to cooling racks to cool completely.

Enjoy


Wednesday, 11 July 2012

Candied Chocolate Cookies


It seems that I can finally say summer has arrived. Now, I've been waiting to say this for a good two years now (is that all, it feels like so much longer?) For me to say that it is hot outside, it has to be at least 33 degrees C, 35 C is better though. While we haven't reached those temperatures yet, I have to say it does feel pretty warm out. Much to the displeasure of all the people I interact with at work who complain that 24 C is much too hot for their liking...but...the day before they were cursing how dreary, wet and cold it was. I know right? You can't win. Man am I ever glad that some people can't control the weather. As hormonal as it is around here on a daily basis, I couldn't even imagine how crazy it would get.

So when I say that finally summer has arrived, I must clarify what I mean by finally. You see while it seems that everywhere in North America has been breaking heat records for weeks upon weeks, we have had the coldest June on record. (I'm a little jealous right now, the hotter the better for me.) Anyway, no big deal right? I guess if you had a nice May...or April...or March...or Summer 2011, you wouldn't really mind. Yes, you are reading that right. It's not just that we didn't have a nice spring, but we had no summer last year, and the summer before that besides being a long time ago, I'm pretty sure I didn't get to enjoy it because I spent the whole summer recovering from surgeries. It's been awhile since I've had summer, so now you can see why I've dedicated a whole post to the weather.

Do you know why I'm telling you all this? It's because I'm now going to tell you that my posts are going to be few and far between hopefully for the next two months. Yes, that's right, because summer has arrived!! And hopefully it will stick around for at least two months. I can't miss out because who knows when it may come around again. Plus, I'm in desperate need of some sun because I feel so incredibly pale, it's scary.

Something that is not pale though, are these cookies. They honestly look like little hamburger patties that have been left on the BBQ while someone cooking them decided it would be a great idea to go and change their sheets and flip their mattress, all at the same time as they should have been BBQing. Resulting in the most amazing looking hockey pucks that have ever come off the grill. Not to mention the smell. No, not me, but they know who they are! While these cookies are absent of any charcoal, or burning smell for that matter, they aren't short on pure sweetness. Now, I have a sweet tooth, and by that I mean I think my sweet scale is a little broken (but what food blogger's isn't?). With that being said though, even I found these to be a little sweet. (But not too sweet, I should clarify!) That's not to say that I didn't instantly reach for another one though and throw it into my mouth. On a positive note, for those of you who (are insane) don't have a sweet tooth, never fear. For these cookies once cooled, aren't nearly as sweet.

The one other interesting thing I found about these cookies is that when you pull them directly from the oven and eat them, they have the texture of an amazingly gooey and chewy brownie. But when they cool, they almost have a candy texture to them, kind of like an almond roca. Oh yeah, that's because of all the toffee bits that go into these cookies. Because of that, I feel that I have to change the name from Butterscotch Toffee Chocolate Fudge Cookies, to Candied Chocolate Cookies. Sweet lovers rejoice. Plus, there's no eggs, so, feel free to nibble away as you're rolling the dough.


This recipe is from Sally's Baking Addiction.

Makes: 3 Dozen Cookies

Ingredients

1/2 C. Butter, softened
1/2 C. White Sugar
1/2 C. Brown Sugar
1 Tsp. Vanilla
1 Tsp. Almond Extract
1 1/4 C. Flour ( I used whole wheat)
1 Tsp. Baking Powder
1/2 Tsp. Salt
2/3 C. Cocoa Powder
1/3 C. Milk
3/4 C. Butterscotch Chips
3/4 C. Toffee bits (I used skor)
1/2 C. Chocolate Chips

Directions

~In a large mixing bowl cream butter, sugars, vanilla and almond extracts until smooth.
~Add flour, baking powder, salt and cocoa. Mix to combine.
~Mix in the milk.
~Stir in chips and toffee bits.
~Chill dough for at least 30 minutes.
~Preheat oven to 325 degrees.
~Roll cooled dough into balls and place on baking sheet. Keep remaining dough in the fridge while waiting for the batch to bake.
~Bake for 10-12 minutes depending on the size of the cookies. These cookies do crisp up once removed from the oven so don't overcook. 
~Remove trays from oven. Cool for 1-2 minutes then transfer cookies to a cooling rack. (If you wait too long to do this and the cookies cool, they aren't as easy to remove from the trays.)

Enjoy


Tuesday, 12 June 2012

The 5 C's (Chewy Chocolate Chip Cookies w/ Cornstarch)-My Top 3 CCC's


I don't have much to say about this recipe, except yes you do need to try them. They taste different than other chocolate chip cookies, but in a good way. Unfortunately (or fortunately), the raw dough doesn't taste the same either, and not in a good way. I think it's because of the cornstarch. It does wonders when cooked though. Maybe, just maybe I've found the cure for my cookie dough eating habits...nah, I didn't think so. Anyway, I've never actually chilled chocolate chip cookie dough before and was a bit sceptical to say the least. I typically feel like I'm wasting my time chilling doughs, but I did it just as it said for 30 minutes which wasn't too bad. Another odd thing about this recipe was the addition of cornstarch, which I've never seen before, but again it worked and I'm not complaining. I will definitely be making these again. They were so good, but maybe that was due to the amount of chocolate I put in them...hmm. Or that I always add more vanilla than the recipe calls for. Anyway, as it stands these are in my top three chocolate chip cookies. Chewy cookies all the way.

My mom always used semi sweet chips in her chocolate cookies and would chop up a milk chocolate
Hershey bar in addition to the chips. It was always so good, having the mix of flavours from the two types of chocolate. Then we discovered plain milk chocolate chips and we stopped using the chocolate bar all together. it was just more work when you could simply pop open a bag of milk chocolate chips. Well, lately we've gone back to the semi sweet, simply for the reason that you can only buy the larger bags in semi sweet. And with the rate that I go through chocolate chips, you kind of want the economy bag. Unfortunately, I haven't been finding the cookies I've been making lately as good/satisfying as they should be and I think I just figured out why I'm so in love with this recipe. I reintroduced the semi sweet chips/milk chocolate bar combo yet again. Hmm, so good. Such an easy trick to exponentially improve your cookies.

Adopted from Eat Cake for Dinner, who adapted from Anna Olson 

Chewy Chocolate Chip Cookies w/ Cornstarch (aka The 5 C's)

Ingredients

Yields: 55 bite size cookies
3/4 C. Butter
3/4 C. Brown Sugar 
1/4 C. White Sugar
1 Egg
2 1/4 Tsp. Vanilla
1 C. All-Purpose Flour
1 C. Whole Wheat Flour
2 Tsp. Cornstarch
1 Tsp. Baking Soda
1/2 Tsp. Salt
3/4 C. Semi Sweet Chocolate Chips
1 C. Milk Chocolate Bar, chunked

*If you want crispy cookies, omit the cornstarch and replace the baking soda with baking powder. (I haven't tried this, nor do I intend to, because I'm not a fan of crunchy cookies. If you are, let me know how they work out.*
**These chocolate measurements make an incredibly chocolatey cookie. If you want more cookie than chocolate (shame on you), then scale back these measurements.**

Directions
~Preheat oven to 350 F
~Cream together butter and sugars
~Add egg & vanilla. Beat to combine
~Combine flour, cornstarch, baking soda and salt. Add to wet ingredients. Mix to combine & stir in chocolate.
~Chill dough for at least 30 minutes.
~Drop dough onto cookie sheets. Bake for 5 minutes (for bite size cookies, longer if making larger cookies) or until barely golden around the edges (but will still seemed uncooked in the middle, that's what you want to preserve the chewiness). 
Enjoy