Showing posts with label SQUARES. Show all posts

Tuesday, 21 April 2015

Mississippi Mud Bars


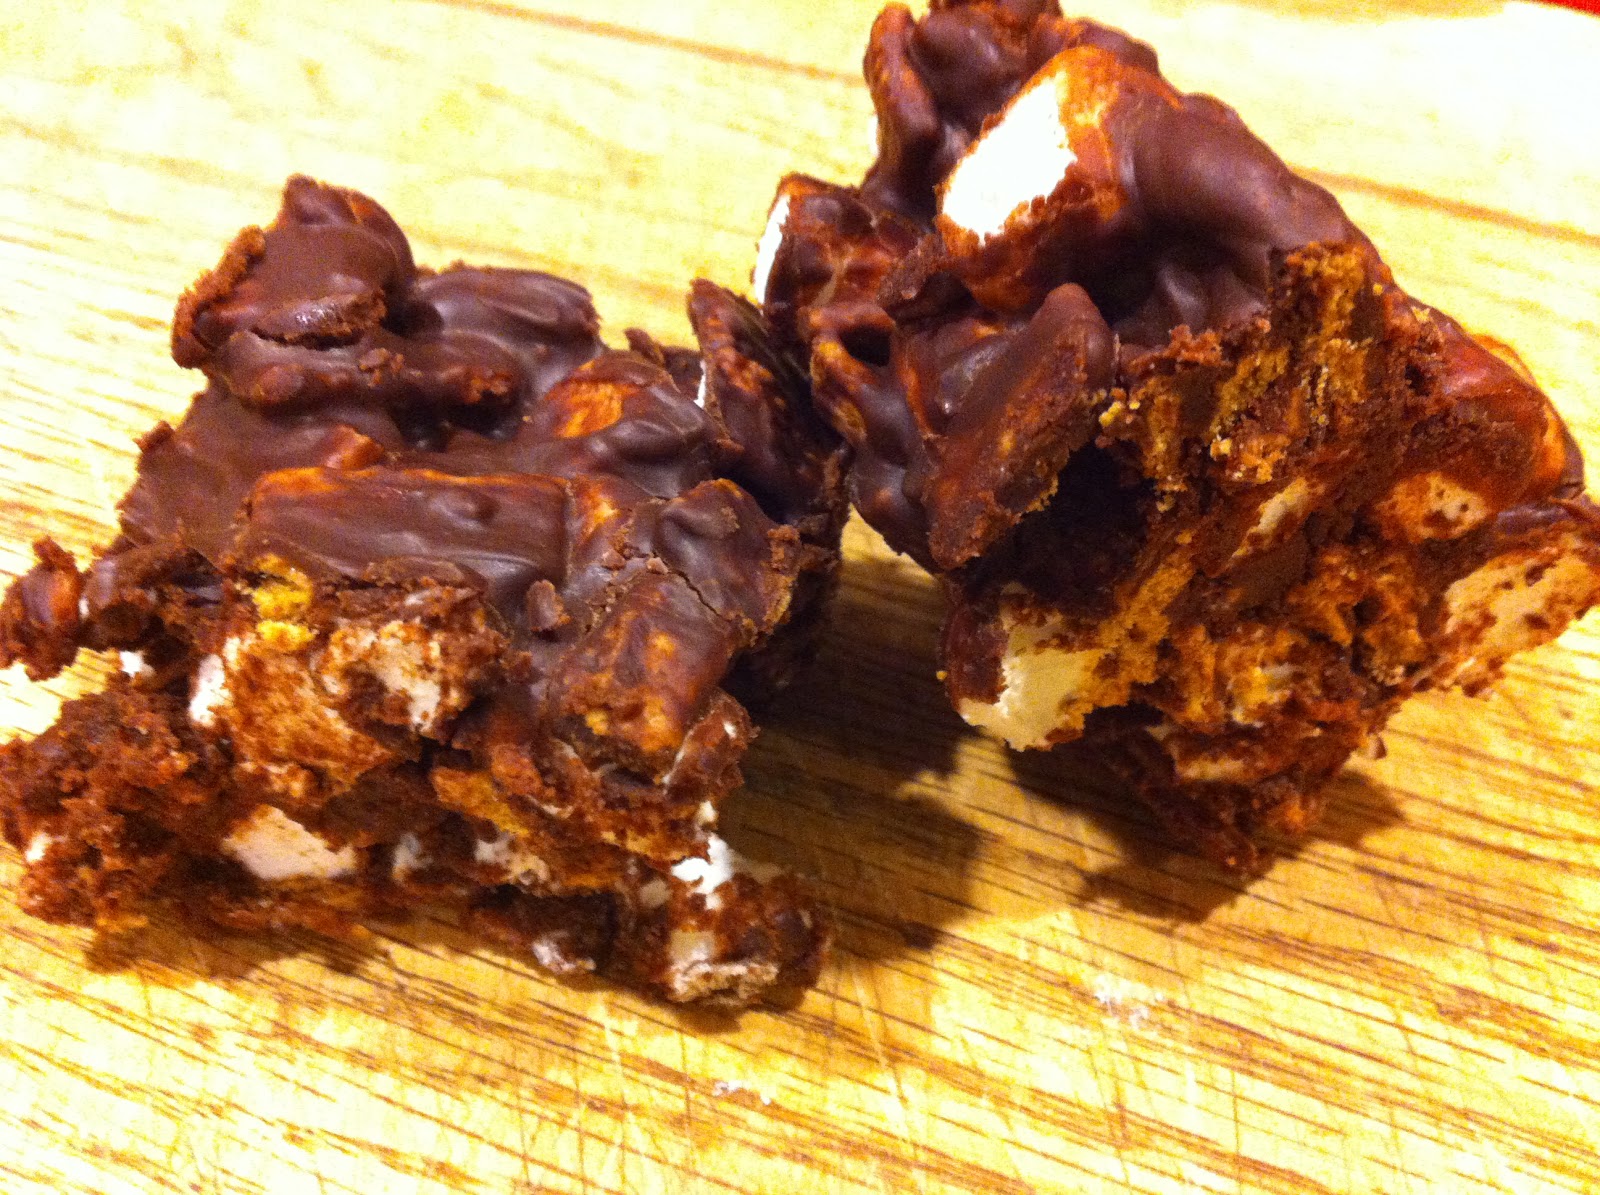
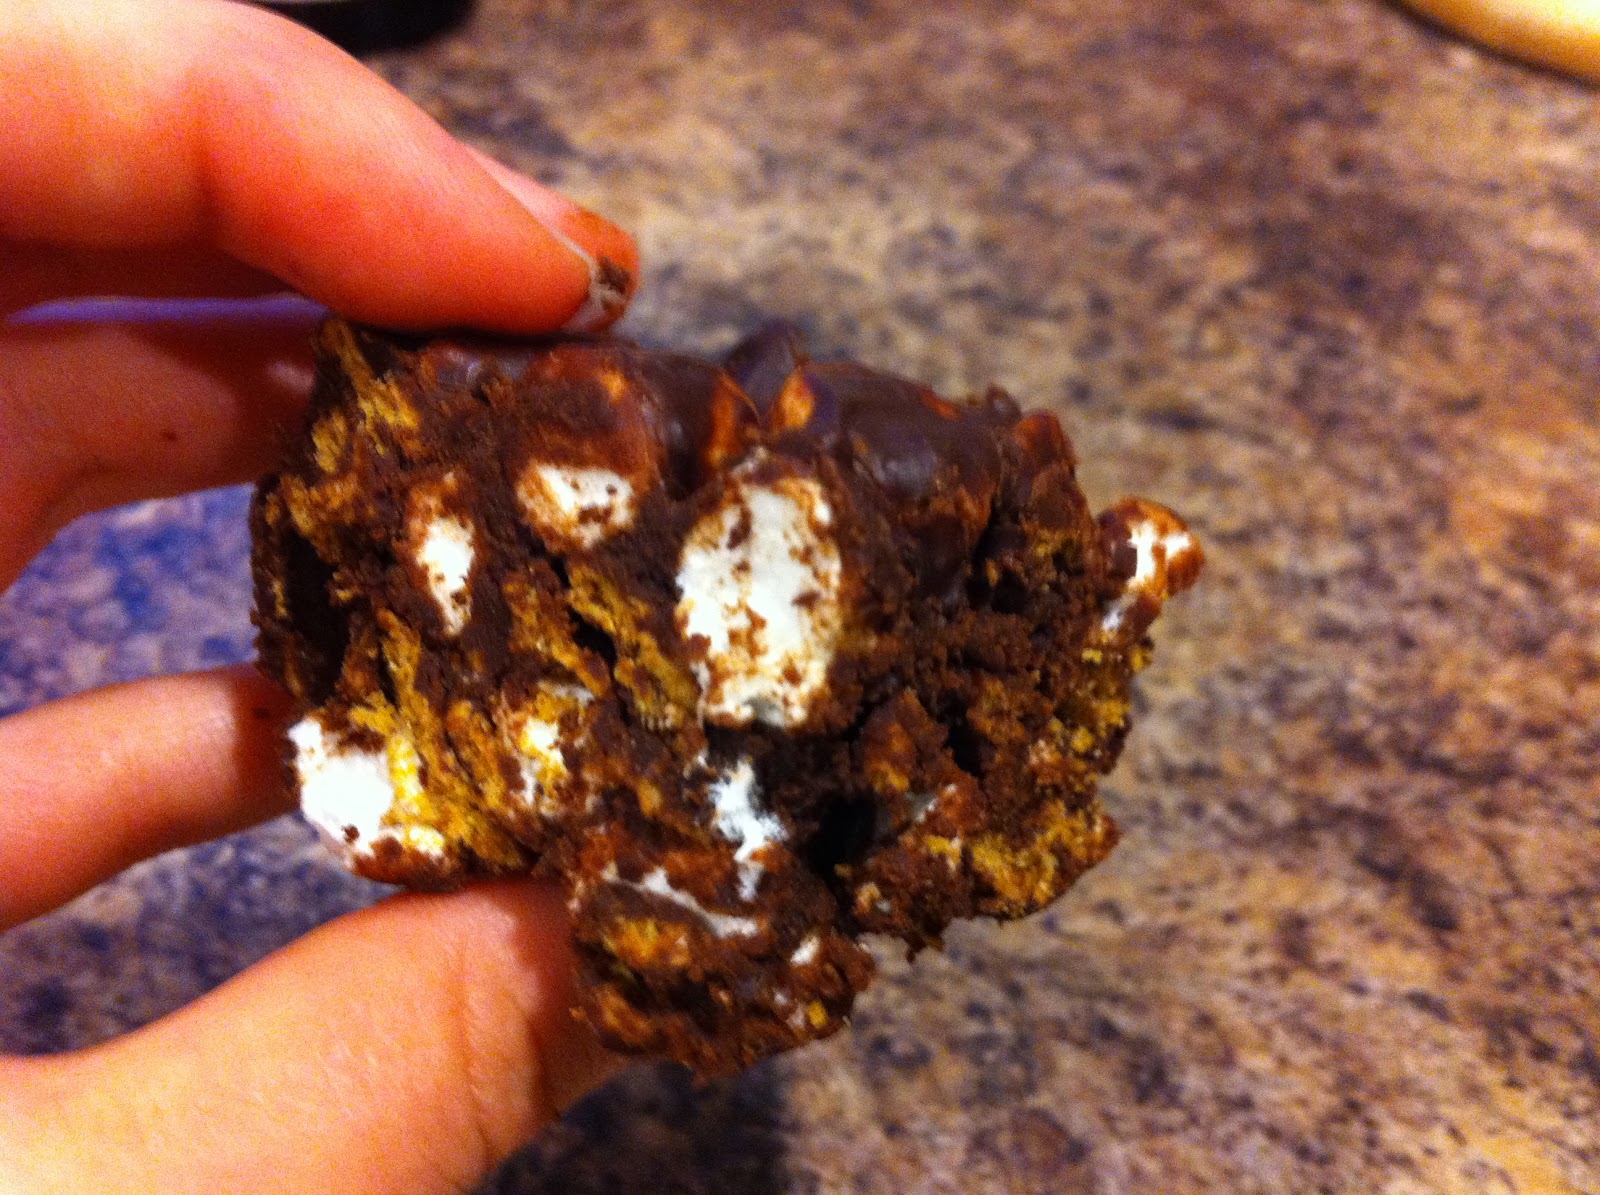
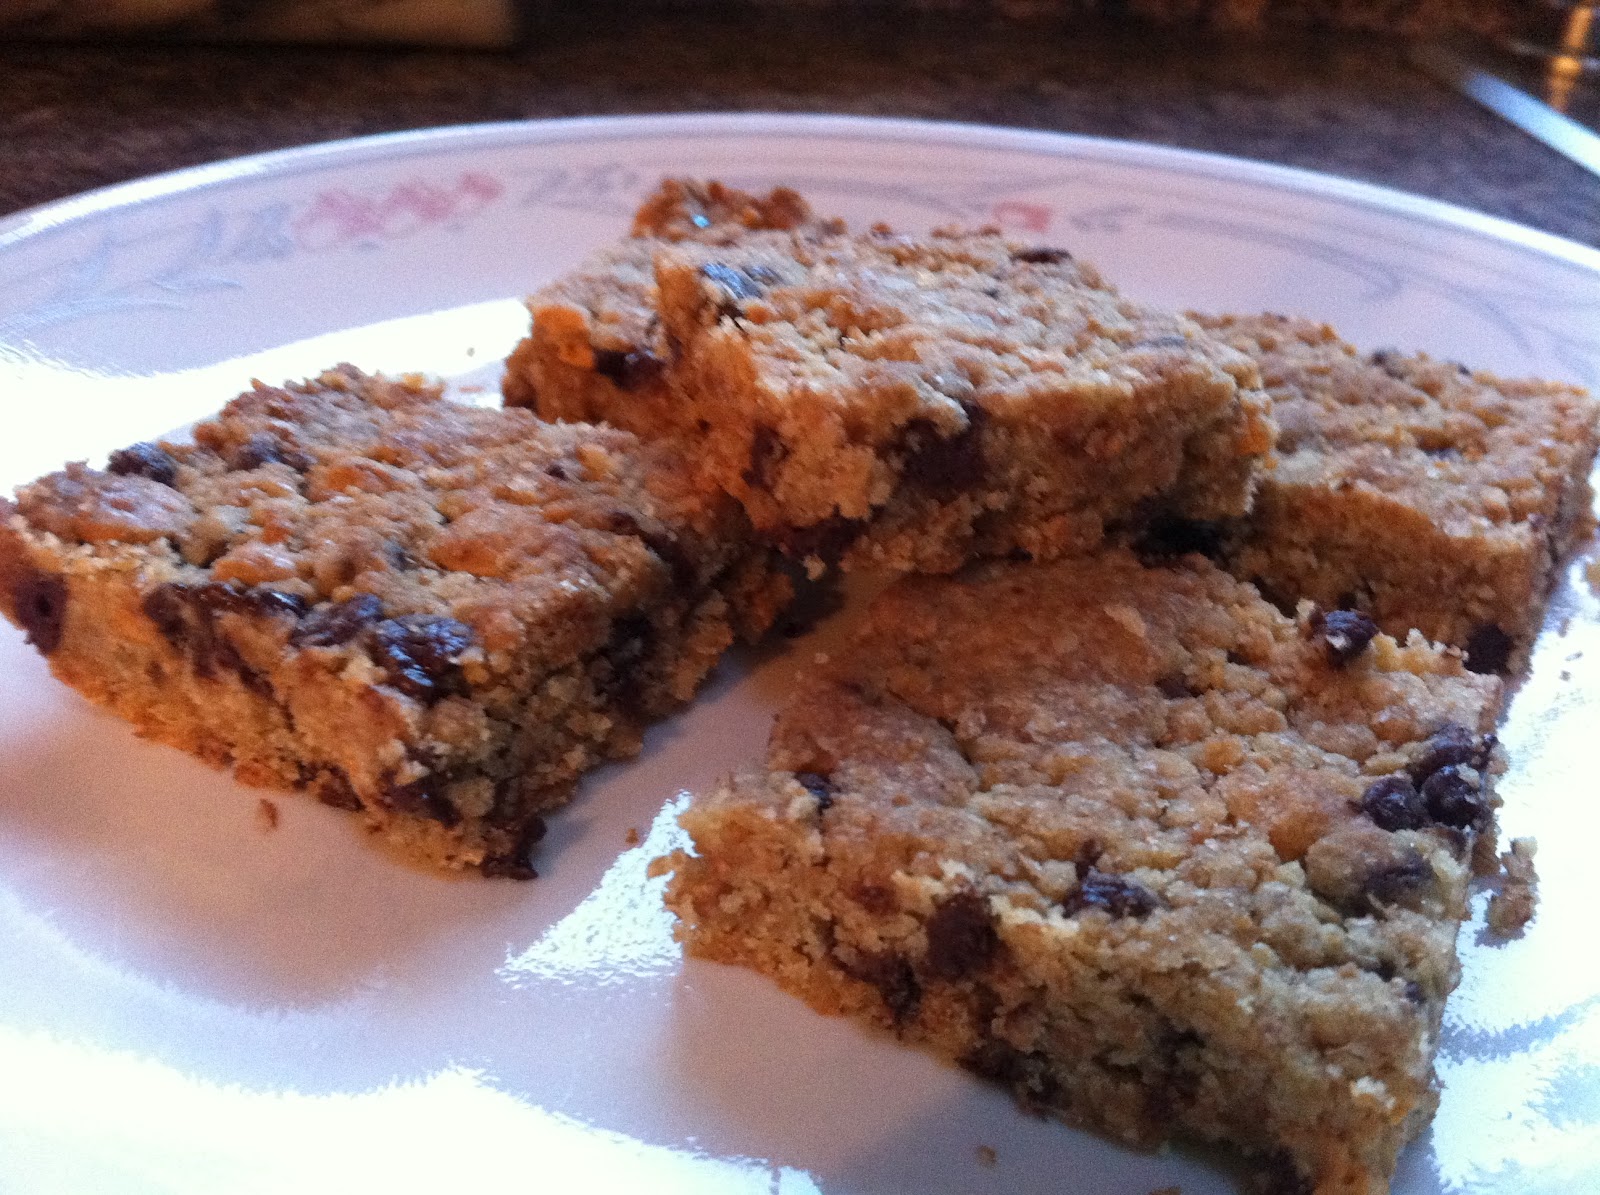
I think I have about a dozen different Mississippi Mud Recipes saved to my computer. I don't think one of those recipes is similar to the next one, so I honestly don't know what the 'true' Mississippi Mud Bar recipe is. All I know is these are good. Quite good really and really worth making again.

When I made these, I didn't have pecans and as an afterthought I added chopped cashews to the top, but the frosting had kind of set and so I had to squish them down to keep them from rolling away, so it's best to put them between the marshmallow and frosting so they stay in place.

Recipe from Real Mom Kitchen.

Ingredients

1 C. Butter
1/2 C. Semisweet Chocolate Chips
2 C. Sugar
1 1/2 C. Flour
1/2 C. Unsweetened Cocoa Powder
4 Eggs
1 Tsp. Vanilla
3/4 Tsp. Salt

1 Bag (10.5oz) Mini Marshmallows

1 C. chopped pecans (optional), or any other desired nuts

Frosting:
1/4 C. Butter
2 1/2 Tbsp. Unsweetened Cocoa
2 1/2 Tbsp. Milk
2 C. Icing Sugar
1/2 Tsp. Vanilla

Directions

~Preheat oven to 350 F
~Melt butter and chocolate chips in a large pot over low heat, stirring until smooth
~Remove from heat and add in sugar, flour, cocoa, eggs, vanilla and salt. Stir to combine
~Pour batter into a greased 9x13 pan
~Bake for 20 minutes
~Remove from oven and sprinkle marshmallows over and return to bake for 5 minutes until marshmallows have puffed
~Remove from oven and sprinkle with nuts if desired
~In a large saucepan, combine butter, cocoa and milk, and heat until combined
~Beat in icing sugar and vanilla until smooth
~Spoon into a piping bag or freezer bag (snipping the corner) and pipe over bars (while marshmallows are still warm (but not right out of the oven, wait approximately 10 minutes)
~Cut into squares

Enjoy!

Thursday, 18 July 2013

The Brownie Recipe - Chewy, Ooey, Gooey

Sorry, no picture for this one (is one really needed for a brownie anyway? We all know exactly what they look like, or rather, what they are supposed to look like). By the time I realized that this was the exact recipe I was looking for to call my best brownie recipe, the brownie was no longer worthy of being photographed. I mean, I guess I could go and snap a picture right now of the one remaining corner piece, but I think that saying that there is only one piece remaining says a lot more than a picture ever would.

I just wanted a basic brownie recipe. Was that too much to ask for? One that was gooey and fudgey and had very little flour and cakeyness to it. I also didn't want to add anything to it to make it gooey, like marshmallows. I just wanted a brownie. Well I found it!

I looked through the dozens and dozens of brownie recipes I have saved, to come to two conclusions. 1) 99% of the brownie recipes I have saved, all have something special done to them. Oreos, s'mores, rocky road, nutella, etc., and 2) the two recipes that were just plain old brownies, happened to be the exact same recipe. So armed with the knowledge that at least two people found this recipe to be worthwhile and posted it, I set out to make them, and I'm glad I did. It was so good. Like make your teeth hurt sweet, which is absolutely perfect.

I did change up the sugars a bit, like a lot of the reviewers commented they did. Instead of using 3 C. of white sugar, I did half and half of brown and white. I'm sure it would be great any way, but I know this way was delicious.

Recipe from All Recipes

Ingredients

1 C. Butter, melted
1 1/2 C. Sugar
1 1/2 C. Brown Sugar
4 Tsp. Vanilla
4 Eggs
1 1/2 C. Flour
1 C. Cocoa
1 Tsp. Salt
1 C. Chocolate Chips

Directions

~Preheat oven to 350 F and grease a 9x13 pan
~Combine butter, sugars and vanilla and whisk to combine. Add in eggs and whisk until incorporated
~Stir together flour, cocoa and salt in a separate bowl.
~Add dry into wet and stir until mixed.
~Stir in chocolate chips
~Spread into pan
~Bake for 30 minutes

Enjoy

Tuesday, 4 June 2013

Gooey S'more Brownies-1st Blogiversary!


I'm back! It felt good to be back in the kitchen after 7 weeks away. Now I can say I was in Europe, and let me tell you, there is two very important things the Europeans don't do well, Brownies & Chocolate Chip Cookies. They have biscuits, and the one brownie I had (no it wasn't in Amsterdam) was supposed to be the 'to die for brownie' but it really wasn't. Kinda disappointing considering I thought I had hit the jackpot when I found it on my Birthday and opted for it over a slice of cake. I made it home and my first day I avoided the kitchen, not because I wanted to, but because I had a lot of stuff to do. Day two though and I was back. I was just going to make some Toll House Cookies, because they had really turned out well the last time I made them in the new oven. But then I started thinking about Brownies, and there really wasn't any further internal debating needed. So S'more Brownies it was because I miraculously had all the specialty ingredients needed and they weren't even old and stale.

But now I'm posting this to you on my one year Blogiversary. Which is pretty cool. If you want the whole sentimental spiel about me and blogging you should check out my 100th post. I really don't have anything else to say that I didn't say there. Especially because I've been out of the loop for awhile now.

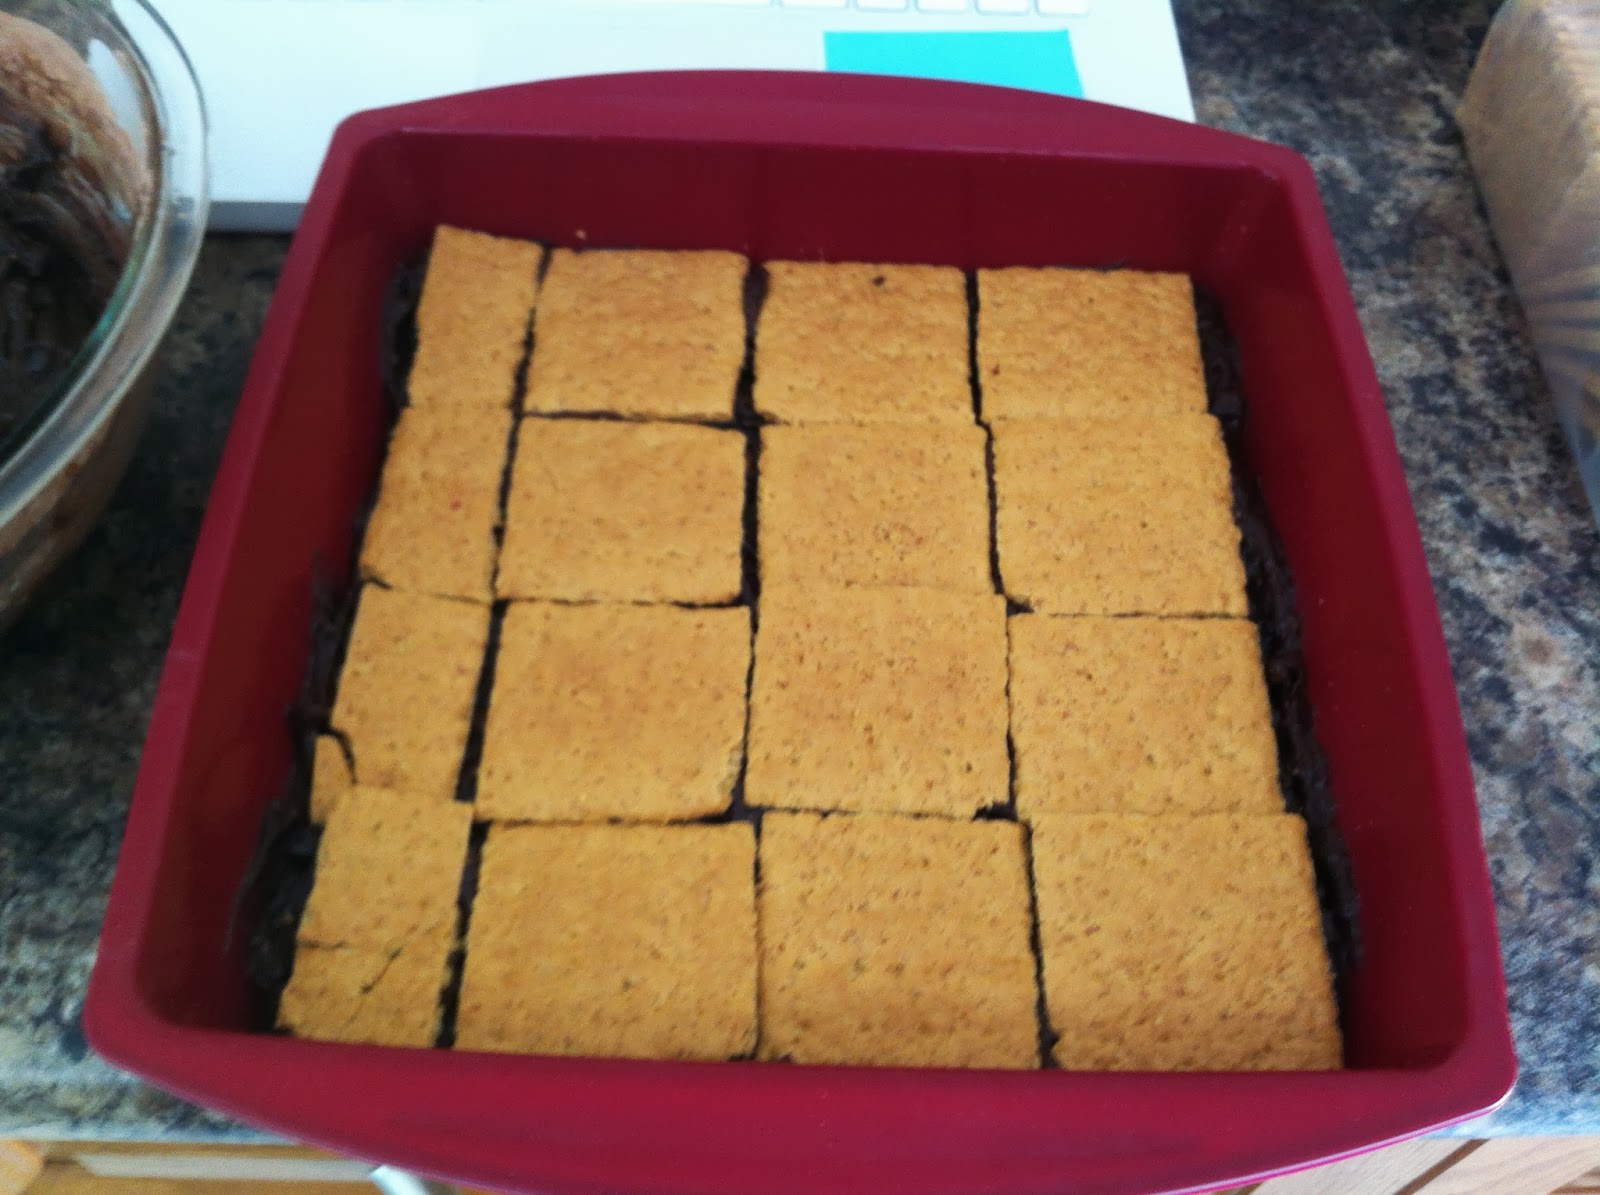
They tasted amazing. I would not recommend removing them from the pan though until they are absolutely cooled. The bottom layer even slightly warm was just a mush of brownie pudding. But oh so tasty brownie pudding. I really liked my silicone baking dish for this one though. Because of the marshmallows in it and all the sugars, I figure it might be a bit tricky to get the edge pieces out of a glass dish.

The marshmallows did amazing things. Only in a few places are there still marshmallows left in marshmallow form as you know it. Everywhere else they simply melted into the brownie batter, making a chewy brownie with a really crisp top. One thing I may consider next time is to layer Brownie, Marshmallow, Graham Cracker, Brownie instead of doing Brownie, Graham Cracker, Marshmallow, Brownie. My original thought was that it'll be a lot easier to spread this thick brownie batter on the top layer over smooth graham crackers, than it would be to try and completely cover marshmallows that just want to jump around. I know it'll change the texture of the brownie layers though because the marshmallows would then melt over the bottom brownie layer, instead of under the top layer (the graham crackers softened up perfectly, but never dissolved. They created a border between the two brownie layers). I'm definitely going to have to try this other way and let you know what method I prefer. I have a feeling that it'll make for a completely different textured brownie.

Wow, that was easy. I've been blogging ever night about my trip on a different blog and I've been typing it up on my phone because I didn't take my laptop with me. This post came together so quickly being able to type with a full keyboard. Plus, I've been home for 3 days now and I still can't get over how big my laptop screen feels.

Recipe adapted from The Royal Cook & The Big Green Bowl.

Makes 10x10 pan


Ingredients

1/2 C. Whole Wheat Flour
1/2 C. All Purpose Flour
2/3 C. Cocoa 
1/2 Tsp. Salt
1 C. Butter, melted
2 C. Sugar
3 Eggs
1 1/2 Tsp. Vanilla
1 C. Chocolate Chips (I used mini ones)
2 C. Mini Marshmallows
14 Graham Crackers (14 Canadian ones, they are different than the American, but you can sub the American in just fine, except the number I'm calling for won't be the same)

Directions

~Preheat oven to 350 F.
~In a medium bowl combine flours, cocoa and salt.
~In a large microwave safe bowl melt butter. Stir in sugars.
~Add in Eggs and Vanilla. Stir.
~Pour dry ingredients into wet and stir by hand until just combined.
~Stir in chocolate chips.
~Spread half of the brownie batter into a greased pan (I used a 10x10 silicone dish).
~Top with a layer of (whole, not crushed) graham crackers, followed by the mini marshmallows.
~Spread the remaining brownie batter overtop the marshmallows and carefully try to spread it out and cover all the marshmallows.
~Bake for 26-28 minutes or until top is crispy and centre still feels soft.
~Cool completely (very important, trust me) before slicing and removing from pan.

Enjoy


Monday, 17 December 2012

Luscious Lemon Square


I was walking through Costco a few weeks ago and got really excited when I saw they had in cases of Meyer Lemons. I've heard so much about them, but I've never seen anyone get them in. So I scooped up a case with the intentions of making lemon curd with them. Well, they sat in the garage for a while and I went about my Christmas Baking, until one day I realized in a panic, I'd pulled all my Christmas Recipes, but I'd forgotten one very important one, Lemon Square! Then I got really excited because I knew I had these untouched Meyer Lemons just waiting to be used, and really, I needed to make something else besides curd, because I don't need 18 Lemons worth of curd. Then the harsh reality struck. You need an oven for Lemon Square.

No big deal, after months of the new oven being on back order, it was supposed to arrive in a weeks time. It didn't. Then we finally bought the same one from a different store and it was supposed to come in a weeks time. It did. But the delivery people didn't leave it because it was damaged. I think a few people were about to strangle a few other people if you know what I mean. Anyway, a few days after the latest disaster, I came home and we had a new oven. The store had loaned us a floor model until they could get us our actual oven. Thank god is all I can say.

To give you an example of how excited I was (and still am), last night I got home from an 8 hour shift at five o'clock. I was feeling really sick all day at work, but when I got home I felt perfectly normal (strangely enough). So I set out on a spree to finish up the Christmas Baking (I would have succeeded if I hadn't have ran out of Worcestershire Sauce, and then at eleven o'clock started feeling really sick again). I dusted the lemon squares that I'd made the night more, I cut them, photographed them and packaged them up. I defrosted my spiral cookies, cut them, photographed them and baked them. I then tossed together another batch of bits and bites but ran out of the sauce part way through so I had to abandon my efforts with only part of that batch baked. And, I dipped 160 Buck Eyes. By eleven o'clock my back hurt, I felt sick, tired and my hands were so cracked and sore from washing them too many times that I gave up and went to bed leaving a stack of dishes a mile high. But it was a successful effort.

Back to the Lemon Square and the Meyer Lemons. I knew everyone said these lemons didn't have the tartness of other lemons. After making both this square and my curd with them, I have to say they are definitely good, but as a true lemon lover, I think I'd like to stay with the bit of a kick that the traditional lemon offers. I'm really glad I tried them though, they just changed the flavours of these things a little bit too much. But, that being said, these were things I love for what they were before. Maybe if I made something utterly new with the Meyer Lemons, and didn't have anything to compare it to, I would enjoy them. Until then, I think I'll just stay with the typical lemon.

This recipe came from my next door neighbour. I have included the single batch recipe (makes 1 - 9x13 pan) with the crust doubled for extra thickness. Because this is a favourite every Christmas, I ended up doubling it again and making 2 trays.

Makes 30 squares.

Ingredients

Crust
1 C. Butter, softened
1 C. White Sugar
1 Lemon, zest
2 1/2 C. Flour

Lemon Layer
4 Eggs
1 2/3 C. White Sugar
3 Tbsp. Flour
1/2 Tsp. Baking Powder
1/2 Lemon, zest
6 Tbsp. Lemon Juice (Juice of 2 Lemons)
1 Tsp. Vanilla Extract

Icing Sugar

Directions

Crust
~In a medium bowl, cream butter, sugar and lemon peel.
~Gradually stir in flour to form a soft crumble dough. (Very important**Make sure there is no clumps of butter, otherwise when you bake it, you'll get pits in your crust were the butter chunk melted)
~Press evenly into the bottom of a greased 9x13 baking dish and pack down very firmly with your hands.
~Bake at 350 F for 15 minutes, or until crust just begins to take on a golden colour around the edges

Lemon Layer
~While crust is baking, in a large bowl, whisk eggs well.
~In a separate bowl, stir together sugar, flour and baking powder.
~Gradually whisk the sugar mixture into the eggs.
~Whisk in lemon zest, juice and vanilla and then pour evenly over hot crust and return to oven.
~Bake for 20-25 minutes or until top is lightly browned (if you have a hotter oven like I used to, you might want to bake at 350 F for 10 minutes then reduce heat to 300 F after that, to prevent it from browning too much - I didn't have to do this though with my new / temp. oven)
~Once cooled, sprinkle top with icing sugar (by placing a small amount of sugar in a sieve and tapping gently over top the bars).
~Cut into bars or squares.

Enjoy

**If you don't want the thicker crust as I have described (or you don't have enough ingredients on hand for a spur of the moment baking extravaganza), you can simply half the crust ingredients to return this recipe to it's normal amounts (don't half the Lemon Layer as it was never doubled).

Wednesday, 28 November 2012

Nanaimo Bars (no-bake)


Ucluelet, Tsawwassen, Esquimalt, Cowichan, Squamish, Sechelt, Qualicum, Haida Gwaii, Zeballos, Sointula, Nootka and Naniamo. Yes, these are actually words, even though my spell check disagrees with me (saying only two of them are spelt correctly). But, they are not just words, they are places. You probably can probably only pronounce one of them though, maybe not even that. But I'm pretty positive though that even if you can't pronounce it (or spell it), you will still recognize it. Yes, I'm talking about Nanaimo, as in the Nanaimo Bar, Nanaimo. While I'm not from Nanaimo I do live not too far from it, and from all the other places I listed as well.

But this post isn't going to be a lesson about small-town BC, no it's about a custurdy, chocolatey, goodness. The recipe that I'm sharing is my Mom's recipe. I have no idea if it's the 'actual' recipe or not. If you go to the City of Naniamo's website, they have a whole page dedicated to one of my favourite treats, but they too don't know the exact origin of it and are asking anyone to come forward that does. This recipe is very close to the recipe that they do have posted on their site. It is the recipe that was decided on by the city as 'the best' Nanaimo Bar recipe. There are several slight variations on this recipe, and then some more extreme ones.

The butterscotch flavour is one of those extreme variations that I am not a fan of. So, that is why I'm making this square now, when I used to be able to get a perfectly good tray of them for relatively cheap at the grocery store.

For most of my life, we never made Nanaimo Bar at home. The local grocery stores made a large tray of it for a good price, and Costco had it on even better. Well, just over 5 years ago, the go-to grocery store closed, and we started buying the bar at other places. For awhile it was good, then I started tasting hints of butterscotch. Well, at first everyone didn't believe me, but eventually people agreed that these other bars weren't as good. But it still wasn't worth making it ourselves because it wasn't all that bad, and the price was still good. Well, we hadn't bought it in awhile and we bought a tray about a month ago. I've never seen Nanaimo Bar hang around for long in our house and usually I devour it myself. I had half a piece and thought I had just wasted my nighty dessert allowance on something that was absolutely flavourless. It was awful, so I decided that this was too simple of a thing to make to warrant buying it's now disgusting store bought variety (unfortunately, I think this is one of the last good home made tasting things that has gone the way of over processed crap (excuse my french). Now it's just another package of Chips Ahoy or Peak Freans or Deep and Delicious Cakes in the grocery aisles.

I'm going to share the single batch version of this recipe, which is to be made in a 7"x11" pan (who has one of those right?). Anyway, I doubled it and thought I could just get away with having a thick batch in a 9"x13" pan, but as I'm realizing now, I usually double an 8"x8" to get a thick 9"x13", that explains why I had way, way too much. Sorry, just typing with my train of thought there. So, what I ended up with was 1 - 9"x9" (square silicone dish) & 1 - 8"x8" tray that were the perfect thickness, as a doubled batch. Or just go with the single and have a thick 8"x8" or scrounge up the mysterious 7"x11" pan. Whew, enough with the numbers now. So, I present to you the first Xmas baking of the season, duh duh duuuhhhh!!!!

Makes: 25 squares


Ingredients

Base Layer
1/2 C. Butter
1/4 C. Sugar
5 Tbsp. Cocoa
1 Egg, beaten
1 Tsp. Vanilla
2 C. Graham Wafer Crumbs
1 C. Coconut ( I used flaked, if you don't want the base as chunky, use medium)
1/2 C. Nuts (I used 2 Tbsp. Ground Almond Powder instead)

Middle Layer
1/4 C. Butter
3 Tbsp. Milk
2 C. Sifted Icing Sugar
2 Tbsp. Custard Powder
2 Tsp. Vanilla

Top Layer
1 C. Chocolate
4 Tsp. Butter

Directions

Base Layer
~Melt the first 3 ingredients in a large saucepan.
~Add egg and vanilla and whisk to help prevent the eggs from forming chunks as you heat the eggs.
~Add in the last 3 items
~Spread in a greased 7"x11" pan, pack it down firmly and put in the fridge to set, while you prepare the next layer

Middle Layer
~Combine all the ingredients in mixer bowl and beat (with paddle attachment on speed 2), until combined and fluffy (I tried to do this by hand and it felt like I was trying to mix cement by hand, so use the mixer please).
~Spread over Base Layer and place in freezer until solid (otherwise the top layer will just mix into the middle layer)

Top Layer
~In a microwave safe dish, melt chocolate and butter together.
~Spoon mixture over the Middle Layer and working quickly as the frozen layers will cause the chocolate to harden, smooth the chocolate.
~With a knife, run tracks through the chocolate where you'll want to cut the squares. This prevents the top layer from cracking when you cut it (or at least helps prevent it)
~When chocolate has hardened, cut into squares.

Enjoy

Sunday, 4 November 2012

The Inside-Out S'more Bars


Now to most of you, these may not look inside-out, but to me they do. Let me explain. My Mom makes a s'more square that is basically the same as Rice Krispie square, just with Golden Grahams. So she melts the marshmallows and stirs in the chocolate chips and cereal. The reason I don't make that type of square is because I really struggle timing it right. I either end up with marshmallow goop that is cooled too much and so nothing will mix into it, or too hot and so the chocolate melts and instead of having chocolate chips, you get a gooey chocolate flavoured marshmallow mess. So, this recipe is a lot safer for me (but I'd still like to share the recipe for her S'more Square, I'll just snap a picture of it one day when she makes it to show you). It's safer because you have melted chocolate and whole marshmallows (instead of melted marshmallows and whole chocolate chips - see, inside-out) and marshmallows need a lot more heat to melt than chocolate does (or so I've experienced).

This recipe was adapted from the Nestle Toll House recipe.

Makes 16 Squares


Ingredients

1/2 C. Milk
1 Tsp. Vanilla
1 3/4 C. Milk Chocolate Chips
3 1/4 C. Mini Marshmallows
1 1/2 C. Golden Grahams (or graham crackers cut into bite size pieces), 

Directions

~In a large microwave safe dish heat milk and vanilla until almost boiling (~2 minutes)
~Stir in the chocolate chips and return to microwave until fully melted (~30 sec)
~Make sure there is no lumps in the mixture and everything is thoroughly mixed, then set it aside to cool for ~5 minutes, or long enough so the marshmallows won't melt.
~Add in the marshmallows and stir to evenly coat.
~Mix in the graham crackers / cereal.
~Spoon into a greased 8x8 pan and cool in the refrigerator for 1-2 hours.
~When set, cut into squares. 
~Can be stored at room temperature.

Enjoy


Saturday, 20 October 2012

Butterscotch Marshmallow Square (No-Bake)

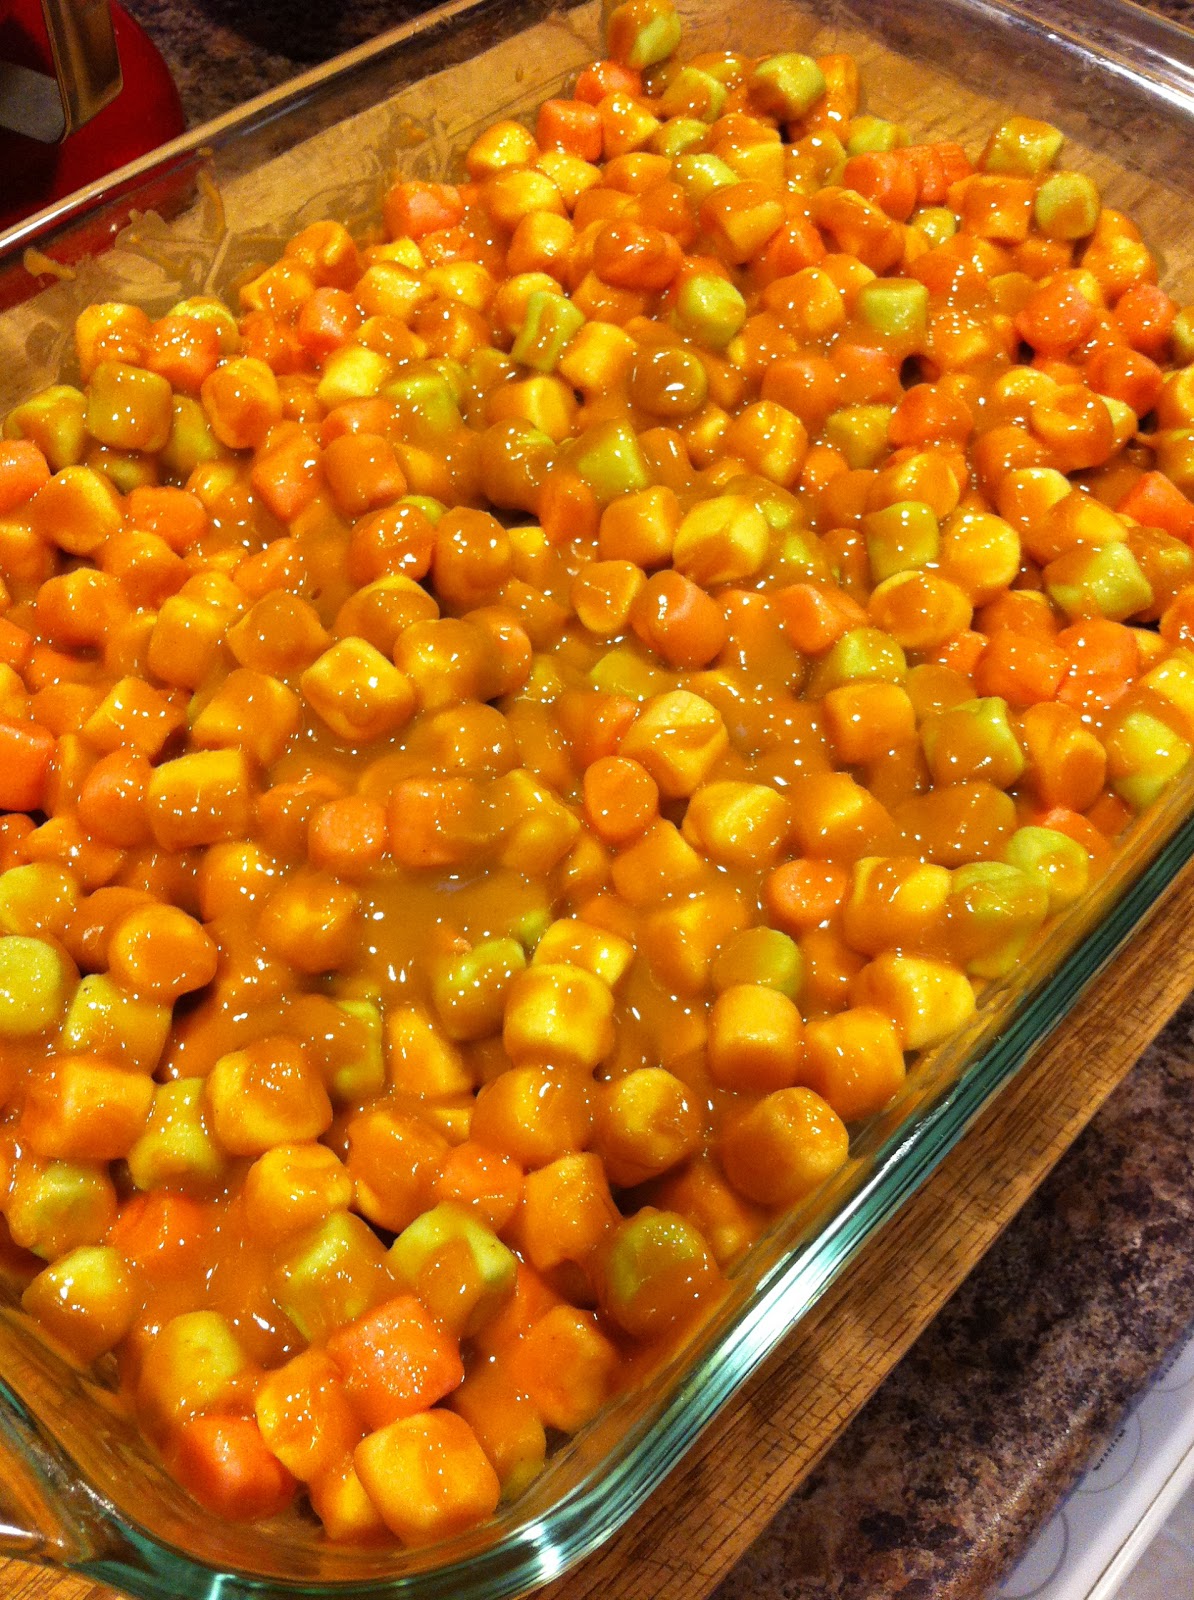
Imagine this as a multicoloured square, not just orange as the picture depicts.

This is that square that I'm sure everyone has seen at some potluck function in the past. The one with all the coloured marshmallows impeded in a strange orangey-brown goop. Or maybe you saw one that was white marshmallows in chocolate (hello rocky road?). Well, this is my Grandma's go-to treat. She doesn't like to bake much, but she does this well and everyone enjoys it (how could you not, it's sugar, sugar and more sugar? Plus it has awesome bright colours.)

Ingredients

1/2 C. Butter
3/4 C. Peanut Butter
1 Pkg. Butterscotch (or Milk Chocolate Chips)
1 Pkg. Coloured Marshmallows (or white if making the chocolate version)
1 C. Rice Krispies

Directions

~Combine margarine and peanut butter in a large microwave safe dish and microwave on high until the butter melts.
~Stir and when smooth, add in the chips and microwave again until chips are soft enough to melt away by stirring.
~When mixture has cooled slightly, stir in the marshmallows and rice krispies until evenly coated.
~Spread into a greased 9x13 dish.
~Place in fridge to set.
~Cut into squares

Enjoy

Friday, 10 August 2012

Peanut Butter Oat Fudge Bars (No Bake)


So as I believe I've already mention, I don't currently have an oven. You think that's bad enough, but I also have a horrible suspicious that I don't actually have a working hot water tank either. As my last 3 showers have ended up being ice cold. Yeah, that may not sound out of the ordinary for some people, but trust me, I've lived here for over ten years and this is the first time I've ever had a cold shower in this house. Not good I tell you.

But back to the no oven issue, because you guys really don't care if I shower right? The one benefit of the internet. So I got all excited that I had an opportunity to make dessert for this weekend for people other than my direct family / coworkers. Then the awful realization hits, that not many good things can be made without an oven. Or so I thought, I have to take that back now, because I've found this recipe. It is utter, pure bliss. Trust me. Too good, and too easy not to try. And you don't even have to turn the oven on, just the stove top (you probably could get away with just using the microwave if you really are anti-heat right now). I'm not anti-heat ever. I just spent the past weekend in what was practically a dessert and loved it, only to have to return home to 15 degree cooler weather and hearing everyone complain about how 'hot' it is at 21 Celsius. Some people just need to go live at the top of Everest, because they obviously missed out when they were being taught geography, because we live in one of the coolest and wettest places around. Hmm, except when it starts raining they complain that the sun doesn't shine. Ever!

...End rant.

Return to food talk...

This recipe is doubled from what the original called for. If you want to half what I have posted here, prepare it in a 9x9 pan.

This recipe is from allrecipes.com.

Ingredients

2 C. Butter
1 C. Brown Sugar
4 Tsp. Vanilla
6 C. Quick Cooking Oats
2 C. Semi-Sweet Chocolate Chips
1 C. Peanut Butter
1/4 C. of your favourite chocolate (I used milk chocolate bar), melted

Directions

~Grease a 9x13 baking dish (or a 12x12 as I did)
~In a large saucepan, melt butter over medium heat. Stir in sugar and vanilla until dissolved.
~Add in the oats. Stir continuously while they cook for 2 to 3 minutes, or until slightly softened.
~Divide mixture into 2 parts. Press half into the bottom of the prepared pan, reserving the other half for later.
~In a microwave safe dish, melt chocolate chips and peanut butter and stir well to combine.
~Spread mixture over top of crust and smooth with a knife.
~Place in fridge for 30 minutes or until chocolate has begun to set.
~Spread the reserved half of the oat mixture evenly onto the chocolate layer. Press gently to adhere it to the layer below.
~Melt remaining chocolate in the microwave on high heat and drizzle over top of the bar.
~Return to fridge for 2-3 hours to set completely.
~Cut into bars.

Enjoy (either straight from the fridge or at room temperature).


Thursday, 19 July 2012

Toffee Bars


This recipe is simple. And by simple I mean crazy quick. If I didn't have to keep unlodging butter clumps from my mixer it wouldn't have even taken me all of the 20 minutes that it did take to mix and throw the pan into the oven. I was initially excited about the prospect of making something with such a short ingredients list. But I was also sceptical that there was no leavening agent in this recipe, something that most cookie recipes (and cookie bar recipes) utilize. There wasn't even any eggs. Well, I got over that and went on my merry way, only to realize once this was in the oven that there was a bigger concern than this not rising. And that was that there is no liquid in this recipe (unless you count 1 1/2 Tsp. of Vanilla as liquid). Well, it came out of the oven and I cut a piece to try. Despite it being very, very flakey and dry, it cut very nicely into squares and did not crumble into a pile of dust as I had feared. Even after transporting them to work the next day, they stayed intact. I'm calling it a miracle, because I honestly don't know how this happened.

Now these definitely weren't my favourite thing I've ever made, but everyone else seemed to love them as I brought home an empty tray from work. I'm just going to attribute this to my preference of a chewy cookie, and not a crunchy. So, if you like crunchy, crispy cookies, this is for you. In the reviews where I found this recipe people talked about how this was like a cross between a chocolate chip cookie and a shortbread. I think they hit the nail on the head here. As this has the appearance of ccc's but the dry texture of a good scottish shortbread.

I found this recipe over at The Big Green Bowl and I omitted the nuts the original recipe called for and instead used some butterscotch chips, because hey, the recipe name said toffee so I had to include something. Even though I know that butterscotch and toffee are not the same thing.

Makes 2 Dozen Bars

Ingredients

1 C. Butter, softened
1 C. Brown Sugar
1 1/2 Tsp. Vanilla
2 1/2 C. Flour
3/4 C. Chocolate Chips
1/4 C. Butterscotch Chips 

(original recipe called for 1/2 C. Walnuts, chopped but I didn't include this)

Directions

~Preheat oven to 350 F.
~Grease a 9 x 13 baking dish.
~In mixing bowl, cream together butter, sugar and vanilla.
~Stir in flour, chips and nuts (if you're using them).
~Pour mixture into baking dish and pat down.
~Bake for 16-18 minutes or until lightly golden brown around the edges.
~Cool and then cut into squares.

Enjoy


Wednesday, 27 June 2012

Lemon-Lime Brownie


I've done something bad. I mean really, really bad. I don't know if I should even admit this. Okay, I'll tell you...I...made...a brownie that had no chocolate in it. Gasp! I know, I feel so guilty. I guess I've always known that if there was one thing that could pull me away from chocolate, it would be lemon.

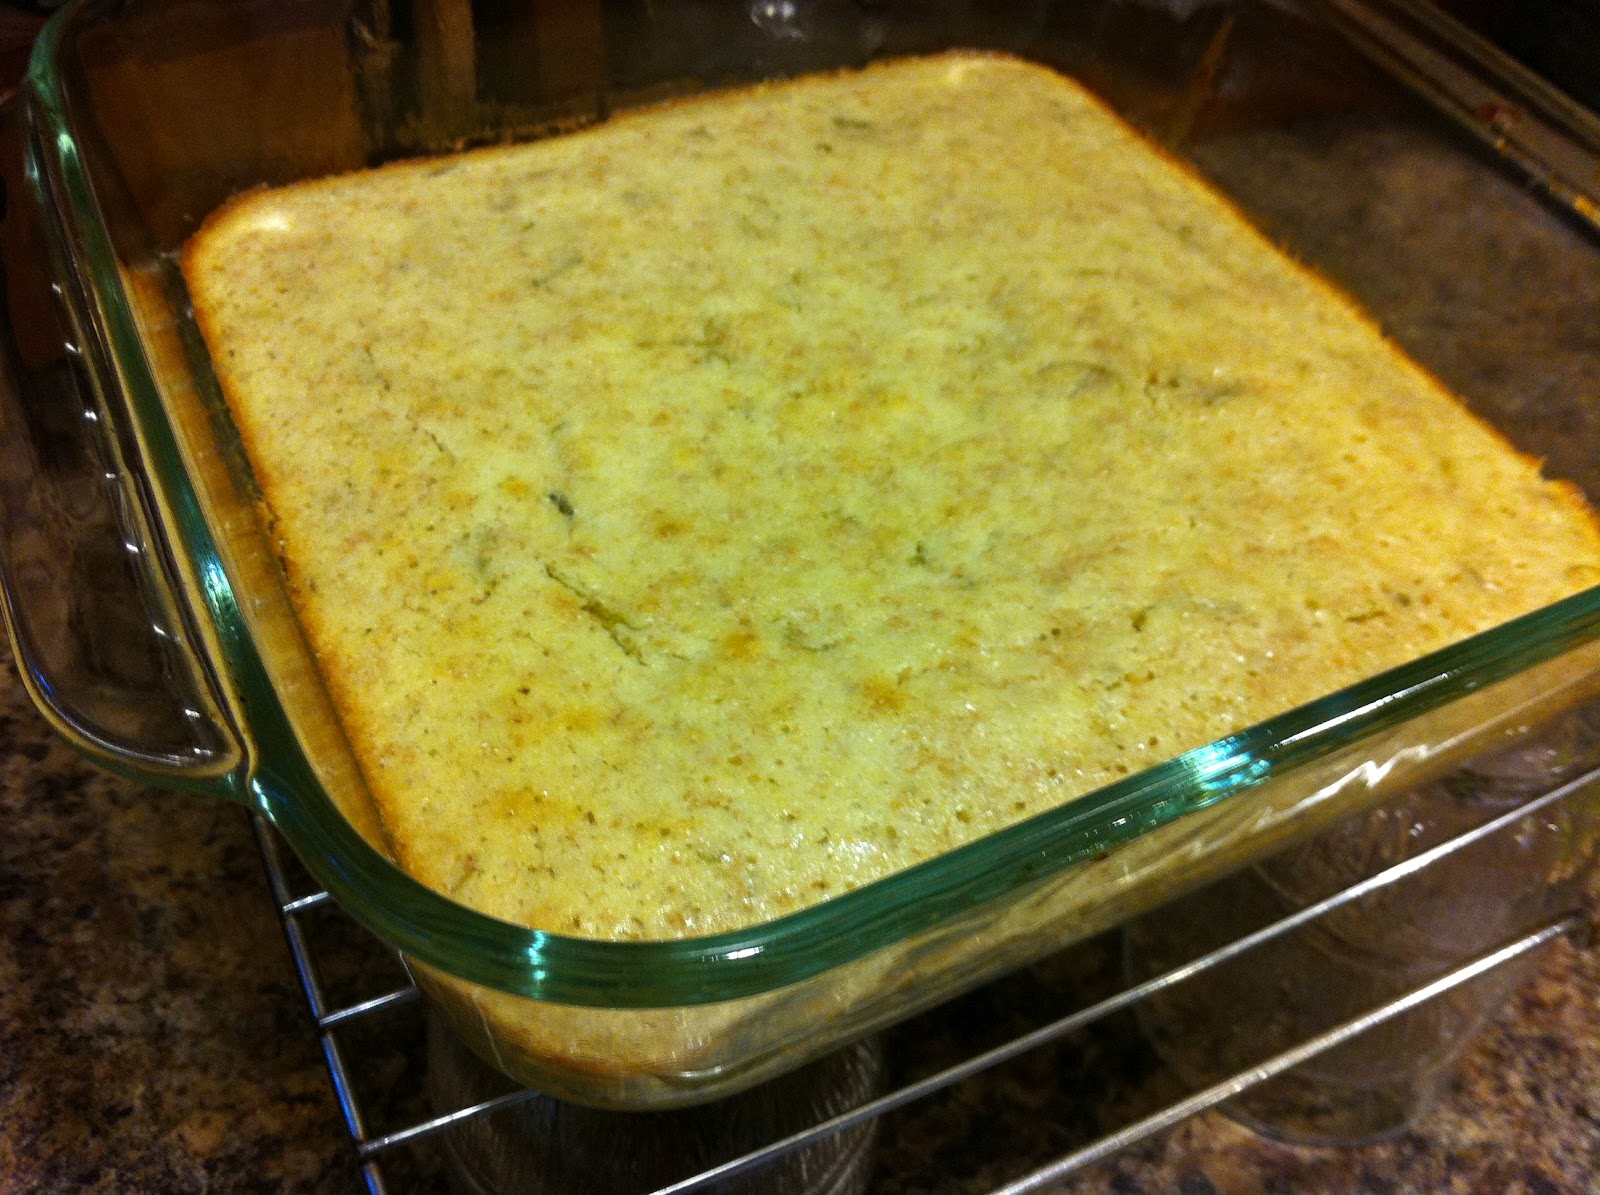
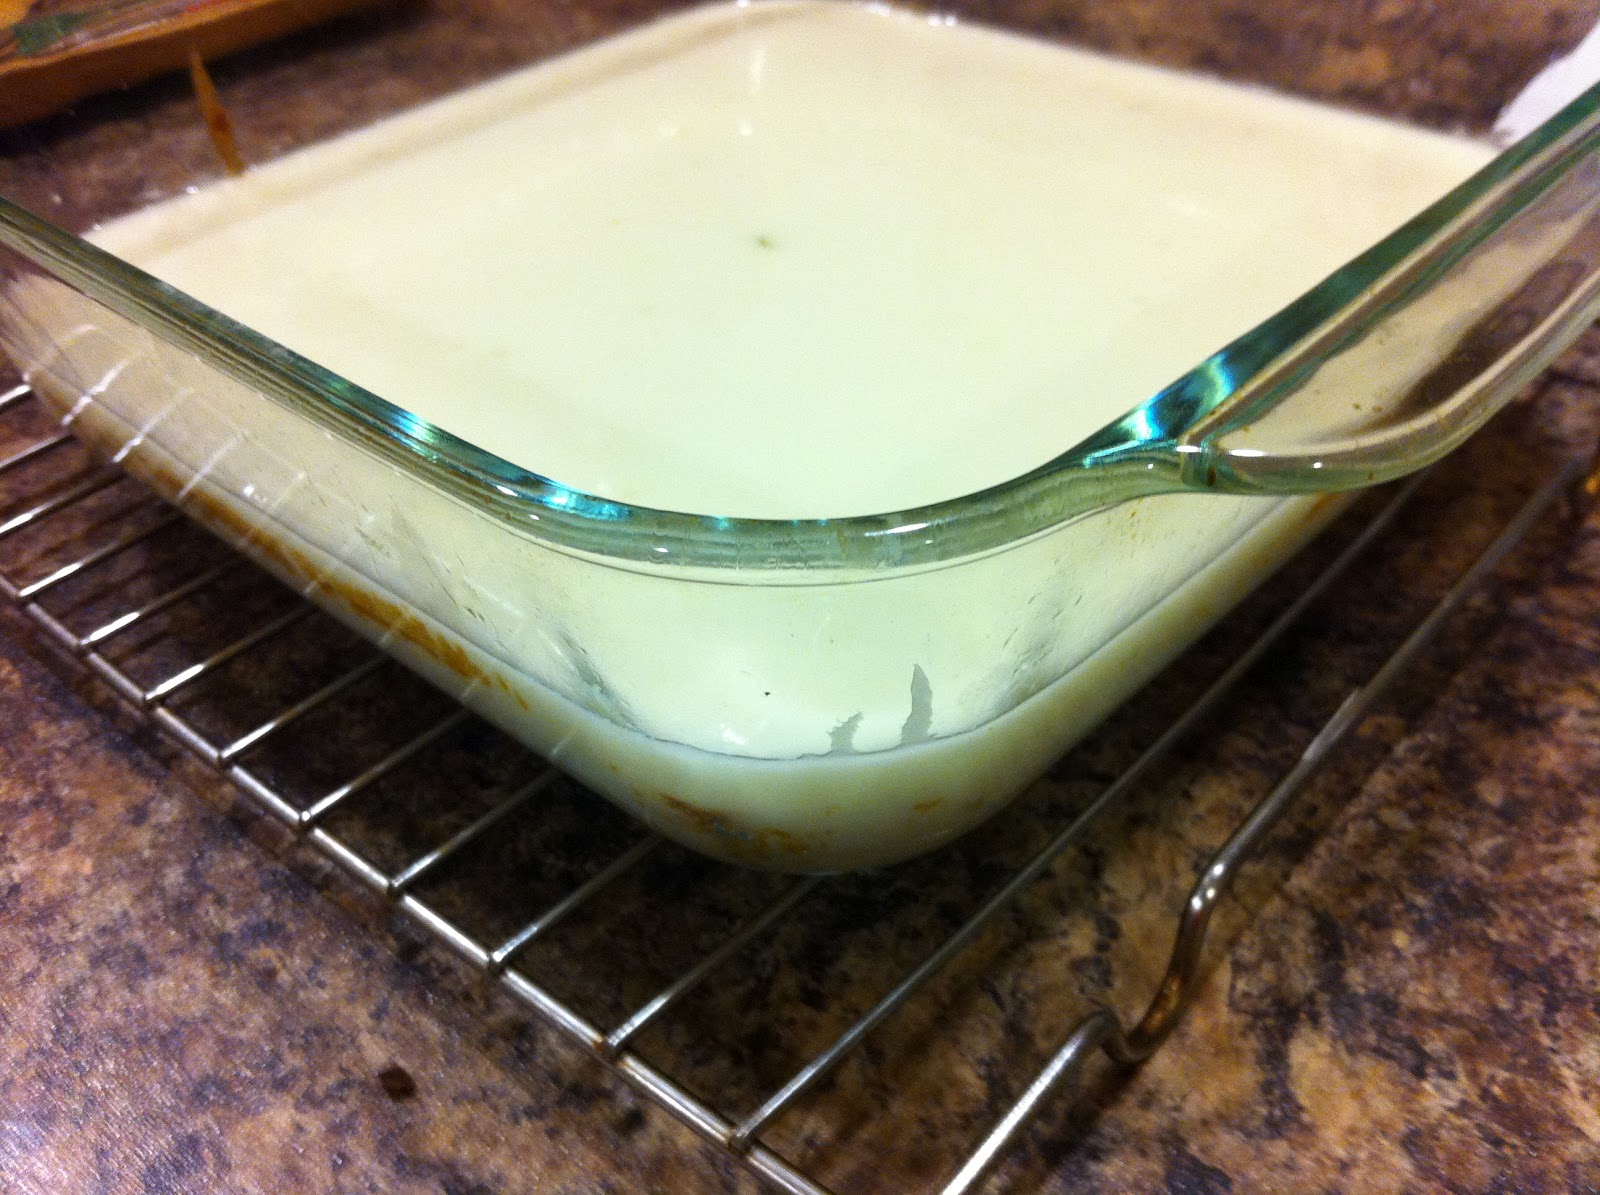
This recipe made its way around the food blog world a while ago and I am glad I finally got around to making it. I had high hopes at the beginning for this brownie (yellowie??) but when I pulled it out of the oven I was a little disappointed. It took forever for everything to cool and the glaze to set, and so finally I just gave up and dug in. I had to find out what it tasted like. Well, it has the taste of a typical lemon square (you guys all know the one I'm referring to right? With the shortbready crust and the lemon-eggy mixture on top), but without all the hassle. This really only did take mere minutes of active kitchen time, which disappointed me. I had just had two days that I had not made anything and I was going through withdrawal and then this only took ten minutes. There was no way that only 10 minutes of baking was going to cure my kitchen withdrawal symptoms. So my solution, make two things in one night. Anyway, when I say I was disappointed with this recipe, I in no way mean I was disappointed with the taste or look of this square. It even tasted better the following day right out of the fridge.

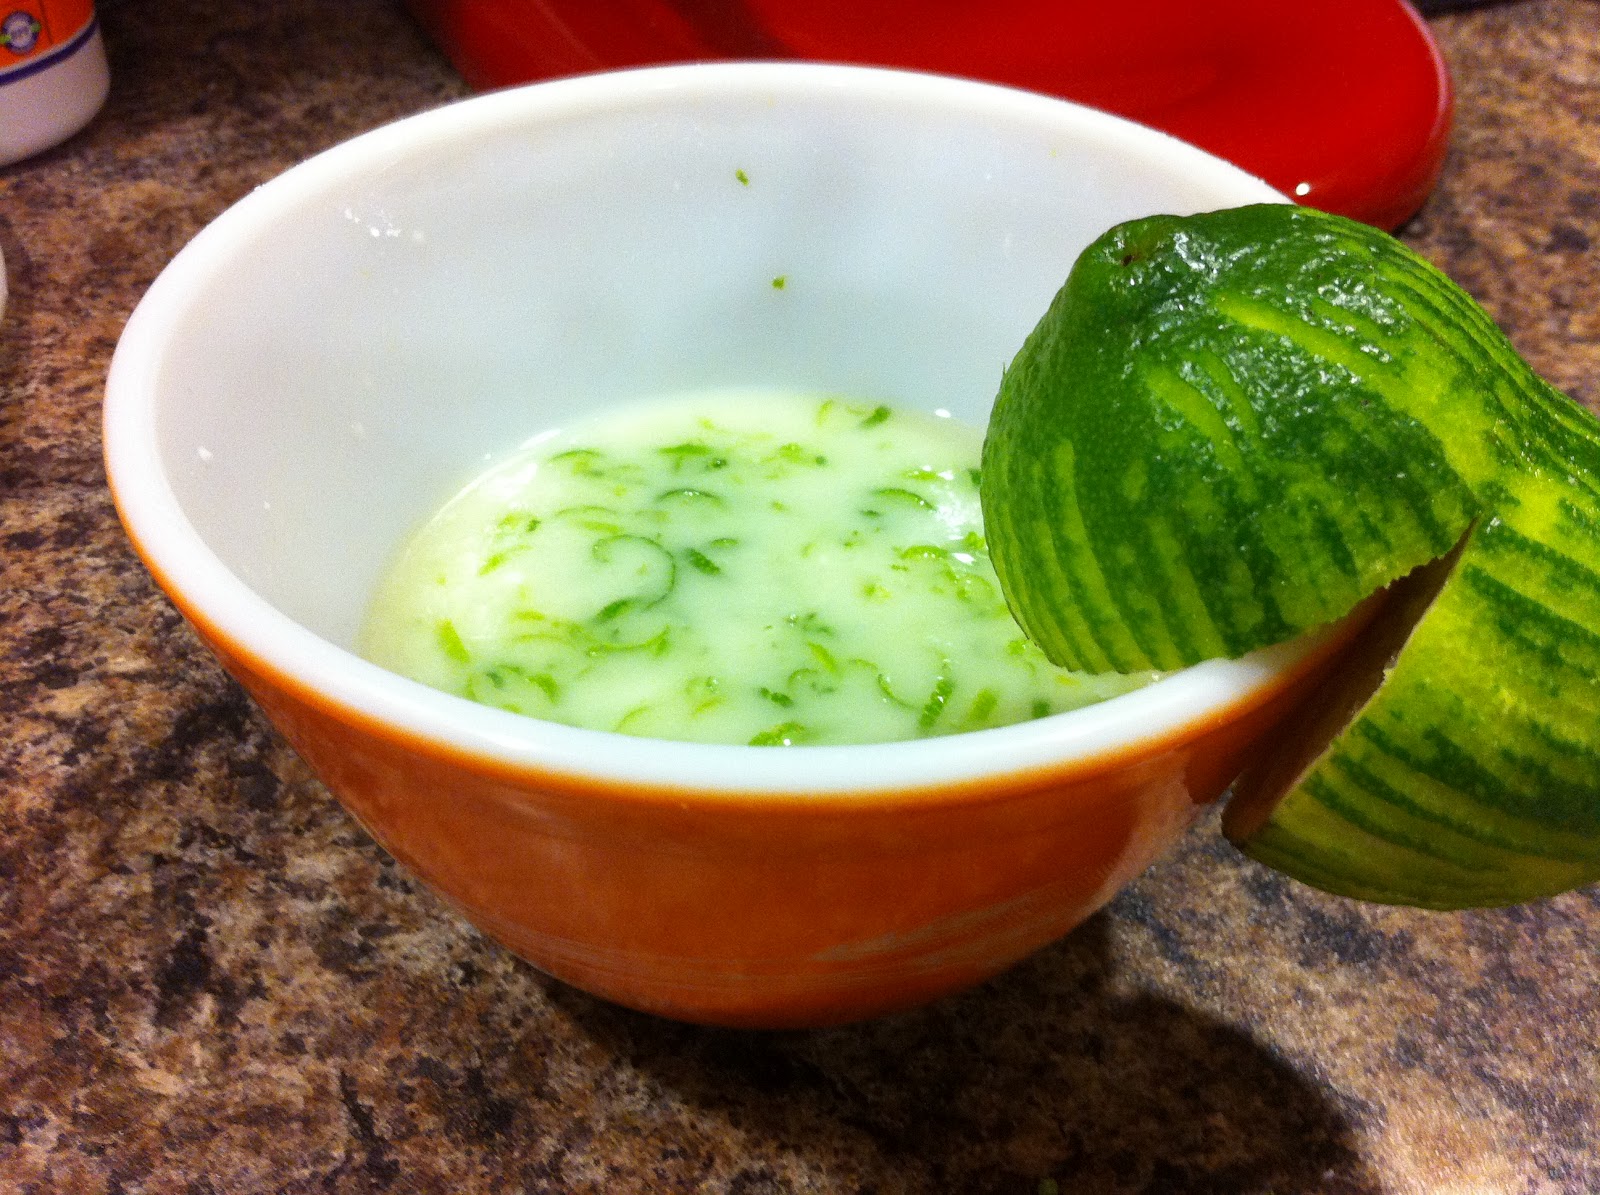
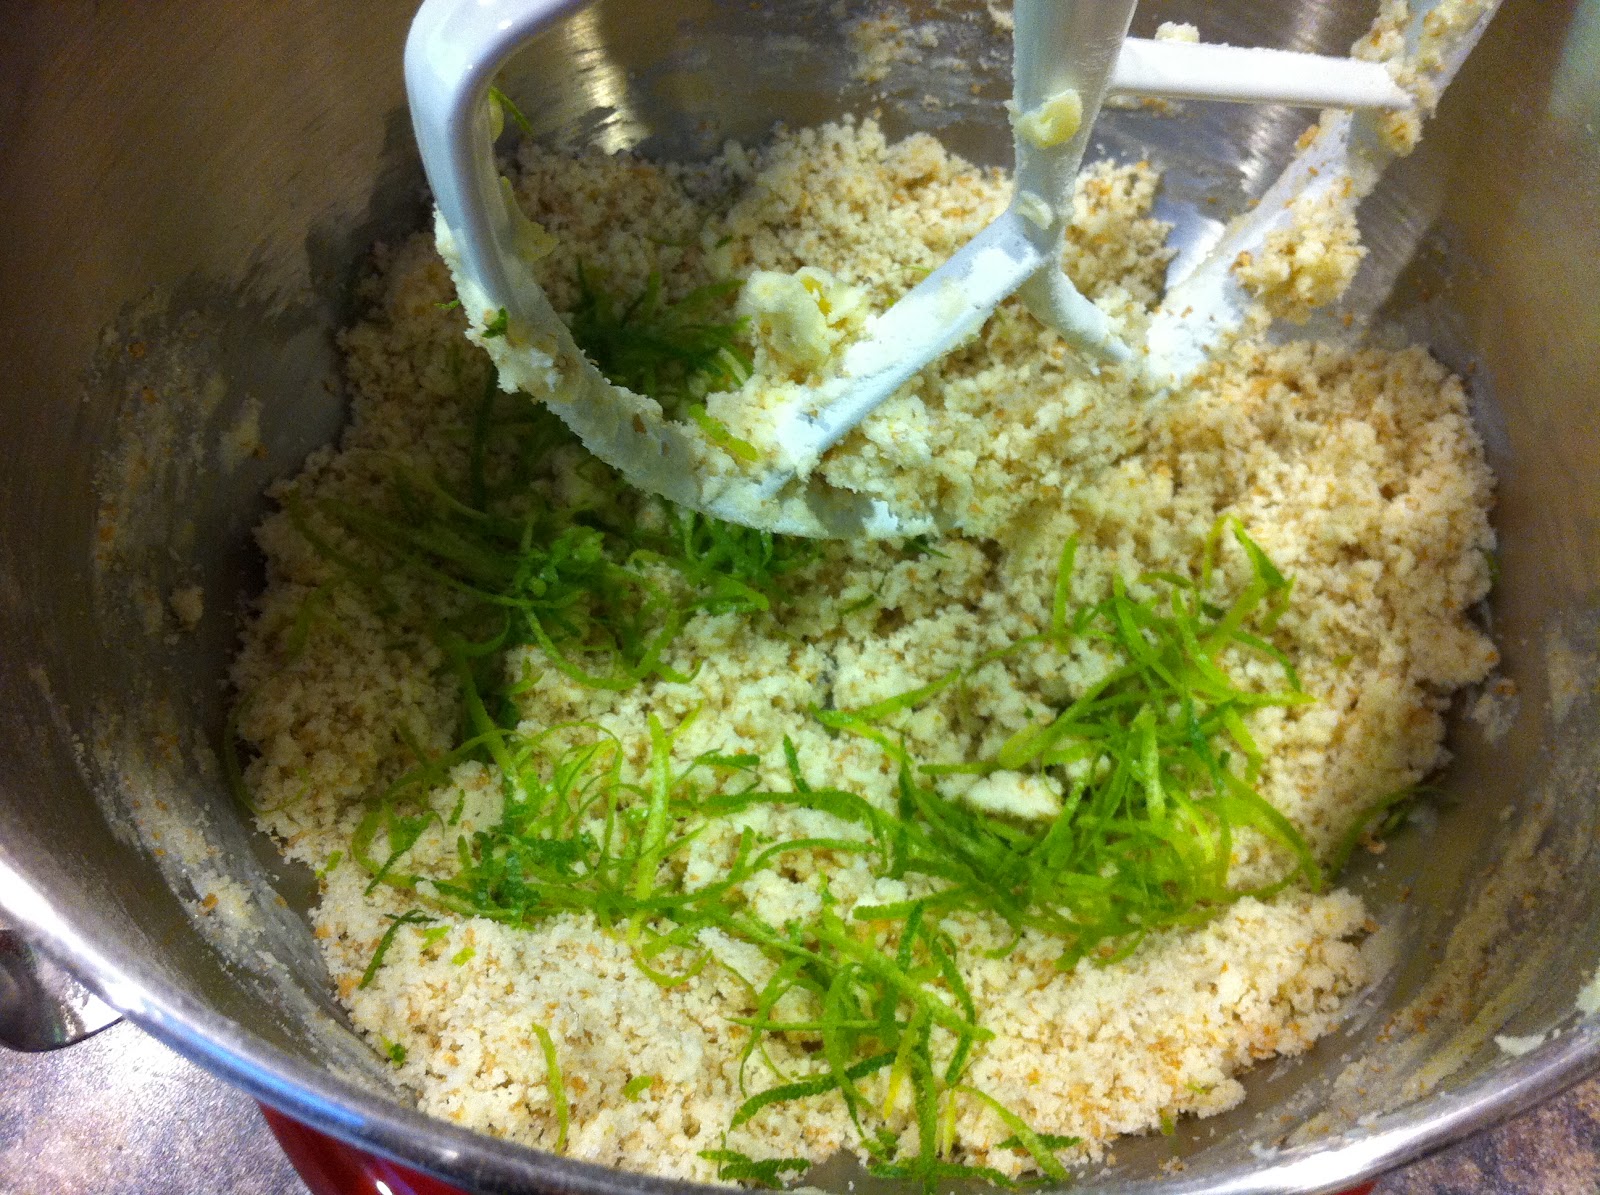
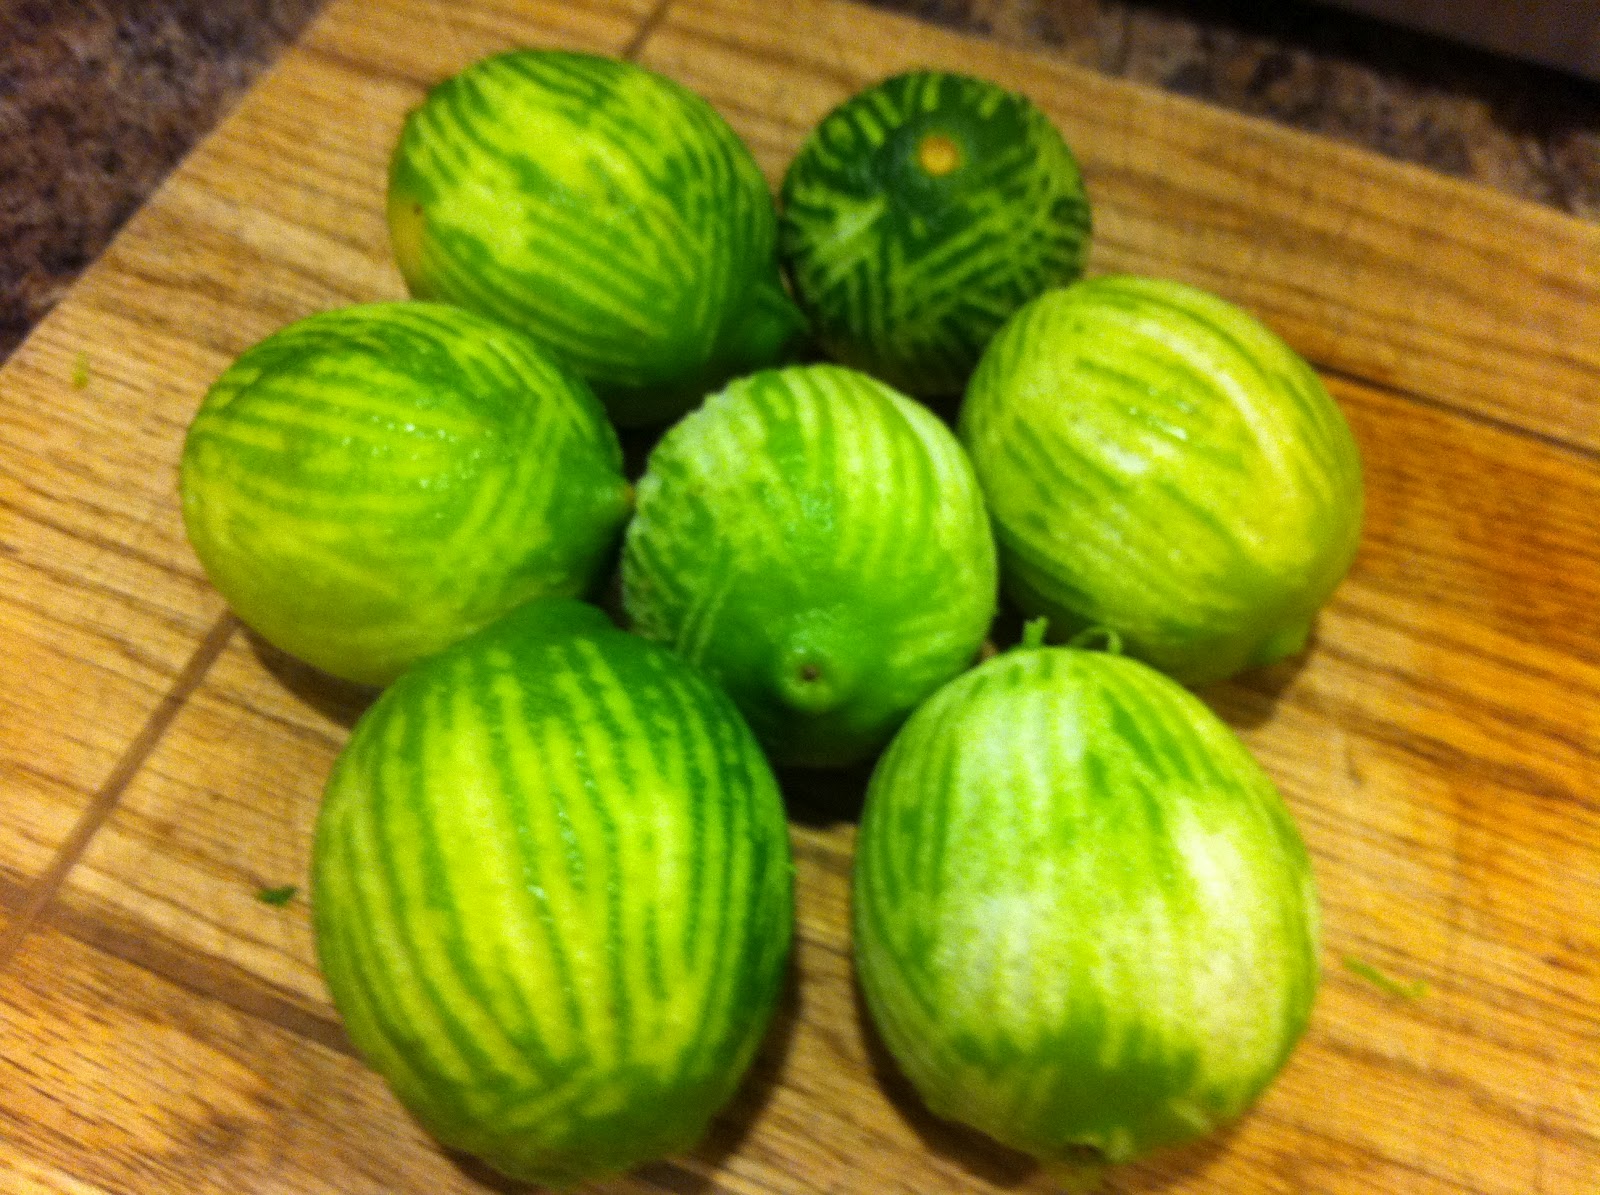
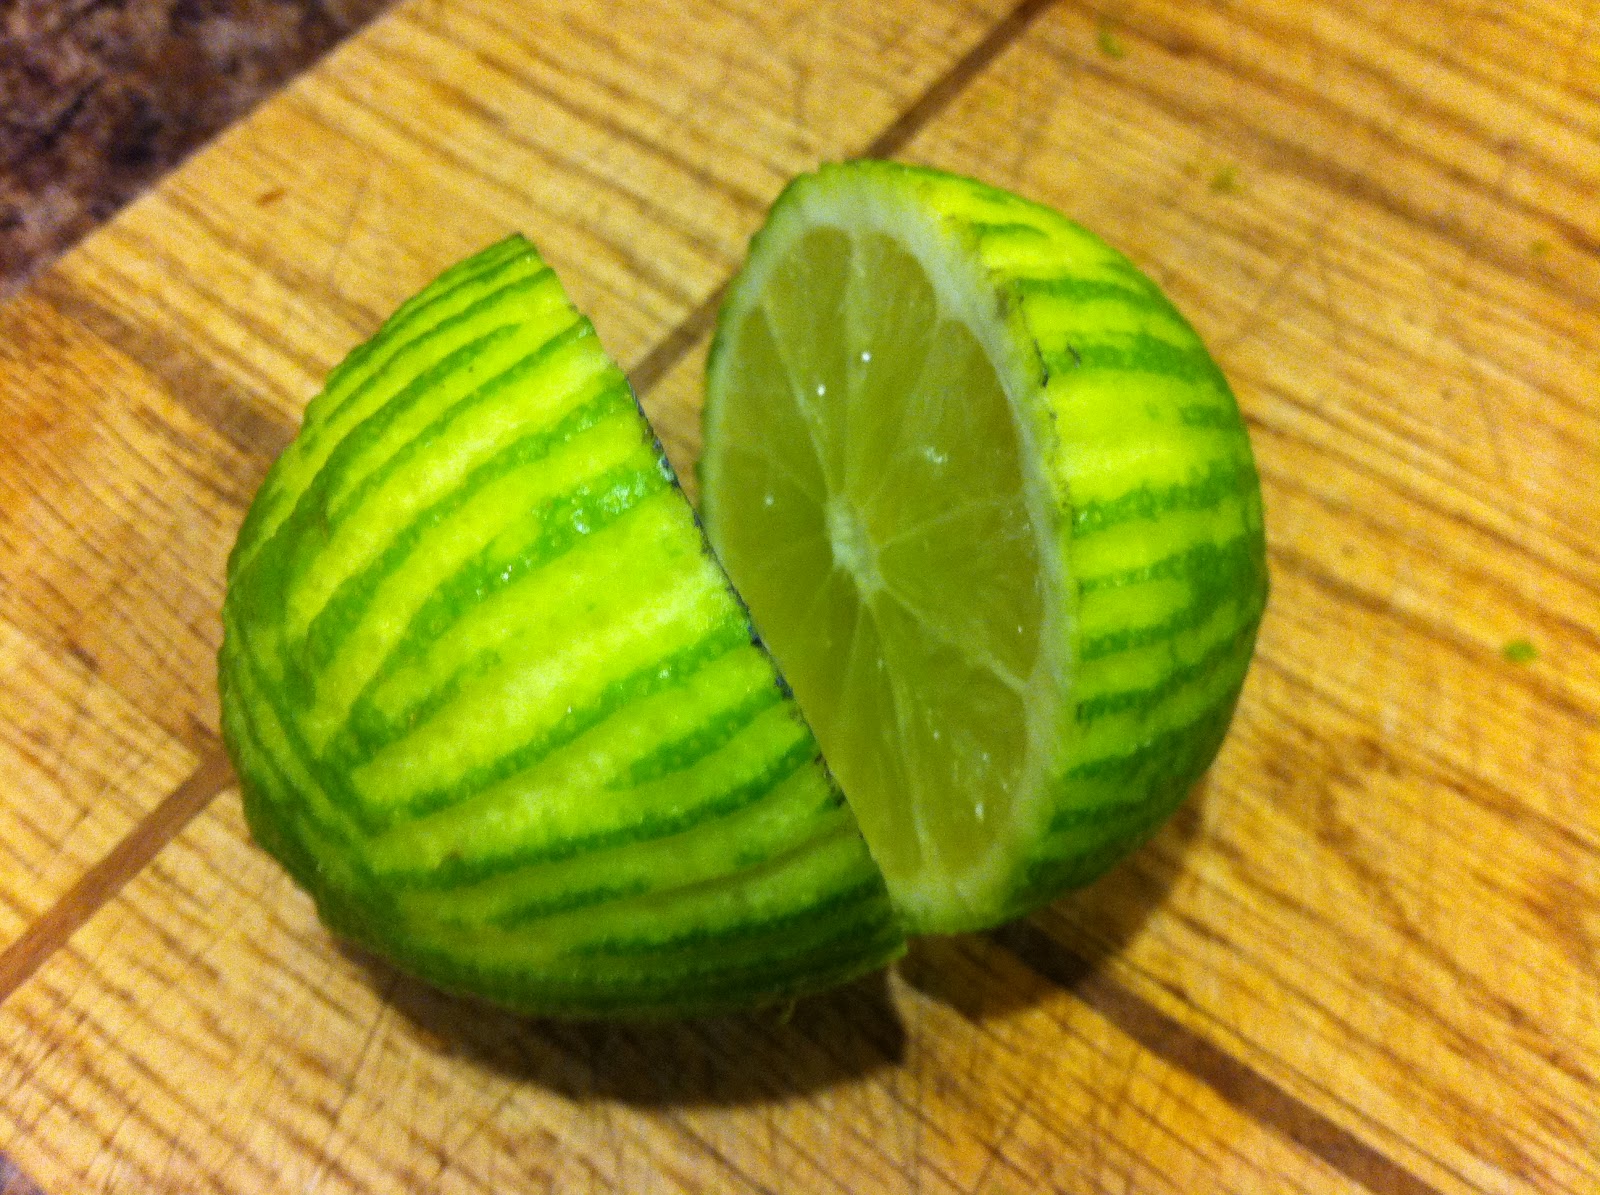
The original recipe that I used called for lemon juice and lemon zest. Well, we always have a bottle of lemon juice in the fridge so that was simple enough, but we don't buy lemons all that often. We do buy limes and so I usually use the zest from the limes and the juice from the bottle. It works, and I get pretty green flecks in stuff. Anyway, so I used 7 limes in this recipe because they were pretty tiny. You'd probably only need 3-4 lemons. But, I was left with 7 zested and unjuiced limes. What to do, what to do? Oh, I know, this weekend is the long weekend. I'll make margarita mix. So, stay tuned for this adventure.

Back to the brownies though. A couple things I would recommend is that you double this recipe (and still put it in an 8x8 pan), because the single batch of batter made the thinnest of layers and I was kinda hoping for something a bit more dense. The other thing was that the glaze recipe I used called for a lot of liquid and not as much icing sugar as I would typically use for a glaze. Because I felt like this glaze was not going to harden up like I wanted it to, I kept adding in extra icing sugar. So much so that I don't actually know how much extra I added in. The original called for 1 C. sugar, 4 tbsp. juice. This wasn't a good ratio for me, so I'm going to say I used 1 1/2 C. sugar, 4 tbsp. juice, but if you want a harder glaze, make sure the mixture isn't watery when you pour it on the brownie and adjust your sugar accordingly.

In other completely unrelated news, I just bought my first silicone muffin pan, and I must say it you don't have one of these, you need to march yourself down to the nearest department store and buy yourself one. Or two. They are amazing. I was sold after removing one muffin from the tin (or silicone). You don't require paper liners which means this is a more economical and environmental option. Plus, the ease alone is worth it. You don't have to try to pry the muffins out with a knife, they simply pop out. It's pure magic. When I say I was quickly sold, I mean I popped one muffin out of this new pan and then went to try (key word try) and remove a muffin from the old metal tins and I quickly realized how fast you can fall in love with a kitchen gadget. (You'd think I was getting paid to sing these praises, but I'm not.) So, back to the lemon brownies.

This recipe has made its way around the blog world extensively. The version I used was from Becky Charms, but the original recipe can be traced back I believe to Rita's Recipes.

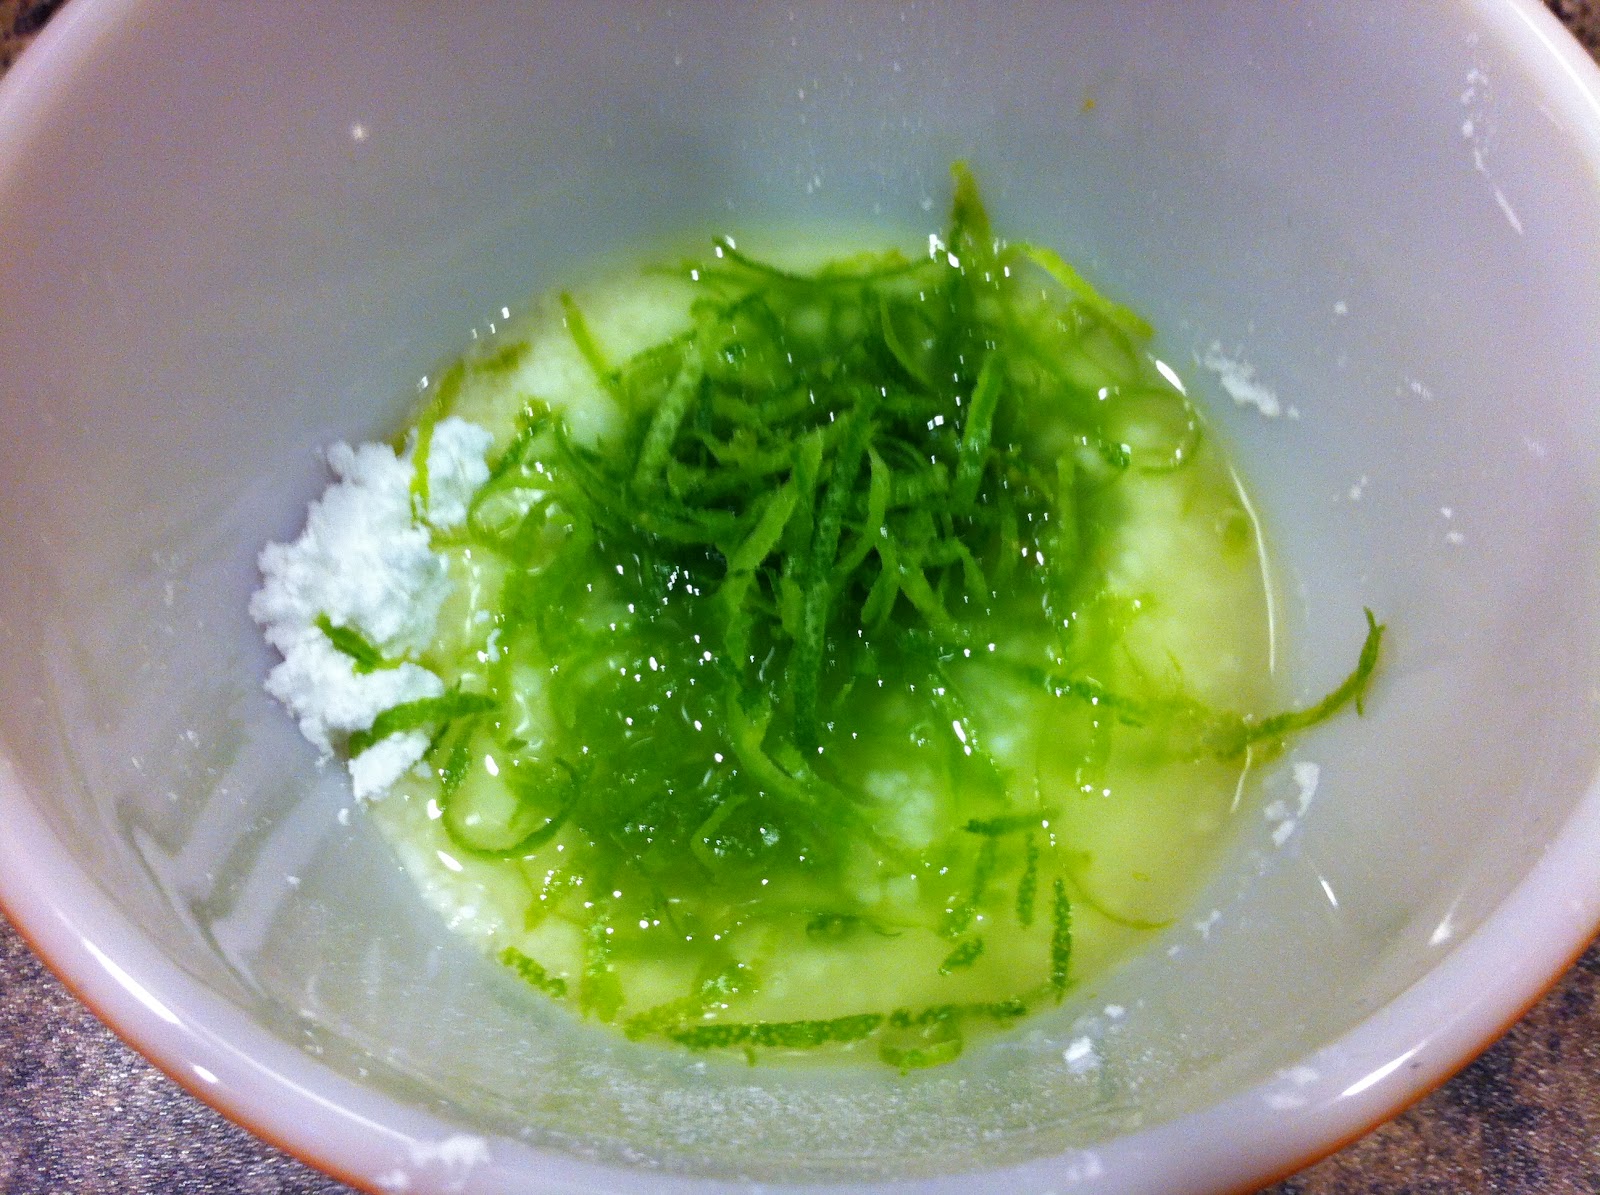
On another side note, I may have gotten a little carried away with taking pictures for this post. But it was fun and everything was green so they were just begging for the shots.


Ingredients
Makes thin layer in an 8x8 pan (I'd recommend doubling both the batter and glaze)

Brownie:
3/4 C. All Purpose Flour (I used 1/2 C. Whole Wheat, 1/4 C. All Purpose)
3/4 C. White Sugar
1/4 Tsp. Salt
1/2 C. Butter, softened
2 Eggs
2 Tbsp. Lemon Zest (I used Limes)
2 Tbsp. Lemon Juice

Lemon Glaze:
1 1/2 Rounded C. Icing Sugar
4 Tbsp. Lemon Juice
2 Tbsp. Lemon Zest (or Lime)

Directions

~Preheat oven to 350 F.
~Grease an 8x8 baking dish.
~Zest & juice your lemons.
~In your mixing bowl, combine flour, sugar, salt and butter until crumbly.
~Add in zest, juice and eggs. Beat until smooth and creamy.
~Pour into baking dish and until it just begins to turn golden around the edges and a tooghpick comes out clean (23-25 minutes). If you're doubling the recipe (like you should be), adjust the bake time accordingly.
~Let brownies cool on a rack.
~While they are cooling, mix together icing sugar, juice and zest in small bowl. Whisk together and make sure there are no lumps of sugar remaining. (Because I don't have a fine grater for the zest, I had to push the mixture through a sieve to remove all the hard, long chunks of zest.)
~Spread half the glaze over the brownies. Let set.
~Spread the other half of the glaze on top of the first layer. Let set.

Enjoy