Showing posts with label SNACKS. Show all posts

Sunday, 18 January 2015

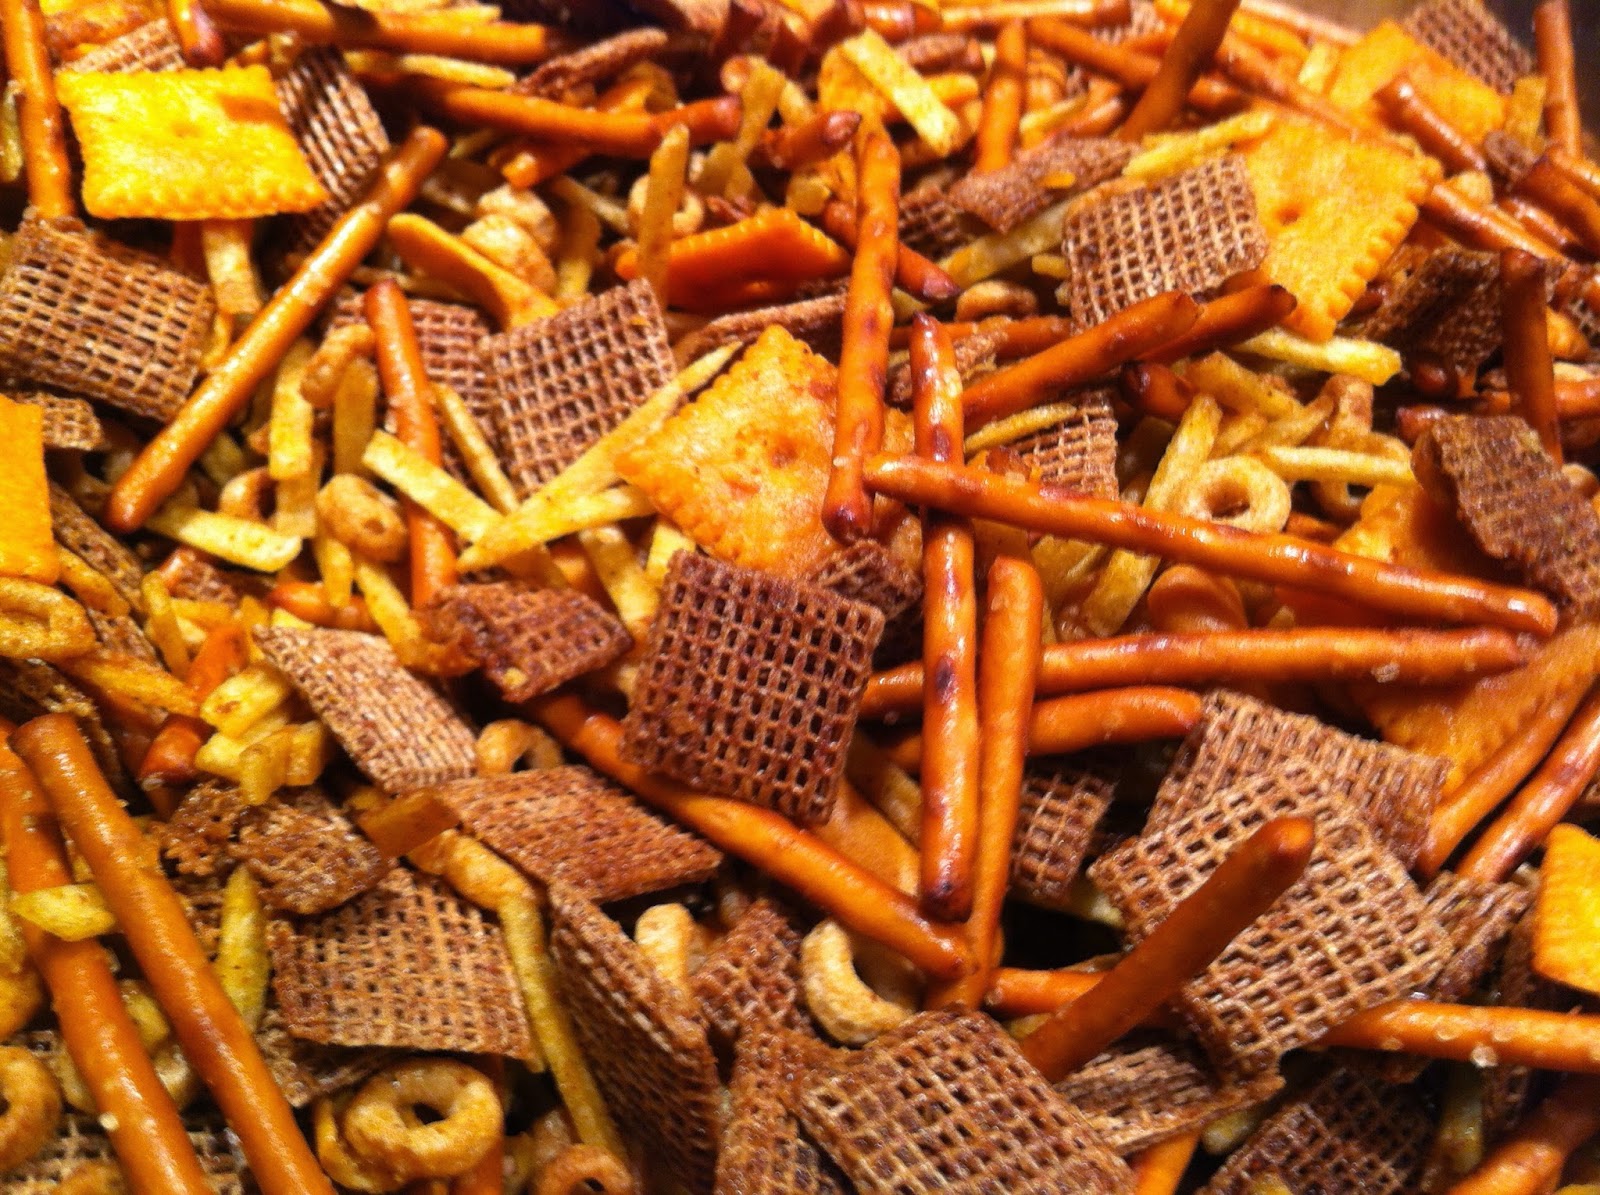
Bits and Bites


This recipe has really been a work in progress for me. I've made bits and bites several times and not been entirely happy with the results, so I'd switch to a different recipe the next time but with no better luck. Many of the recipes I tried wanted you to bake it fast at high temps and this so didn't work and I blackened a few trays. Finally I came across this recipe and it was the opposite of so many. Cook it slow to dry it out and make it crispy but not dark, and the flavour is pretty much a combination of all of the failed attempts put together and it works. I also added liquid smoke because while it was never used in any recipes I had personally tried, I knew of people that did use it and I like the addition.

This year's batch didn't quite work out as well as last years, but it was still good, just difficult to make. I ended up having to really increase the amount of crackers, etc. because it was so wet, then it was too dry and I fought with it for awhile before giving up and hoping the flavour wasn't to strong or weak.

Adapted from The Black Peppercorn

Ingredients

1 1/2 Boxes Cheese Nips (Can use Chez Its, Goldfish)
1 Box Mini Ritz Crackers
7 C. Cheerios
9 C. Shreddies
1/2 Bag Hickory Sticks
8 C. Pretzel Sticks

2 C. Butter
1/3 C. Worcestershire Sauce 
2 Tbsp. Tobasco
1 Tbsp. Garlic Salt
1 Tbsp. Onion Salt
1 Tsp. Chili Powder
1/2 Tsp. Liquid Smoke

Directions

~Preheat oven to 250F
~In a large bowl combine first 6 ingredients. Mix gently with a wooden spoon.
~In a large microwave safe bowl melt butter.
~Add remaining seasonings and spices into melted butter. Whisk to combine.
~Pour liquid mixture over crackers in divided batches. Mixing gently after each addition to evenly coat all the crackers.
~But into roasting pans or onto cookie sheets and bake for 2 hours or until no longer moist, stirring every 15 minutes.
~Remove from oven, and allow to cool before storing.

Enjoy

Monday, 15 July 2013

Cheese Crackers (Cheez Its / Cheese Nips Copy-Cat)


These didn't exactly taste like Cheeze Its (for those Americans out there) and Cheese Nips (for the Canadians). They tasted better. Different, but oh so much better. Let's just say the batch almost didn't have a chance to cool and leave it at that. Plus, there is only five ingredients and they are pretty darn simple to make (but they do take a bit of time to chill and cut, but nothing hard about that).

One thing for certain, roll them thin. Like really thin. The ones that worked the best for me were the ones that I could see the colour of the countertop underneath them coming through. They puff up. So unless you want little cracker cubes, roll them thin. I though I had them thin enough, I didn't. Not that it made them taste any worse. They just weren't as crunchy right out of the oven.

Recipe from Better Home & Garden

Makes 14-15 dozen crackers


Ingredients

1 C. Grated Sharp Cheddar Cheese
1/4 C. Butter
1 Tsp. Salt
1 C. Flour
2 Tbsp. Cold Water
*Optional* Additional Salt for Sprinkling

Directions

~Combine cheese and butter in an electric mixer.
~Add in salt and flour and mix until well combined and crumbly
~Continue to mix while adding the water, until a ball forms
~Form dough ball into a disc and wrap in plastic wrap and refrigerate to chill (at least an hour)
~Preheat oven to 375 F
~Roll out dough onto a floured surface to a 1/8 of an inch (when you think you have it thin enough, keep rolling)
~Cut into squares using a pizza cutter, knife or pastry wheel (if you want the classic jagged edge)
~Place squares on baking sheet and with a chopstick or similar sized utensil, poke a hole in the centre.
~Sprinkle with a small amount of salt over the top
~Bake for 12 minutes

Enjoy (warm they are delicious, cool they are crunchy)

Monday, 25 February 2013

The Non-Balled, Cheese Ball


AKA The Best Tasting, & Easiest Cheeseball Out There!

This thing is amazing. Once you start eating it you just can't stop. Seriously, what's better than garlic and cheese together? Umm, nothing. So, you could theoretically roll this mixture once made into a ball like you would for any normal cheese ball, but we get lazy and just throw it into a bowl and scoop it out with a knife (or by the spoonful if we're too lazy to search for a non-stale box of crackers). I've been thinking lately though that this may be pretty darned good spread on a toasted bagel. After all you put cream cheese on a bagel, and this recipe is just a souped up cream cheese. I was also one night wanting something to put on my baked potato but I didn't feel like making garlic butter or grating some cheese so I just put a scoop of this stuff inside the potato and let it melt and it was again amazing. Garlic and cheese, need I say more? I'm also just being reminded that this was also scooped onto steamed veggies and allowed to melt and was a simple cheese sauce.

There is a lot of fancy cheese ball recipes out there that call for expensive and fancy ingredients. This one calls for some pretty basic ingredients and very little work, and it tastes a million times better than any cheese ball I've ever tasted, and as you can see it's pretty versatile. We typically only make it at Christmas, but this year we bought a two pack of the Imperial Cheese so we had one spare for later.

Recipe (or ingredients list with no directions or quantities) comes from one of the ladies my mom worked with.

Ingredients


1 Pkg. Imperial Cheddar Cheese
Equal Part Soft Cream Cheese
4 Cloves Garlic, minced
1/2 Tbsp. Worcestershire Sauce

Directions

~Combine all ingredients in the bowl of an electric mixer and mix until all ingredients are combined and mixture is fluffy.
~Allow to rest in fridge for at least half an hour (if you can)!

Enjoy