Showing posts with label BERRY. Show all posts

Monday, 14 July 2014

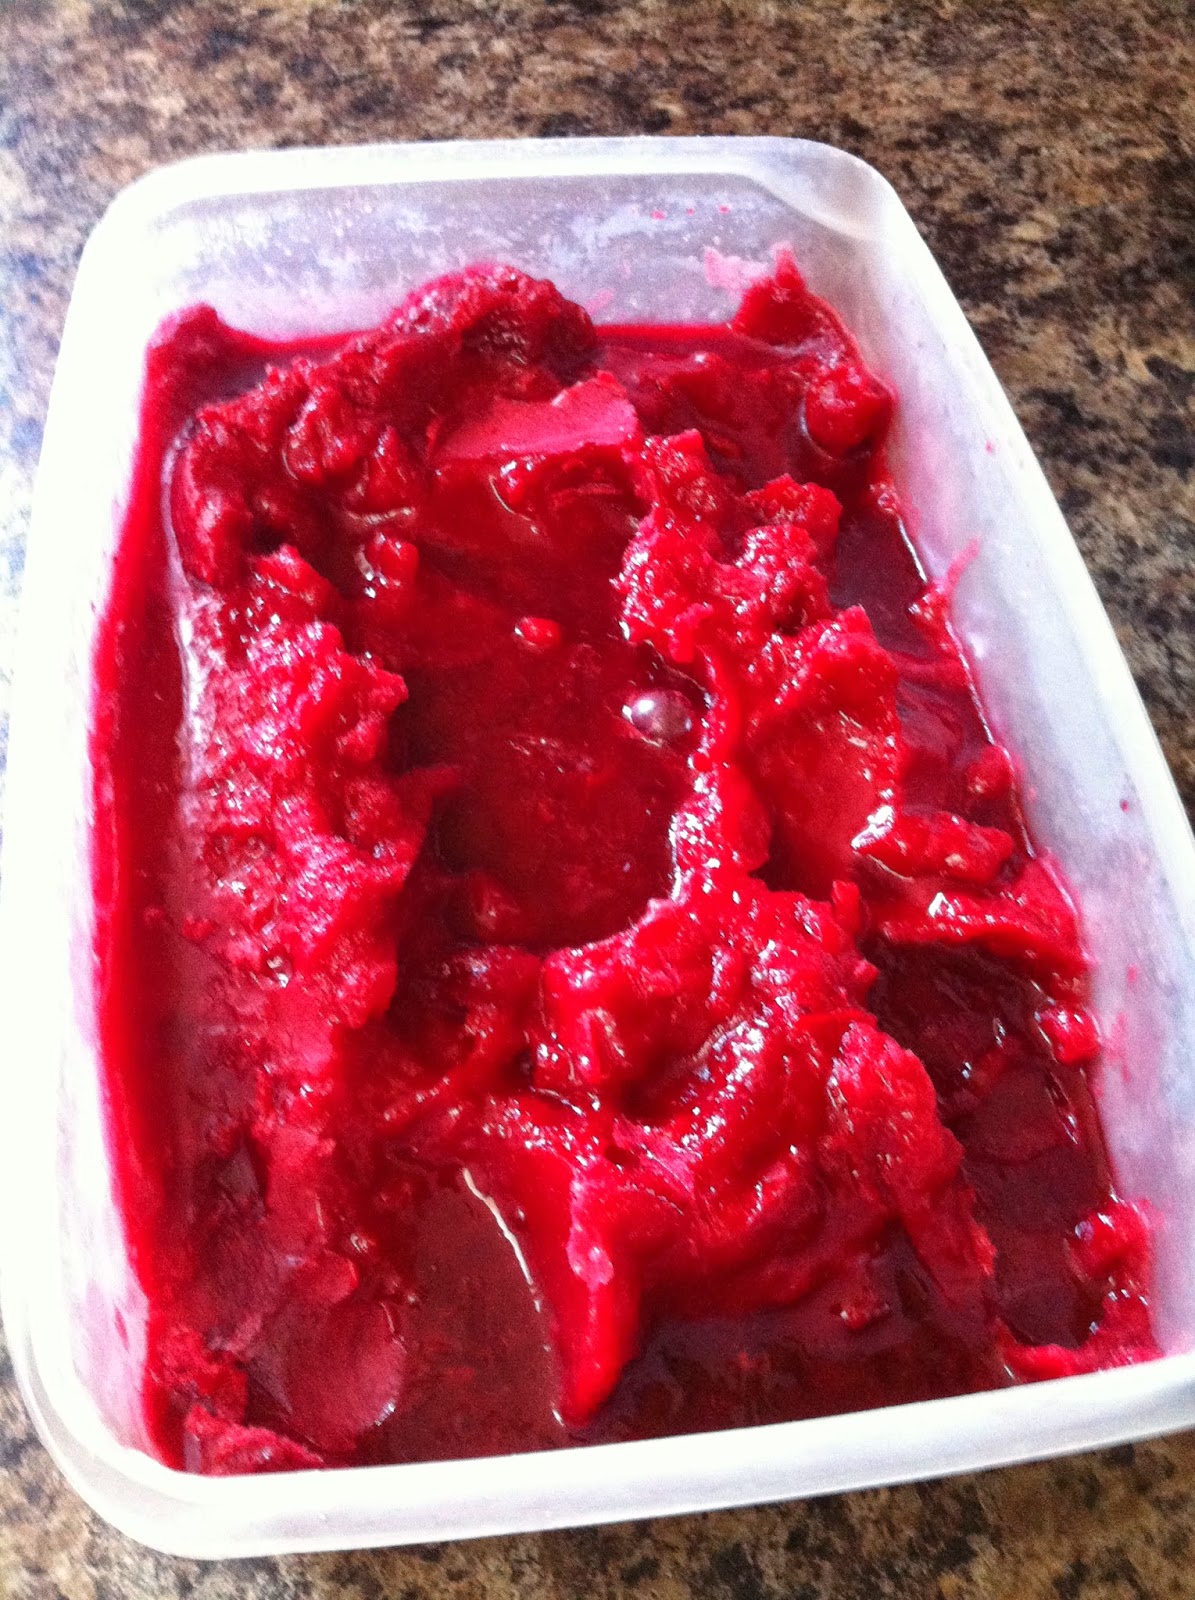
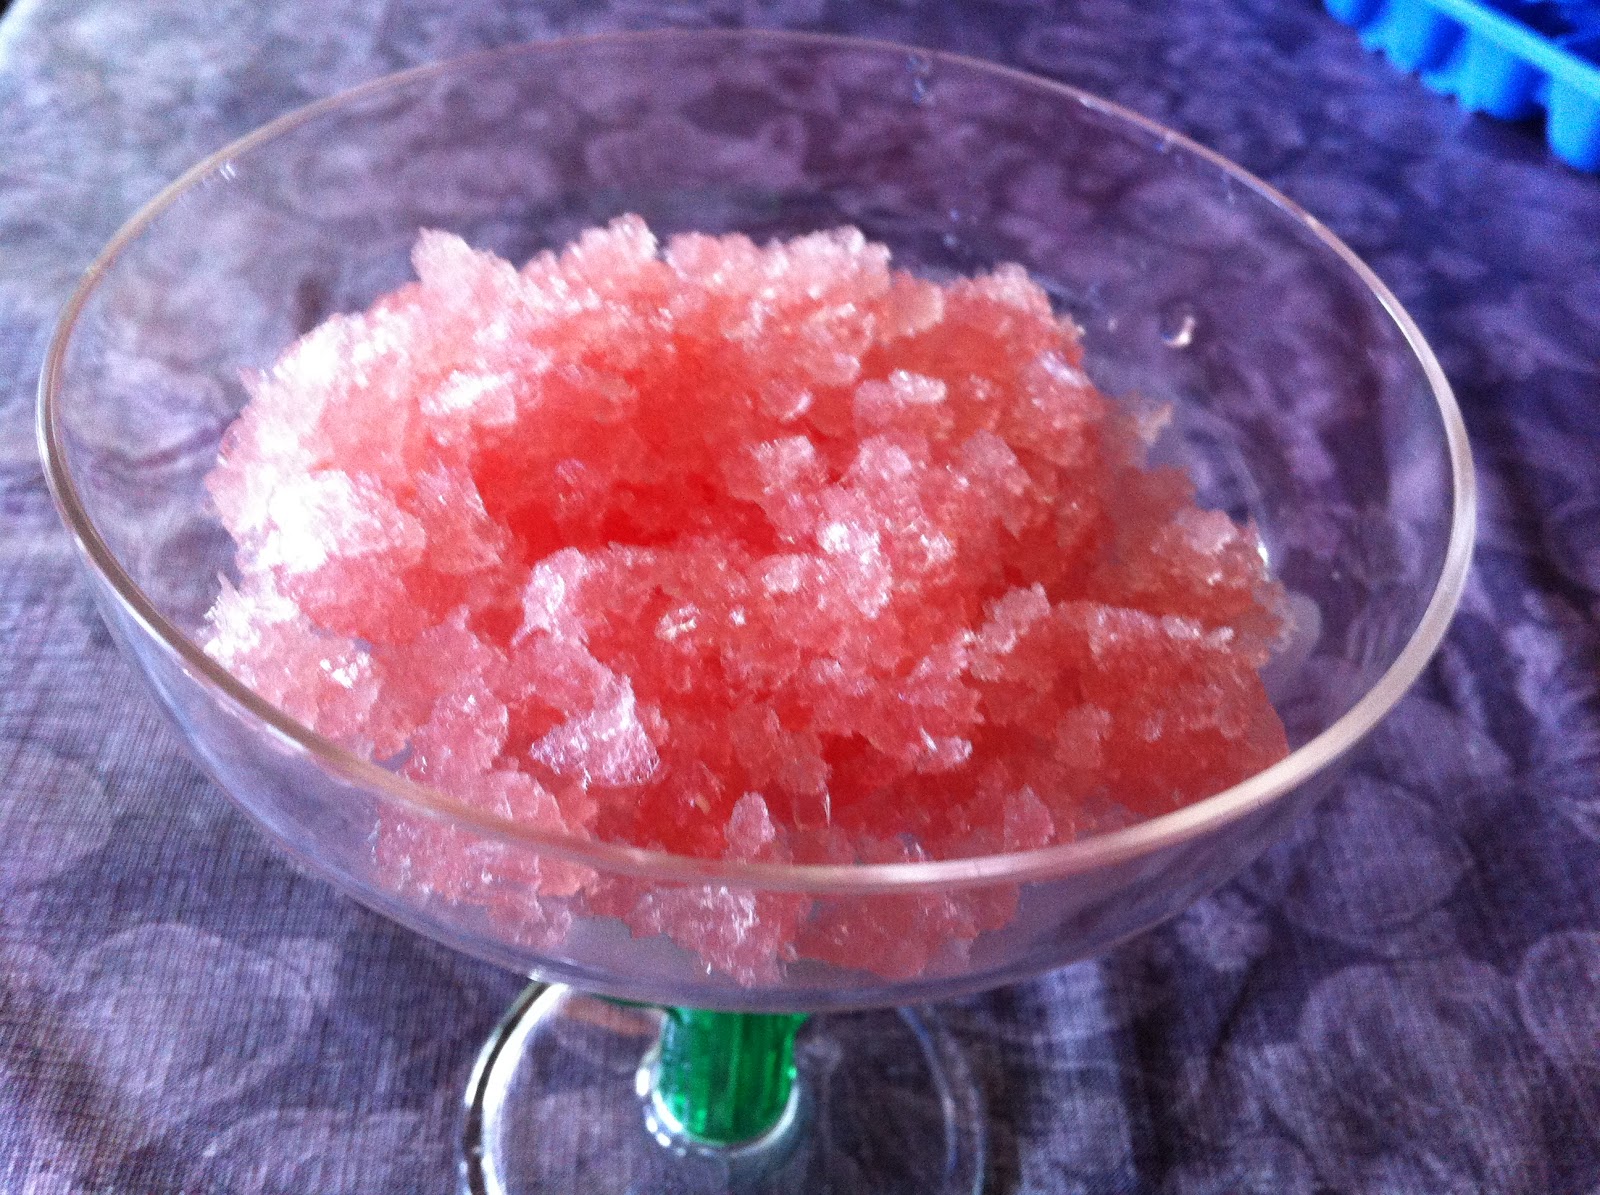
Blackberry Sorbet (dairy free)


This had so, so, so much flavour and I don't think there's anything more to say about this other than that.

Oh, and...Part II of my impromptu blackberry-like berry series.

Recipe from Williams-Sonoma

Ingredients

3 C. Water
2 C. Sugar
6 C. Blackberries
6 Tbsp. Lemon Juice 

Directions

~In a medium saucepan, combine water and sugar, and heat until sugar dissolves.
~Add in berries and cook until rendered down.
~Push mixture through a fine sieve, saving the juice and discarding the seeds and pulp.
~Chill mixture (I sped this up by placing in freezer for ~1.5 hrs).
~Proceed according to ice cream maker instructions.

Enjoy! So delicious and fresh!

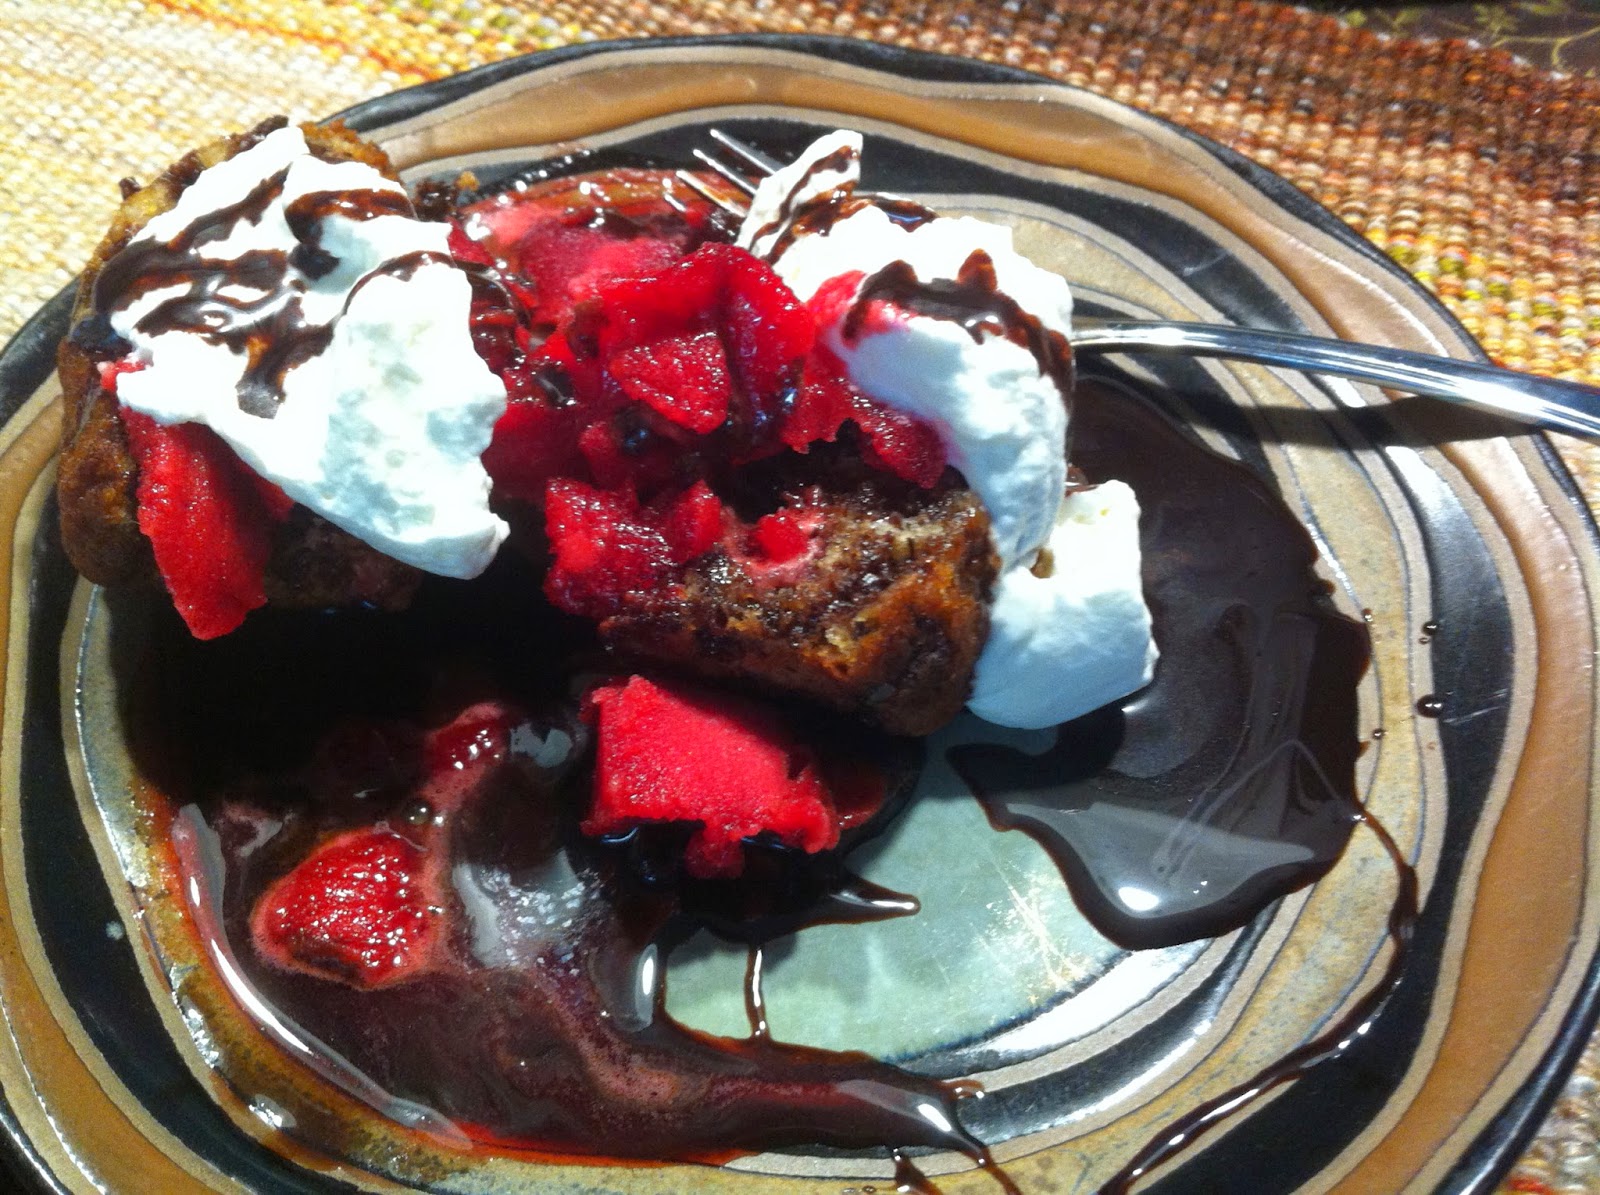
Now this picture doesn't really do this justice. Banana Chocolate Chip Muffins, topped with this sorbet, some fresh whipped cream and chocolate sauce (can be found in here)

Tuesday, 8 July 2014

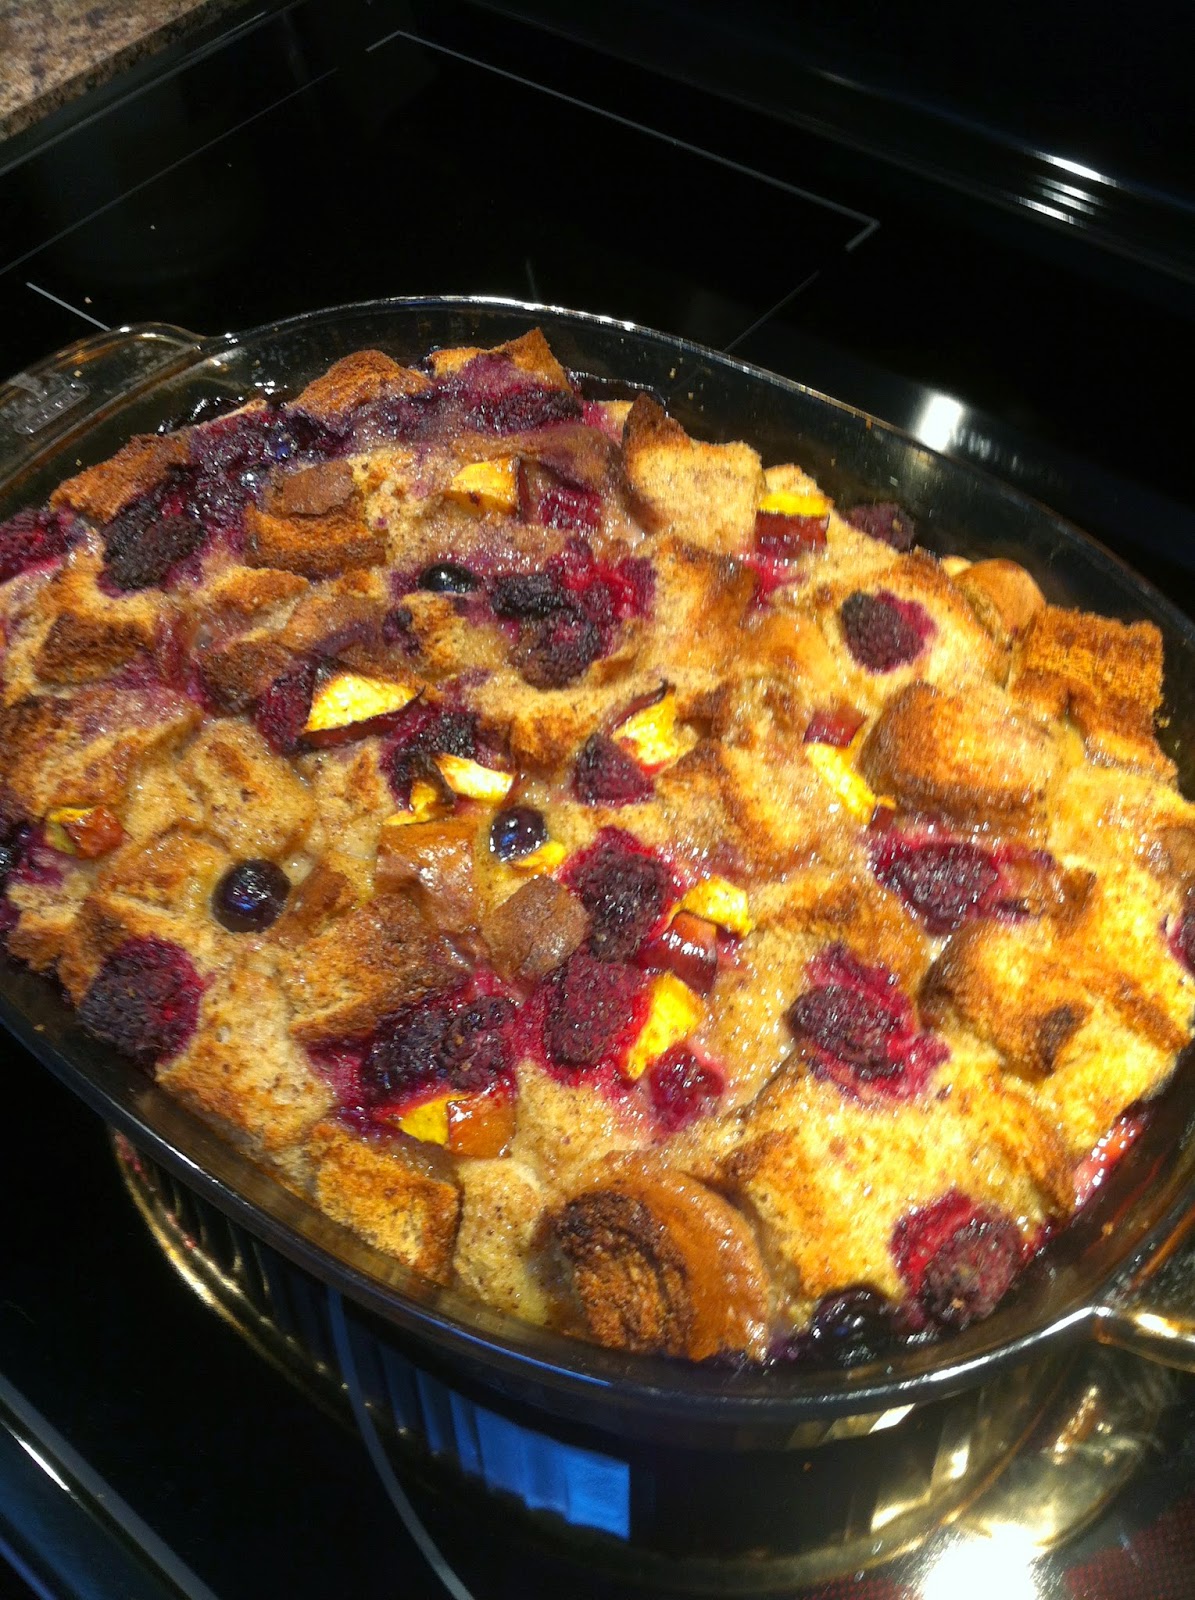
Blackberry French Toast Bake (dairy free)


The place I got this recipe from called it bread pudding and stated they served it for dessert. I wanted french toast however and the recipe looked no different than what ingredients would go into an overnight french toast casserole, so it became breakfast.

We had a surplus of blackberry-like berries and so I had a day of figuring out ways to use them up. This was the first method of the day and it turned out pretty great. I did increase the fruit and decrease the sugar content however. I was expecting to need to put some butter or maple syrup over the top of it, but it was absolutely unnecessary. The only problem was because it needed to be dairy free, I had to use soy milk/almond milk instead of cream / half and half. It wasn't a big deal, but there was just a little bit extra liquid that sat in the bottom because it wasn't as thick of a custard. With the leftovers we just scooped the bread out of the excess moisture, put it in a container and microwaved it the next day and it was great. Not soggy at all.

If you don't want to go dairy free / low fat, check out the original recipe at A Spicy Perspective. Otherwise, just substitute any milk / cream product to a total of five cups. So skim milk, coconut milk, whole milk, whatever works for you.

After eating this, I got to thinking and as great as this was, I tend to have a surplus of sweet breakfast recipes in my arsenal, simply because while I love bacon and fried potatoes, etc. I hate eggs. Omelettes, bennies, scrambled, I can't do it if it's an egg dish. French toast on the other hand, while it has eggs, it is baked into bread, so is more liked a baked good and there is no resemblance to egginess.

So this thinking resulted in me thinking up what I'm going to do next with this recipe. Savoury bread pudding! Some green peppers, onions, mushrooms, maybe some ham or bacon crumbled in and omit the vanilla / cinnamon / nutmeg and replace it with some italian seasonings or poultry seasonings. The poultry would make it very much like my Mom's stuffing however. So we'll see how it goes.

A couple of hints with this recipe though, the recipe I found called for good quality, bakery bread. This was a spur of the moment thing though and I only had two half loaves of sandwich bread in the freezer and it worked just fine. It was even good that it was frozen, because the fluffiness can make it hard to cube, and cutting it frozen worked great.

Also, as for the sugar, I'm thinking it might be good to divide the sugar up and do 1 C. white, 3/4 C. brown or some combo like that. Just to try it out for next time.

Final also...while this may fit in a 9x13 baking dish, I have a bigger casserole dish that I used. It's not as long or wide as it's kind of oval shaped, but it's deeper and it worked well for this. I don't know the exact volume of it, but I just use it when I'm concerned that something might puff up in a 9x13 and spill out.

Serves 8

Ingredients

1 lb Bread, 1 inch cubes
1 1/2 C. Blackberries
1 Nectarine, cubed
1 C. Blueberries
5 C. Milk (see note above. I used 4 C. Almond milk, 1 C. Fat Free Vanilla Soy Milk)
8 Eggs
1 3/4 C. Sugar
1 Tbsp. Vanilla
1 Tsp. Cinnamon
1/2 Tsp. Nutmeg
1/4 Tsp. Salt

Directions

~Preheat oven to 350 F
~Place bread, fruit and berries into baking dish and toss to evenly distribute
~Combine the rest of the ingredients in a separate bowl and whisk until frothy.
~Pour mixture over bread and fruit
~Bake for 1 hr, 15 min. Centre may still look moist, but not soggy
~Let stand for 10 min.

Enjoy

Friday, 4 July 2014

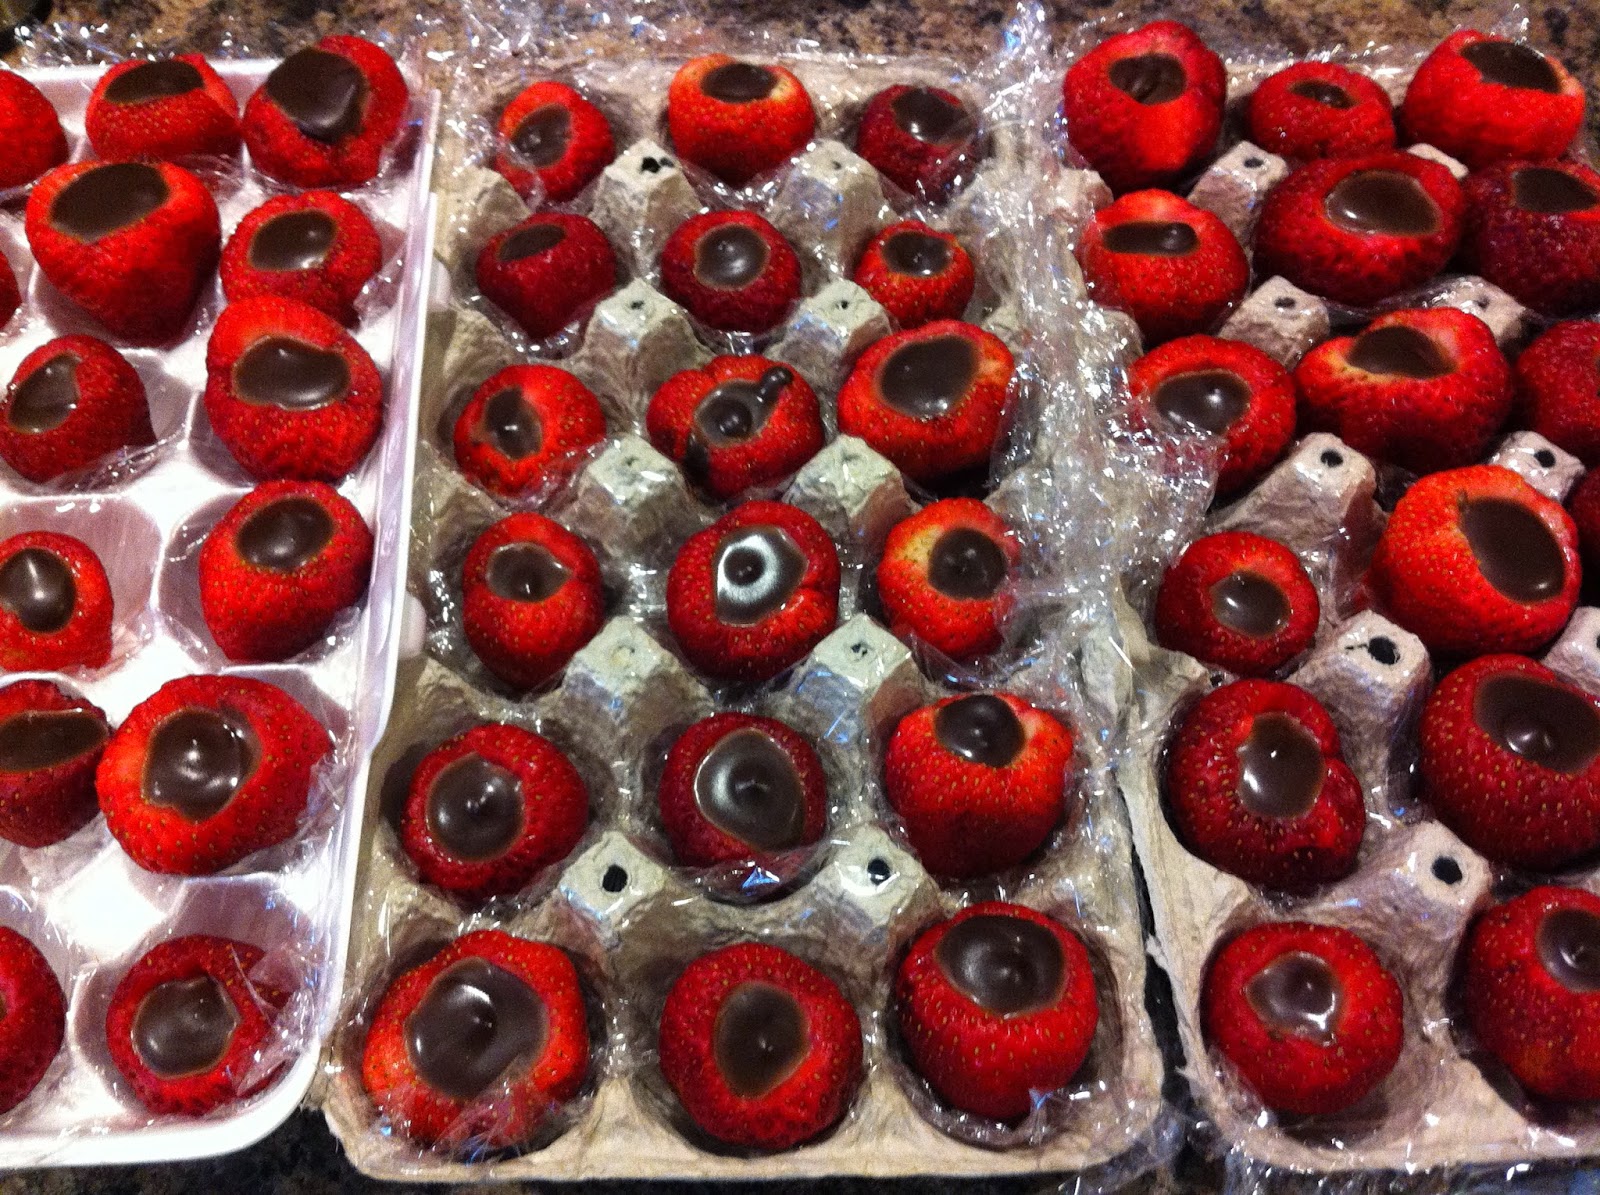
Chocolate (Truffle) Stuffed Strawberries


Well, I feel like a broken record saying this yet again, but our oven broke AGAIN! They are just such useless junk. In under a year and a half, we've had SIX ovens rotate through our kitchen (and four dishwashers but that's a story for another day). Anyway, in between number five which was the one we'd had for maybe 16-17 months (and it never worked properly from day one, I might add), and it blowing up, and number six (the loaner from the appliance store while they put on every imaginable brake so they could delay fixing the oven for the 3rd time), I had to take something for a potluck. Unfortunately, unlike the last stretch of 5-6 months without an oven, it was just that, no oven. We still had a functioning stove top. This time however it fried everything and nothing would work. So long story short, I guess technically now we've had seven ovens move into the kitchen (they finally fixed ours and it's back) and these strawberries are amazing. Which is really all anybody cares about right?

I was originally going to do chocolate dipped strawberries. Then I saw a Pinterest post on how they did reverse chocolate strawberries, where they filled the inside with the chocolate. One thing lead to another and I eventually saw truffle stuffed strawberries on some google treasure hunt. So I used my go-to truffle / ganache recipe that I discovered last Xmas (I don't think I've posted it yet but that's probably because there is most definitely a story to go with that one, and I've been lacking enough time lately to do it justice). Until that time however, the recipe is a slight modification on Anna Olson's Truffles.

Standing each berry up in a plastic wrap lined egg carton was the easiest way to fill these when the ganache was still liquidy. Just spoon it into a piping bag and pipe away. Once it's set though, we just took a spoon and scooped out the hardened truffle and crammed it in (with force) into the hollowed out berry. This way wasn't as pretty, but by that point it was my leftovers and I wasn't presenting them to anybody but myself.

One warning, I made these the night before and then day of had them sit out of the fridge for a couple of hours in a fairly warm room. The juice from the strawberries and the cream created a brown juice that pooled in the bottom of the egg cartons and while they hadn't turned or tasted off in any way, it just wasn't as pretty looking.

On a side note, to provide some contrast I also had some raspberries. In the centre of each one I'd inserted a single chocolate chip upside down (pointed side sticking into the berry) and they looked lke mini versions of these strawberries.

Ingredients

8 oz. Semi-Sweet Chocolate
3/4 C. + 2 Tbsp. (Total 7/8 C.) Heavy Cream
1/2 Tbsp. Vanilla
4 Doz. Strawberries (medium-large), washed and hulled

Directions

~Finely chop chocolate and place in a medium glass bowl
~Heat cream until it just begins to boil.
~Pour cream over chocolate and stir until it melts and is combined
~Allow to cool slightly, while you hull and wash the strawberries
~Line egg cartons with plastic wrap
~Pat strawberries dry and place one in each hole in the egg carton
~Using a piping bag, pipe ganache into each strawberry
~Place in fridge to set

Enjoy!


Friday, 1 March 2013

Blueberry Lemon Curd Galette


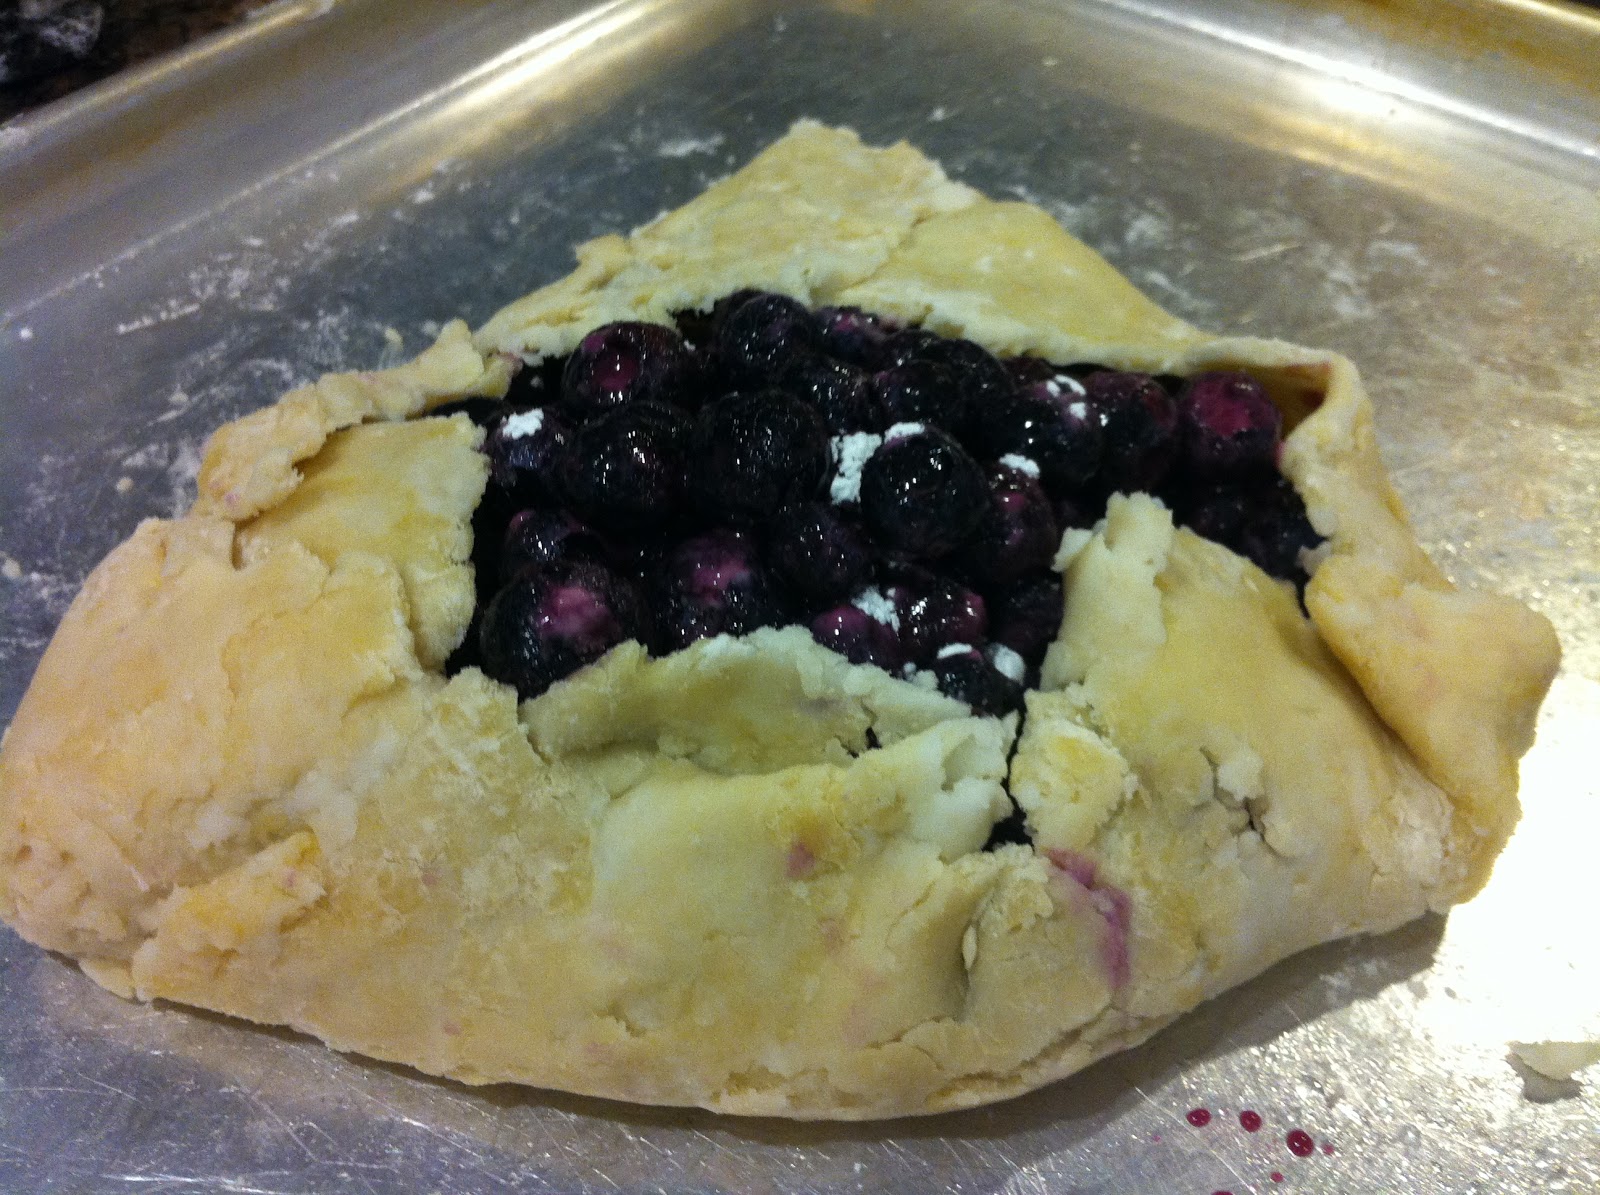
Okay, I know this looks messy and like I ruined my cookie sheet but I can assure you it actually came off the sheet beautifully and once it was on a plate you would never know that all the innards leaked out of it.

The beautiful thing about this is that it looks about as far from perfect as could be, but the rustic look is in right? Right? So really, imperfect is perfect now or at least that's what I'm telling myself. The other great thing about this is that you can really make them as big or as small as you want. Because you aren't limited to the size of a pie pan. I ended up making 4 of these (we cut them into 3 or 4 pieces) and I used about 1/2 - 2/3 of this pastry recipe. It was a great recipe to use up the leftover pastry from the chicken pot pies because I was able to make as many of these as I wanted at the size that I had pastry available for. It wasn't like trying to stretch not enough dough into a pie pan. Plus with my little bit of scraps I was going to throw out at the end I decided to do something with them as well so scroll down to the bottom for that.


The pastry really didn't roll out that well.

But it all tastes the same in the end


Makes 2 Galettes

Ingredients

1/3 Batch of Pastry, divided in 2 
4 C. Blueberries (I used frozen, fresh would work too)
Lemon Curd
5 Tbsp. Sugar
2 Tbsp. Cornstarch
1 Egg
Sugar

Directions

~Preheat oven to 350 F
~Grease a cookie sheet or large baking dish.
~Place 2 rolled out pastry circles onto greased pan (I slid 3 or 4 knives under the edges of the pastry to make it easier to not over-fill it and it helped to just flip the pastry up over the edges when done - see picture above if confused with what I'm trying to say here.)
~Spread lemon curd over the pastry, leaving about an inch around the edge.
~In a bowl combine berries, sugar and cornstarch. Toss to coat evenly.
~Scoop berries on top of lemon curd.
~Flip up edges of pastry over the berries and with your hands press together to seal.
~Bake for 30-35 min. or until pastry is golden.

Enjoy

And this is what you can do with the scraps. Roll it out into a long rectangle, scoop a bit of curd in the centre and fold it up and press the edges together with your hands to seal. Bake with the galette at 350 F but for a little less time (say 25-30 min.), just watch them and when they are golden they are perfect.

Monday, 28 January 2013

Hearty Raspberry & Orange Pancakes


I struggle with pancakes and because of that I'm kinda scared of them. Give me yeast doughs or pastry any day, but not pancakes. But, I'm trying to slowly get over my fears. Unfortunately it's not working so well. As you can see these are a bit dark on the outside. The funny thing I find with pancakes is I rarely have ever eaten a golden pancake like you see in magazines. I don't know how they do it, but I've never managed it, nor has my Dad who loves his perfect pancake. I think it all has to do with the type of pan you use. So I'm going to blame this one on the pan. The good thing though is while they don't look all that appealing they actually are. They look black and burnt, but they never seem to taste like that, and these ones are full of amazing flavour inside.

These are very heavy pancakes due to the greek yogurt and whole wheat flour in them, kinda like my Yogurt Waffles. One of these (and a few bites of a second one that I shared with Kona) was plenty. Top it off with some butter and some lemon curd and you are good to go.

One other thing, I know that it kind of defeats the purpose of putting dairy yogurt and soy milk in this, but for some reason I believe vanilla soy milk (even the fat-free variety) makes thicker and more flavourful pancakes. Try it and see (even with Aunt Jemima mixes it makes it taste home made).

Adapted from Baking Bites

Serves 2-3

Ingredients

1 C. Whole Wheat Flour
1/2 Tsp. Baking Powder
1/2 Tsp. Baking Soda
1/4 Tsp. Salt
1 Tbsp. Sugar
1 Egg
2/3 C. Plain Greek Yogurt
1/2 C. Vanilla Soy Milk
1 Tbsp. Orange Juice
1/2 Orange, zested
1 Tbsp. Butter, melted
1 C. Raspberries, fresh or frozen & thawed

Directions

~In a medium bowl, combine flour, powder, soda, salt & sugar. Mix and set aside.
~In another medium bowl, whisk together egg, yogurt, milk, OJ, zest & butter.
~Pour dry ingredients into wet and stir until combined.
~Preheat a griddle or skillet and grease lightly.
~Scoop batter into hot pan (if too thick and doesn't spread, gently spread with the back of a spoon), and sprinkle top with raspberries. 
~Cook until brown and then flip and again cook until brown.

Enjoy


Monday, 8 October 2012

Brownie Batter Trifle (Dairy Free)


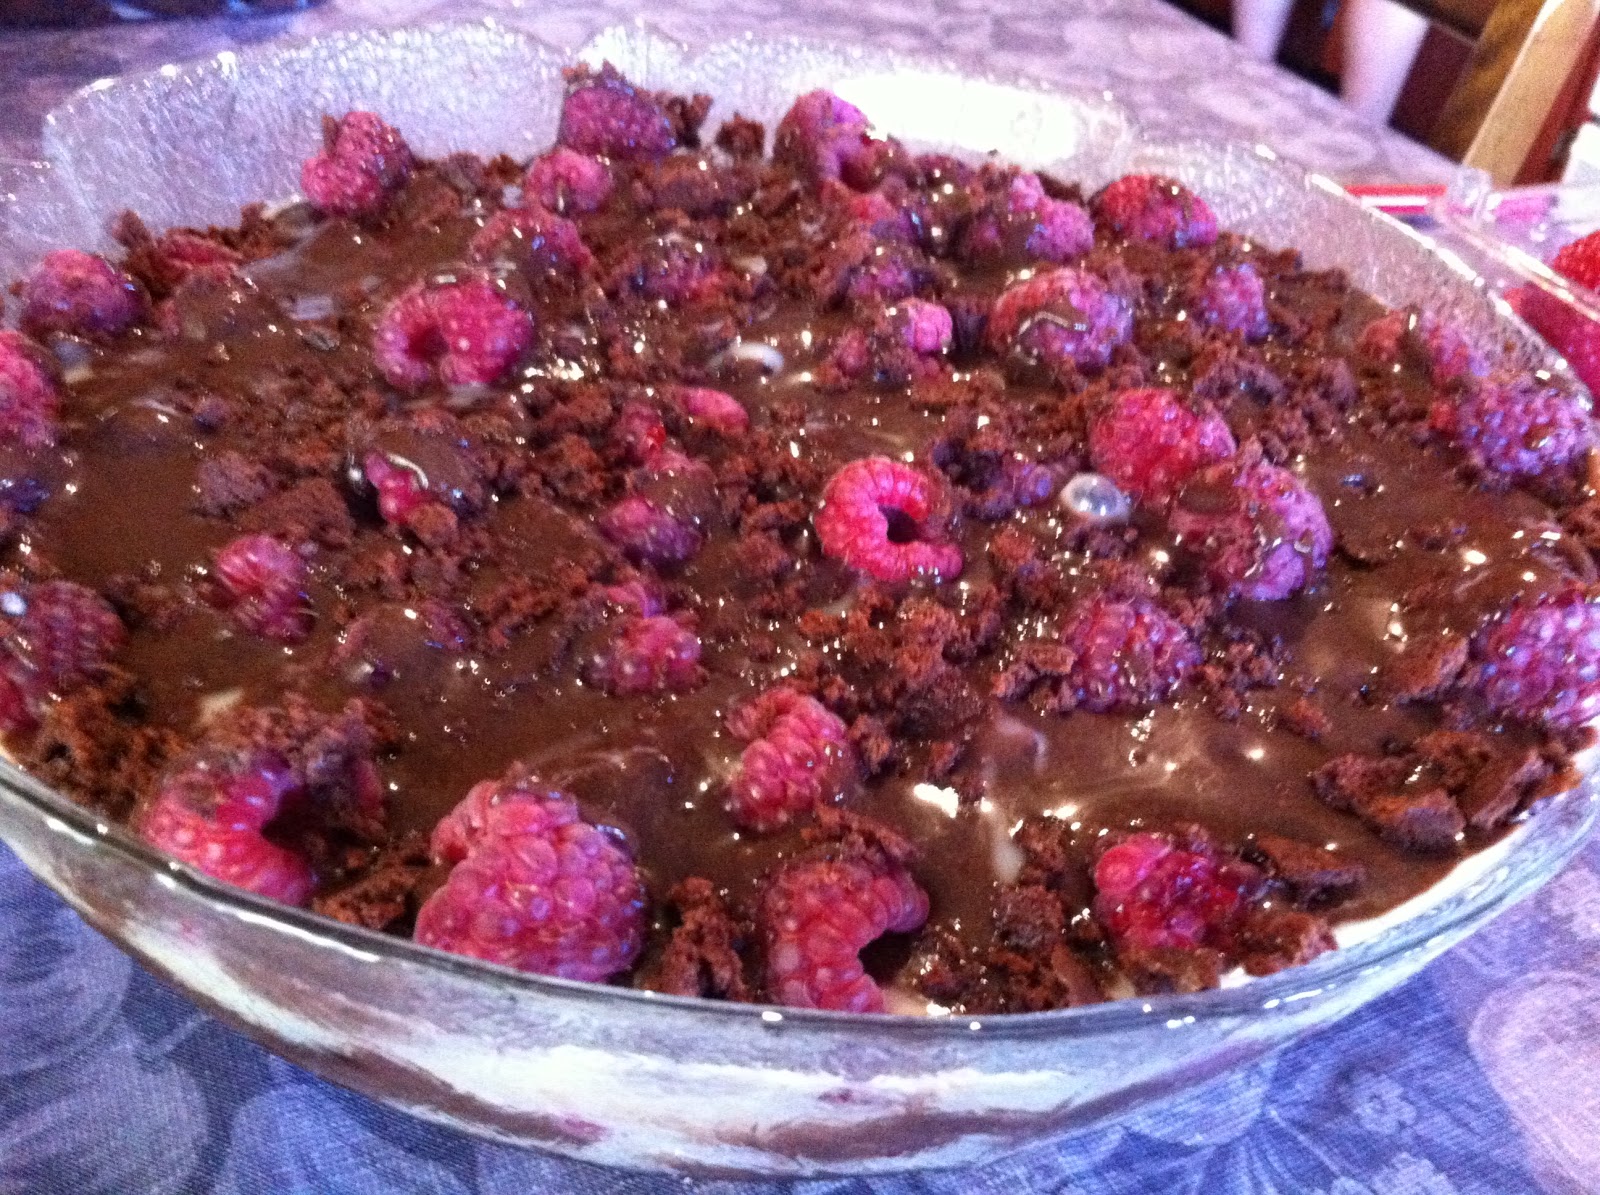
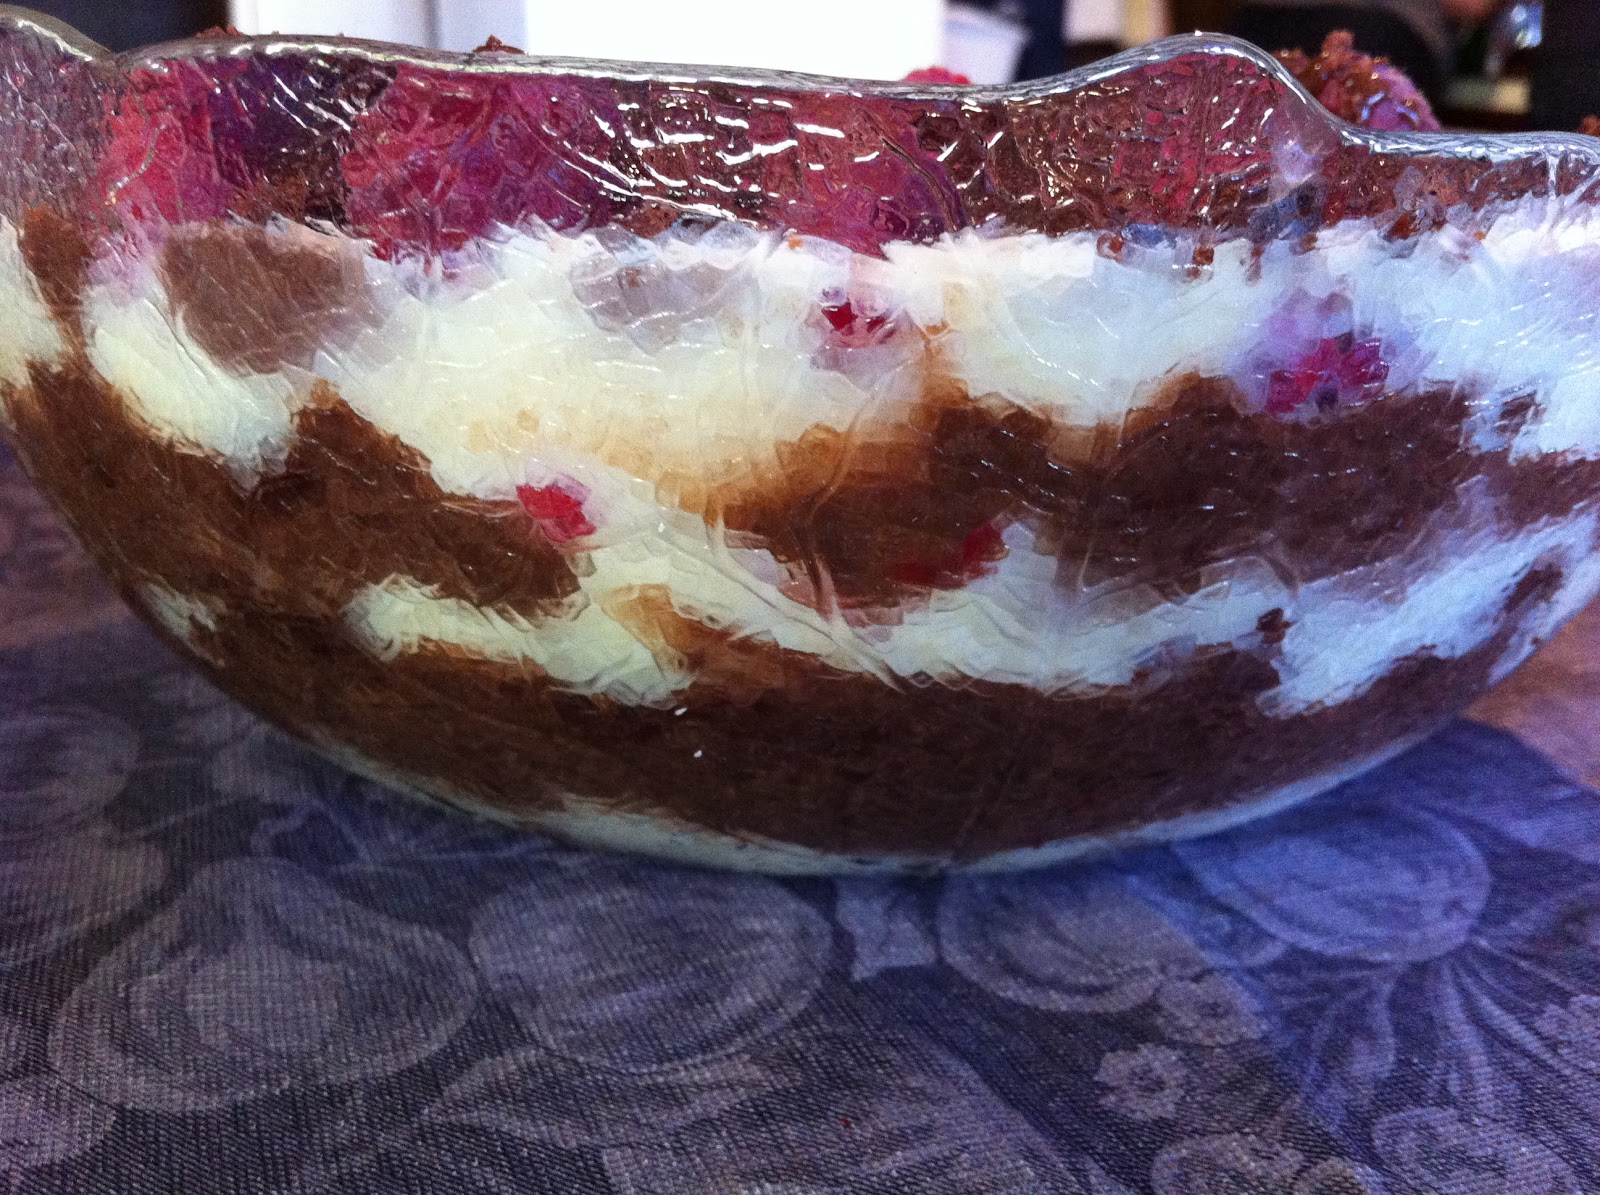
Now just a heads up, if you don't have a sweet tooth don't waste your time reading this post. Check back later for something less sickly sweet...last chance...that's what I thought. I'm glad you all are still here and really I would be ashamed if any food blogger bailed on this post. It is absolutely amazing (but not pretty once you dish it out unfortunately). My recommendation: make it the night before so it can sit in the fridge for at least 24 hours. The puddings will then absorb into the brownies and basically make a heavenly mush. Trust me, it's the best mush you'll ever eat.

For those of you that may be a bit skeptical about using the almond milk, feel free to substitute in regular dairy milk. But if you're up for an adventure, I'd recommend you try it. It makes the chocolate pudding seem that much richer because of the addition of the nutty and vanilla flavours.

I lucked in as far as my brownies went. I was going to make my own (and by my own, I really mean I was going to make a box mix of Ghirardelli Brownies), but I was running out of time and I was wandering through the bakery section at Costco (I know a dangerous place to wander) and I came across a carton of what is the Costco equivalent of the brand of Bite Size Brownies (you know the cute little round ones?) Anyway, these brownies were rather flavourless and dry when consumed by themselves but I was going for quantity over quality here people. There were 50 brownies in the carton. Yup, you read that right, five-zero, fifty. All for $5. Believe me, if I had the time (and an oven...still waiting on that one important aspect of baking) I would have made my own, but seriously after you add two packages of pudding it doesn't really matter what the texture of the brownie was like originally. Still, if you're a stickler for homemade, go ahead and make your own brownies with all natural and organic ingredients. If not, well do as I did and enjoy an end product that will taste identical.

Makes 1 heaping ginormous trifle bowl full (sorry I don't know how much it actually was. I think we got about 12 servings out of it).

Ingredients


1 (102g) Pkg. Chocolate Fudge Jello Instant Pudding
1 (170g) Pkg. Vanilla Instant Pudding
5 C. Vanilla Almond Milk, chilled and divided
25 Bites Size Brownies
1 C. Strawberry Slices
2 C. Fresh Raspberries

Directions

~In a large glass bowl, combine the chocolate pudding powder and 2 C. of the cold milk. Whisk for two minutes until pudding begins to thicken. Set aside.
~In another large glass bowl, combine the vanilla powder and 3 C. of the chilled milk. Whisk for two minutes until pudding thickens. Set aside.
~Slice Bite Size Brownies into quarters (or if using homemade, cut into bite sized chunks).
~Wash and de-stem the strawberries and cut into thin slices.
~In a large glass trifle bowl, put a layer of brownies (in my dish I could fit 3 layers, adjust the number of layers accordingly for the depth of your dish), followed by a layer of vanilla pudding.
~Top with fresh raspberries, followed by a chocolate pudding layer.
~Repeat: brownies, vanilla, strawberries, chocolate.
~Repeat: brownies, vanilla, raspberries, and then drizzle the remaining chocolate pudding overtop to finish off the final layer.
~Chill for 30 minutes, upward to 24 hours (the longer the chill time, the more brownie batter like this is going to become. The less time, the more intact each of the layers is going to be).

Enjoy (if not lactose intolerant, with a scoop of whipped cream to finish it off).


Wednesday, 26 September 2012

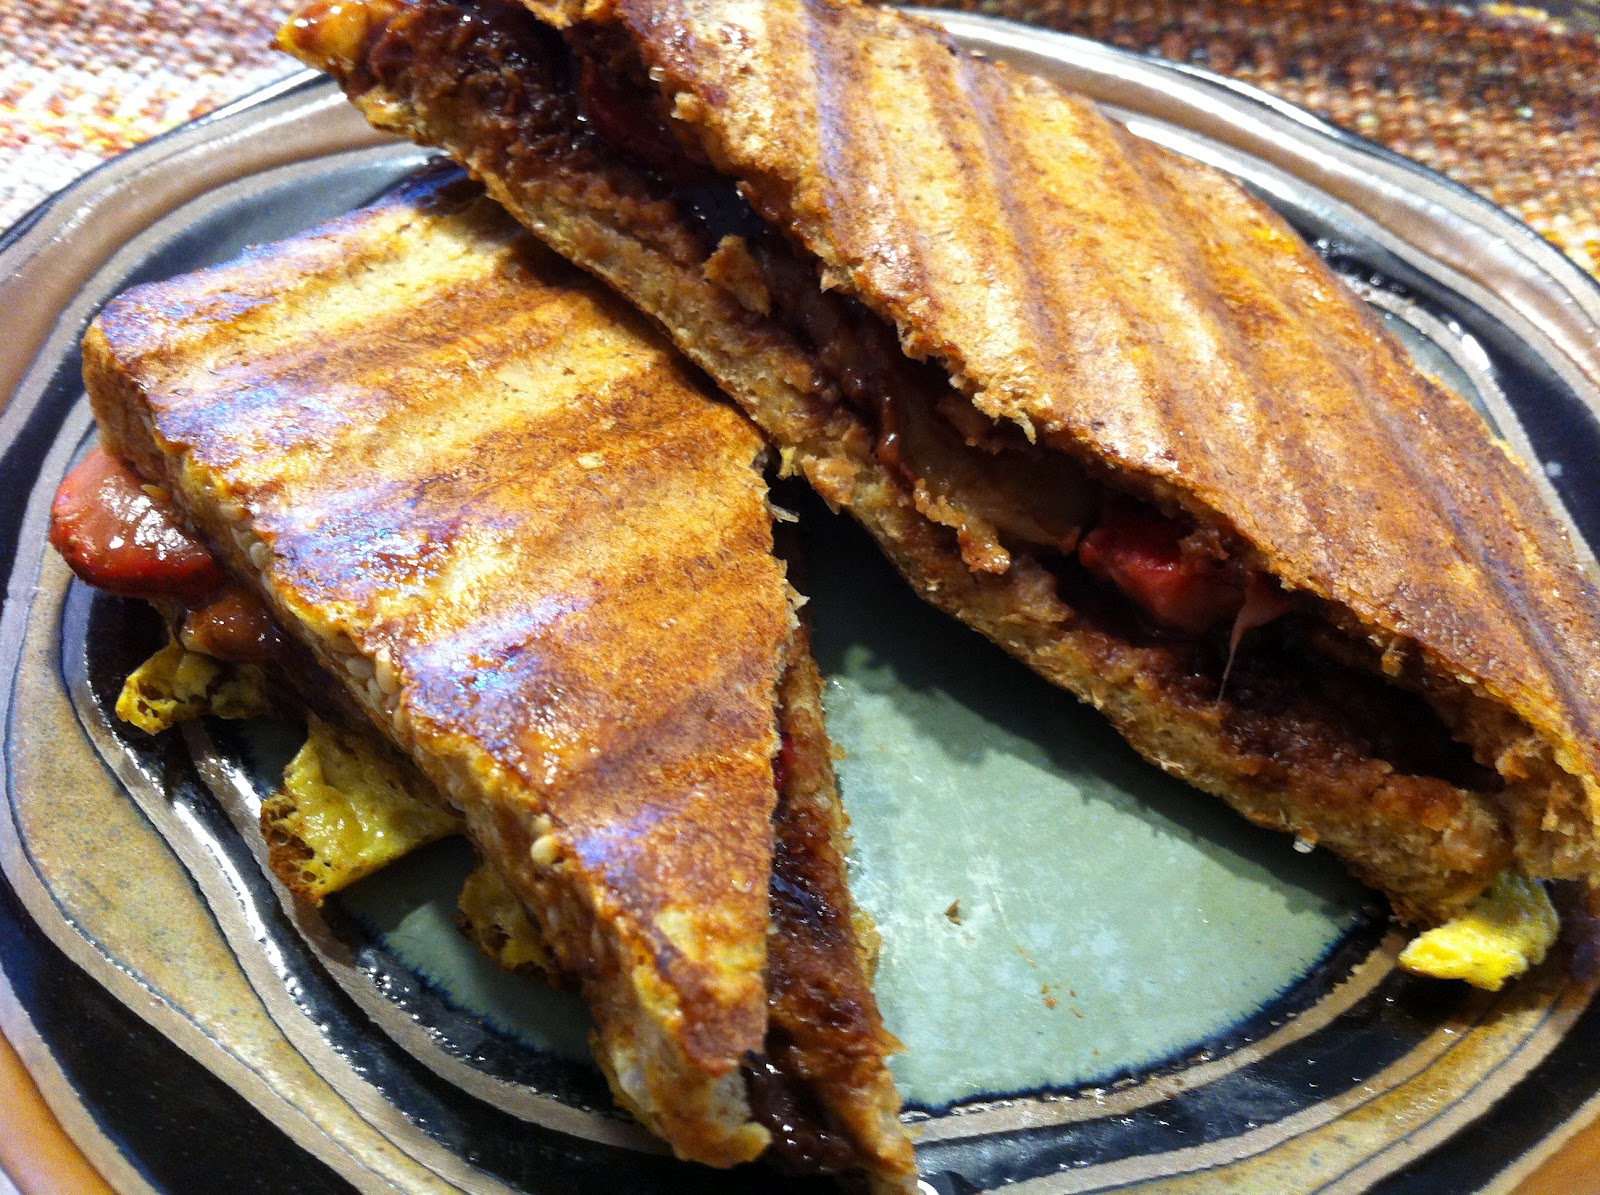
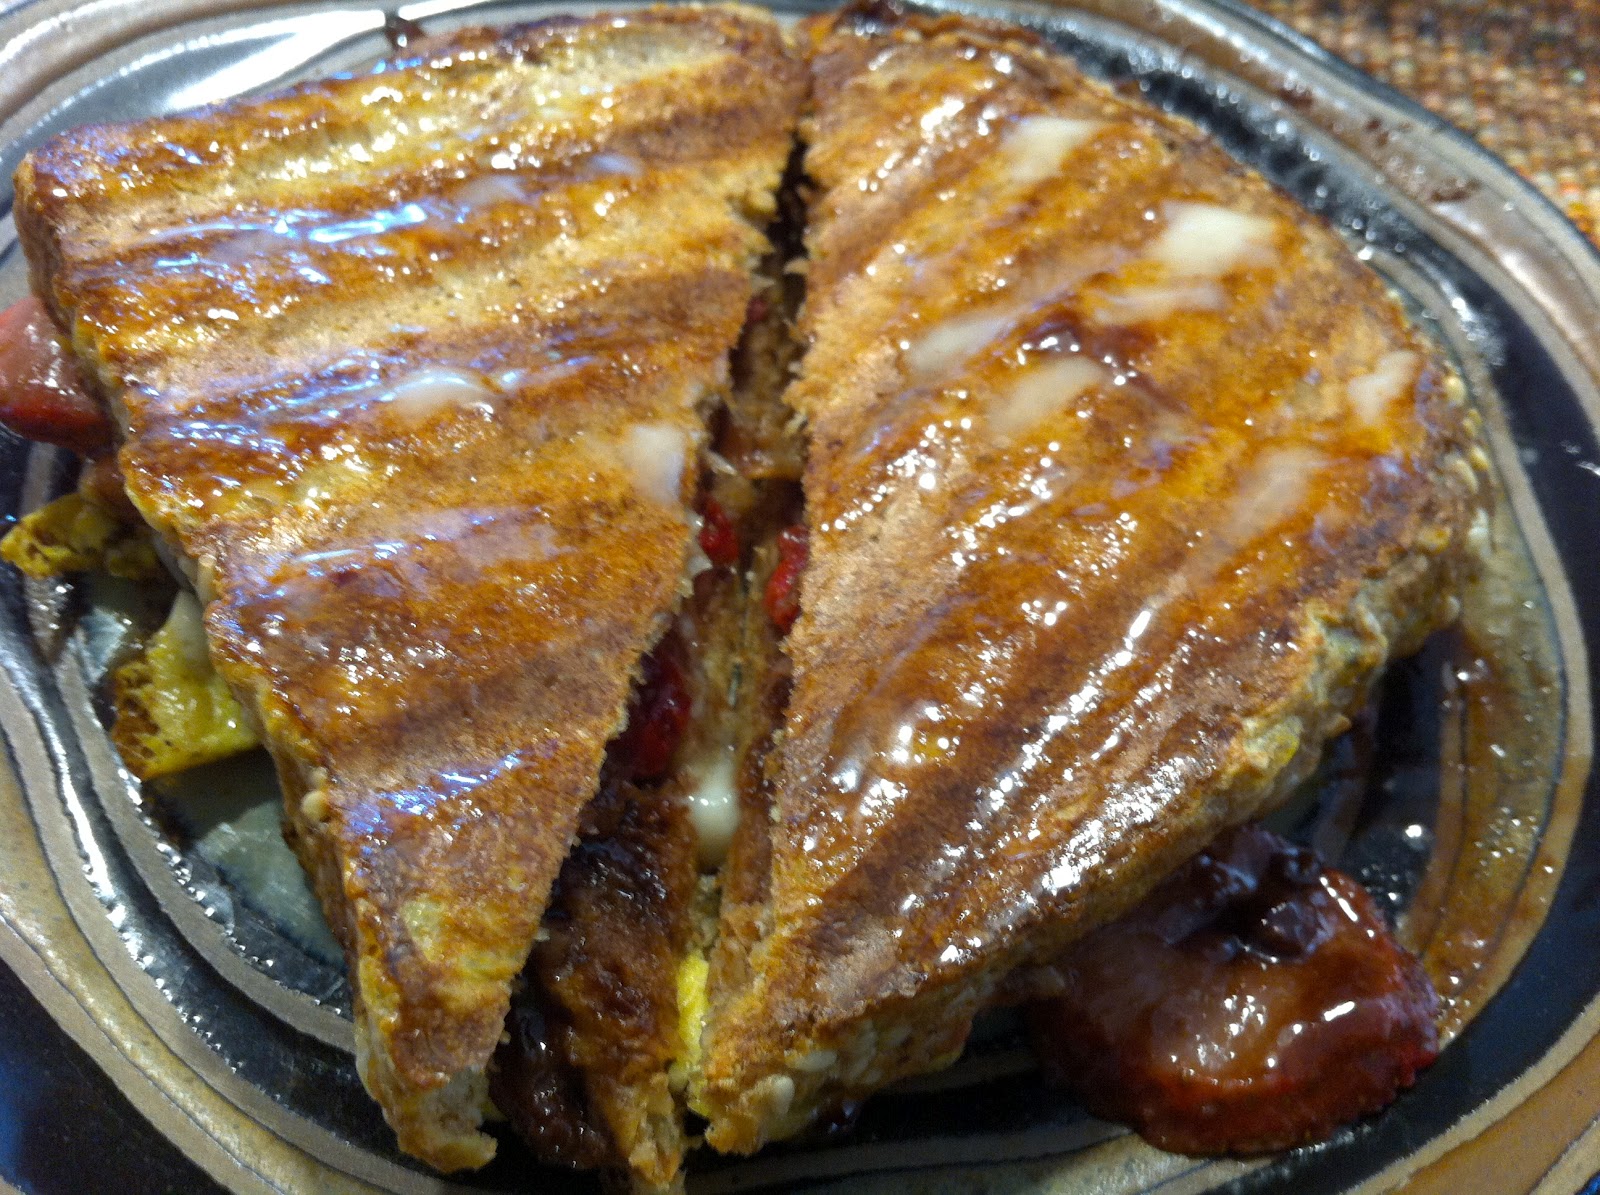
Nutella Stuffed French Toast Sandwich


Are you the type of person that likes to eat your french toast with syrup or do you prefer ketchup? I have to admit that even though I don't eat ketchup on anything, I do like it on my french toast. I'll save the syrup for my pancakes or waffles. Unfortunately, french toast is not something I eat all that often and so I have been known to forget that I like the ketchup combo best and instead smother the bread in syrup. Only then does somebody decide to pull out the ketchup and remind me of my mistake.

Well, with this combination you do not need ketchup (it would actually taste pretty awful if you did use it) and you can get away with no syrup (unless you really want a sugar high). Instead, I just add a bit of butter to the top surface to give it a bit of moisture, and it's perfect.

I've never actually made this recipe with the strawberries before and I almost missed my chance this time. I had the sandwich all ready to dip when the basket of berries caught my eye. I quickly disassembled my sandwich and sliced a few berries to add, and I'm so glad I did.

Usually I make this on my griddle or frying pan but today I decided to use the trusty George Foreman Grill which has become sort of an obsession of mine as of late. It worked great because I didn't have to fret about flipping the sandwich to cook the other side. Which usually results in the top and bottom slices of bread detaching from each other due to the nutella thinning out from the heat and becoming slippery, resulting in a lovely mess of goop. Yup, if you have a grill, please use it. Otherwise, I wish you the best of luck and my thoughts are with you...but that shouldn't stop you from trying this though. The goop still tastes fabulous.

On a side note, try drizzle your finished sandwich with the blueberry sauce that can be found here.

I originally found a recipe for Banana Nutella French Toast on the back of a loaf of whole wheat D'Italiano bread. This is essentially the same idea but with strawberries added in. And if you are anti-Nutella or unfortunately can't eat it because it contains milk, I guess you could settle with making this with Peanut Butter.

Serves 2


Ingredients

4 Eggs
2 Tbsp. Milk
1/2 Tsp Vanilla
4 Slices of Bread
1/4 C. Nutella
4 Strawberries
1 Banana

Directions

~Preheat a grill (or a griddle / frying pan).
~Crack eggs into a dish large enough to accommodate for the size of the bread.
~With a fork, gently whisk the eggs, adding in the milk and vanilla as you go.
~Lay out the bread and spread the nutella on each slice.
~Peel the banana and half ways down the length of it, cut it in half. Thinly slice each half lengthways into thin slices (avoid slicing into rounds as they just slide around when the sandwich is heated)
~Wash, de-stem and thinly slice the strawberries.
~Arrange the strawberries and banana on top of two of the slices of bread, then place the other two slices, nutella side down on top (essentially making a peanut butter & banana sandwich, minus the PB)
~Place the sandwich in the egg mixture, and flip to coat each side.
~Cook sandwich until both sides are golden and the egg is no longer runny & raw.
~Serve with a dollop of butter, or a dusting of icing sugar and whip cream.

Enjoy


Thursday, 20 September 2012

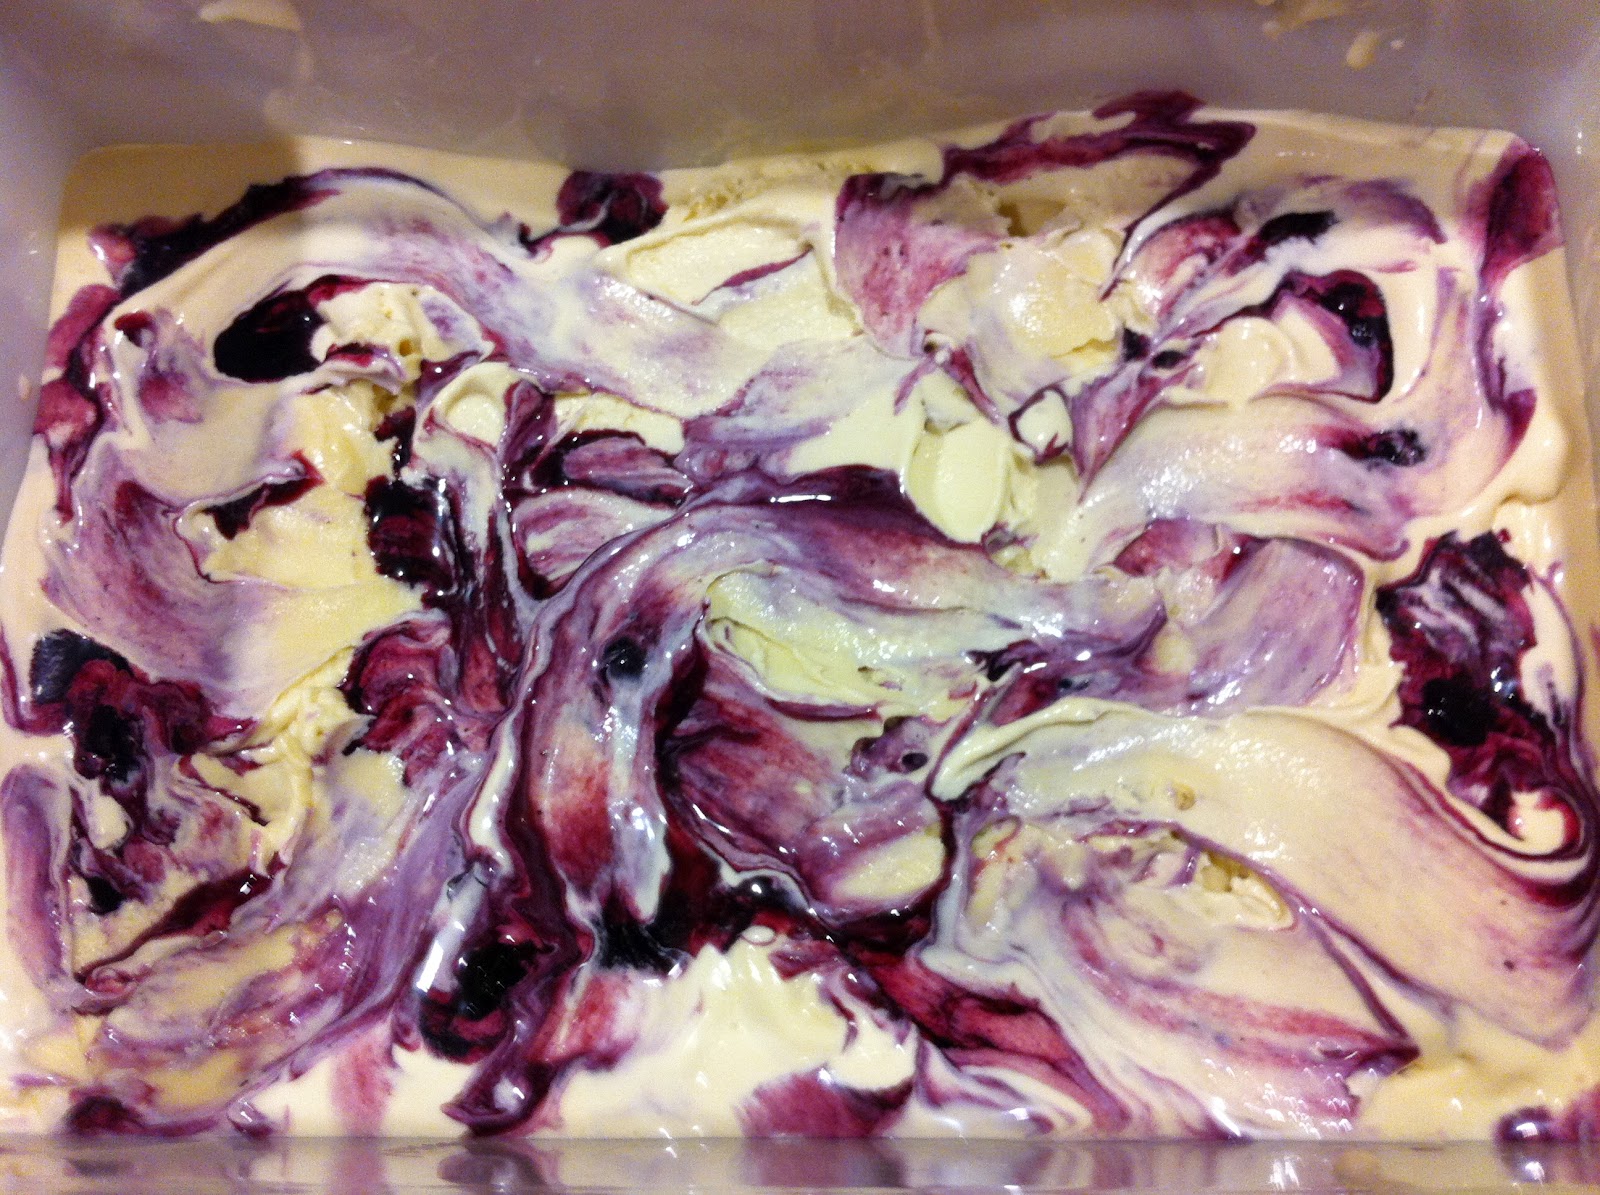
Blueberry Swirl Ice Cream


My poor dog. She may have had to experience a bit of a spill in the kitchen. Now typically that wouldn't be a problem. Either she would quickly clean it up, or one of the humans would be mean and shoo her away and then clean it up themselves. No, this time clean up was not easy. You see I spilt hot custard on my beautiful dog's back. Luckily her furs so thick I don't think she felt anything (plus it wasn't like I dropped the whole pot on her, it was more like a quarter size dollop that dropped off the sieve as I moving it to the sink.) If she hadn't been in her usual spot (the mat right at the sink) she could have avoided this accident but hello, have you tried to keep a dog out of the kitchen? I mean, there's food in there, come on.

Unfortunately for Kona, the custard landed on a part of her back that she was unable to reach to lick away. I swiped at it with a towel but all I managed to do was spread it around. So now she has a lovely crusty patch on her back. Oh well, it's experience (or maybe that's when there's mud on a truck). She sheds so much that it really doesn't matter. I'm sure she has about a three day turn around time on fur, so I'm sure by the weekend she'll be back to her pretty little self.

By the way, this vanilla ice cream recipe is AWESOME! I was so happy with the way it turned out, because it actually resembles ice cream (unlike the ice milks that I've made in the past).

I used David Lebovitz vanilla ice cream recipe and the blueberry sauce was adapted from Dollface Delights (a blog name that makes me think of my pup who's given name by her breeder was called Kinkel Delight).


Ingredients:

For the ice cream
1 C.Half & Half
A pinch of Salt
3/4 D. Sugar
2 C. Heavy Cream
5 Egg Yolks
2 Tbsp. Vanilla

For the blueberry swirl  (Cut these measurements in half if you don't want any leftover sauce.)
2 C. Blueberries
2 Tbsp. Orange Juice
3/4 C. Sugar
2 Tsp. Cornstarch

Directions

For the ice cream
~In a medium saucepan, heat the half & half, sugar and salt.
~In a bowl, whisk together the egg yolks.
~Pour about half of the warmed cream mixture into the yolks, whisking constantly.
~Place yolk and cream mixture back into the saucepan.
~Cook over medium-low heat, while stirring constantly and scrapping the bottom of the saucepan with a spatula
~When the mixture thickens and coats the spatula, strain the mixture through a sieve into a bowl.
~Add in the cream and vanilla. Stir
~Refrigerate mixture to chill thoroughly.

For the blueberry swirl
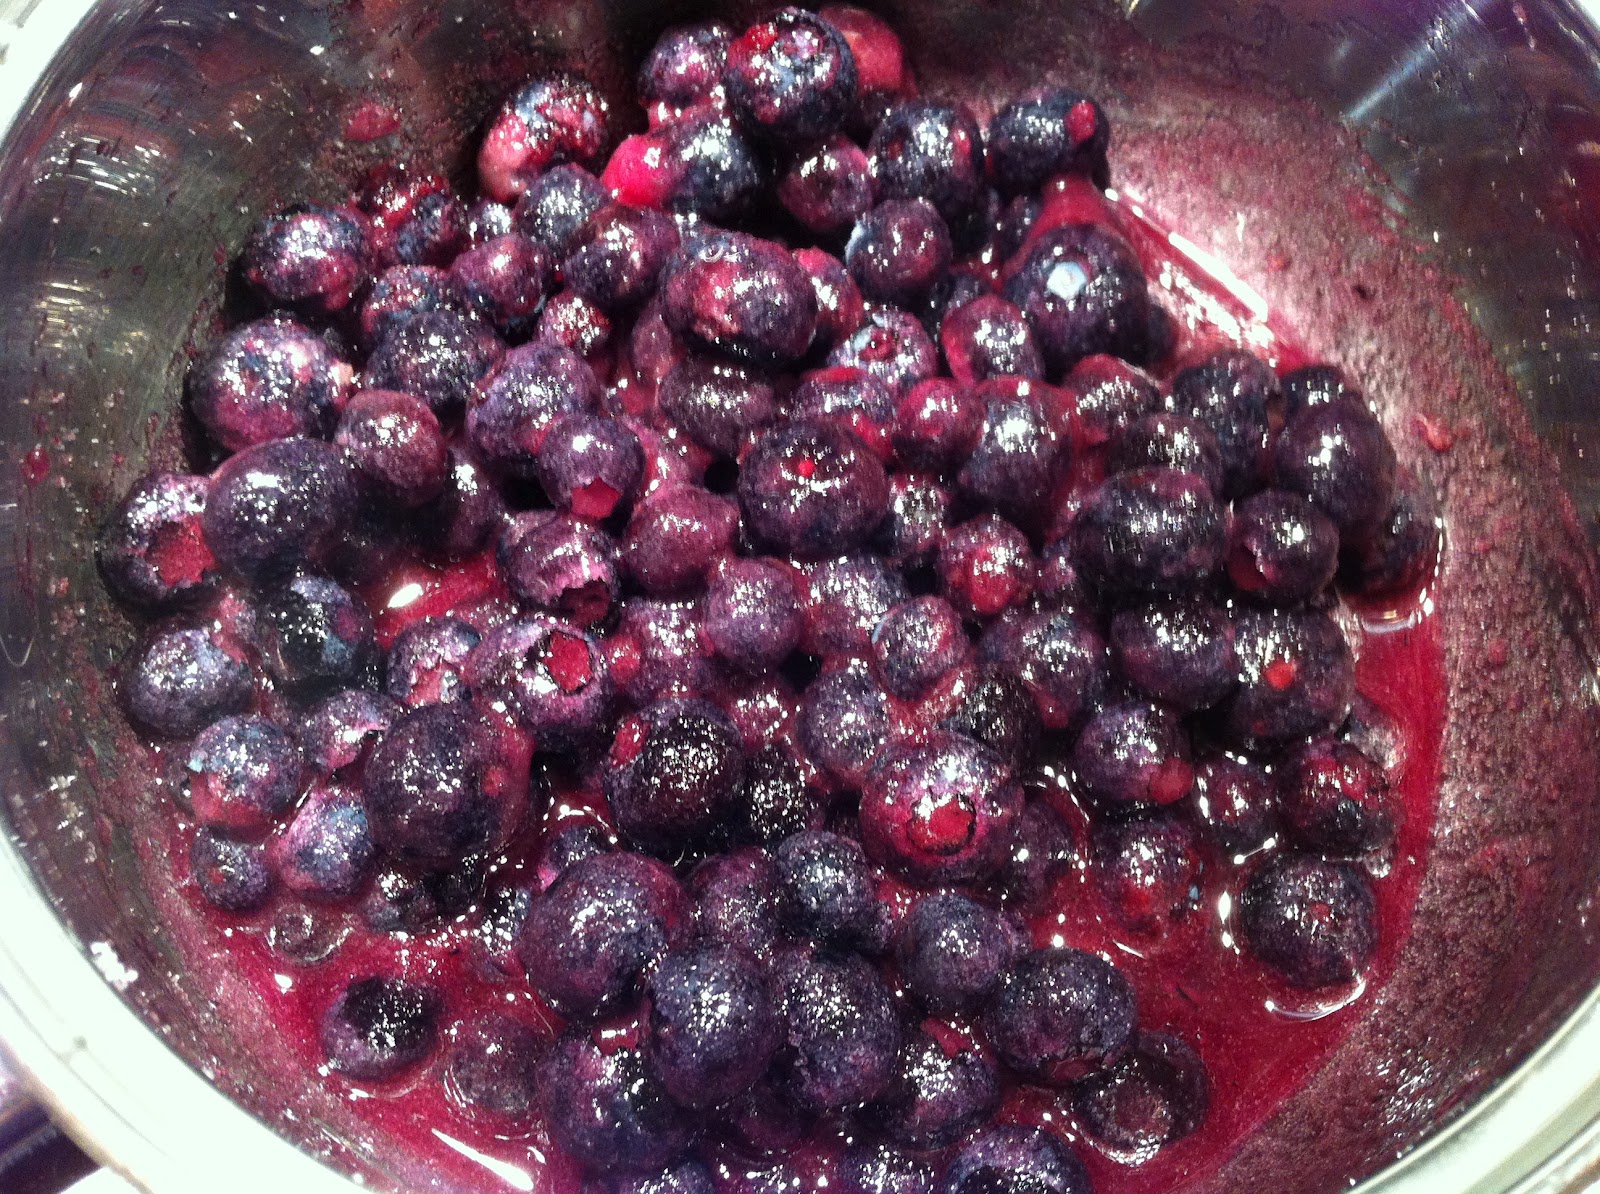
~Place berries, juice and sugar in a saucepan and cook on medium heat until berries burst and mixture cooks down. Stir constantly as to prevent burning.
~If too liquidly scoop a couple spoonfuls of the liquid into a small bowl and add in the cornstarch (or a ratio of the cornstarch) and whisk to get rid of the lumps. Pour back into saucepan and stir.
~Refrigerate sauce until it is cooled through.

Assemble the swirl
~Place ice cream custard into ice cream maker and freeze according to manufacturer's instructions.
~When ice cream is done, place a layer of cream in a container and place blueberry syrup by the dollop on top. Layer more cream and gently spread it out, making sure not to mix the two layers too much then repeat with more syrup. Continue until you run out of ice cream and syrup.
~Gently swirl with a spoon the top two layers together.
~Place ice cream in freezer.

Enjoy


Sunday, 16 September 2012

Raspberry Pancakes


I know that every person that spends any time in the kitchen has that one fear. Be it pastry, yeast breads, or pancakes. Yup, I'll make bread a few times a week and if I had a need for a pie I wouldn't have a problem with making one. But pancakes, those are my nemesis. Pancakes are my Dad's specialty. The first day that everyone is all together at the cabin is always pancake day. Now I've never seen him make pancakes from scratch though. He always buys that Aunt Jemima Buttermilk Pancake Mix (I am not being compensated for this, and all opinions are my own) and adds eggs and oil and vanilla soy milk and then more pancake mix. His batter looks like paste as there is no measuring going on, just dumping things in (or so it would appear). I know a double batch is never enough, usually he ends up tripling or quadrupling. Anyway, if we have company they always take their first bite of pancake and you can see them thinking how can this taste like this, it comes from a box? Wanna know the secret? Of course you do. It's the soy milk. Vanilla, fat free soy milk. Even though it's fat free, it is still a million times richer, creamier and vanillaier than regular milk. Resulting in the best buttermilk pancakes (minus the buttermilk) that you could ever image. Then to top it off, they're cooked on a gas stove on an ancient old cast iron griddle (instead of the electric griddle we have at home). The end result is a pancake that looks like it's burnt to snot, but actually doesn't taste one bit charcoaled.

My dad even got one of the neighbourhood kids in a jam because he got the poor kid to confess that the pancakes were better than the ones his mom made. Of course that didn't go over so well with her.

So you can probably see why pancakes are my nemesis. I could count on my one hand how many times I've tried to cook pancakes and I could also tell you how many times I've wrecked them (those numbers would be equal). I either end of having them raw in the centre, or like shoe leather they are so tough because I'm trying to avoid the rawness. Yup, not good.

Today I decided to tackle them though, and while they weren't raw or tough, they were slightly burnt (and you could taste it because electric heat and teflon is not as forgiving as a flame and cast iron). All-in-all though, I was pretty happy and I will be making these again, probably with some slight adaptations (such as the addition of some lemon zest and a bit more lemon juice). The original recipe was intended to be a raspberry streusel pancake, which sounds amazing (plus it had coconut oil and coconut milk in it, yum), but I didn't go that route. When I have a chance I might make the original recipe just as it was written, but for today I decided to change things up and go raspberry lemon (you know it's my fave right?) instead.

Please check out the original Raspberry Streusel recipe at Baking Serendipity (who got it from Two Peas & Their Pod), as it still does look truly awesome and mine has been adapted a bit from the original.

Makes ~10 pancakes (1/3 C. batter each)


Ingredients

2 1/2 C. Whole Wheat Flour
2 Tbsp. Sugar
2 Tsp. Baking Powder
1 Tsp. Baking Soda
Pinch of Salt
2 C. Vanilla Almond Milk
2 Eggs
1 Tbsp Olive Oil
1/2 Tbsp. Vanilla
1 Tsp. Lemon Juice
Zest of 1 Lemon
1 C. Raspberries

Directions

~Mix dry ingredients (flour, sugar, powder, soda & salt) in a large bowl.
~Add in the wet ingredients (milk, eggs, oil, vanilla and lemon juice) & stir.
~Wash & smash raspberries with a fork then fold berries and lemon zest into batter. (It's okay if the batter is slightly lumpy.
~Scoop batter (I used a 1/3 C. measuring cup to transfer the batter) onto a hot and greased griddle or skillet.
~Flip when bubbles in the centre burst.
~Cook the other side until it is golden brown.

Enjoy!


Nutrition Facts
Per 1 Pancake
Makes: 10 (1/3 C. Batter) Pancakes
Calories: 160
Carbs: 29g
Fat: 4g
Protein: 6g

Wednesday, 1 August 2012

Spiked Pink Lemonade Slush


Well, I got a new blender...and it was the weekend...and it was my first summer holidays in 3 years. You want to know what I did?

These were good, and I'm not just saying that because they had alcohol in them. You could probably make this work without the alcohol, by just adding some raspberry juice in instead of the raspberry liqueur and then omitting the vodka.

You can't get anything better than raspberry and lemon, and then by combining them, this drink is amazing. This drink wasn't strong by any stretch of the imagination, so feel free to increase the alcohol concentration as you see fit. You probably would want to increase the vodka, because any more liqueur and this drink would start to get sweet (which it isn't by these measurements. It's just refreshing and light.)

Makes: 1 - 5 C. Blender Full  (about 3-5 drinks depending on your choice of glass)

Ingredients

4 C. Ice, divided
2 1/2 Shots Raspberry Liqueur (Sour Puss)
2 Shots Citrus Vodka
1/2 Can Lemonade Concentrate, frozen
2 C. Watermelon, cubed

Directions

~Place 2 C. of the ice in the blender. Blend to crush.
~Add in liqueur, vodka, lemonade and watermelon. Blend again to combine
~If it looks too thin, add in part or all of the other 2 C. of ice and blend again to combine.
~Serve immediately.

Enjoy

Thursday, 26 July 2012

Raspberry-Coconut Buttermilk Muffins


Now, I typically like to keep my fresh berries for eating by themselves. But, I was not prepared to be fighting with frozen raspberries for this recipe, because frozen berries in a thick batter = streaking and mushing. So, I caved and used the fresh berries from our bushes. This recipe pretty much used up today's pickings, because unfortunately it is an off year for our bushes. My Grandpa would be so disappointed. His raspberries were his pride and joy and ours have never lived up to those standards. Maybe twice in a year I'm lucky enough to taste a raspberry that tastes exactly like his did. The funny thing is, I don't even know if I'm comparing what I taste to his actual berry taste, because I would have been only 3 years old the last year he would have had his bushes. But that taste just triggers something, I swear.

Another thing that brings up memories is when I first opened the bag of new coconut for this recipe and the first thing that comes to mind is Tim Hortons donuts. The ones with the yellow or blue tinged coconut that adorned the lemon or blueberry donuts that were (what I assume to be) seasonal specials. So much artificial colouring that would make a parent of today scream in terror, but I loved them. The smell of the coconut just brought me back to those donuts, which is funny because there is a lot of other (and better things) that coconut could remind me of, but oh well.

This recipe is one of those ones that was a newspaper clipping that has been photocopied and placed in my Mom's Recipe Binder (you know it's good when it's been passed around like that). I don't know who recommended it to her, probably somebody made them and shared them at work, and from what I can make out from the top corner, it looks like this appeared in the Times Colonist, but when I do not know.

Makes: 9 large muffins

Ingredients

1 3/4 C. Flour
1 Tsp. Baking Powder
1/2 Tsp Baking Soda
1/2 Tsp. Salt
1/2 C. Unsweetened Medium Coconut Flakes, divided
1 Egg
1/3 C. Sugar
1 C. Buttermilk
3 Tbsp. Butter, melted
1 1/4 Tsp. Vanilla
1 C. Raspberries

Directions

~Preheat oven to 375 F.
~Grease muffin tins or line with paper liners.
~In a large bowl, whisk the flour, powder, soda and salt with 1/4 C. of the coconut. Set aside.
~In a medium bowl, combine egg, sugar, buttermilk, melted butter and vanilla. Whisk to combine.
~Sprinkle raspberries with 2 Tbsp. of the dry ingredients and toss to coat.
~Pour wet ingredients into dry and combine with a few quick stirs. Batter should be lumpy. Don't over mix.
~Gently fold in the raspberries.
~Scoop batter into prepared tins.
~Sprinkle top of muffins with the remaining 1/4 C. of coconut (it will look like a lot, but it really is the perfect amount for 9 muffins. So if you are making more than 9 muffins, you'll want to increase the coconut topping accordingly, otherwise these muffins rise really strangely if they don't have enough topping on top. Strange, I know.)
~Bake for 20-22 minutes or until puffed and golden (and toothpick comes out clean.)
~Cool slightly then remove from pans and then cool completely before storing.


Enjoy

Tuesday, 10 July 2012

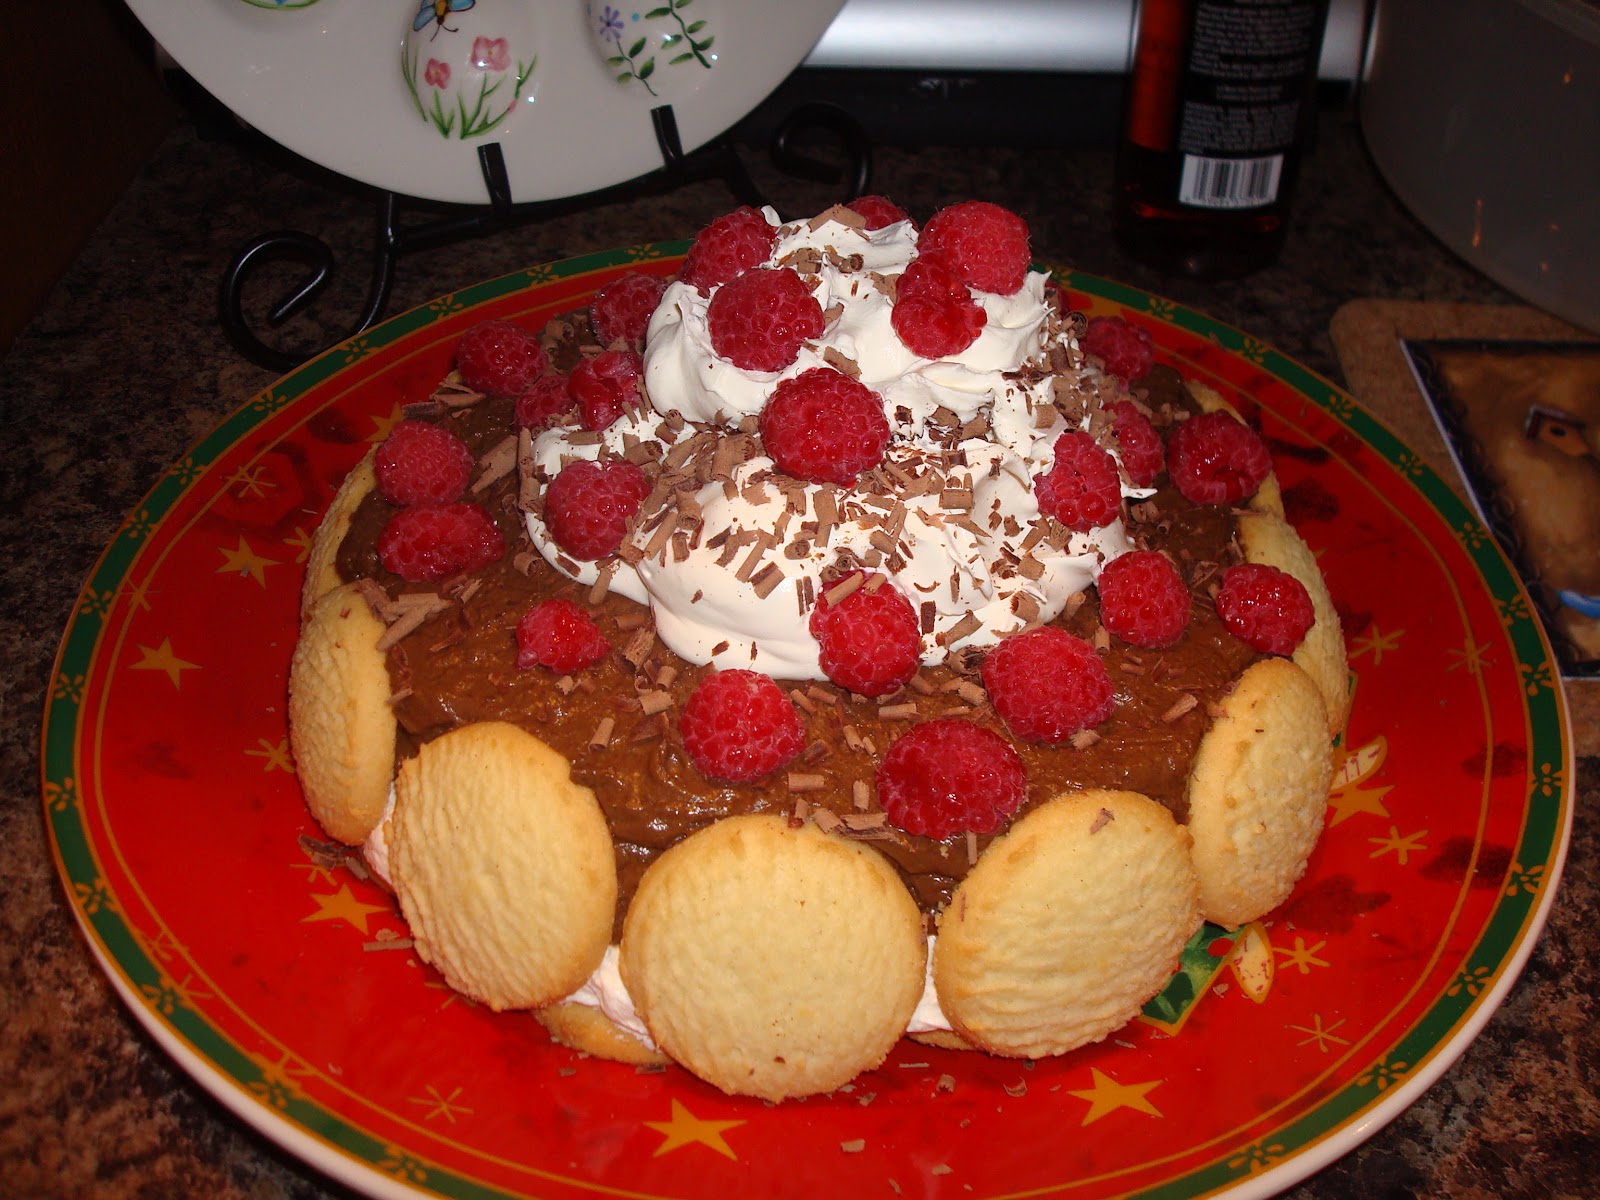
Chocolate Mousse Tort


When I began this blog, I had every intention of writing mostly about the desserts I make. Unfortunately (or fortunately), I'm a pretty healthy eater and so it became difficult to post fancy desserts on a daily basis. I had two options. I could only post desserts, and have my posts few and far between, or I could make this blog mirror my eating (and thus cooking habits). I chose to do the latter because I really wanted to be able to look back on this blog and see everything that I had made.

This recipe just happens to be one that I am incredibly happy that I found. Plus, as an added bonus it looks absolutely stunning and tastes like heaven too. I actually made this and took the pictures of it years ago, when I had never even heard of food blogging. Now I figure is as good a time as any to pull the images out of the depths of my albums to share.

The recipe comes from Kraft and the only adaptation I made was that instead of using Nilla Wafers (because they were on a manufacturer shortage at the time. The nerve right?) I had to settle for some store bought shortbread cookies that were slightly larger as they were the closes thing I could find (I was looking for round, small, plain cookies). The shortbread worked just fine, but you won't quite get as many servings out of this dessert if you use larger cookies because you have to cut between cookies to get a slice. But then again, maybe you want larger slices.

One other thing to note, this recipe calls for fresh raspberries and for good reason. The first time I made this dessert it was in the middle of December (hence the Xmas plate in the pictures) and unless you were willing to pay a fortune for a half a dozen imported raspberries, the only option was frozen. Well, let me tell you, frozen berries are great for some things, just not this. This dessert is all about presentation and it's really hard to make something look good when your berries are flat and mushy looking, and in small pieces or large clumps. It was sort of a nightmare. I sat and hand picked each berry out of the bag and inspected it to make sure it was in fact a whole berry and not a piece of one. Then I placed it on paper towel and waited them to thaw. Meanwhile I had another piece of paper towel over top of the berries and I kept lightly patting them to get the juices away from the berries as to try and prevent them from mushing. You see how imprinted this memory is on my brain after all this time? This was no minor procedure I'm telling you.

Anyway, so for the most part I succeeded in getting the berries to be presentable. But, I now know it is well worth the $6.00 you'll pay for the tiny container of berries in the winter. I won't be that cheap again; I've learned my lesson.

Ingredients

Serves: 16
37 Nilla Wafers
4 Squares Semi-Sweet Chocolate
2 Pkg's (3.9 oz each) Chocolate Instant Pudding
2 C. + 2 Tbsp. Milk
1 Tub (8 oz.) Cool Whip, thawed
1 Pkg. (8 oz.) Cream Cheese, softened
1/4 C. Sugar
3/4 C. Fresh Raspberries

Directions

~Stand 16 wafers along the inside edge of a 9-inch round pan that has been lined with plastic wrap.
~Melt 3 squares of the chocolate.
~In a medium bowl, combine pudding mixes and 2 C. milk. Whisk for 2 minutes.
~Add in the melted chocolate and mix to combine.
~Stir in 1 C. Cool Whip.
~Pour mixture into prepared pan, making sure that the wafers stay pressed up against the side of the pan.
~In another bowl, beat cream cheese, sugar and remaining milk with mixer until blended.
~Stir in 1 C. of the remaining Cool Whip.
~Spread mixture over pudding layer, making sure not to mix the layers together.
~Top with remaining wafers (you want them to be placed as close to the next wafer as possible because this torte is inverted and the top becomes the bottom, so essentially you are making the crust here.)
~Refrigerate for 3 hours.
~Shave remaining chocolate square into curls using a vegetable peeler. (This didn't work so well for me, even when I slightly warmed the chocolate as the original recipe instructed. I got tiny flakes instead of curls, it still looked and tasted fine though.)
~When tort has set, invert it onto a serving plate and remove plastic wrap.
~Top with remaining Cool Whip (a large blob on top, don't spread it around like frosting), berries and chocolate curls.

Enjoy

Thursday, 21 June 2012

#1 Breakfast - Raspberry Nutella English Muffin

So, this is why I had to put the lemon curd english muffin as #4 on my breakfast countdown list. Simply because I couldn't help but compare it while eating it to this out of this world treat that I for some reason call breakfast.

Have I told you that I'm a little obsessed with nutella? And by a little, I really mean I don't consider my day worthwhile if I haven't eaten some form of nutella. I know, I know, it's probably not the best thing for me to be eating daily, and in the morning for that matter, but really if this is the worst thing I'm eating / doing on a daily basis then I consider myself okay. Anyway, this was the creation that got me eating and loving breakfast. I used to just eat breakfast because I had to, and I usually consumed as little as possible, simply for the reason that I never found any breakfast foods worth eating. Sure, I like waffles and pancakes, but those were never a before school / work breakfast in our house. I went years without eating a slice of toast or a bowl of cereal, because while I didn't dislike either of them, I didn't love them and for that reason alone, I didn't find them worth eating. And don't even get me started on the atrocious thing called eggs. Then last summer everything changed. I can honestly say, that I have loved eating breakfast every morning now for almost a year. All thanks to this amazing idea I had last summer when our berry bushes were overflowing with fresh raspberries. I couldn't tell you what got me thinking of this, but all I can say is I'm glad I did because it is absolutely pure bliss. I actually made an amazing torte that tasted very similar to this awhile back. Yes, my breakfast tastes the same as my dessert (that's why I like breakfast now obviously.)

So, last September, the fresh berries dwindled away and I was stuck with a predicament. In the end, I started using frozen raspberries. All I would do would be microwave them to defrost them. But, because frozen berries just don't have the same flavour as fresh, I ended up over defrosting them and heating them just until they started to mush down into a sauce. Now, there was some good flavour. No sprinkling of sugar required for these heated raspberries. They make a perfect sauce all on their own.

If you're not someone who enjoys breakfast, give this a try. Sure, you could find something healthier to eat than nutella, but if it gets you eating breakfast, that's all that really matters isn't it? Trust me, you won't be disappointed with this. It is absolutely heavenly and you just have to try it. So, without anymore fanfare...

#1 Breakfast: Raspberry Nutella English Muffins


Simply toast your English Muffin. Top with Nutella and then with either fresh or frozen (microwaved to heat until saucy) raspberries.

Enjoy

Wednesday, 20 June 2012

Lemon Raspberry Breakfasts

For the continuation of the lemon curd series, I had intended to share with you the 2nd Best Breakfast Ever. Until I realized that there was something else that edged this breakfast off of the silver medal podium. The thing was, it was basically the same breakfast with only one slight change. What I've decided now to do is share with you all three of these breakfasts that are fighting for the title of 2nd Best Breakfast.

But what about the #1 Breakfast you ask. Well, I can't do the big reveal before I do the countdown...

There is no recipe for these breakfasts, they are simply guidelines and suggestions. The only thing you need is to get yourself some lemon curd. Now you could just go and buy some for $5 for a measly little jar or you could make your own according to this simple recipe that can be found here.

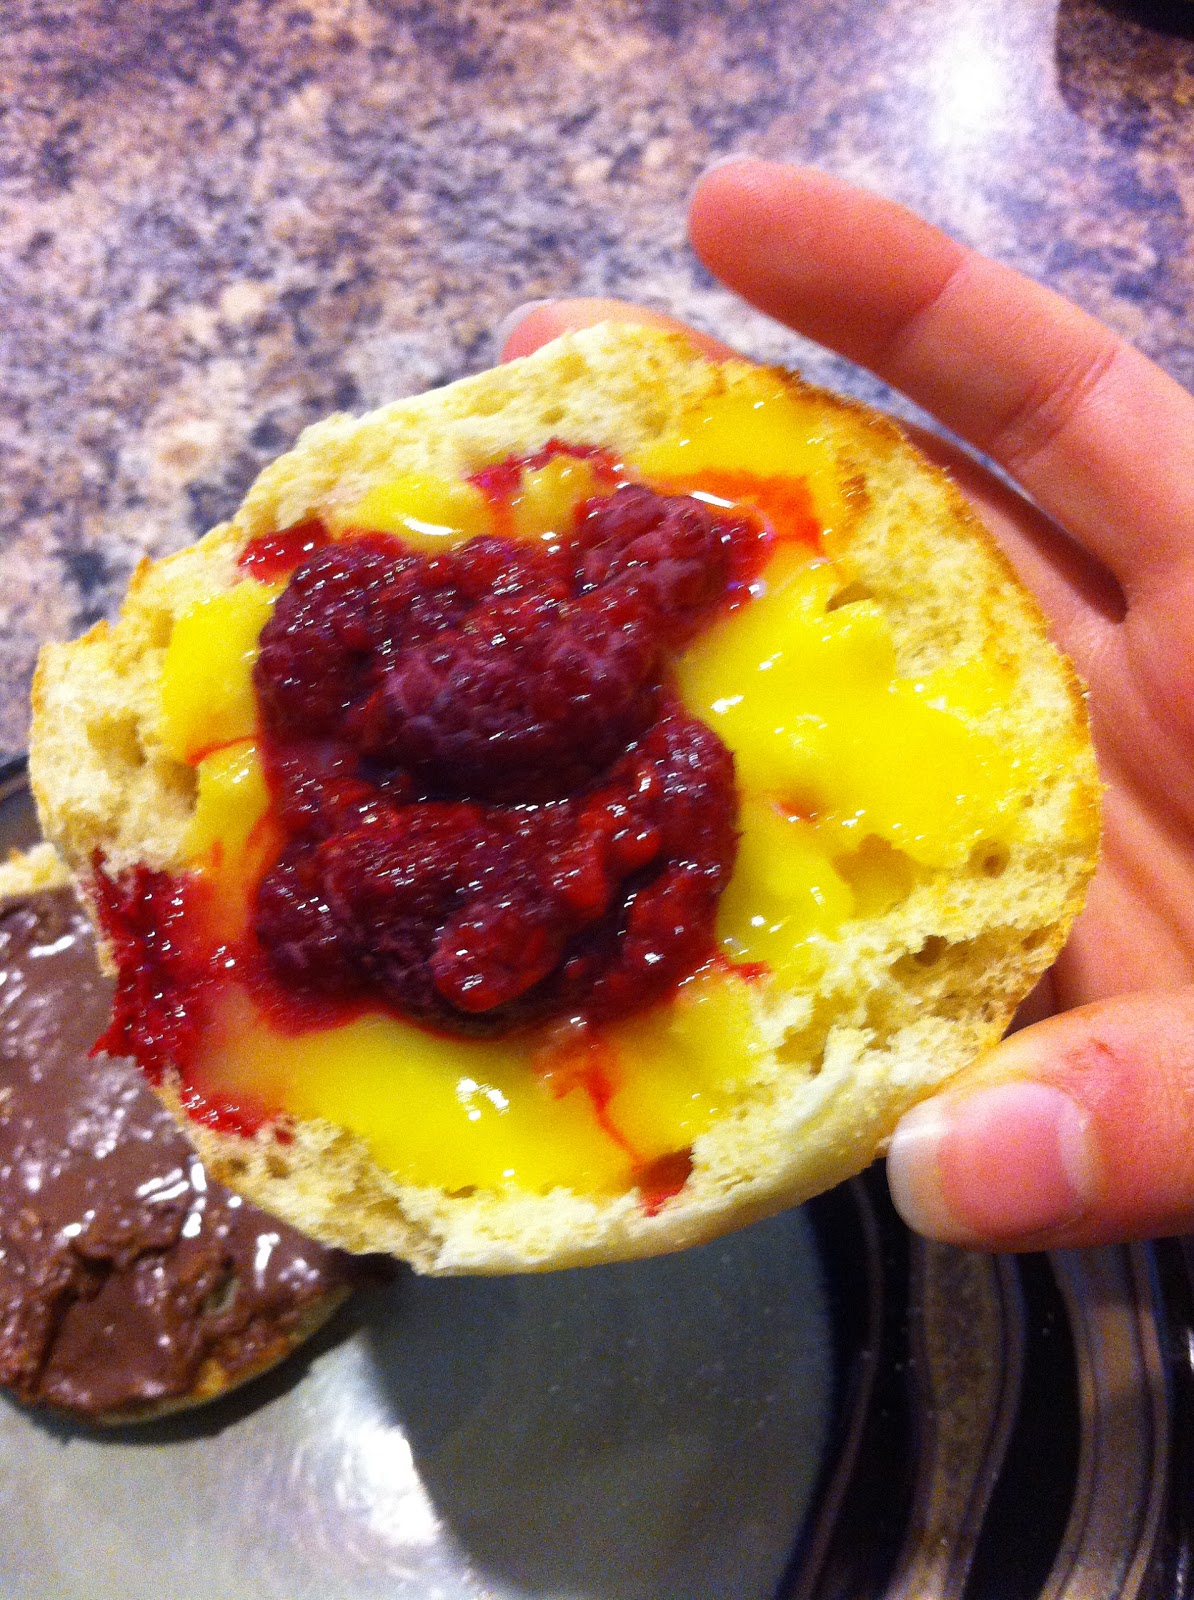
#4 Best Breakfast:   Lemon Raspberry English Muffins


Simply toast your English Muffin, spread the lemon curd and top with raspberries (for all these I used frozen raspberries that had been defrosted in the microwave and so they mushed into a sort of sauce. Fresh would be just as good.)

#3 Best Breakfast:   Lemon Raspberry Buttermilk Pancakes  


Do the same thing as above. Prepare your pancakes, then top one with curd then raspberries and the other raspberries then curd (trust me, try doing this different order. You get a completely different flavour for each, and I can't tell you which one is better.)

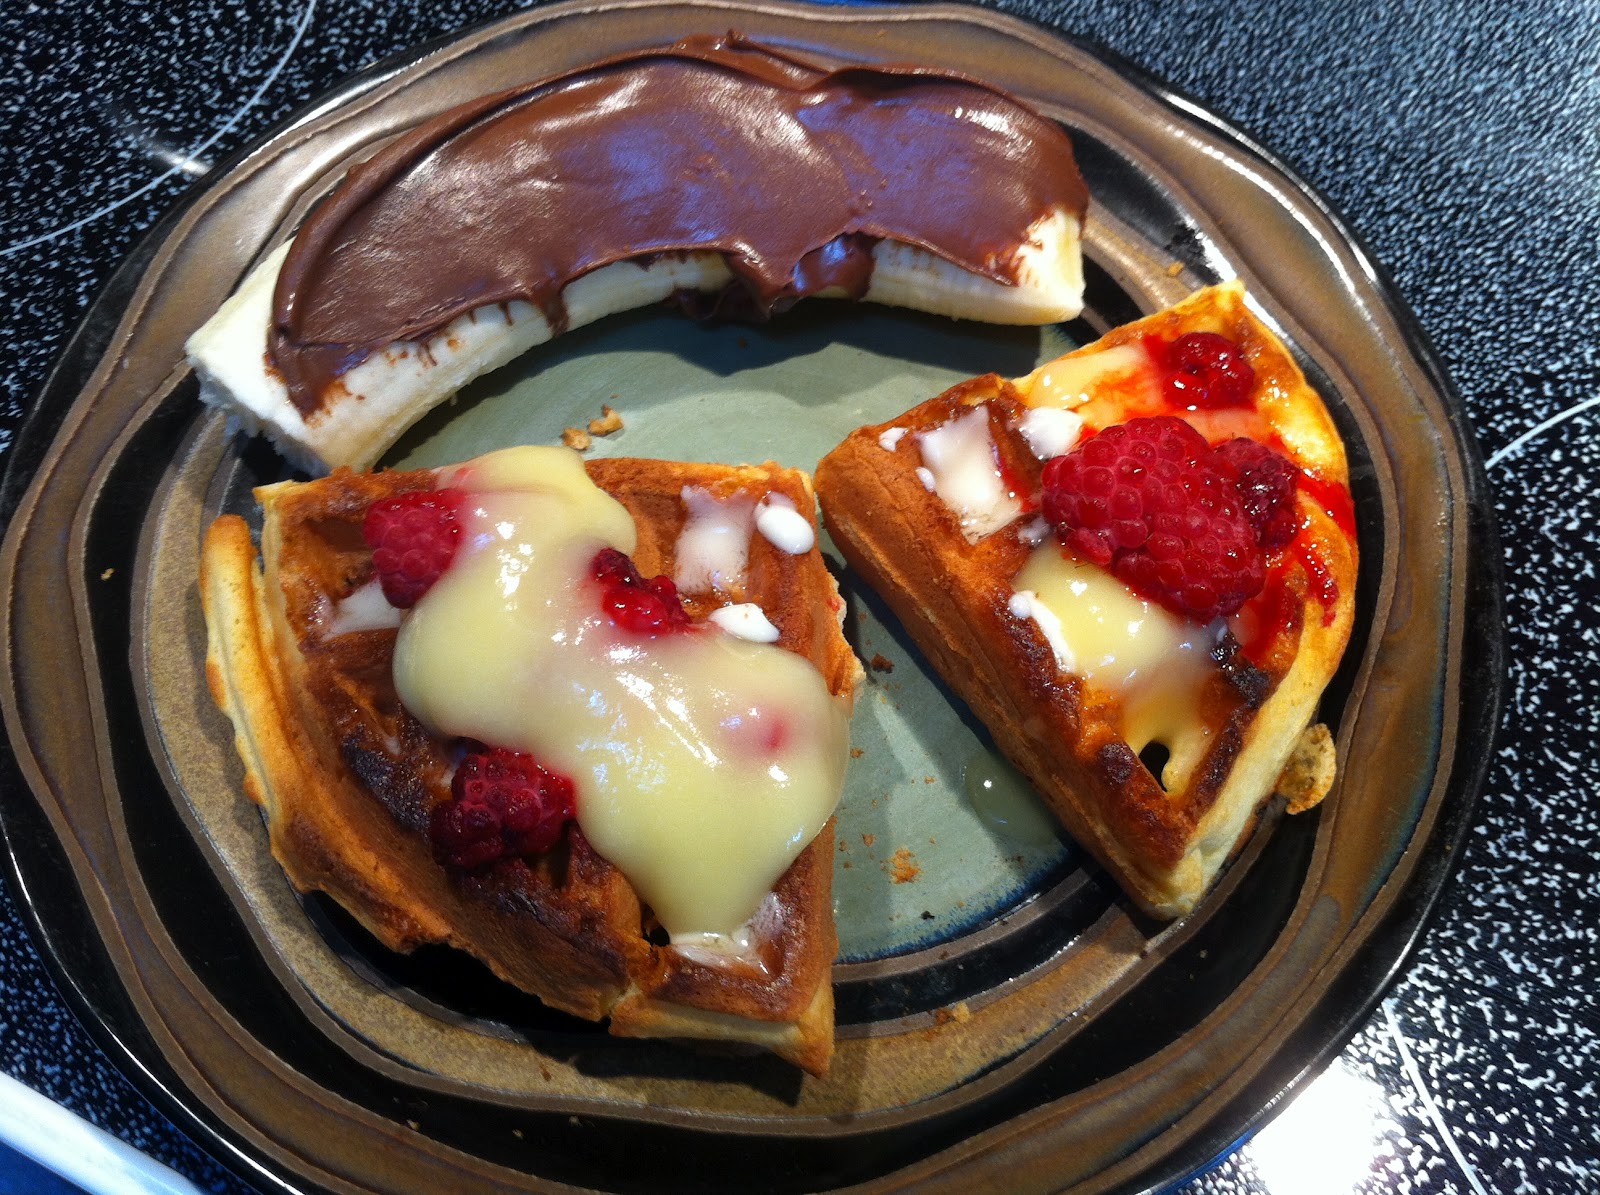
#2 Best Breakfast:   Lemon Raspberry Waffles


So with this one, top first with butter. Then just as you do with the pancakes, top part raspberry then lemon, and the other as lemon then raspberry. (Oh yeah, and that is a nutella covered banana on the plate as well.)

Okay, so I just want to give a bit of reasoning for why these ranked as they did. While I thought the English Muffin would be excellent, I was actually kind of disappointed when comparing it to the waffle. The flavour wasn't as full. The pancake was much better, but the pancakes are pretty sweet and flavourful and I felt like the pancake itself was competing with the curd/raspberry instead of complimenting it. So, as good as it was, I still wanted some good maple syrup on my pancakes. The waffle on the other hand was different. While I normally eat syrup on my waffles, I had no regrets when I topped it with lemon and raspberry. It was just absolutely perfect, and I have to admit I cleaned out the frozen waffle supply in the freezer pretty quickly. 

Now, we've counted down to #2, but the question still remains. What is my #1 breakfast? You'll have to check back later for the reveal. 

Sunday, 10 June 2012

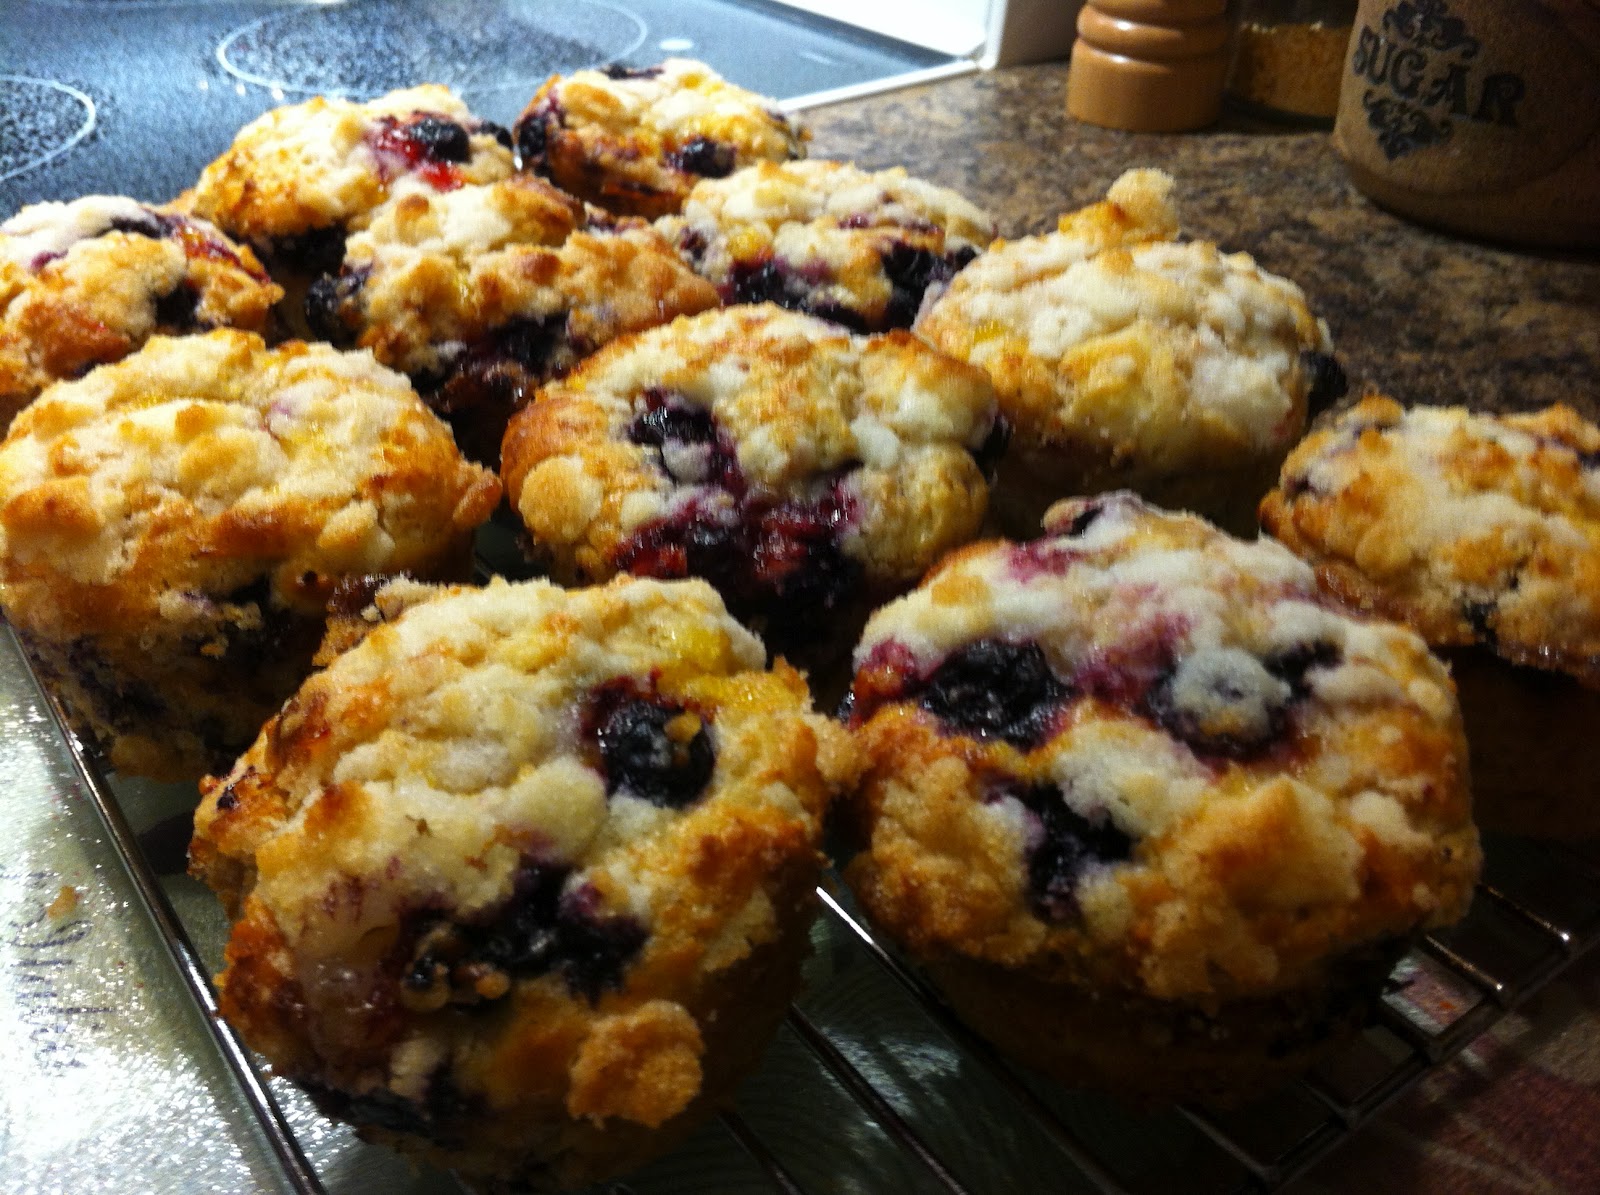
Lemony Blueberry Macaroon Muffins

I've been on the hunt lately for the perfect muffin recipe. Now, amazingly enough I had thought I had found it in the first recipe I tried. It was a great basic muffin recipe that would allow you to add in anything and everything. It was great. It has a brown sugar streusel topping and was not cakey whatsoever.  But then I got bored of it. Or maybe I should say I got sick of it. After all, I had to have made at least a half a dozen batches of it in under 3 weeks. So, that was when I started looking. What I was really looking for was a good lemony muffin with blueberries in it. The problem is, so many muffins just taste like cupcakes. Which was okay, but not really what I was going for. After all, if you want a cakey muffin you can just stop by any grocery store or Tim Hortons (yes, did I mention I'm Canadian? :)

The next thing I found was that the lemon flavour never really came through in any of the muffins I tried, and I started to think that lemon juice being added to a lot of the recipes was more to curdle the milk into a makeshift buttermilk than anything else. (Did you know you could do this? It's just new to me and an awesome trick when you don't have any buttermilk on hand, or you are using dairy substitutes.) Finally I found a recipe that I was convinced would be it, because instead of just using a lot of lemon juice or lemon zest, they used something different. Now you probably see where I'm going with this...Lemon Curd. Yes, the recipe called for you to do a molten centre of lemon curd. Well, after making the muffin I had the same problem as the person who wrote the recipe, the curd just dissolved into the batter upon baking because the batter was pretty runny for a muffin. No molten centre could be found, nor could you even detect that anything had ever even been there to begin with.

I'd all but given up (a little too dramatic maybe?) until I realized I had one more muffin recipe that I had saved to my files. While it didn't look much different from the other recipes I had tried, I decided to give it a try with a few adaptations and what do you know, it was amazing. I've actually made this recipe twice in a row without changing anything, which is a huge feat for me because usually I switch out the add ins every time and use different fruit, berries, etc. as to not got bored. So I have to thank, For the Love of Cooking, for this great muffin recipe. While I did make some adaptations such as the lemon curd and using blueberries instead of raspberries, I pretty much followed her recipe for the batter exactly as she has written. The only thing is, I may have to try use the raspberries at some point, because the only thing I love more than blueberries is raspberries.

Even though the batter is thicker for this recipe, the lemon curd still melts away into the batter upon cooking. The only difference with this muffin recipe is that because of the thickness of the batter, the melted curd doesn't go very far. So while there isn't a surprise of gooey goodness when you bite into these muffins, there is a distinct spot that you can taste the fuller lemon flavour and you can actually see where the curd melted through. Plus there is a slight difference in texture. All-in-all, it is definitely worth the extra work to add the lemon curd into this recipe.

After all this time, I can't help but think now that the flavour and consistency I was chasing could actually be found in a cookie (yes I know, strange right?) that I had made many years ago. I should probably go back and try that recipe again, and maybe even put it in a muffin tin to bake.

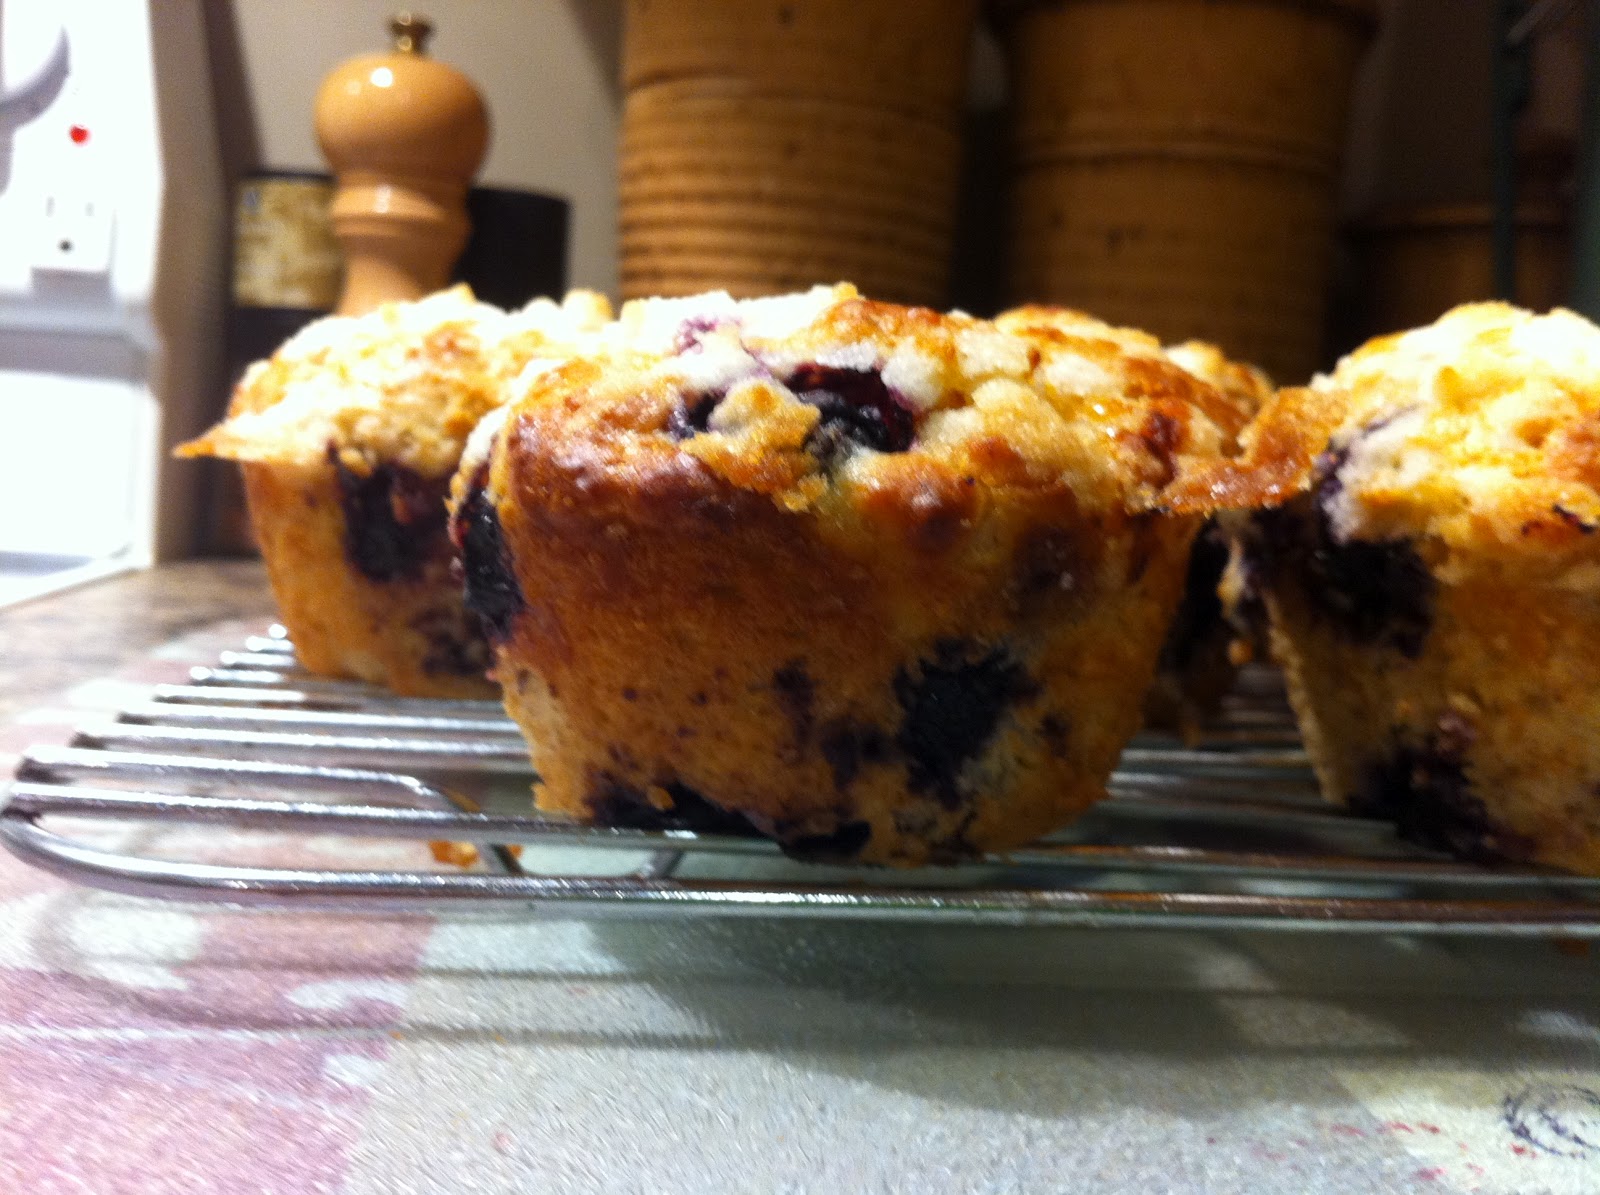
Now just a small disclaimer, while I've named this recipe Macaroon Muffins, there isn't actually any coconut in them whatsoever. The reason for this name is because when you pull these babies out of the oven the muffin top looks exactly like a macaroon due to the baked streusel on top. Plus, they are just as heavenly.

On a final note, I would not recommend using muffin cups for this recipe, or any recipe that you decide to stuff with lemon curd. The reason being, that the butter and sugar in the curd in addition to the blueberries really caramelizes on the edges when cooking and I had an awful time separating the paper from the muffin in the first batch I made that used the paper cups. Instead, just grease your muffin tins really well, and I would also recommend greasing the top surface of the tins as well, because the streusel topping overflows a bit and while I have found that the base of the muffin pops out pretty easily, it is actually the overflowing muffin top that can pose a bit of an issue due to all the sugars caramelizing.

Ingredients

Makes: 12 Muffins

Muffin:
2 C. Flour (I used 1 C. All Purpose and 1 C. Whole Wheat)
1/2 C. White Sugar
1 Tbsp. Baking Powder
1 Tsp. Salt
1/2 C. butter, melted
1/2 C. Milk (I used Light Vanilla Soy Milk)
Juice of 1 lemon (probably between 1/8-1/4 C. depending on the size and juiciness of your lemon)
1 Tsp. Vanilla
2 Eggs
Zest of 1 Lemon  
1 1/2 C. Blueberries (Fresh or Frozen, I used Frozen)


Streusel Topping:
1/4 C. White Sugar
2 Tbsp Flour (I used All Purpose)
2 Tbsp Butter

Directions

~Preheat oven to 400 F

~Grease muffin tins both inside and on the top surface for best results

~In a large bowl, combine the flour, sugar, baking powder and salt. Stir well to blend

~In a medium bowl, whisk butter, milk, juice, zest, vanilla and the eggs together.

~Pour the liquid mixture into the flour mixture and stir just to combine.

~Add in the berries and mix in, ensuring they are evenly distributed in the batter.

~Spoon batter into greased muffin tins. Then with a spoon, make a well in the centre of the ball of batter. 

~Fill well up with a scoop of lemon curd and then gently fold back muffin batter over the curd to cover the well. (It is okay to have a little bit of curd poking out of the top). Set muffin tin aside.

~In a small bowl, combine the sugar, flour and butter for the streusel and with your fingers, massage ingredients until they combine and form a sort of crumble.

~Top muffins with the crumble and place in oven to bake for approximately 15 minutes. Don't over bake or you'll loose the moistness from the curd.
~Cool muffins to ease in their removal from the tins.

Enjoy...and stay tuned yet again for another idea for which to use lemon curd.