Tuesday, 11 September 2012

Twisted Tuna Wrap


This is not your typical tuna salad. If you've read any of my previous posts (especially my Potato Salad Post), you'll know that I try to avoid mayonnaise whenever possible. Not because I don't like it (I really do enjoy it), but I don't find it absolutely necessary, like some other things I consume, so I try to skip it. Plus, this has a way better flavour as it has a bit of a kick that normal tuna salad doesn't have. Plus, it contains very little calories and a lot of protein (and the only fat comes from the wrap, not the tuna salad).

While you can use the entire can of tuna (and the nutrition facts at the bottom of this post are for the entire can / mixture), I found that about 2/3 of the mixture was sufficient for myself for lunch (but I'm not a big eater at lunch time). If you use 2/3 of the tuna mixture, you'll be at about 290 calories for the entire wrap.

Serves 1

Ingredients

1 Can of Tuna
5 Baby Dill Pickles
1 Tbsp. Yellow Mustard
1 Tsp. Hot Sauce
3 Cherry Tomatoes
1 Whole Wheat Wrap

Directions

~Drain tuna and place in a small bowl.
~Cut pickles into bite sized slices.
~Add pickles, mustard and hot sauce to bowl and use a fork to mix.
~Cut tomatoes into quarters.
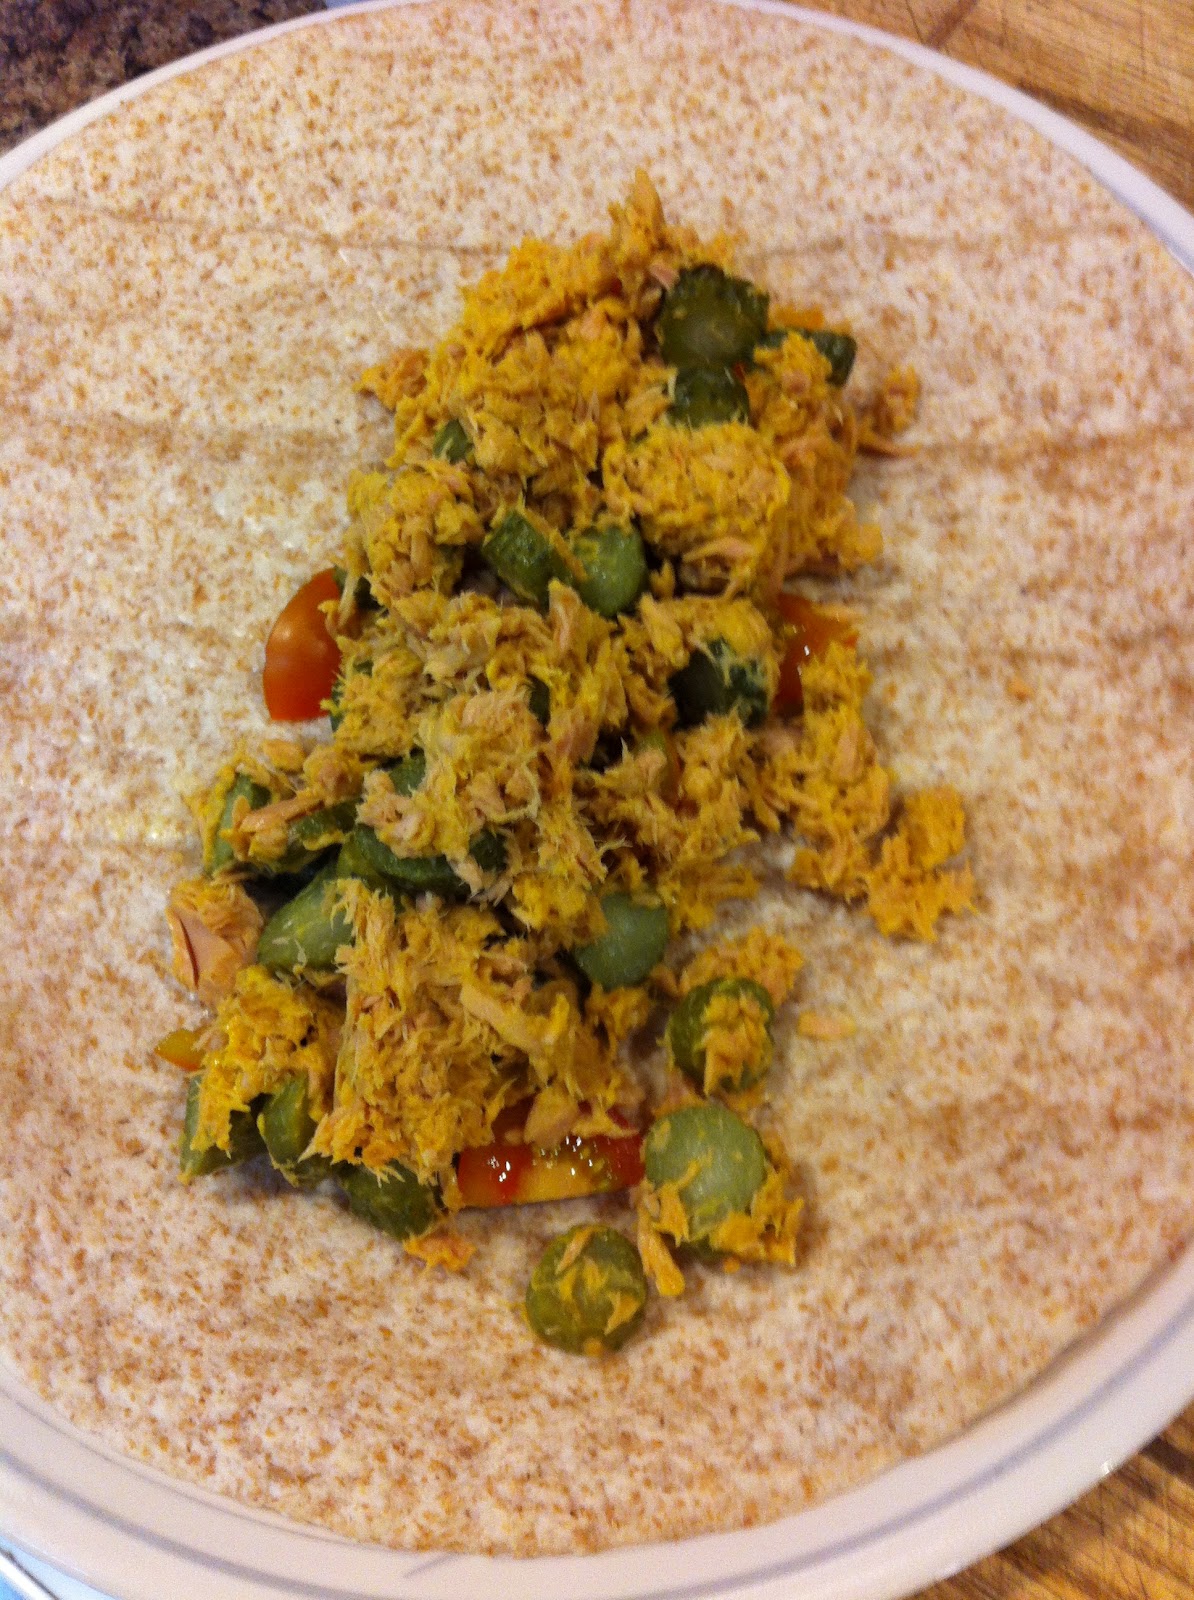
~Spread tuna mixture down the centre of a wrap and place the tomatoes on top.
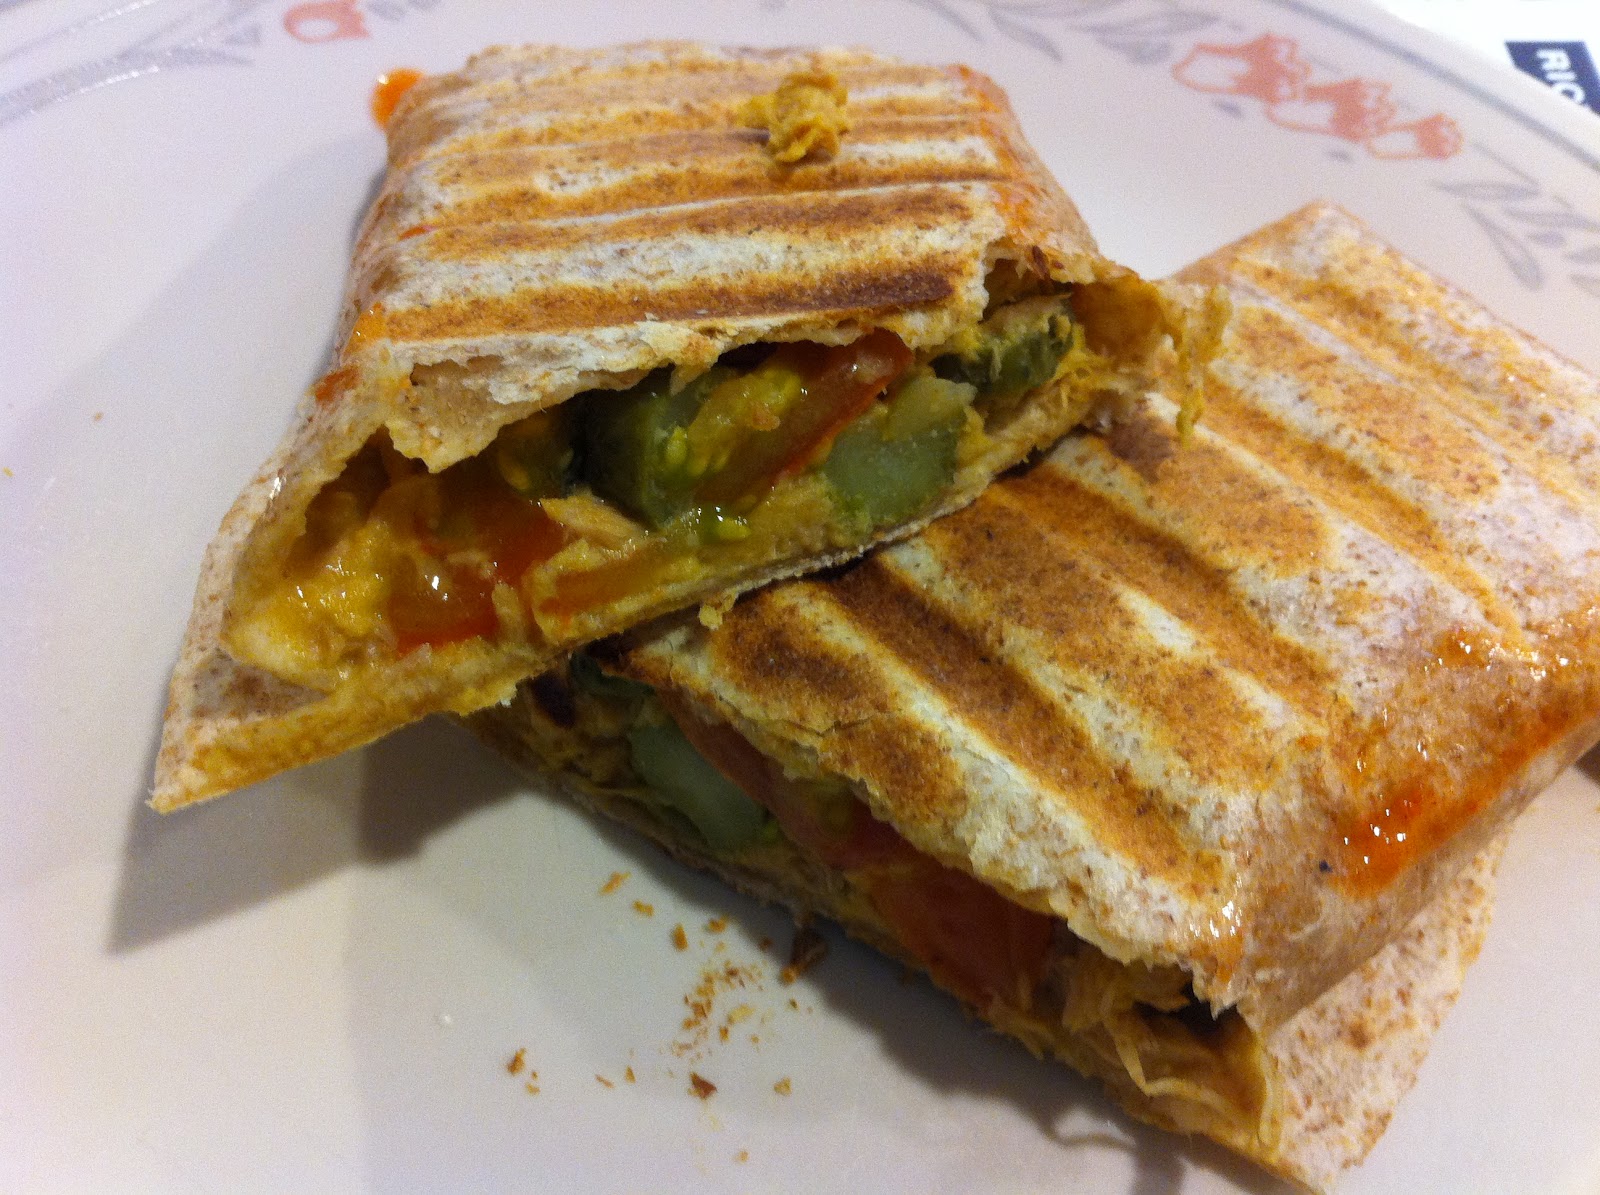
~Roll wrap and place in a panini press and heat until the outside is crispy.

Enjoy


Nutrition Facts
Serves: 1
Calories: 334
Carbs: 37g
Fat: 6g
Protein: 37g

Monday, 10 September 2012

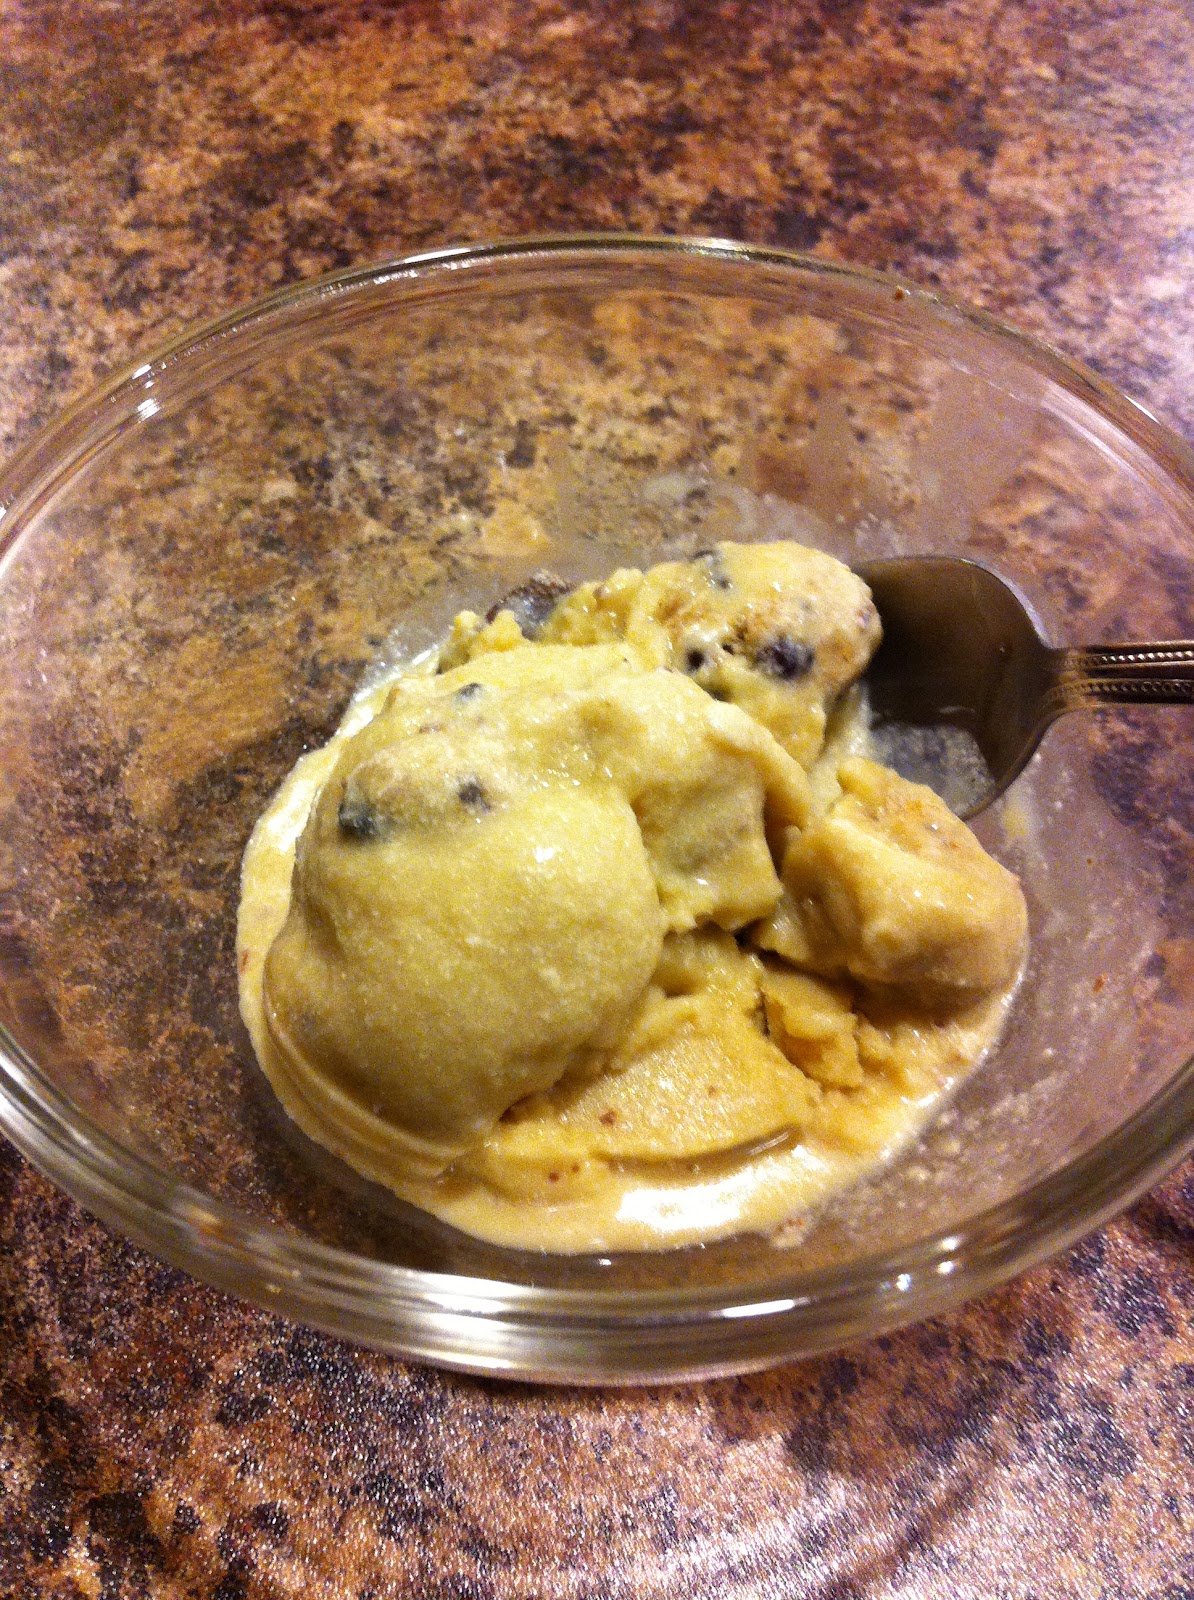
Cookie, Cookie Dough Ice Cream (Dairy Free)


A couple of months ago I finally got my ice cream maker that had been the reason why I bought my KitchenAid in the first place. Unfortunately, my first attempt at making ice cream went horribly wrong, and it was not the machines fault in the slightest. Instead of following the written recipe, I substituted out the heavy cream / half-and-half / 2% milk for plain old almond milk. Then on top of making ice milk instead of ice cream, I also added in almond extract. Now my experience with this flavour of extract is very limited. I'm typically a vanilla fan (and by that I mean I always increase the amount that the recipe calls for by 50-100% usually), but I decided to give the almond a go this time. Unfortunately, I didn't realize how strong this extract was and I may have put a slight bit too much in (and by slight I mean way, way, way too much). Yup, it was awful, and so I stayed clear of the ice cream maker until today.

Today I decided to do it right though. I made a custard base, whereas last time the recipe I used boasted that it didn't require a custard base (so I thought 'oh great it's healthier because there's no egg yolks'), and I used a combination of almond milk and soy milk just because. The original recipe called for 2 cups heavy cream and 1 1/2 cups whole milk. I used 2 cups almond milk (vanilla) and 1 1/2 cups low fat vanilla soy milk (full fat would probably be better but I used what I had). While this means that the ice cream isn't as creamy as it should be, I did it so the lactose intolerant in the house could enjoy this ice cream. Another note, I subed out the heavy cream called for in the cookie dough recipe for the same low fat vanilla soy milk. I think next time I'll get the regular vanilla soy milk and use 3 1/2 cups of that and completely eliminate the almond milk in an attempt to get this ice cream a little less icey.

The neat thing (yes I did just say neat) about this ice cream base is that it actually tastes like chocolate chip cookies. It's not just some vanilla or chocolate ice cream with cookie pieces in it. It is truly a double chocolate chip cookie ice cream. And it is absolutely AMAZING! Actually it's beyond what even my wildest imagination could have suspected it would be. And the smell when it was cooking in the sauce pan = heaven. This will definitely be a make-again. But as more a note to myself, don't use all the cookie dough balls in the ice cream. Save a few for later, eat a few now, I don't really care, but I put them all in and it was a little too much dough and not enough ice cream (seeing as the ice cream is so good). I'd suggest about 3/4 of the dough should be used.

After making this, I do realize why Ben & Jerry's is $7 for a small, small container. It's a heck of a lot of work to make ice cream. 

I adapted the ice cream recipe from Annie's Eats and the cookie dough recipe from Brown Eyed Baker.


Makes ~ 1.5 L

Ingredients

For the Ice Cream:


2/3 C. Brown Sugar
4 Egg Yolks
3 Tbsp. Margarine
2 C. Vanilla Almond Milk
Pinch of Salt
1 Tbsp. Vanilla
1 1/2 C. Vanilla Soy Milk

For the Cookie Dough:
1/2 C. Margarine
1/2 C. Brown Sugar
1/4 C. White Sugar
2 Tbsp. Vanilla Soy Milk
1 Tsp. Vanilla
2 Pinches of Salt
3/4 C. Whole Wheat Flour (AP would work fine too)
3/4 C. Mini Chocolate Chips

1/2 C. Milk Chocolate Chunks

Directions

For the Ice Cream
~In a medium sized bowl, combine the egg yolks and brown sugar and whisk well to dissolve the sugar.
~In a medium sauce pan, melt the butter and continue to heat (stirring continuously) until the butter browns.
~Whisk in the almond milk and heat mixture until it begins to simmer.
~Add a small amount of the hot cream mixture into the yolk bowl and whisk to combine. Add in the remaining cream mixture and whisk.
~Pour the mixture back into the sauce pan and heat until it begins to froth and boil (temperature reaches 170-175 F on a thermometer).
~Transfer the mixture back to the bowl, running through a fine sieve first.
~Add in the soy milk and vanilla. Mix.
~Place mixture in the fridge to cool. (At least 3 hours). Proceed with making the cookie dough.
~When the mixture has cooled thoroughly, transfer to ice cream maker and mix according to manufacturer's instructions. 
~As ice cream is churning, roll cookie dough into bit sized balls.
~Add in the cookie dough balls and chocolate chunks in the last couple of minutes of mixing or after mixing is done (depending on your machine - For the KA I found it best to add in after the mixing was done to keep the cookie dough as balls and not have them squashed to pieces by the mix attachment).
~Place ice cream in the freezer to set (about 2-4 hours).

For the Cookie Dough
~As the ice cream base is cooling in the fridge, combine butter and sugars in the bowl of an electric mixer and cream until well combined.
~Add in the soy milk, vanilla and salt and mix well.
~Pour the flour in and mix again until well incorporated.
~Finally add in the chocolate chips and mix until evenly distributed.
~Cool dough in refrigerator until ice cream is churning.
~While ice cream is churning, remove the dough from fridge and roll into bite sized balls. Return to fridge to keep cool until ready to incorporate into ice cream.

Enjoy! this Double Chocolate Chip Cookie Dough Ice Cream (or to make it Triple Chocolate Chip Cookie Dough Ice Cream, simply place a scoop of ice cream between two chocolate chip cookies. Mmm)
Sunday, 9 September 2012

The S'mores that weren't S'mores

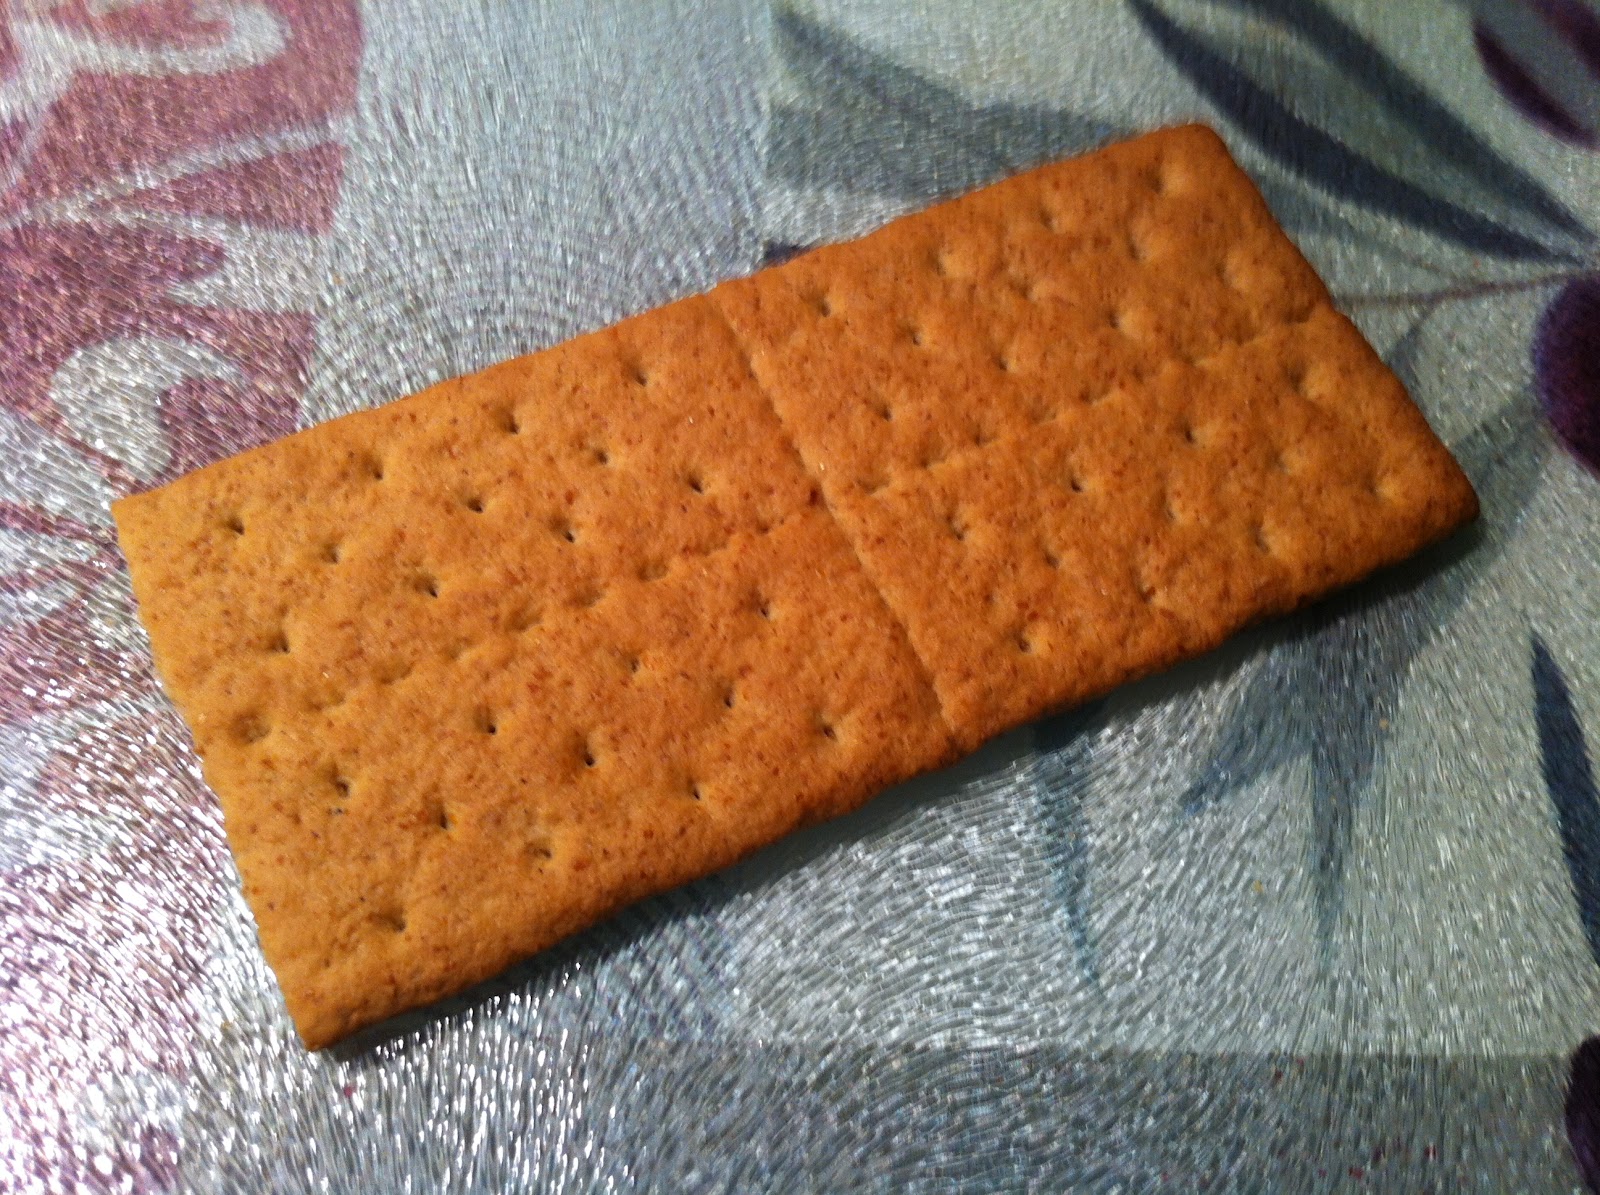
So I'm Canadian, which means I've always heard that when you make a s'more you have to first break the graham cracker in half. Well, with Canadian graham wafers that would be impossible to do. I always wondered as a kid how you were supposed to break them in half, but now I know. They were actually talking about American Graham Crackers that actually look like this...


...whereas Canadian ones are already the half's.

About a month ago I was in the US for a music festival (best weekend ever!!) and we made a Costco run. In addition to buying a Costco size box of graham crackers, we also bought the Costco size box of Cheeze Its (which incidentally I shoved a handful of into my mouth and almost spat them out because they tasted absolutely nothing like I was expecting them to taste, much to the amusement of our neighbours at the campsite who were like 'what are you talking about? Cheeze Its taste like Cheeze Its,' except they didn't taste at all like they were supposed to.

I guess I shouldn't have been surprised then when I bit into my first American Graham Cracker and just about laughed out loud. They tasted so different (in addition to looking very different). I couldn't place the flavour for a bit and then it clicked...they tasted like Teddy Grahams, which are supposed to taste like graham wafers. Obviously the graham crackers that I'm used to actually don't have a graham taste. The other thing that was different about them was that the crackers I'm used to are very dense and almost chewy, while these new species are light, crisp and almost flakey. Total opposite. Now, why am I saying this? Other than to prove that I probably need to be locked somewhere far, far away from society (or maybe that would be counterproductive and I'm actually this crazy from being a recluse and antisocial??) that is. Well, because I want to introduce to you the s'moreless s'mores. Yes, you read that right, now sit down (or stay sitting) and I'll explain.

Usually about part way through the summer a fire ban gets put into effect and we don't get to have any more campfires until the weather turns wet and cool again. Unfortunately, we have now survived 2 summers in a row where there has been no ban (meaning it's been too cold and wet out). Typically though we get our s'more fix from February to June (yes February, you read that right, we have some of our best fires when we're celebrating that's it's not snowing out, even though I love the snow. Run on sentence much?) Anywho, sometimes in August when I'm up at the cabin and just want a s'more that I can't have (and I don't want to roast one on the BBQ because it's just not the same), I have this little treat. It's really simple. Nutella and graham wafers. Nutella on the graham wafer and a wafer on top and squish. Mmm, because really, the marshmallow is not the best part of a s'more in my opinion. All it does is melt the chocolate (which is what you really want), but because the Nutella is not a solid, you don't need a hot marshmallow. So problem solved in an oh, so delicious way.

Ingredients

Nutella
Graham Wafers

Directions

~Spread Nutella on one side of a graham cracker.
~Place another wafer on top.
~Squish down to make a sandwich.

Enjoy

*On another s'more note, I just want to mention the other trick we have always used when making s'mores and that is instead of having to cart around a package of graham wafers and a bar of chocolate, you can use chocolate covered digestive cookies (Peak Freans) that have the one side of the cookie coated in chocolate. At one point they even had an orange flavoured biscuit which was very good.*

Saturday, 8 September 2012

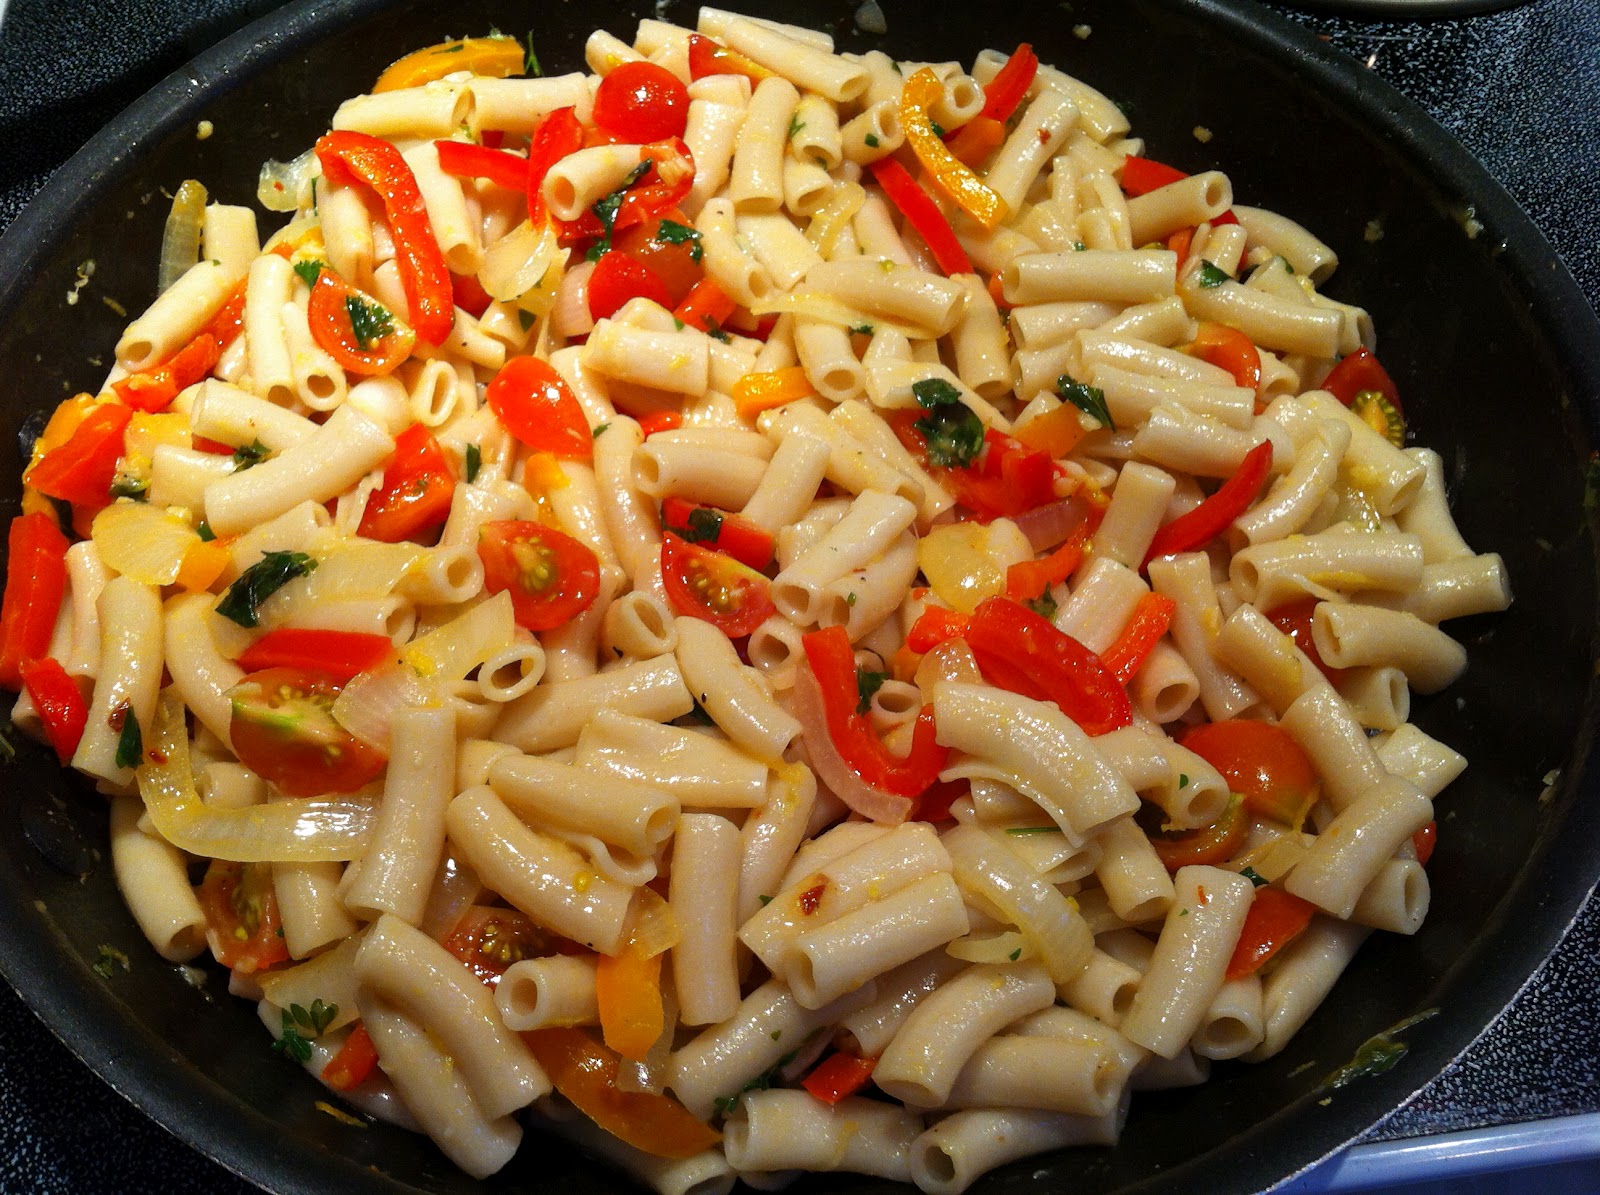
Lemon Garlic Pasta


I wanted pasta. But I wasn't interested in a rich tomato sauce, nor could I stomach the fat in (nor did I have the ingredients for) an alfredo or cheese sauce. This recipe worked though because it used butter instead of olive oil (which I find has a very strong flavour) and it had lemon in it (my fave). While it was very good (surprisingly good even) the first night, it wasn't as great as leftovers because the pasta really absorbed the limited liquid and was really dry and flavourless the next night. So my recommendation: eat it, enjoy it, love it the first night and don't leave any leftovers.

I looked over multiple recipes before making this, but ultimately this creation is my own, and I don't usually brag, but I'm really proud of this recipe.

Serves: 6-8

Ingredients

1 lb Pasta
2 Bell Peppers
1 Onion
20 Cherry Tomatoes
4 Cloves Garlic, minced
2 Lemons, Zested
1/2 C. Lemon Juice
2 Tbsp. Basil
2 Tbsp. Parsley
3 Tbsp. Butter
Salt
Pepper
*Optional* Parmesan or Feta Cheese

Directions

~Slice onions and peppers into matchstick slices.
~Slice tomatoes into quarters.
~Prepare garlic and zest the lemons.
~With kitchen scissors, cut up your fresh herbs into small pieces.
~Bring a pot of water to a boil and add your pasta and cook according to the package instructions. ~Drain the water when pasta is done.
~Heat a large frying pan and add the butter.
~Season with salt and pepper to taste.
~When the butter is melted and hot, add in the onions and stir until they begin to soften. 
~Add in the peppers. Continue to cook and stir until they too soften.
~Add in the fresh herbs, the zest and the minced garlic.
~Stir until the garlic cooks, making sure not to overcook.
~Add the drained pasta into the frying pan and pour the lemon juice over top.
~Stir to coat the mixture evenly.
~Toss in the tomato quarters and give one last stir to mix.
~Serve with a sprinkle of parmesan or feta cheese if you so desire.

Enjoy


Thursday, 6 September 2012

Chocolate-PB-Oatmeal (No-Bake) Cookies


Unfortunately, I'm still ovenless. Meaning that I'm also cookieless. I've now officially cleared out the freezer of every extra cookie I had hidden away. So I went on a hunt-a rather difficult hunt actually-to find a no-bake cookie recipe. What I came up with was this one. It seems that basically all the no-bake cookies are only a slight variation from this one. Some use less peanut butter or more or less oatmeal, or a different amount of vanilla, but for the most part they are the same.

I was impressed with these cookies as far as no-bake go, but if I make them again I think I'll substitute in nutella instead of peanut butter. Because even though I can tolerate a bit of peanut butter in desserts, I found it a bit overwhelming of a flavour in these cookies.

I was pleasantly surprised that even though these cookies had a fair amount of oatmeal in them, they were more than just dry, oatmeal filled cookies. I probably won't go out of my way to make these again once my oven is fixed (the PB version...I might make a nutella version), but they definitely satisfied the craving currently.

On another very positive note, I'm now for the most part done with all my plums. So it's back to chocolate time we go.

This recipe is from the Food Network.

Makes: 4 dozen cookies

Ingredients

2 C. Sugar
4 Tbsp. Cocoa
1/2 C. Butter
1/2 C. Milk (I used vanilla low fat soy milk)
1 C. Peanut Butter
1 Tbsp. Vanilla
3 C. Oatmeal

Directions

~In a saucepan, melt the butter, then add the sugar, cocoa and milk. Stirring constantly as you bring it to a boil and boil for 1 minute.
~Add the peanut butter and vanilla, and stir to melt.
~Mix in the oatmeal and reduce the heat. Cook oatmeal until it begins to soften.
~Drop mixture by the spoonful onto a wax paper lined (or greased) cookie sheet.
~Place sheets into fridge to cool and set.
~Remove cookies from cookie sheets when set and store in an airtight container in the fridge.

Enjoy


Wednesday, 5 September 2012

Rhubarb Plum Crisp

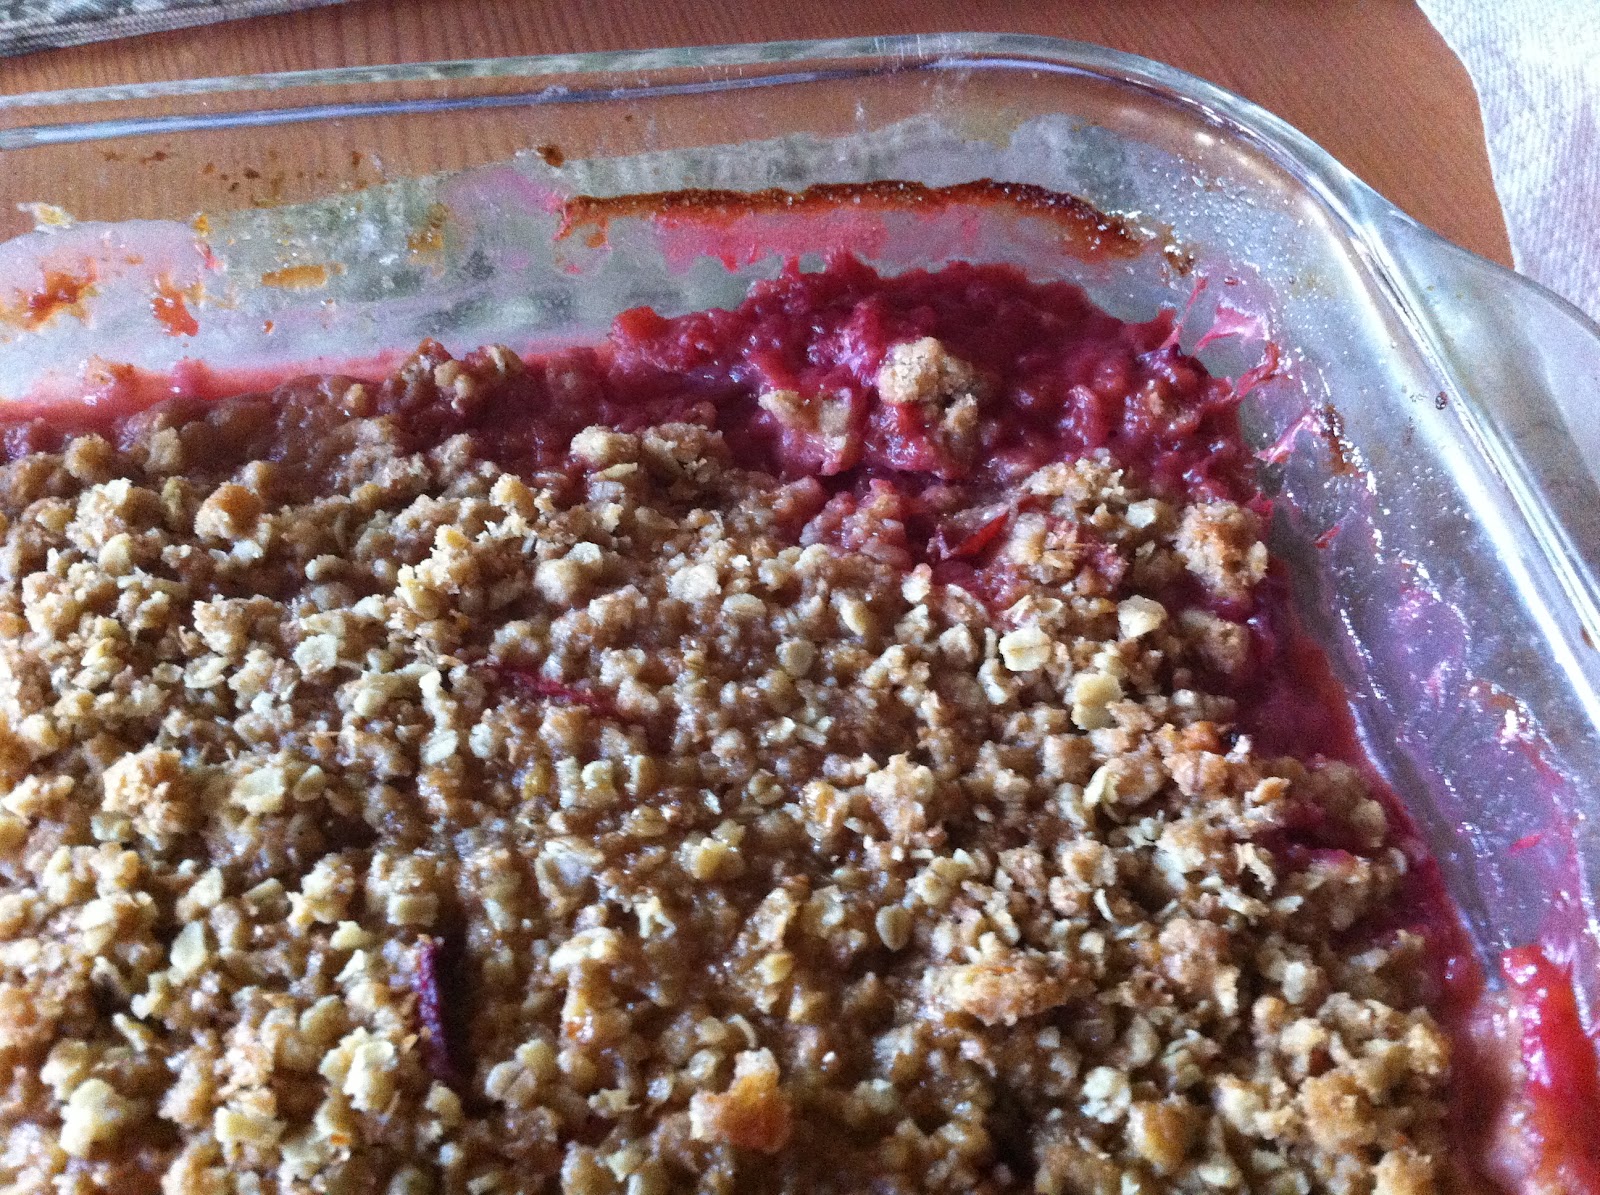
Well, I've pulled approximately 315 plums off our tree (yes I counted...don't judge) and that equalled 9 crisps & cobblers. By the end I stopped using a recipe or even measuring ingredients for that matter. It became a free-for-all, for real. I also stopped writing my recipes down (because there really was no recipe to write), and I stopped taking pictures, because trust me, even if you sub out brown sugar for white sugar or put in less oatmeal or even none at all, each crisp hardly looks any different. So no picture for this post. If you want to see basically what it looks like, scroll down to my last post. The only thing I would say is that after all this, I think I've learned that I like my fruit desserts either as a full blown crisp (loaded with oatmeal) or as a biscuit style cobbler. I'm not as big of a fan of the toppings that are more doughy (such as this one). That's not saying that this one is bad though, it's just that after making 9 crisps, I'm allowed to be judgemental and a little picky because I've tried it all (or so it feels). But I do love this filling from this recipe. I feel like the orange really rounds out the flavour a lot better than the lemon of this one ever did.

Topping recipe is loosely based off of two of my mom's crisp recipes, while the filling is my own creation.

Ingredients

Filling:

4 1/2 C. Plums
4 C. Rhubarb, (I used frozen, even fresh, you'll have to increase the amount of juice added and likely decrease the amount of cornstarch as well.)
1/2 Tsp. Cinnamon
6 Tbsp. Brown Sugar (or 1/4 + 1/8 C.)
2 Tbsp. Cornstarch (+ additional 1 Tsp. if too liquidy)
1 Tbsp. Orange Juice (+ additional if too thick)

Topping:
3/4 C. White Sugar
1 C. Flour
1/2 C. Oats
1/4 Tsp. Cinnamon
1/2 C. Butter

Directions

~Wash and slice rhubarb into bite size chunks.
~Wash and cut plums.
~Combine rhubarb, cinnamon, and sugar in a pot. Heat until it bubbles and the rhubarb begins to soften. Add the cornstarch and orange juice. If too thick add more juice, if too runny add more cornstarch. If you're using frozen rhubarb, there will be a lot of liquid seeping out as it cooks.
~Add plums and stir until everything is combined
~Pour mixture into greased 9x13 baking dish
~In another bowl, combine the first 4 topping ingredients. Toss to combine.
~Add in the butter and with fingers cut into the flour mixture until it is a course crumb.
~Pour evenly over fruit.
~Bake at 375 F for 40-45 minutes or until fruit is bubbly. (Or freeze before baking and bake later).

Enjoy

Tuesday, 4 September 2012

Prune Plum Crisp


83 plums cut up later and my next few posts are going to consist of just that. Plums. Everybody left me and went away on holidays and I'm stuck with a plum tree that is finally producing plums that all decide they want to ripen on the same day. Yeah, not good.

The Topping comes from a combination of a few of my mom's crisp recipes, while the filling recipe is my own creation.

Ingredients

Filling:
8 C. Plums
1/2 C. White Sugar
1 Tbsp. Lemon Juice
3 Tbsp. Flour

Topping:
1 C. Flour
1 C. Quick Cooking Oats
Zest of 1 lemon
3/4 C. Brown Sugar
1/4 Tsp. Cinnamon
1/2 C. Butter

Directions

~Wash and slice plums.
~Place plums in a greased 9x13 baking dish.
~Sprinkle with the sugar, flour and juice and gently toss to evenly coat
~In a separate dish, combine the first 5 topping ingredients. Toss gently to combine.
~Add the butter and with your hands crumble together until you getting a crumbly mixture.
~Spread topping evenly over fruit.
~Bake at 375 F for 40-45 minutes or until fruit is bubbling. (Or freeze it first and bake it later as I did.)

Enjoy