Now, I believe I said the last time that I'd found The Bread recipe, but if I recall correctly, I said that the time before as well. I guess it shouldn't be surprising then to anybody that I may just have to say it again. You see, while I said the Farm Country loaves were excellent (which they were), they weren't that excellent for you. Besides getting half their flour from white all purpose flour, they also used quite a bit of sugar (albeit brown sugar) and quite a bit of butter. Plus they called for eggs and milk, which while not bad for you, made it a very extensive list of ingredients and so quite a bit more costly to make.
This recipe though is simple. The directions on the original recipe instructed you to do some different things as far as making bread is concerned, and I wasn't entirely convinced. Instead of following their directions, I just stuck with the steps for how I normally make bread. Plus, I only ever use instant yeast (yeah, yeah, I hear you traditionalists screaming) and so all you really have to do is throw everything in a bowl, knead, let rise and bake. Simple enough right?
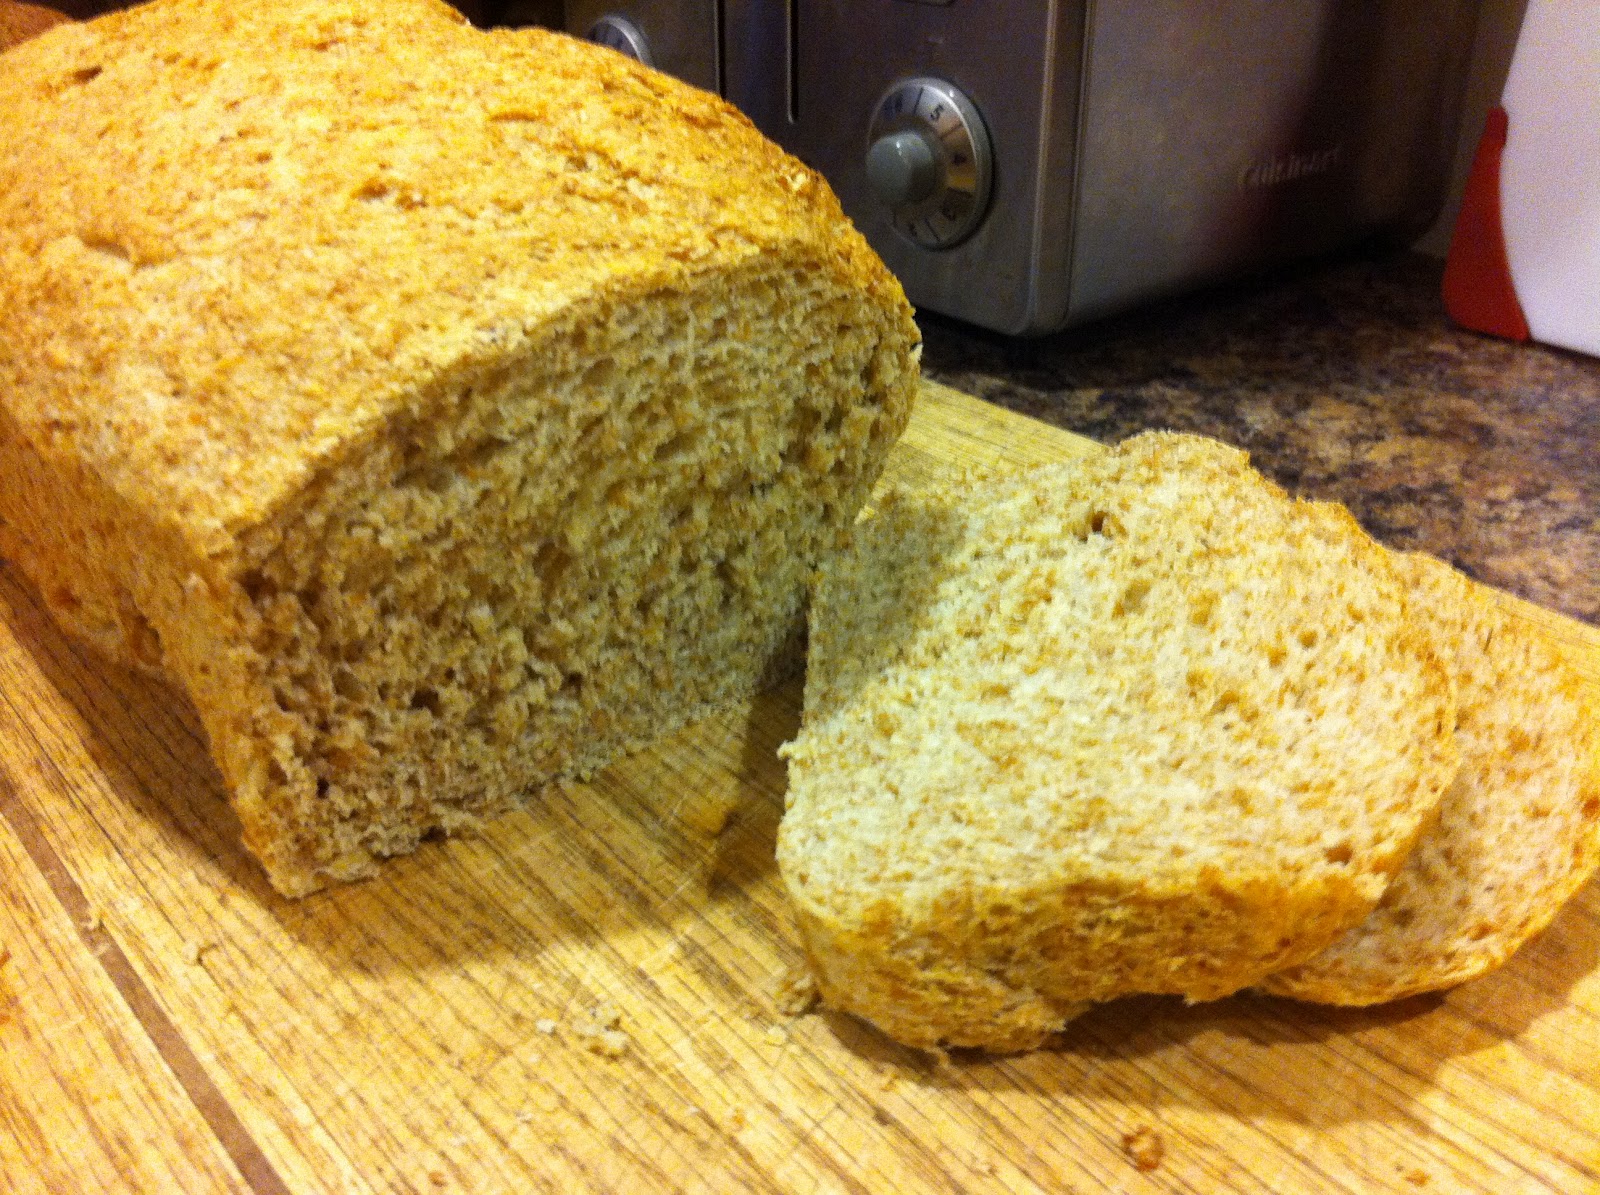
The original recipe called for a sliding scale of ingredients. I didn't know which end of the scale to use and so I actually made two different batches of this bread. One with the smaller quantities and the other with the larger. The goal was to do a taste test. It was funny, the bread didn't actually taste any different, but what was different was the appearance of it. I don't know if you can tell from the picture, but the two loaves look very different. I didn't have a chance to get a better picture the next day when the light was better, because well, one of the loaves had magically vanished. The one that used the smaller quantities sort of cracked when rising and didn't look as pretty as a whole loaf, but as a slice looked great, but did not look like sandwich bread. Instead it just looked like bread and butter bread. While on the other hand, the other loaf browned perfectly and looked like excellent sandwich bread. I think I'll use the smaller quantities for next time because hey, if you can use less sugar and still have as good of a taste why not? I will put the larger quantities in brackets if you feel like you need to do the taste test yourself.
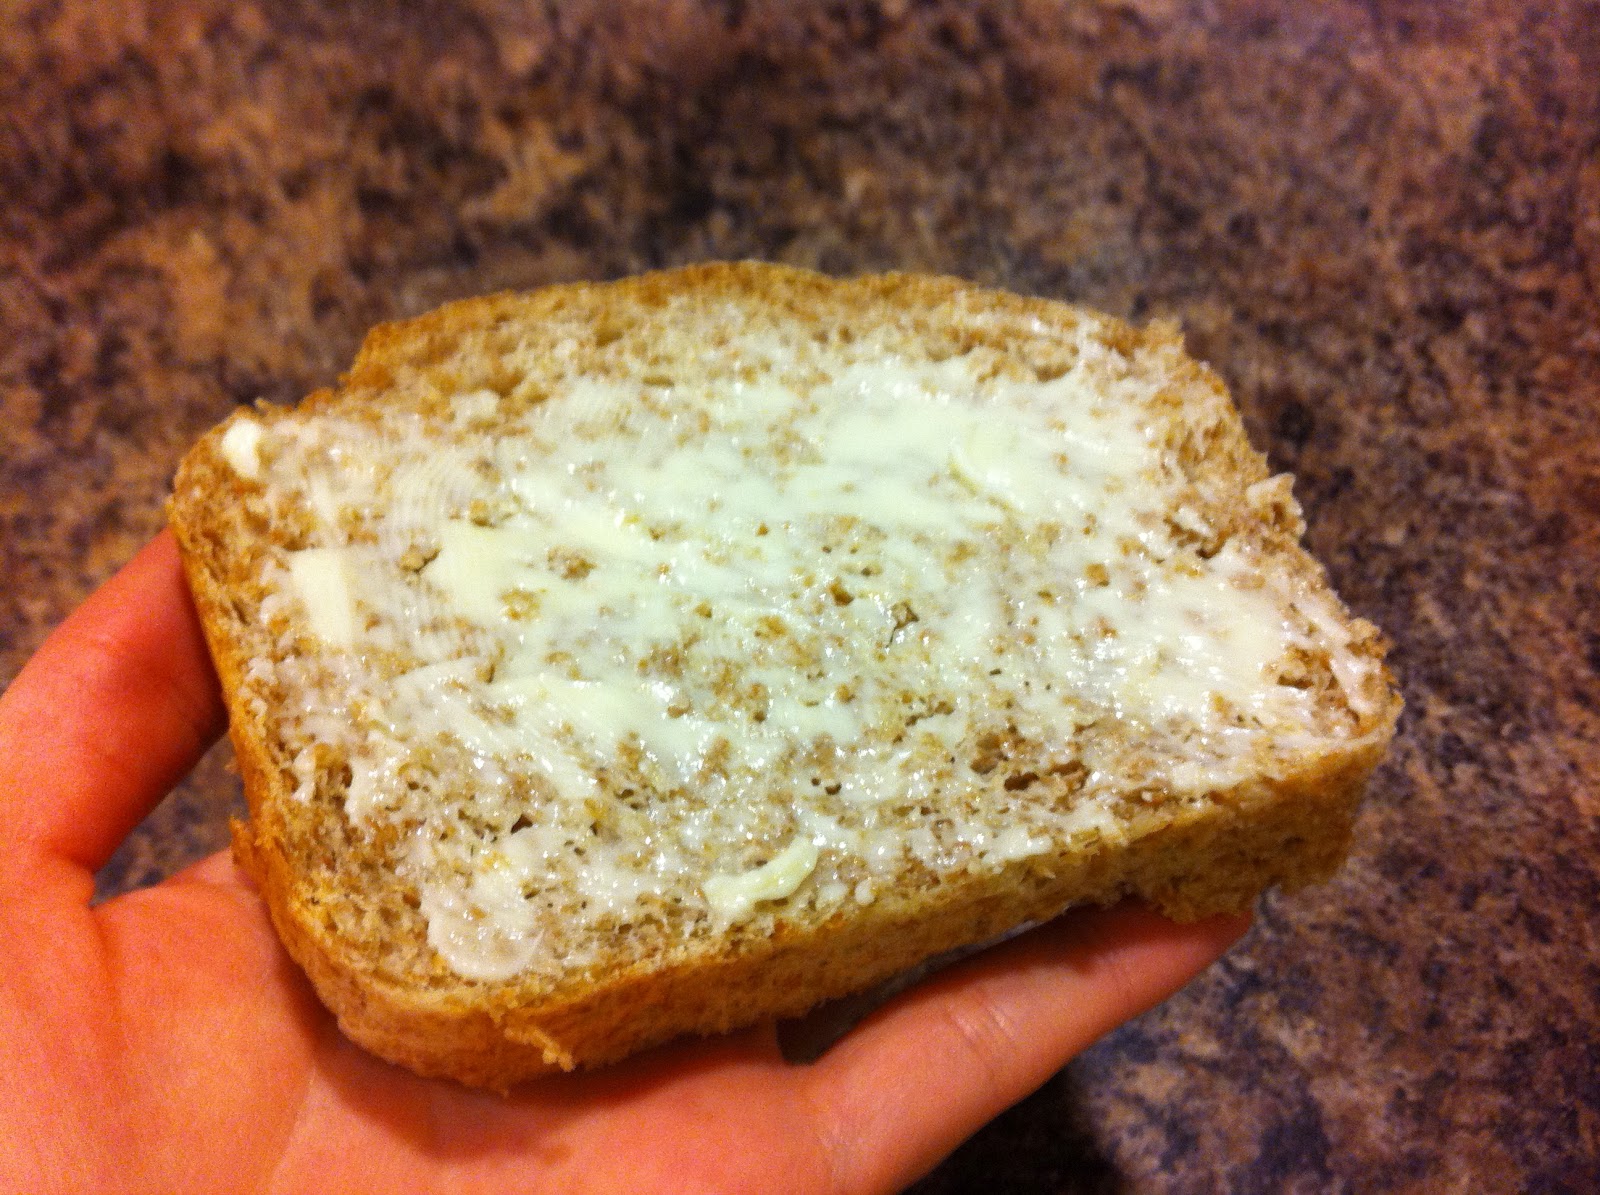
When I say that this may be the bread recipe I go back to again and again, I mean it is great for how I eat bread. I like it just plain with butter, and I don't eat sandwiches. (It was also great for French Toast.) But, I can see if you want your fresh loaves to be for your ham and cheese sandwich, this recipe may not be for you. Give it a try though.
I adapted the directions for the original recipe I got off of Find It, Love It, Share It who incidentally has the same green mixer that I had for too short of a period *sigh. On the original recipe, they call this Great Harvest Bread because apparently it tastes just like the real Great Harvest Bread. I have not tried this original and so I am not the one to tell you whether or not it actually tastes the same.


Ingredients
Makes 1 loaf
3 1/8 C. Whole Wheat Flour (+ additional if required)
1 Tsp. Salt
1/4 C. Rolled Oats (or other add-ins such as flax seed, sunflower seeds, etc.) (or 1/3 C.)
1 Tbsp. Yeast (I used Instant and so that is what my directions will work with too)
Olive Oil
1 1/3 C. Luke Warm Water
2 Tbsp. Honey (or 3 Tbsp.)
Olive Oil
Directions
~Add flour, salt, rolled oats, yeast, water and honey into mixer bowl and mix to combine.
~Knead for 5 minutes (or longer if doing by hand).
~Spray dough and bowl lightly with oil. Cover bowl with plastic wrap.
~Place bowl and dough in a warm spot and let rise until double in size (about an hour).
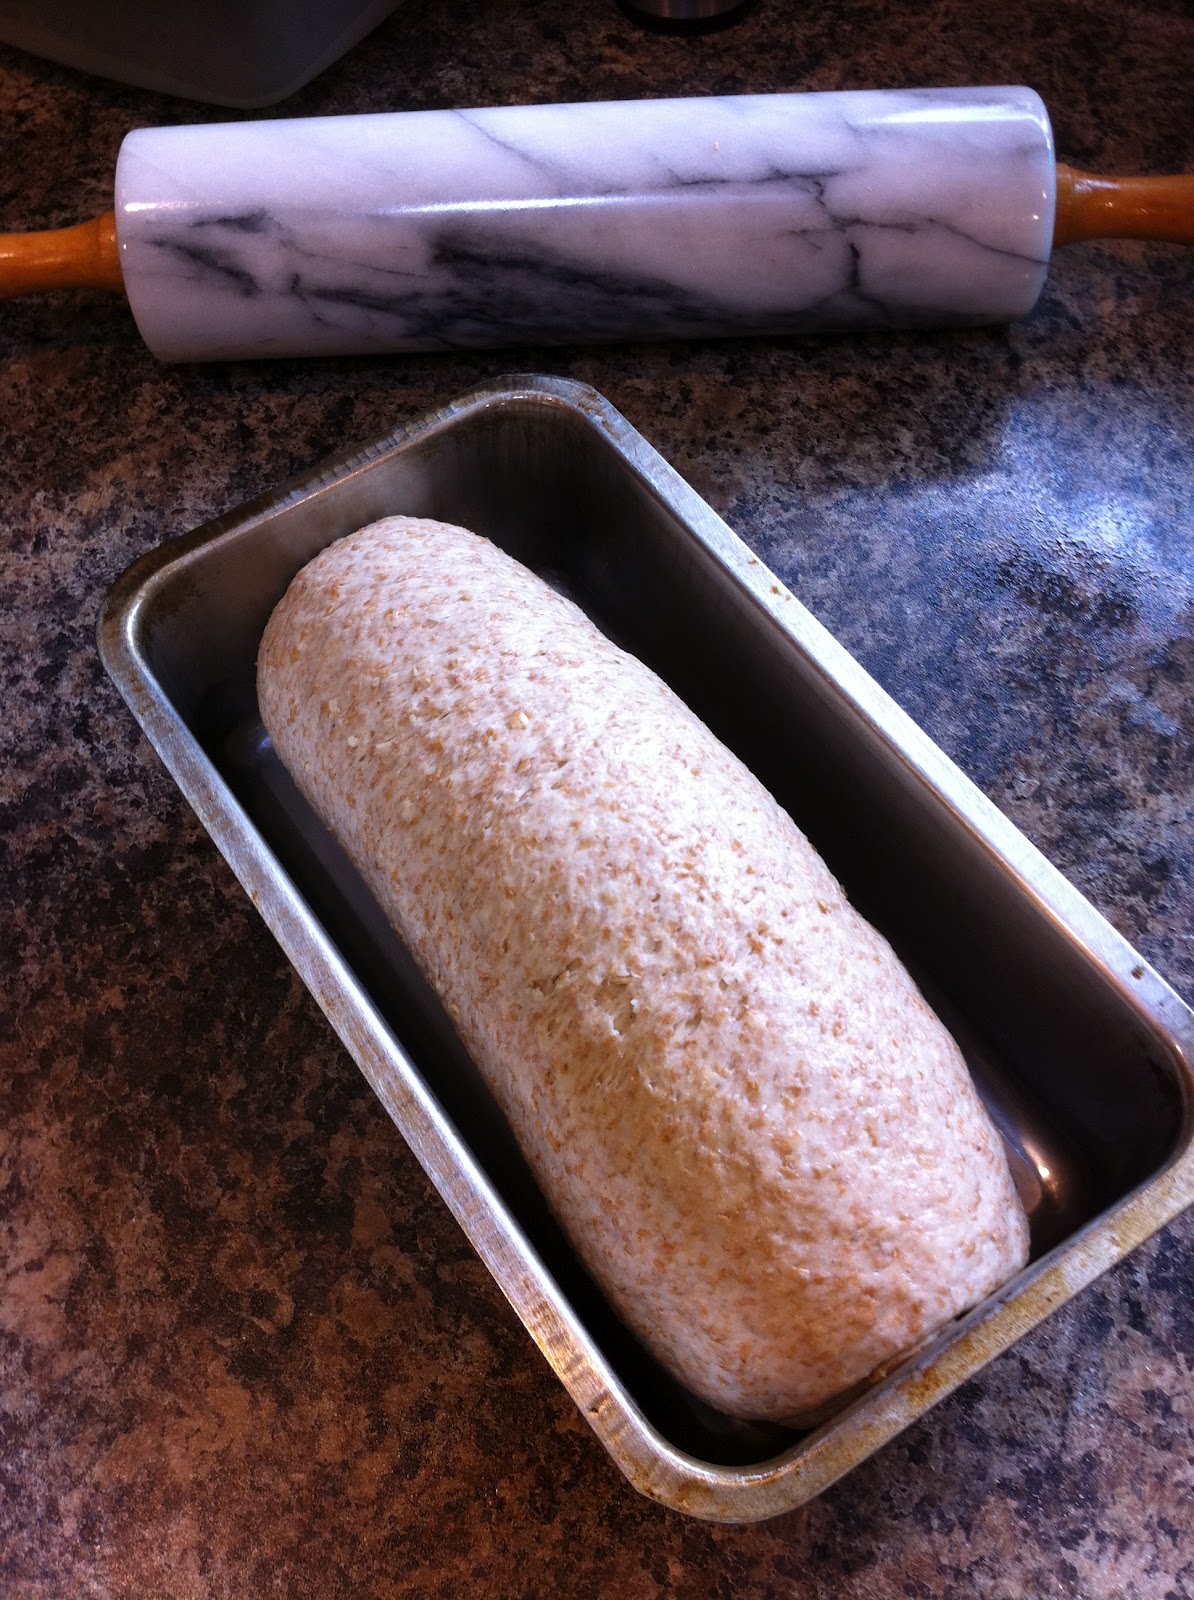
~Punch down dough. Roll out with a rolling pin and then roll into a log.
~Put log into a greased bread pan. Cover again with greased plastic wrap.
~Let dough rise again in a warm spot until doubled in size (about an hour).~Bake in oven at 350 F until bread reaches an internal temperature of 190 F (about 23 minutes in my hot convection oven. Probably will take longer in most other ovens. Like 25-30 minutes.)
~Remove from oven and place on a cooling rack.
~When cool enough to touch, remove bread from pans and let cool completely on rack before cutting into.
Enjoy
No comments:
Post a Comment